cerasonar wood installation kit

cerasonar wood installation kit

Regular price€82,95
/

Size
Wooden board thickness

The cerasonar 4062 pro or 6062 pro can be used for furniture or wooden installations as well.

A pocket milling is produced into the rear of the wood panel in which the speaker is inserted. When ordering the speaker and this kit, the speaker is equipped with a special double-sided adhesive tape. A CNC-milled wooden rear bracket with compressable foam is included as additional mechanical protection, this will be installed with 14 screws so that the speaker sits securely.

The wood thickness must be 19 mm, if this is not the case, we can make the bracket customised. The pocket milling must be produced with a residual wood thickness of 2.0 - 3.0 mm (max). 

The cs-500dsp4 or cs-2000dsp4 is essential to guarantee optimum sound quality (wood preset!).

wood installation kit:

  • Dimensions: 43,0 x 65 x 1,5 cm
  • Pre-drilled
  • Equipped with high-performance Würth sealing tape (for pressing on the speaker)

wood installation backbox 4062:

  • Dimensions: 86 x 58 x 12,5 cm

Step 1

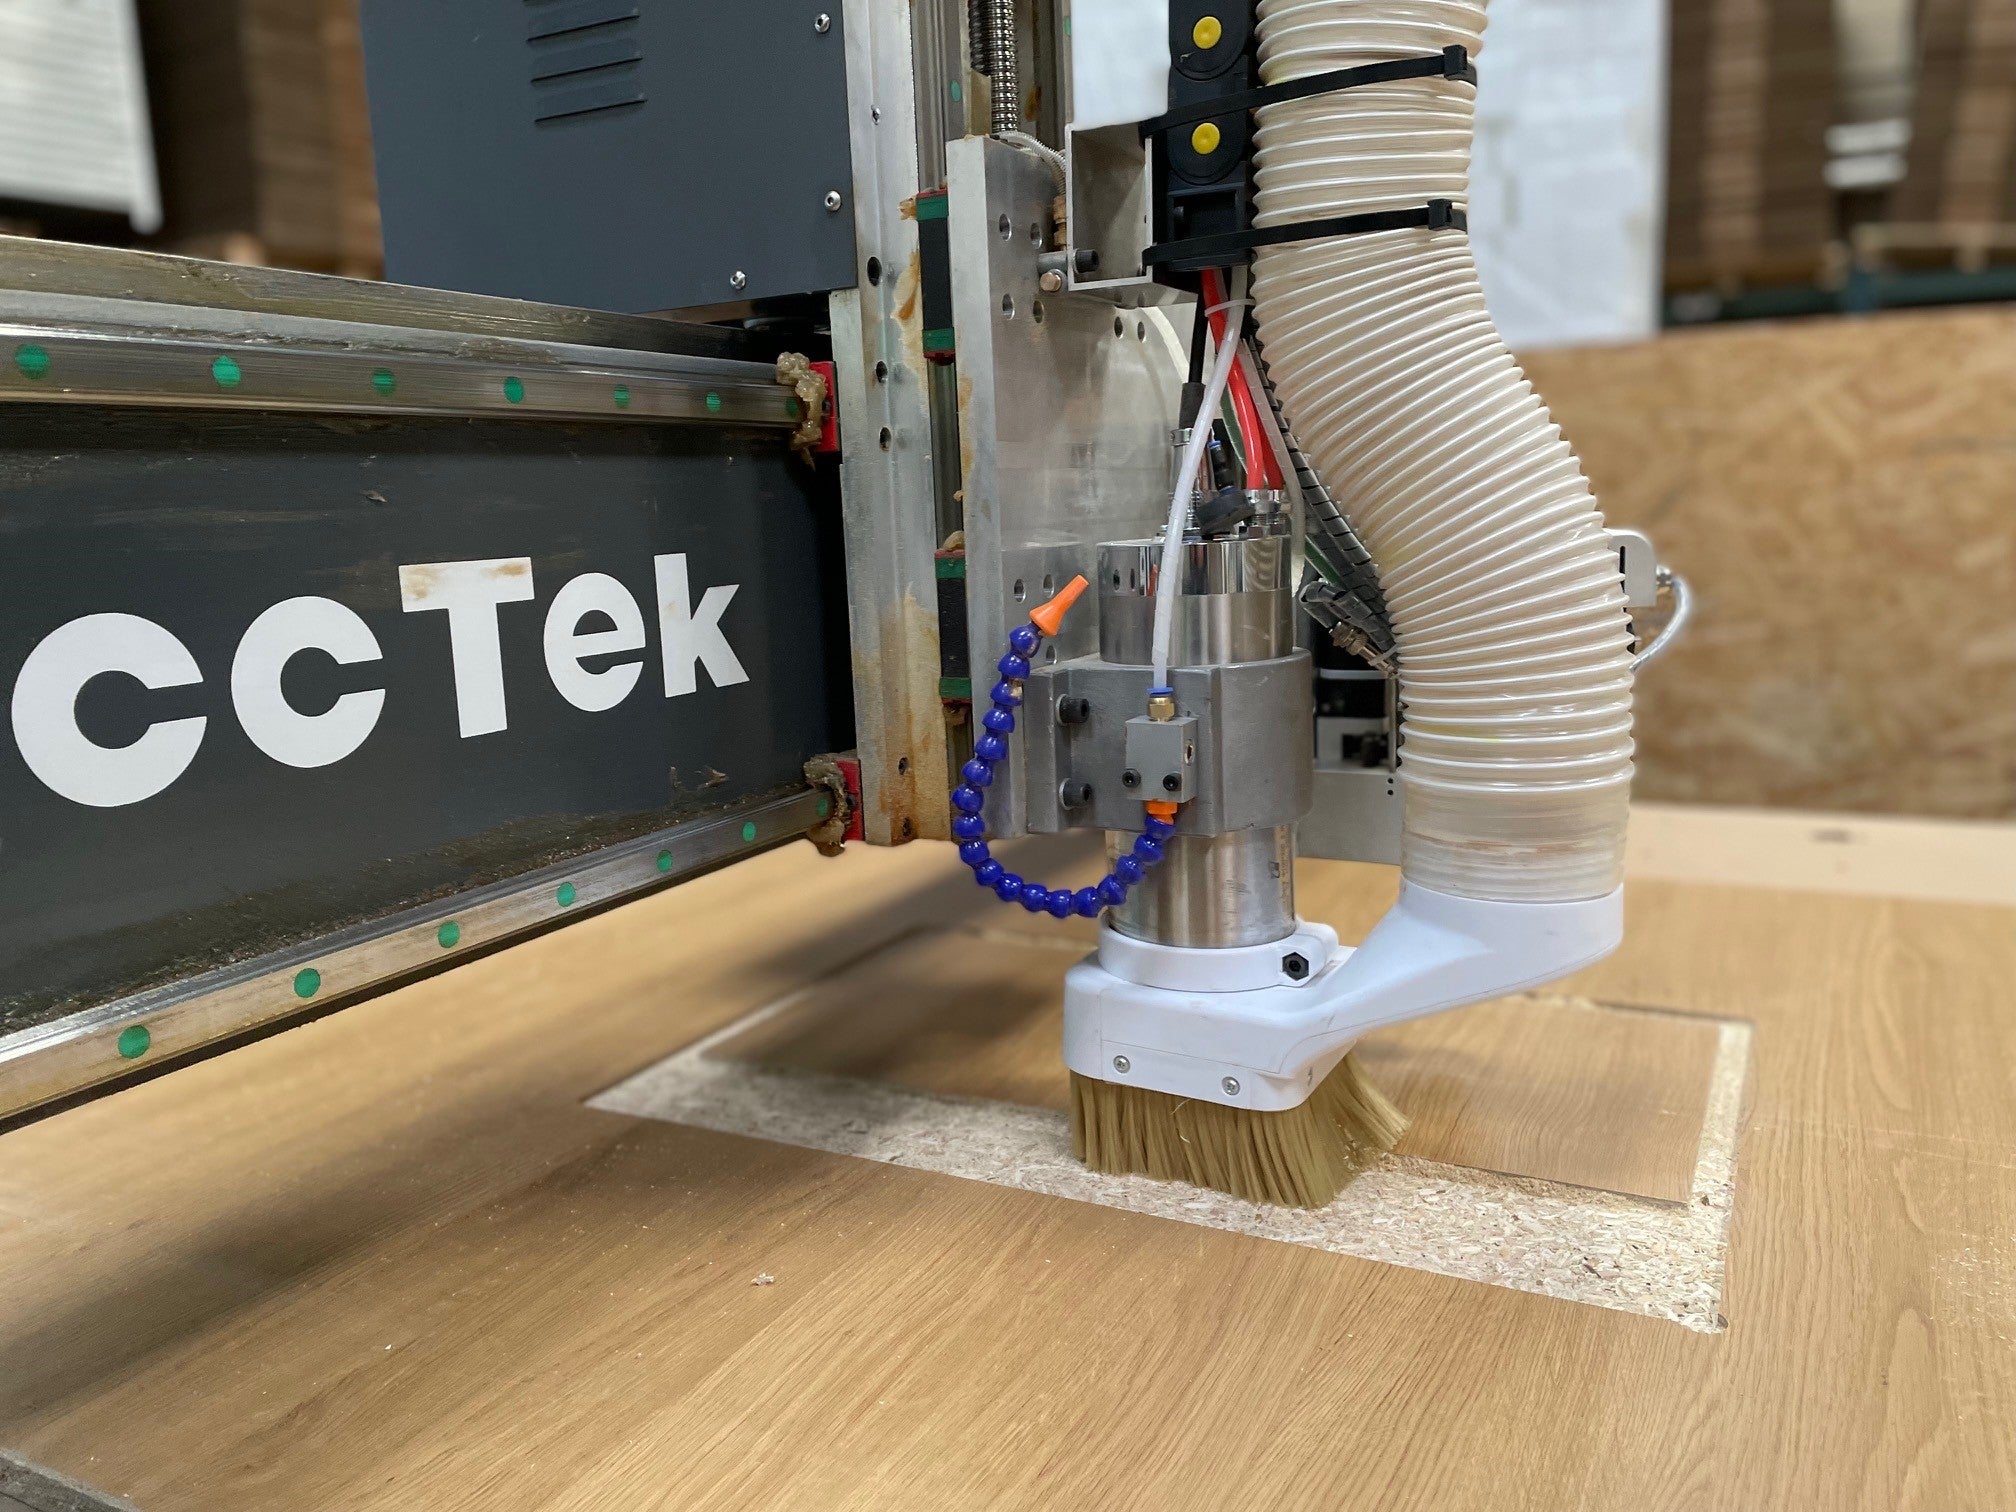
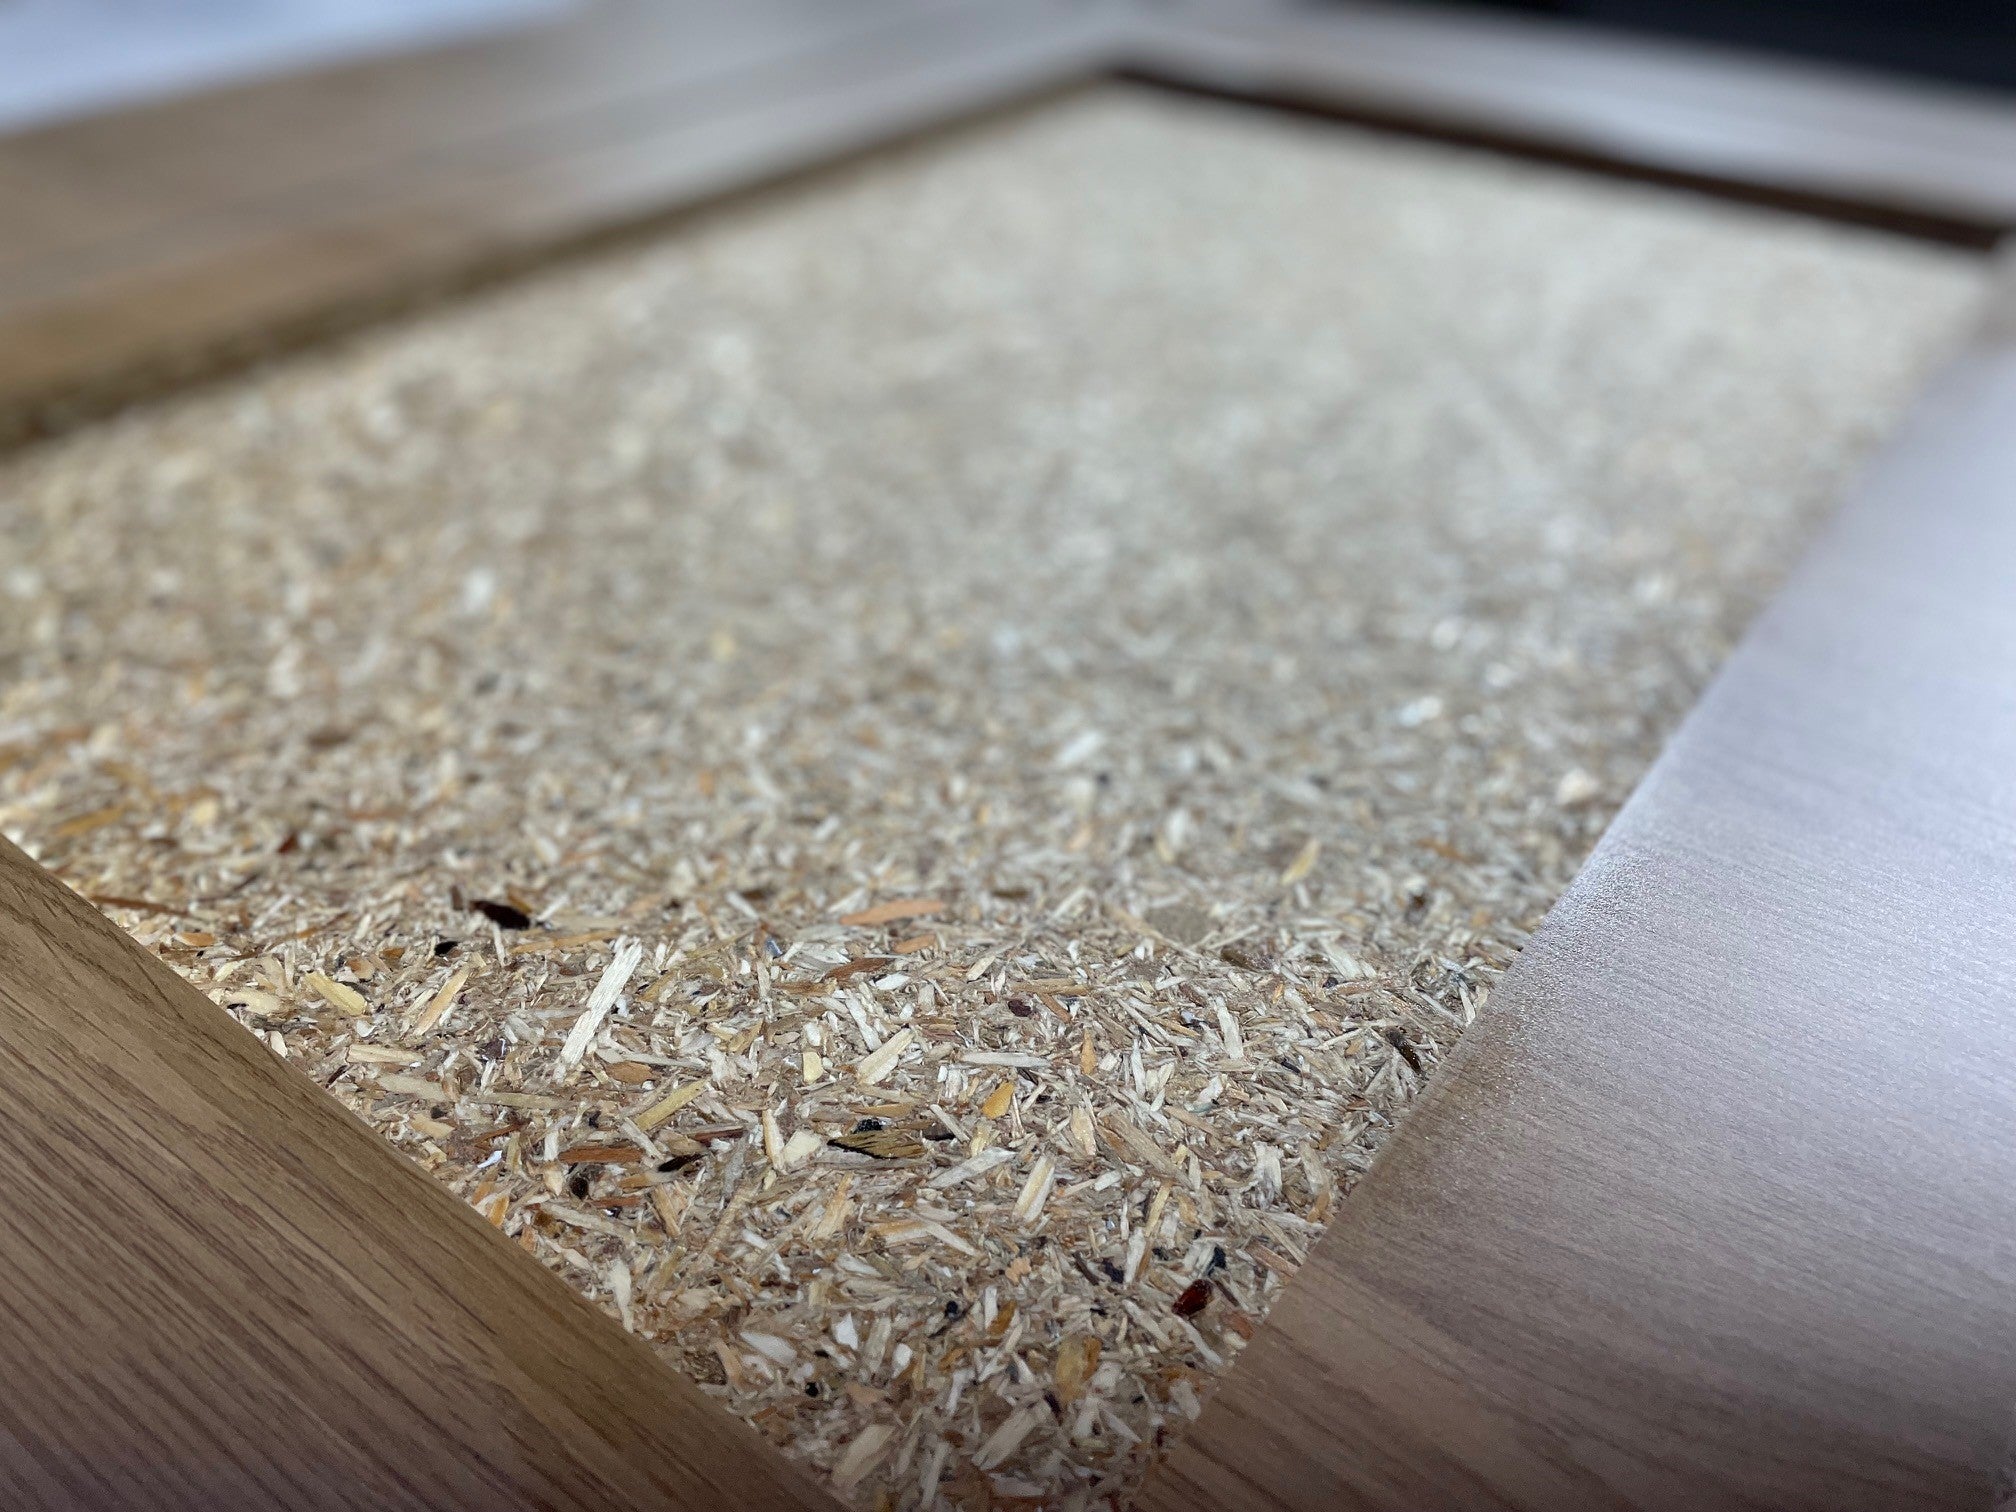
Make a pocket milling and use
an appropriate tool. DXF files are
available on demand

Step 2

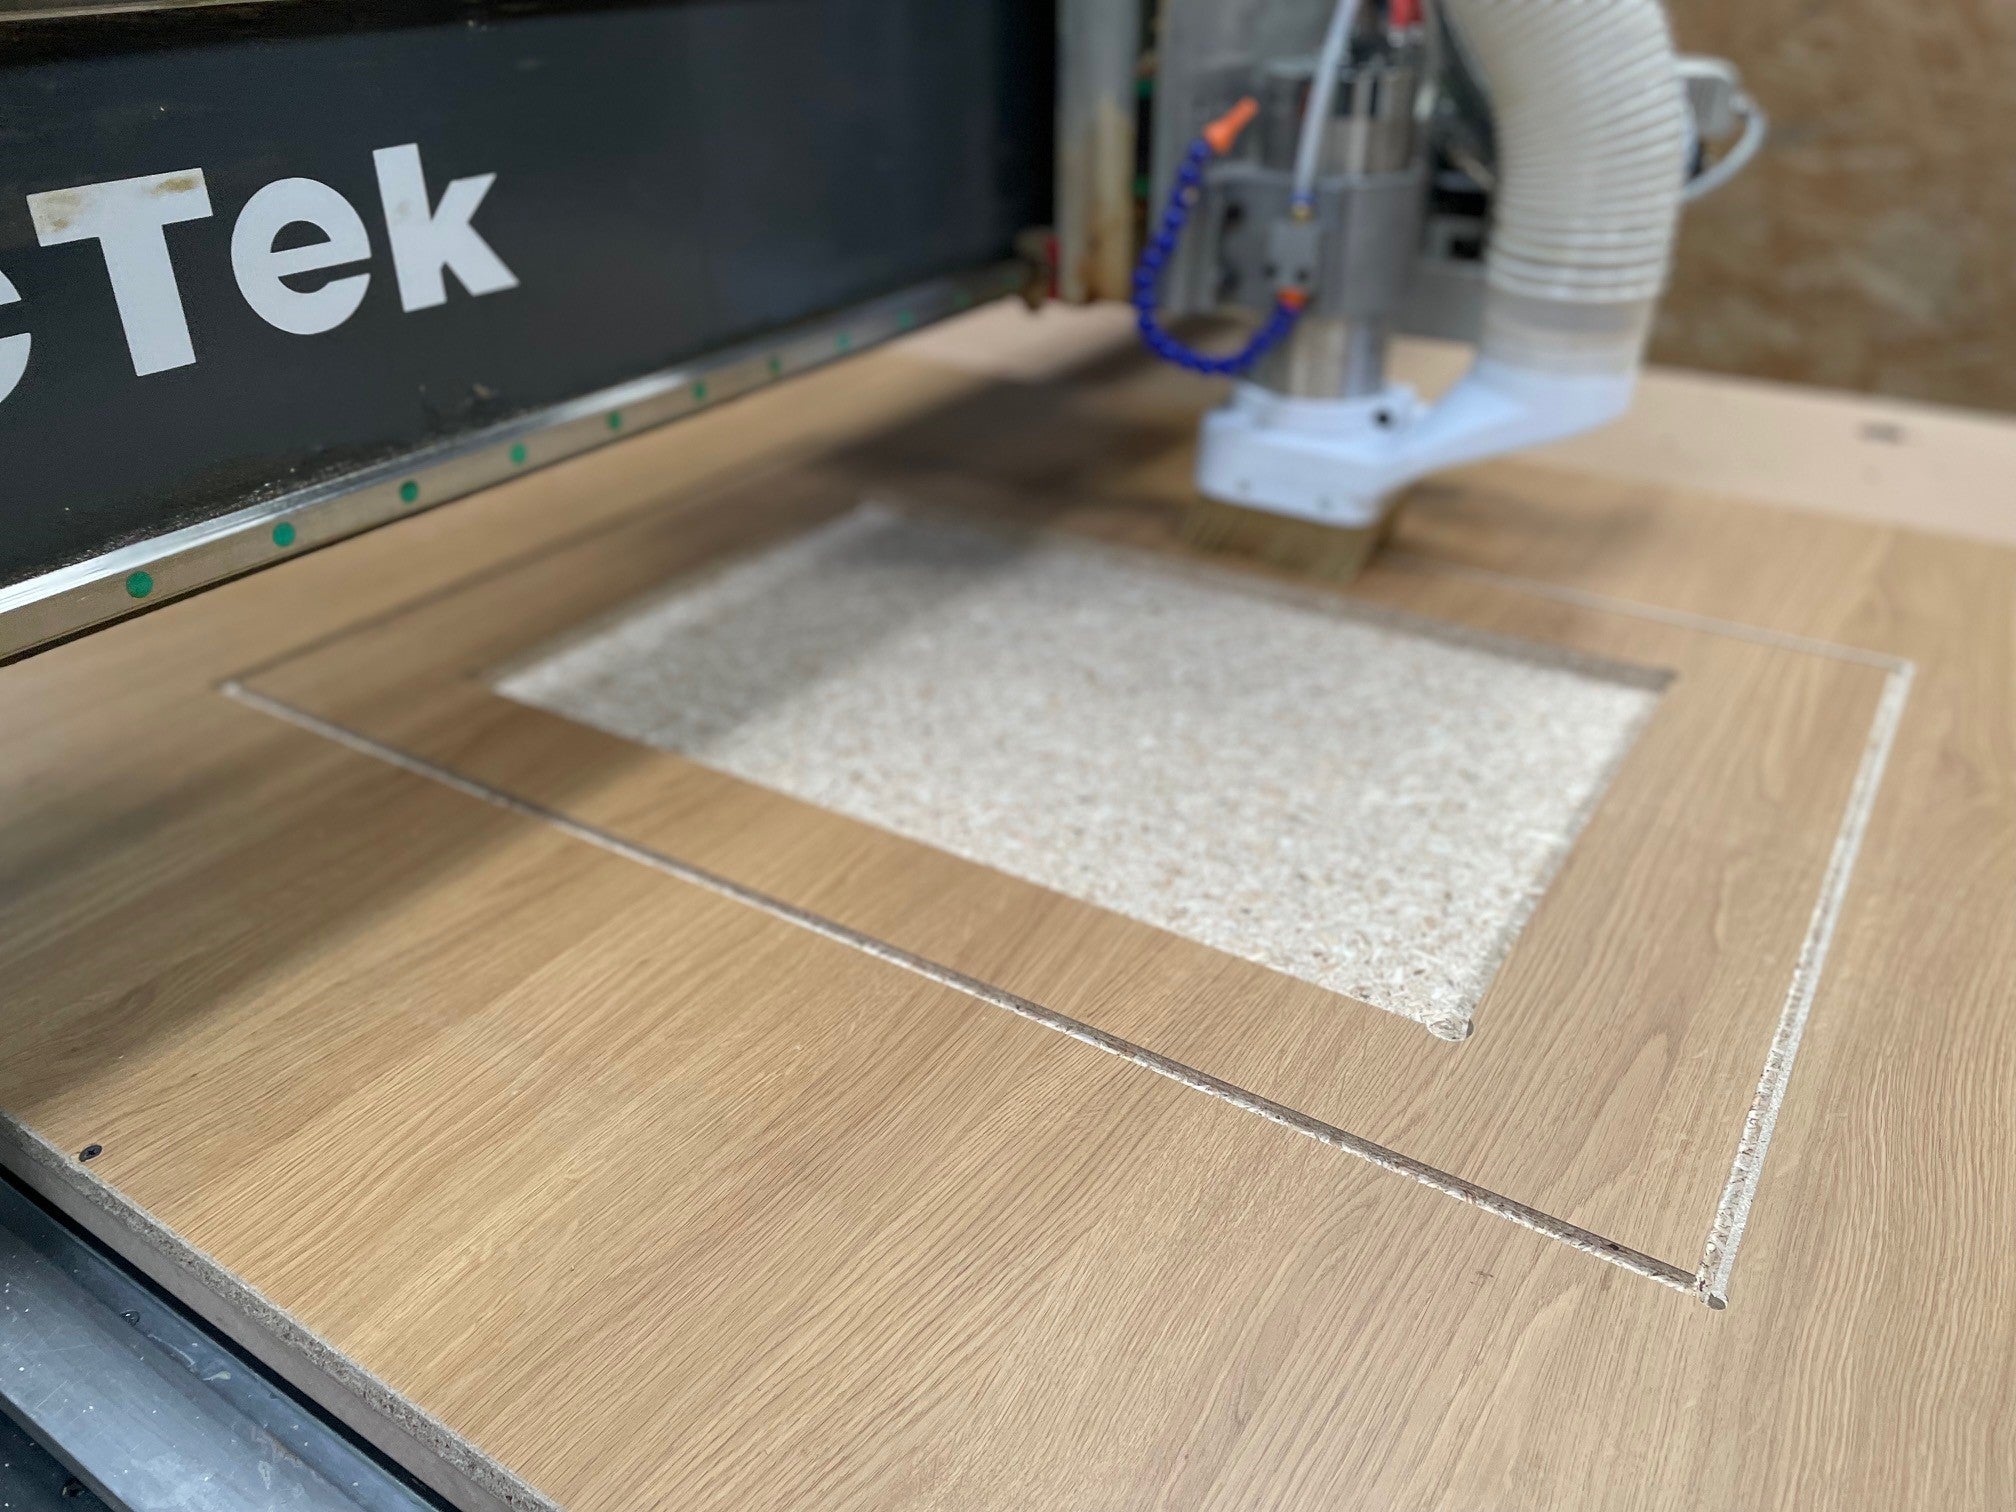
The excess wood should not be
more than 2.0 - 3.0 mm thick

Step 3

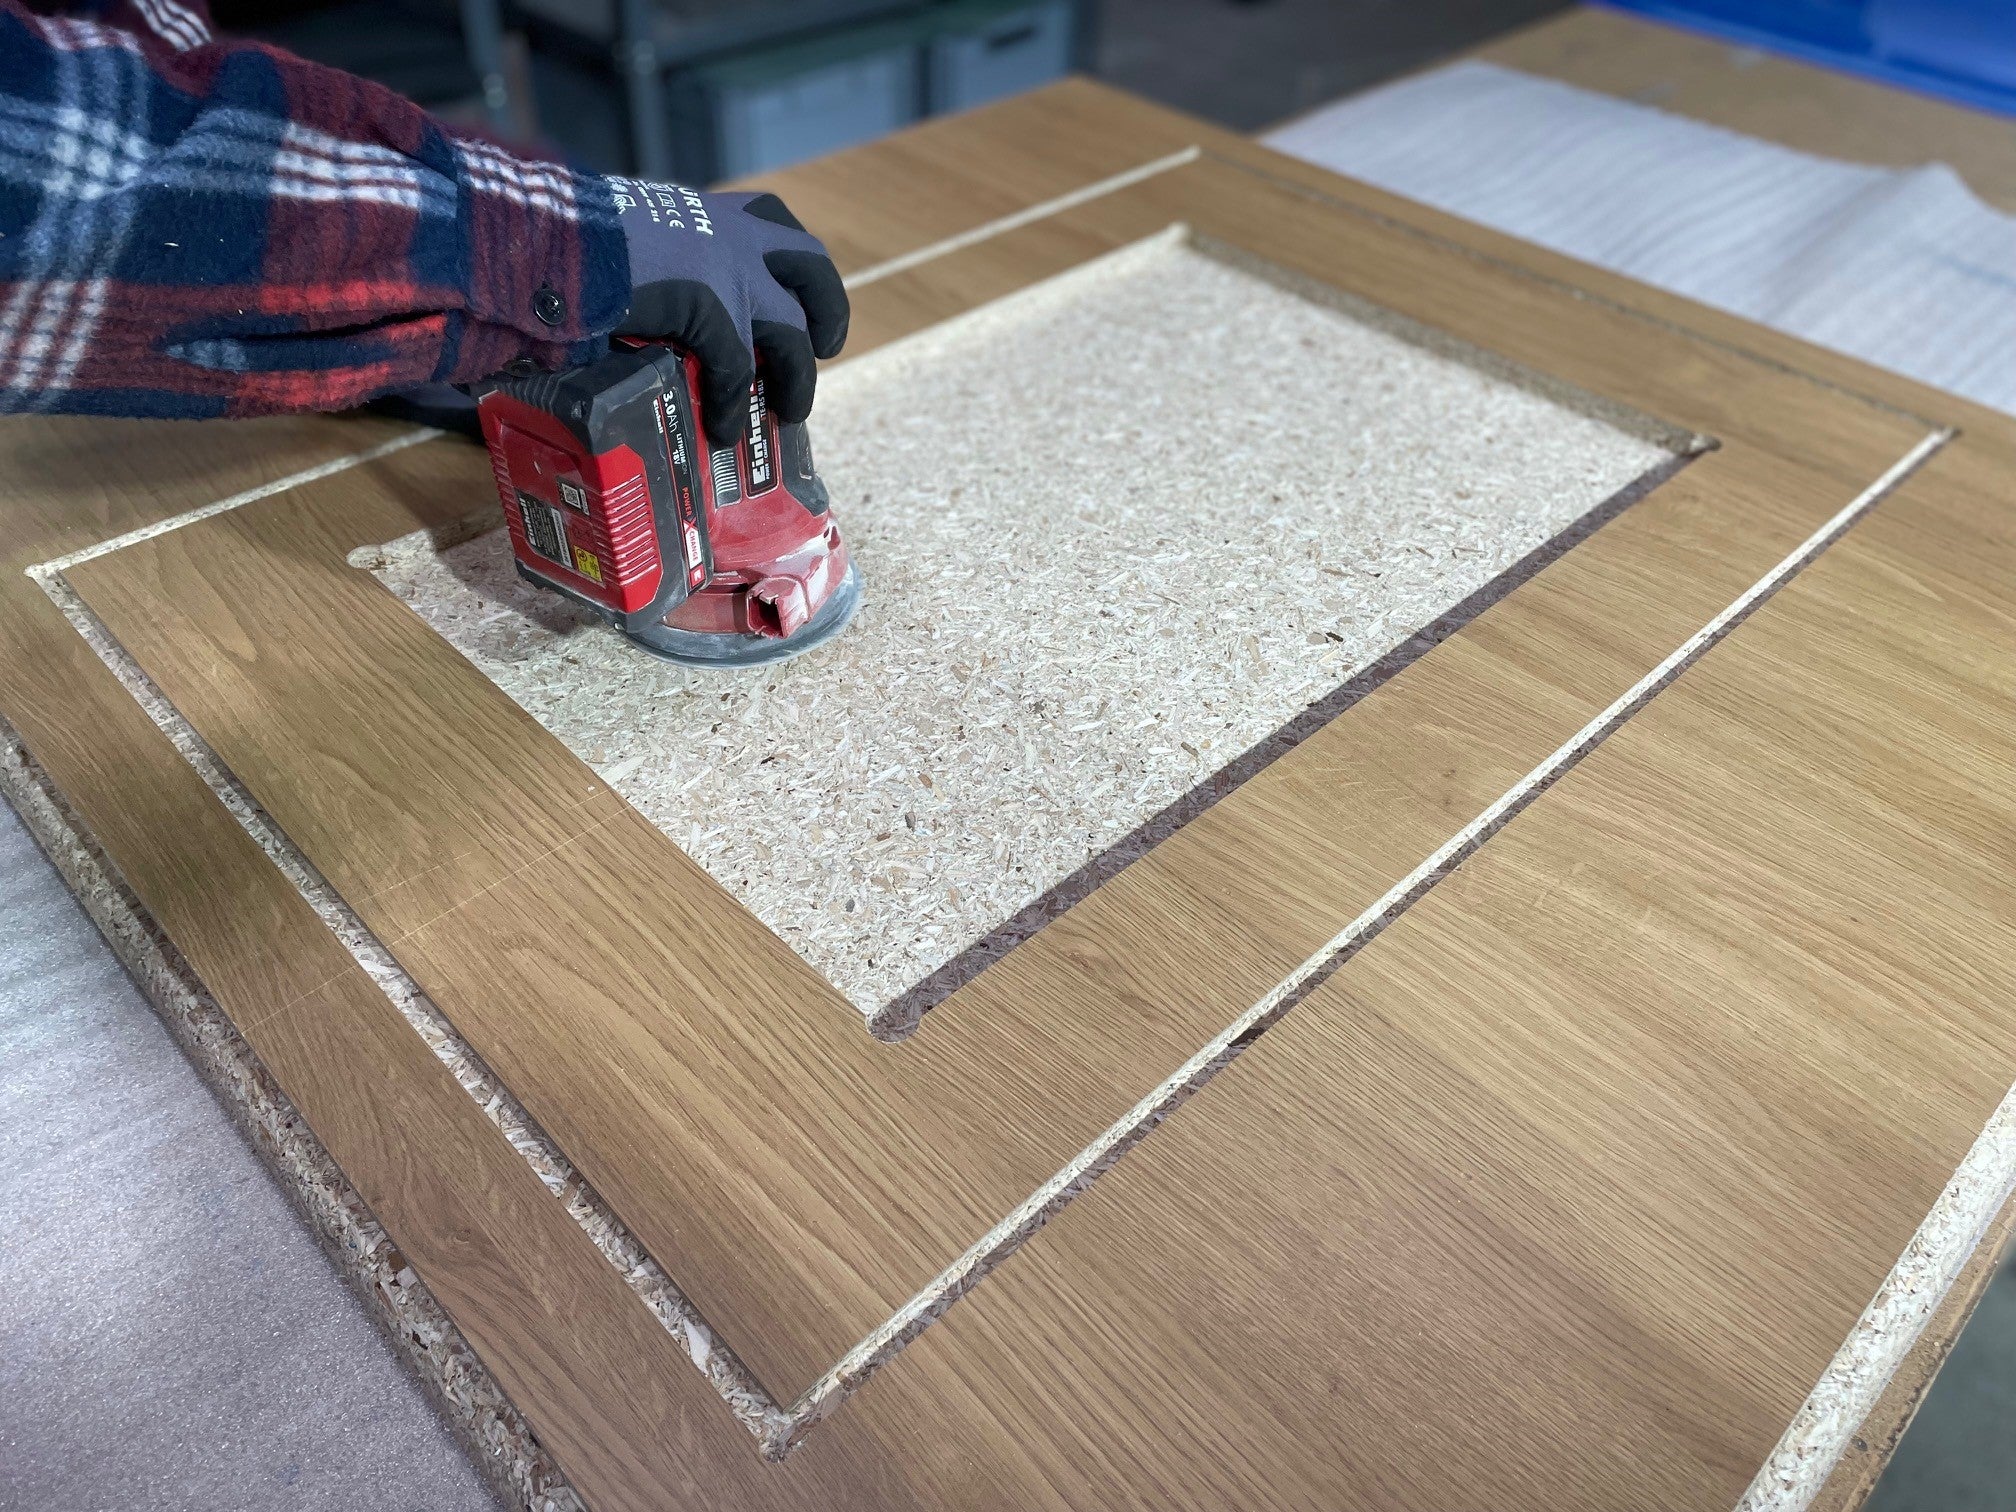
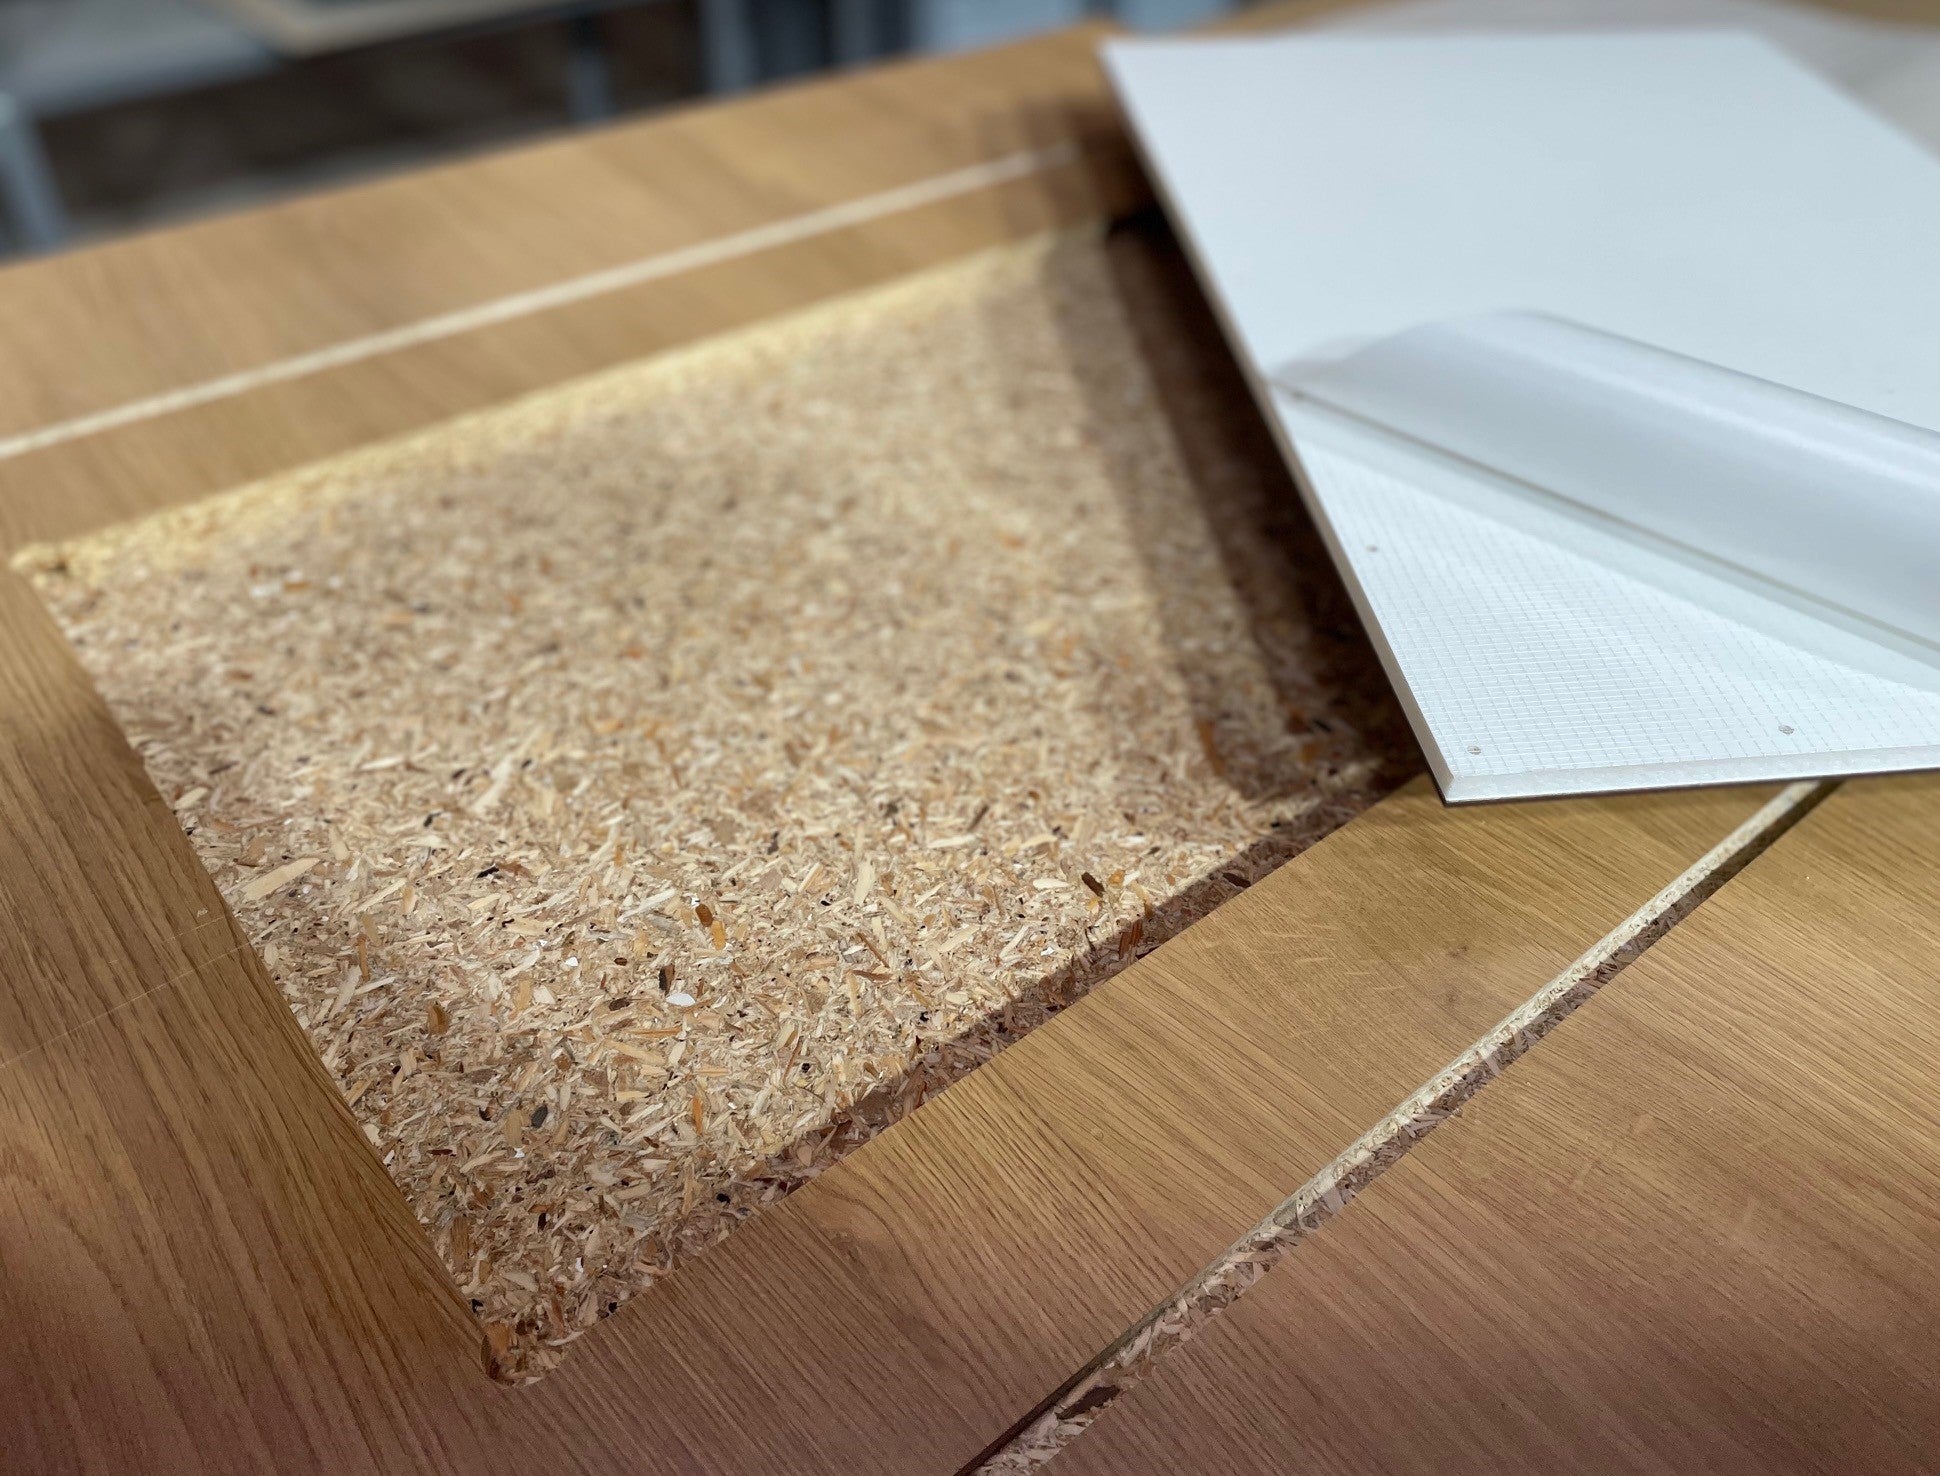
Carefully clean the routing and
sand the pocket milling in the next step

Step 4

Sand the surface of the milling

Step 5

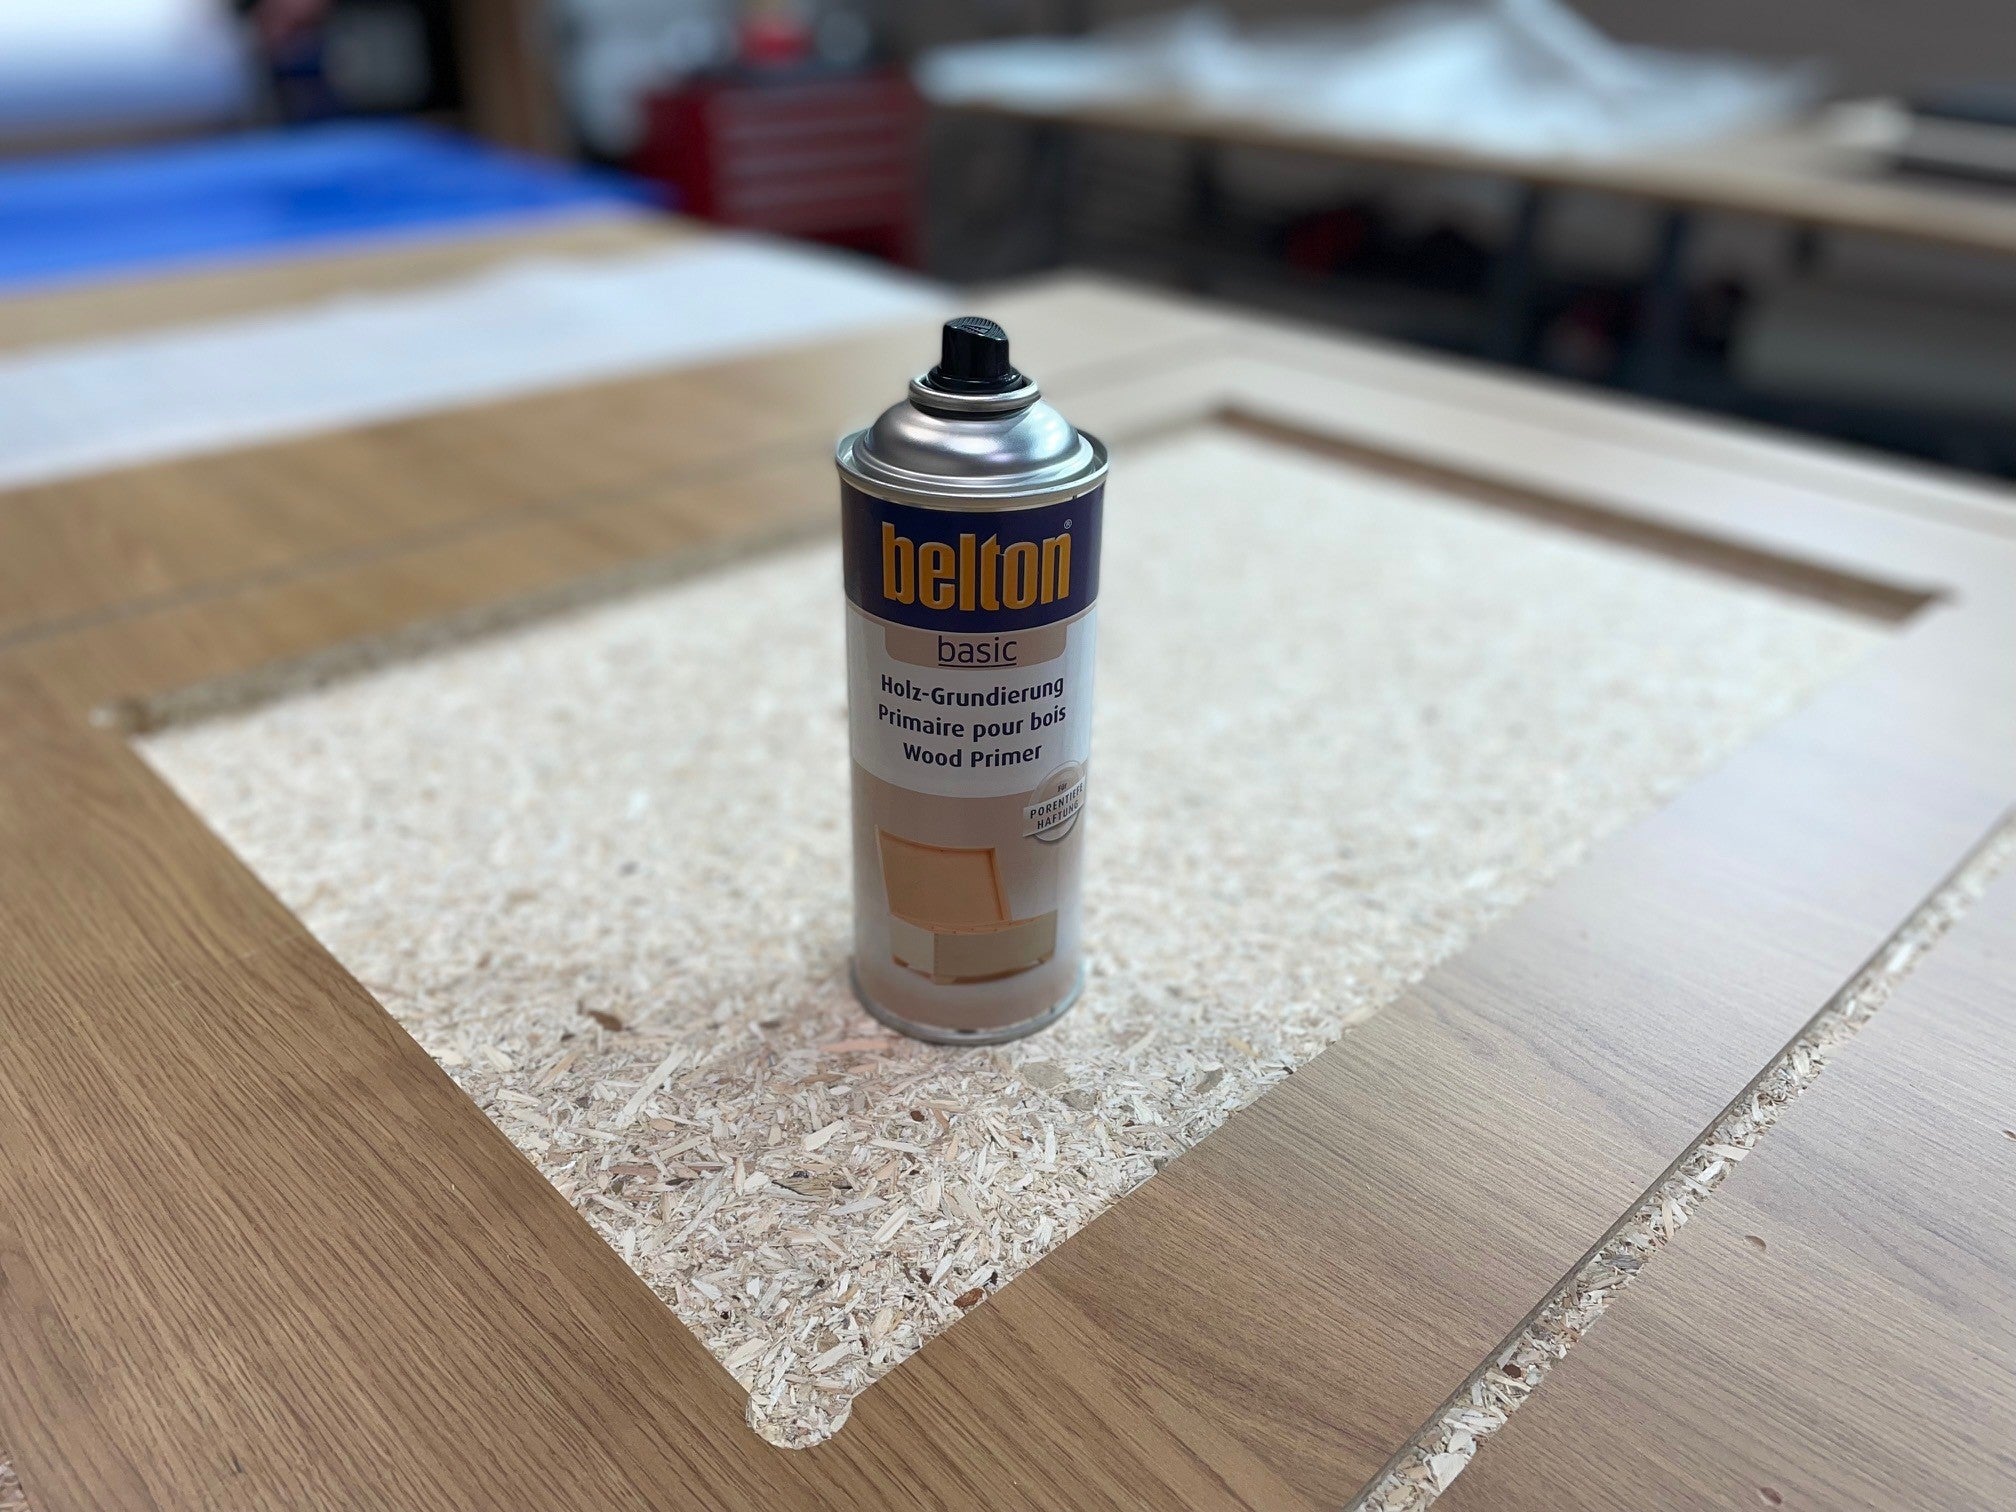
Use a wood primer for best adhesive properties, prior to that remove all dust etc.

Step 6

Remove the protective film from the double-sided tape*

Step 7

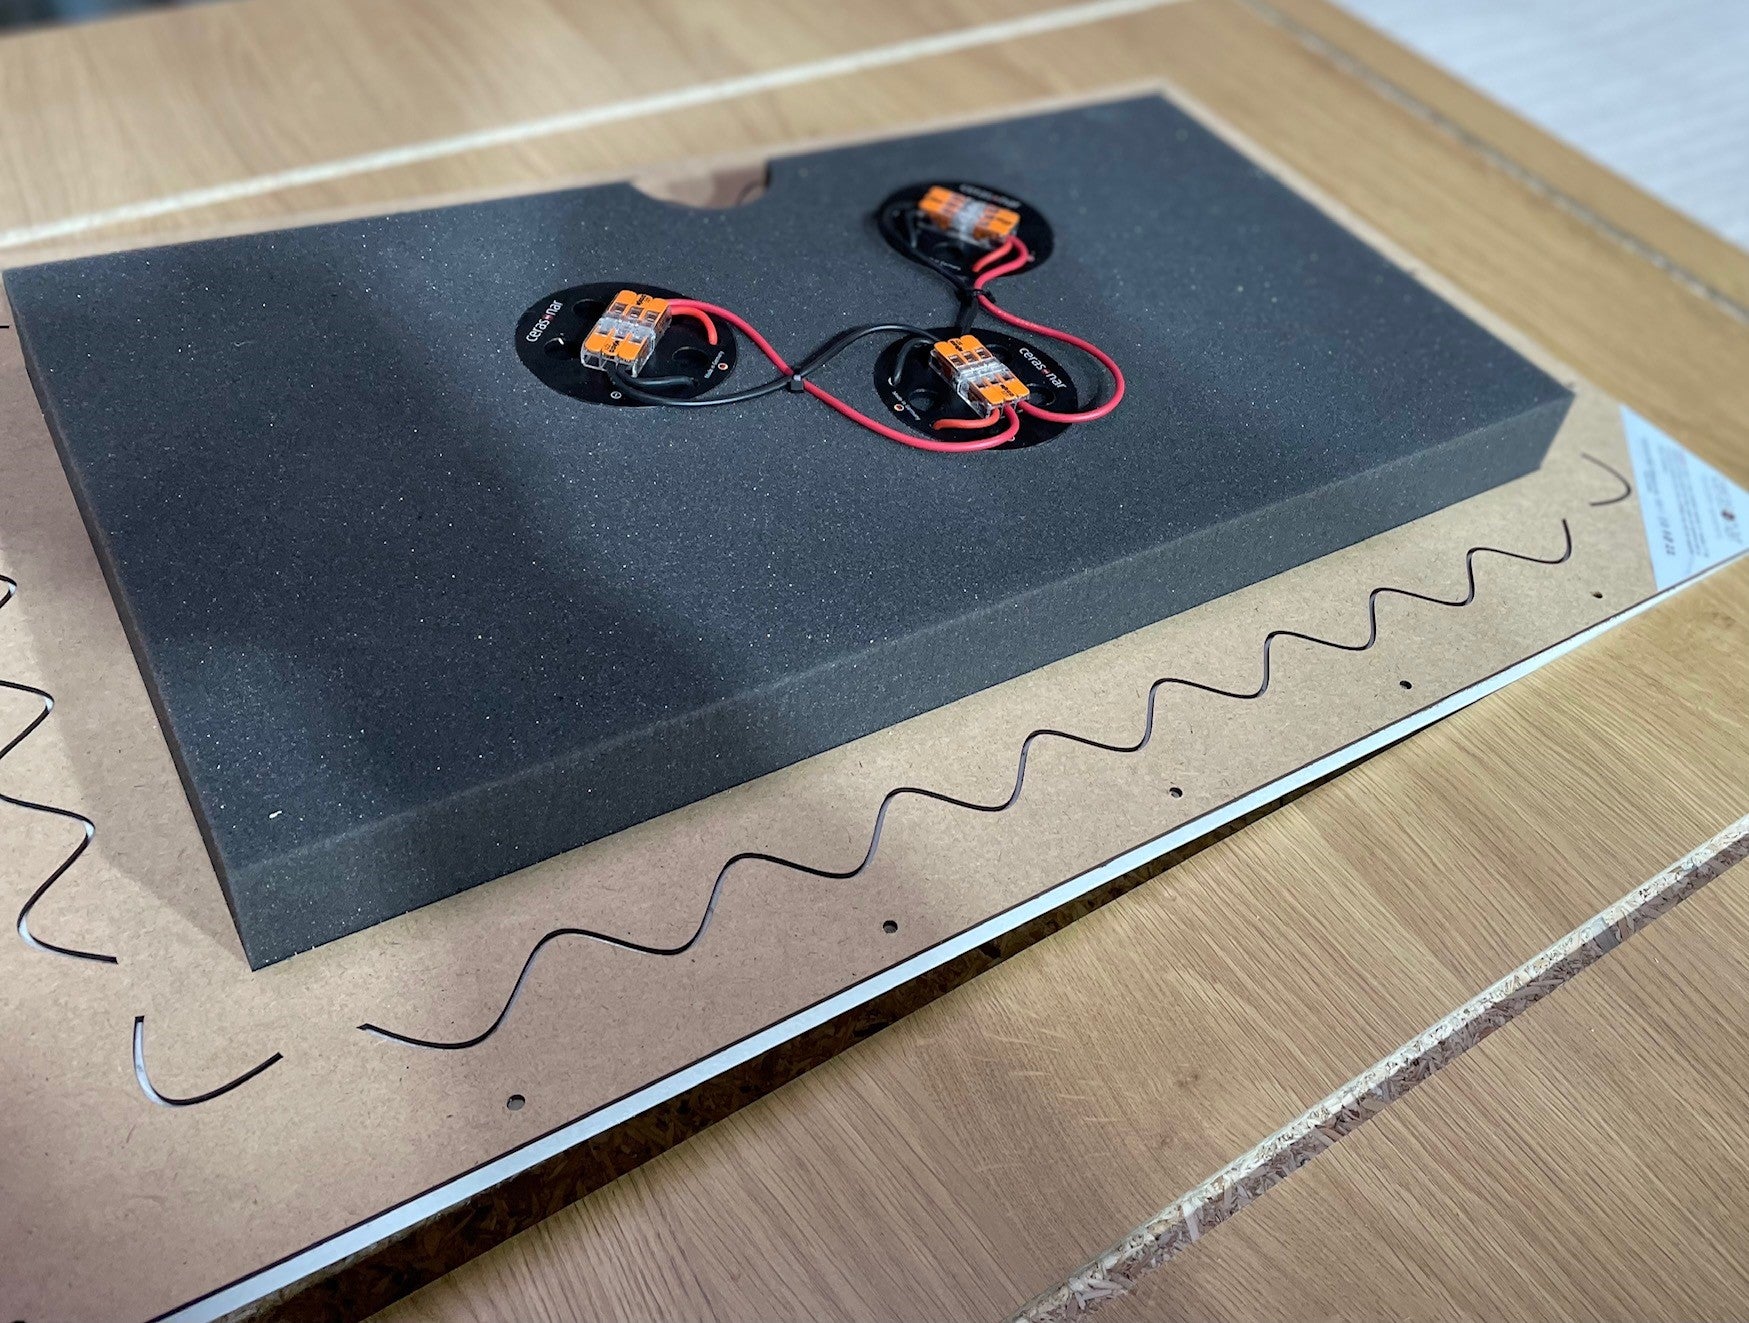
Insert the speaker carefully

Step 8

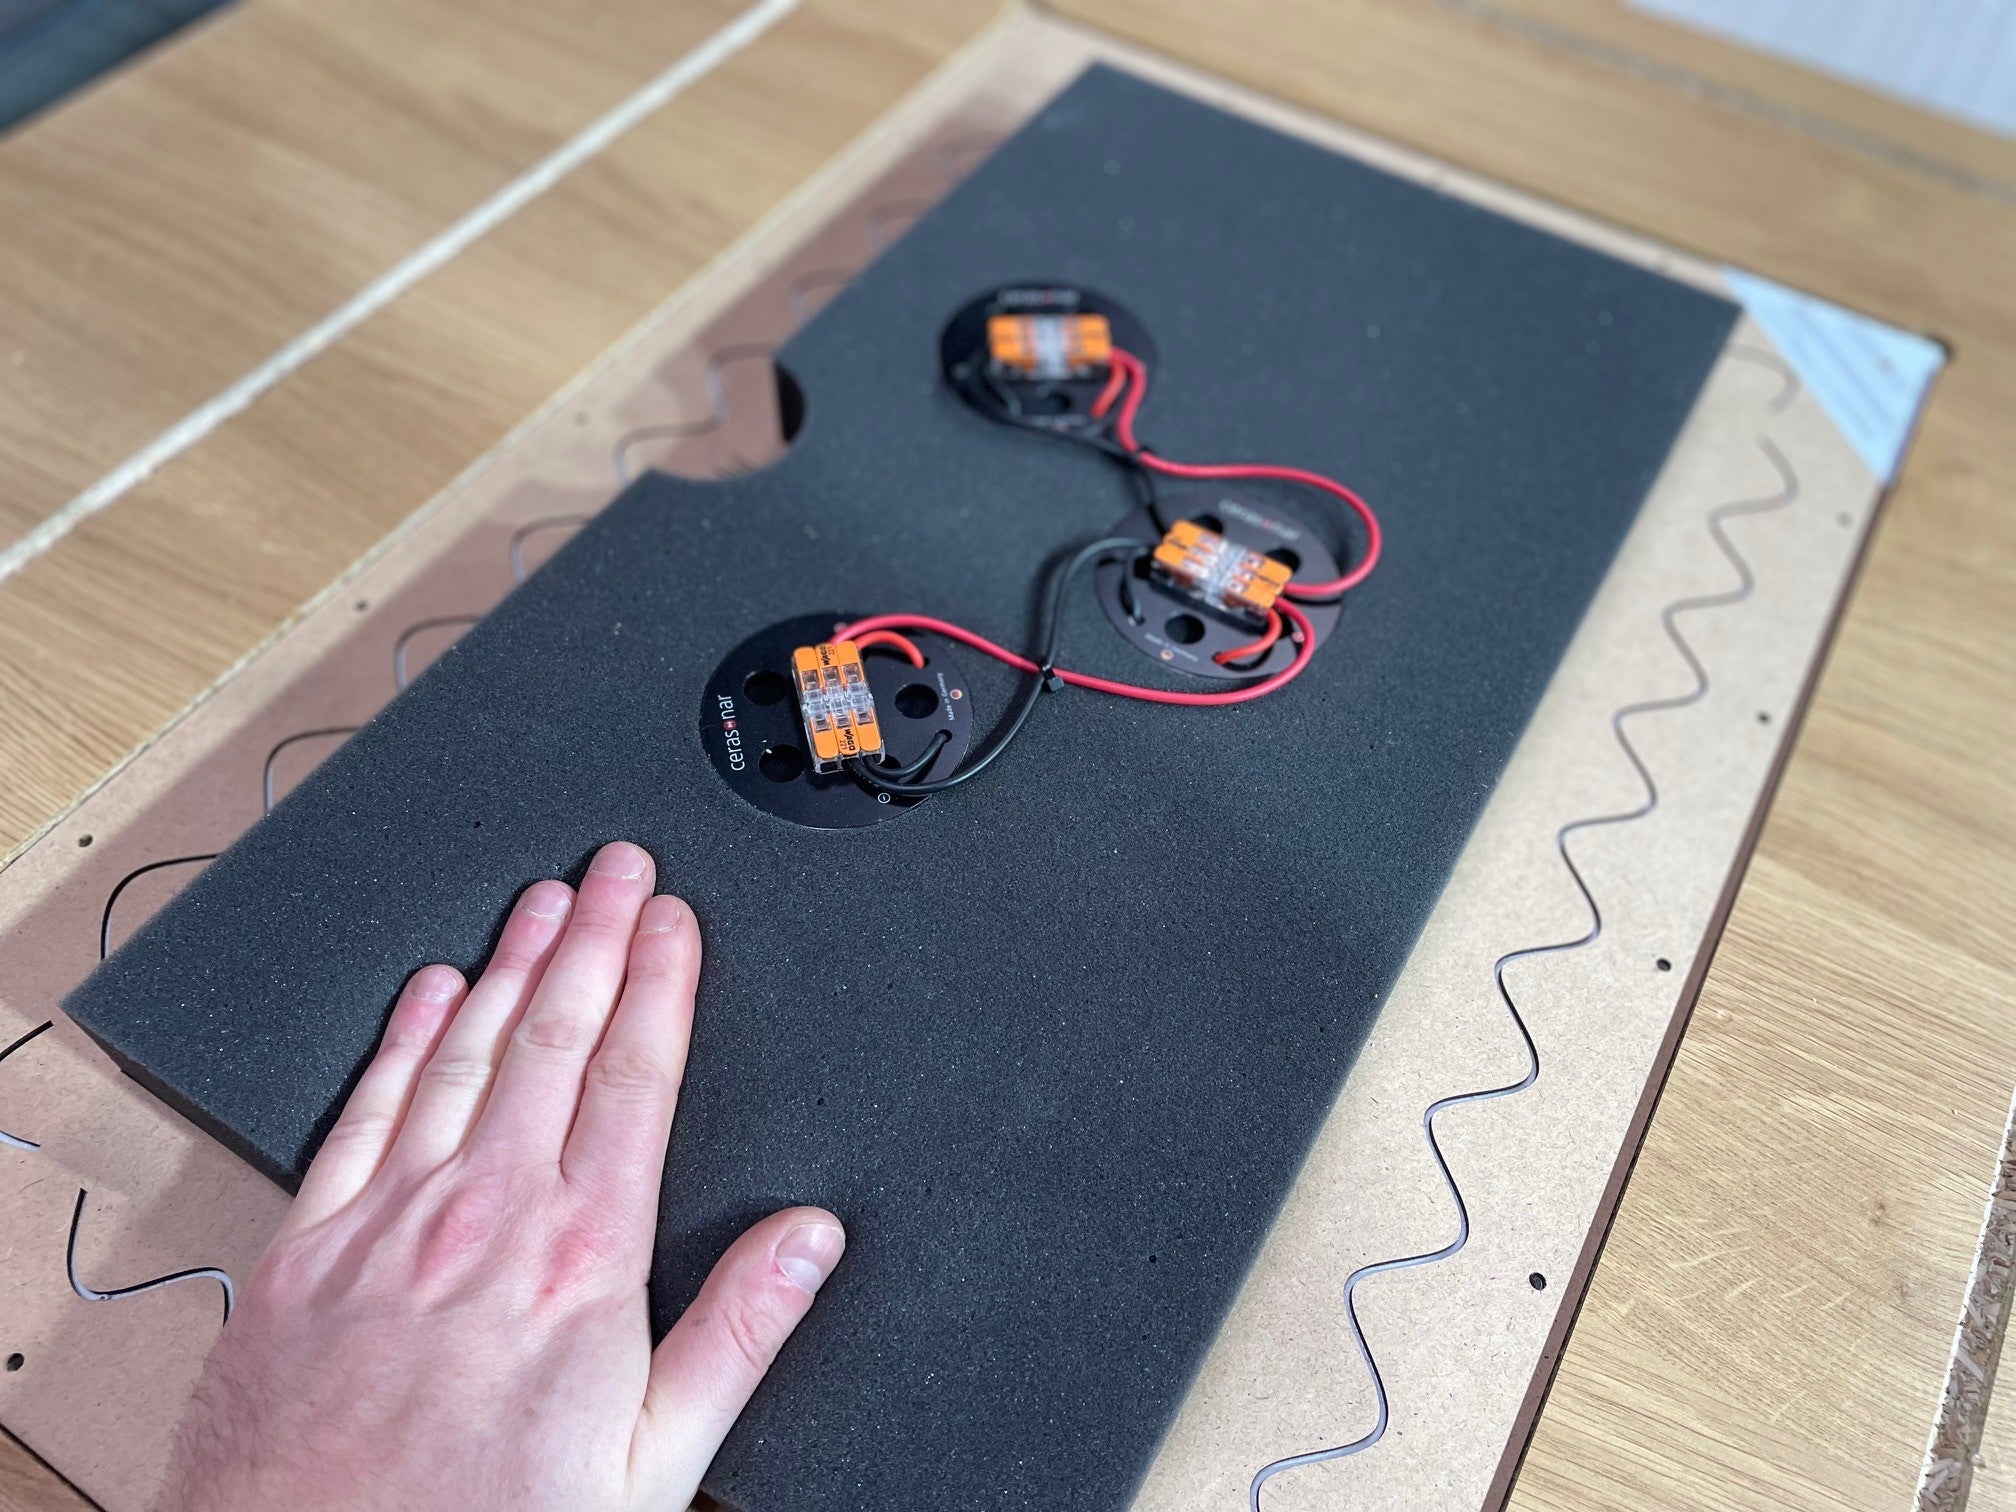
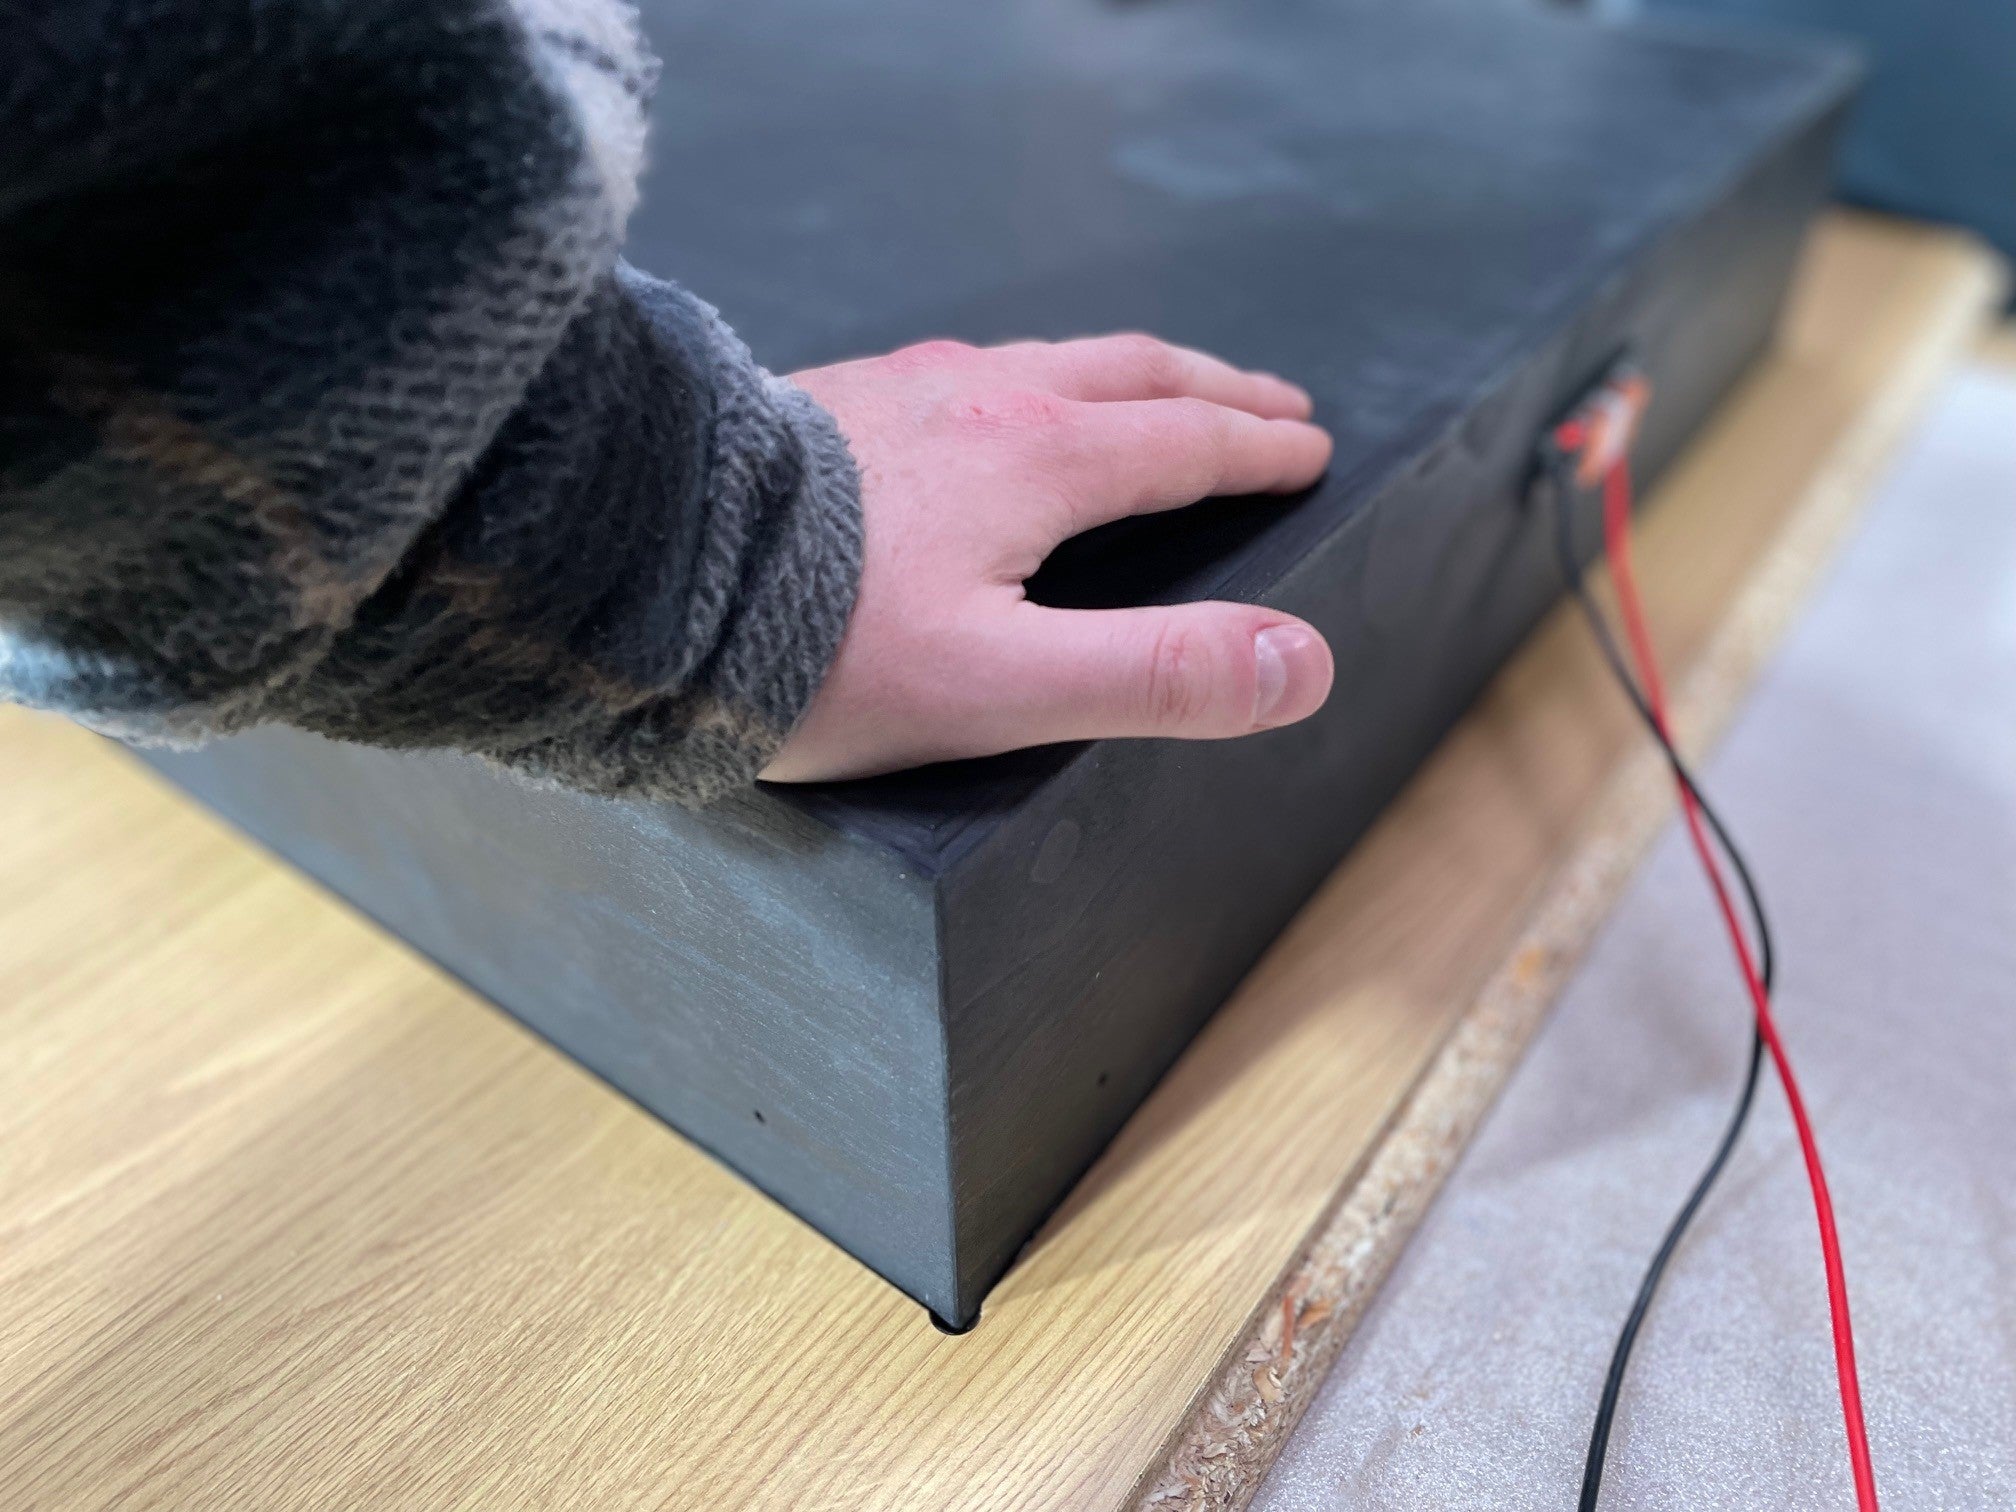
Don‘t use to much force when
pressing down, you must not press down the exciter drivers!

Step 9

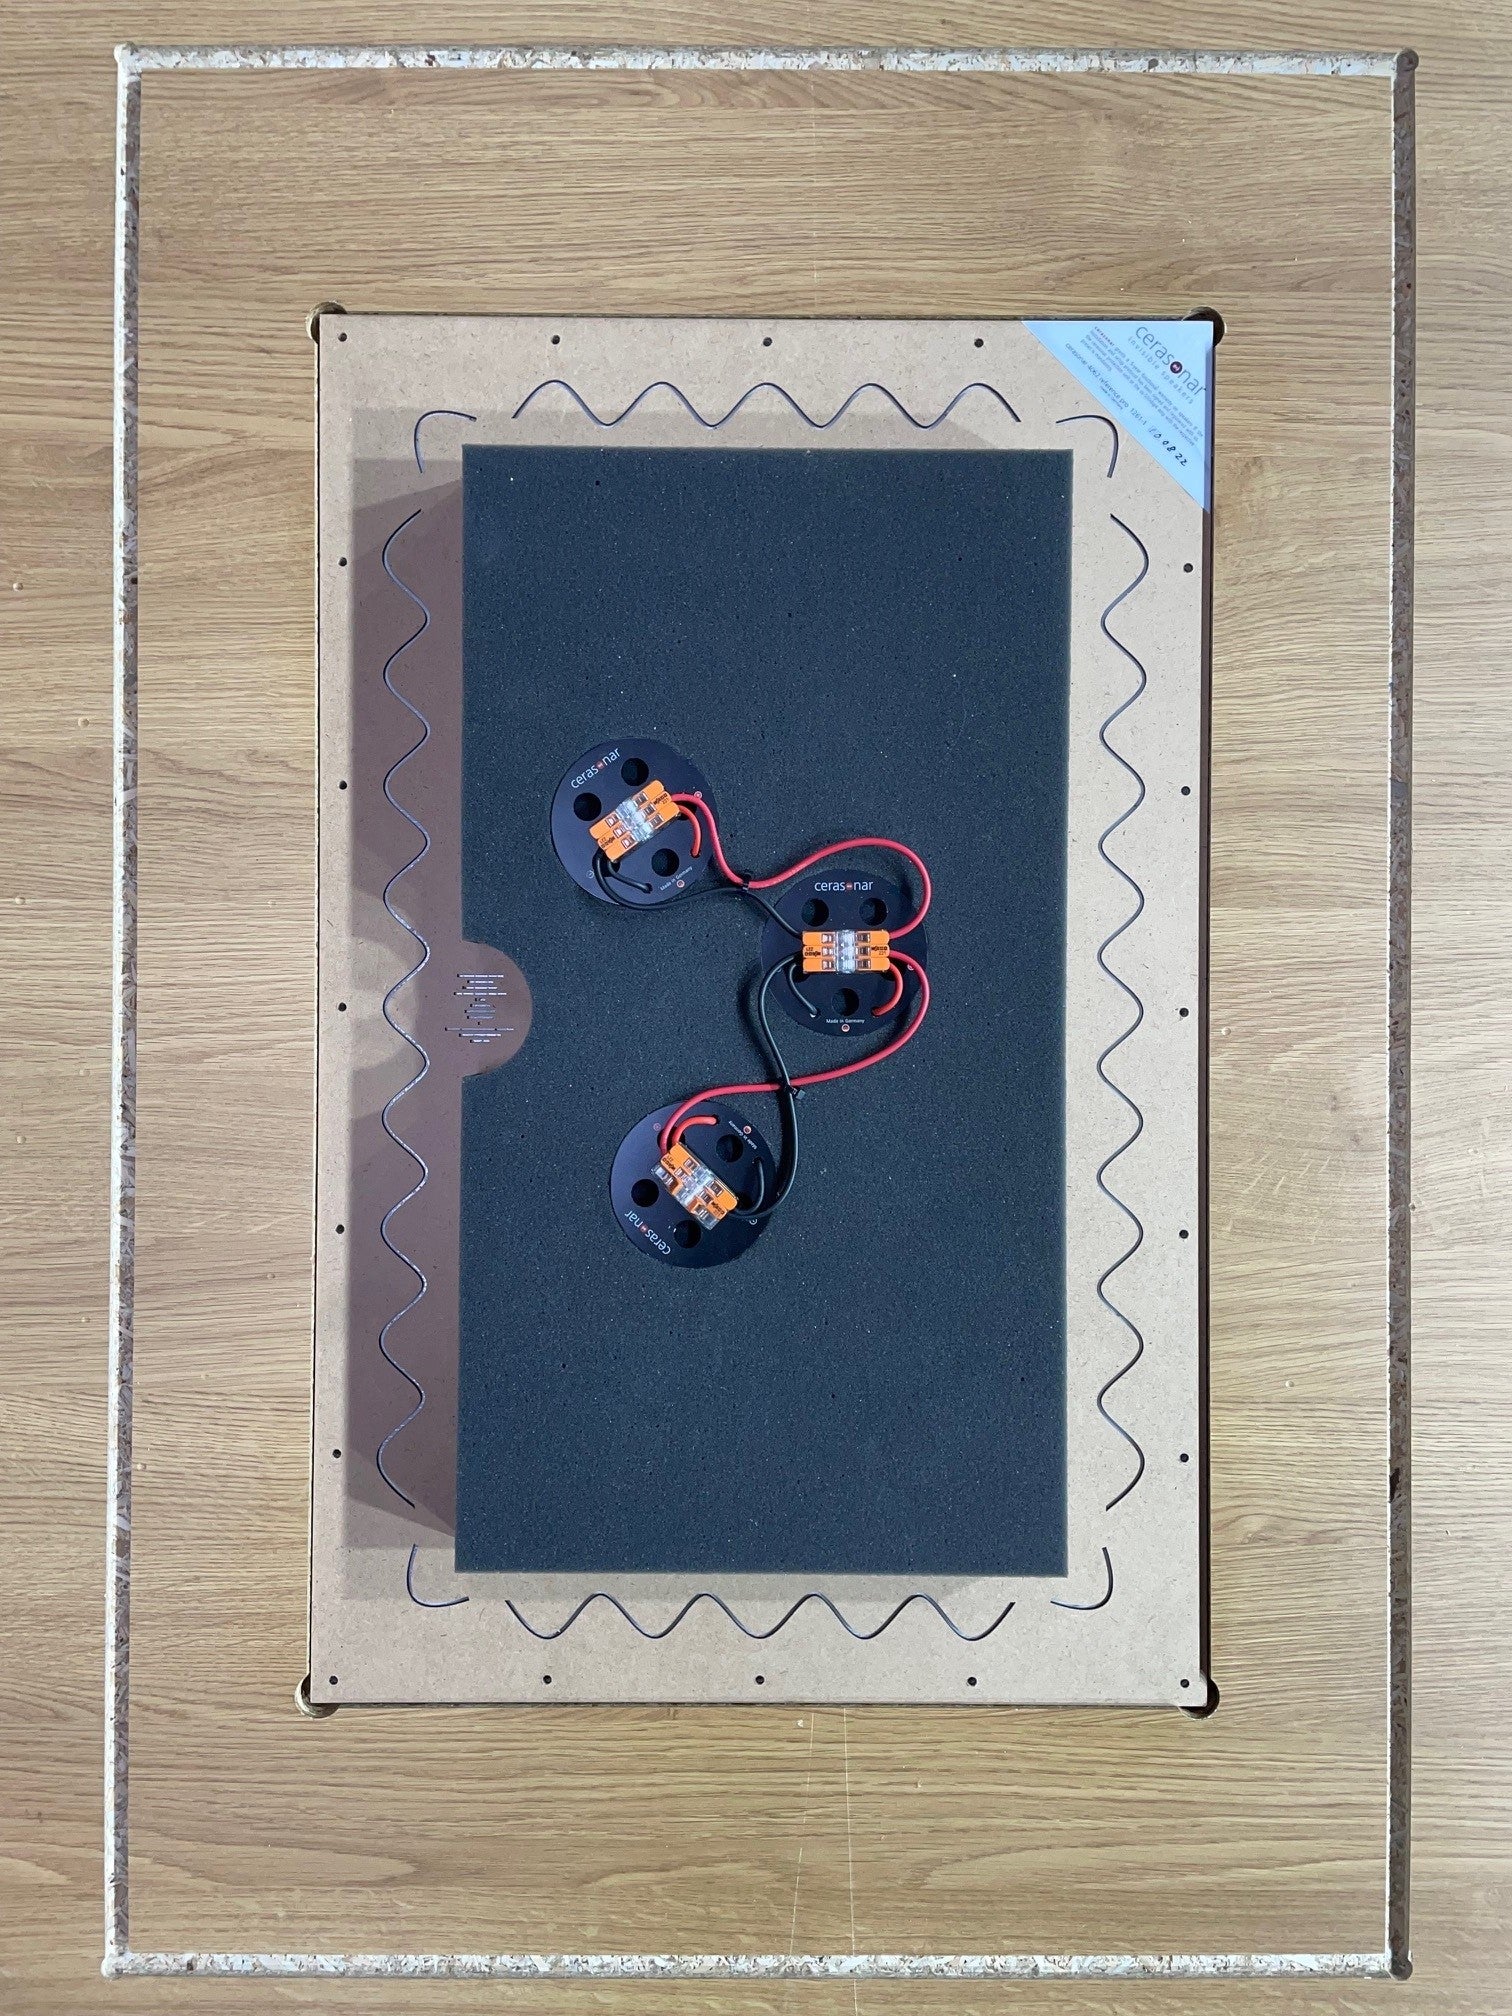
Speaker is ready for cable connection. You can use a cerasonar backbox as option (e.g. 9062 backbox), this will enhance the sound quality if you do not have a comparment

Step 10

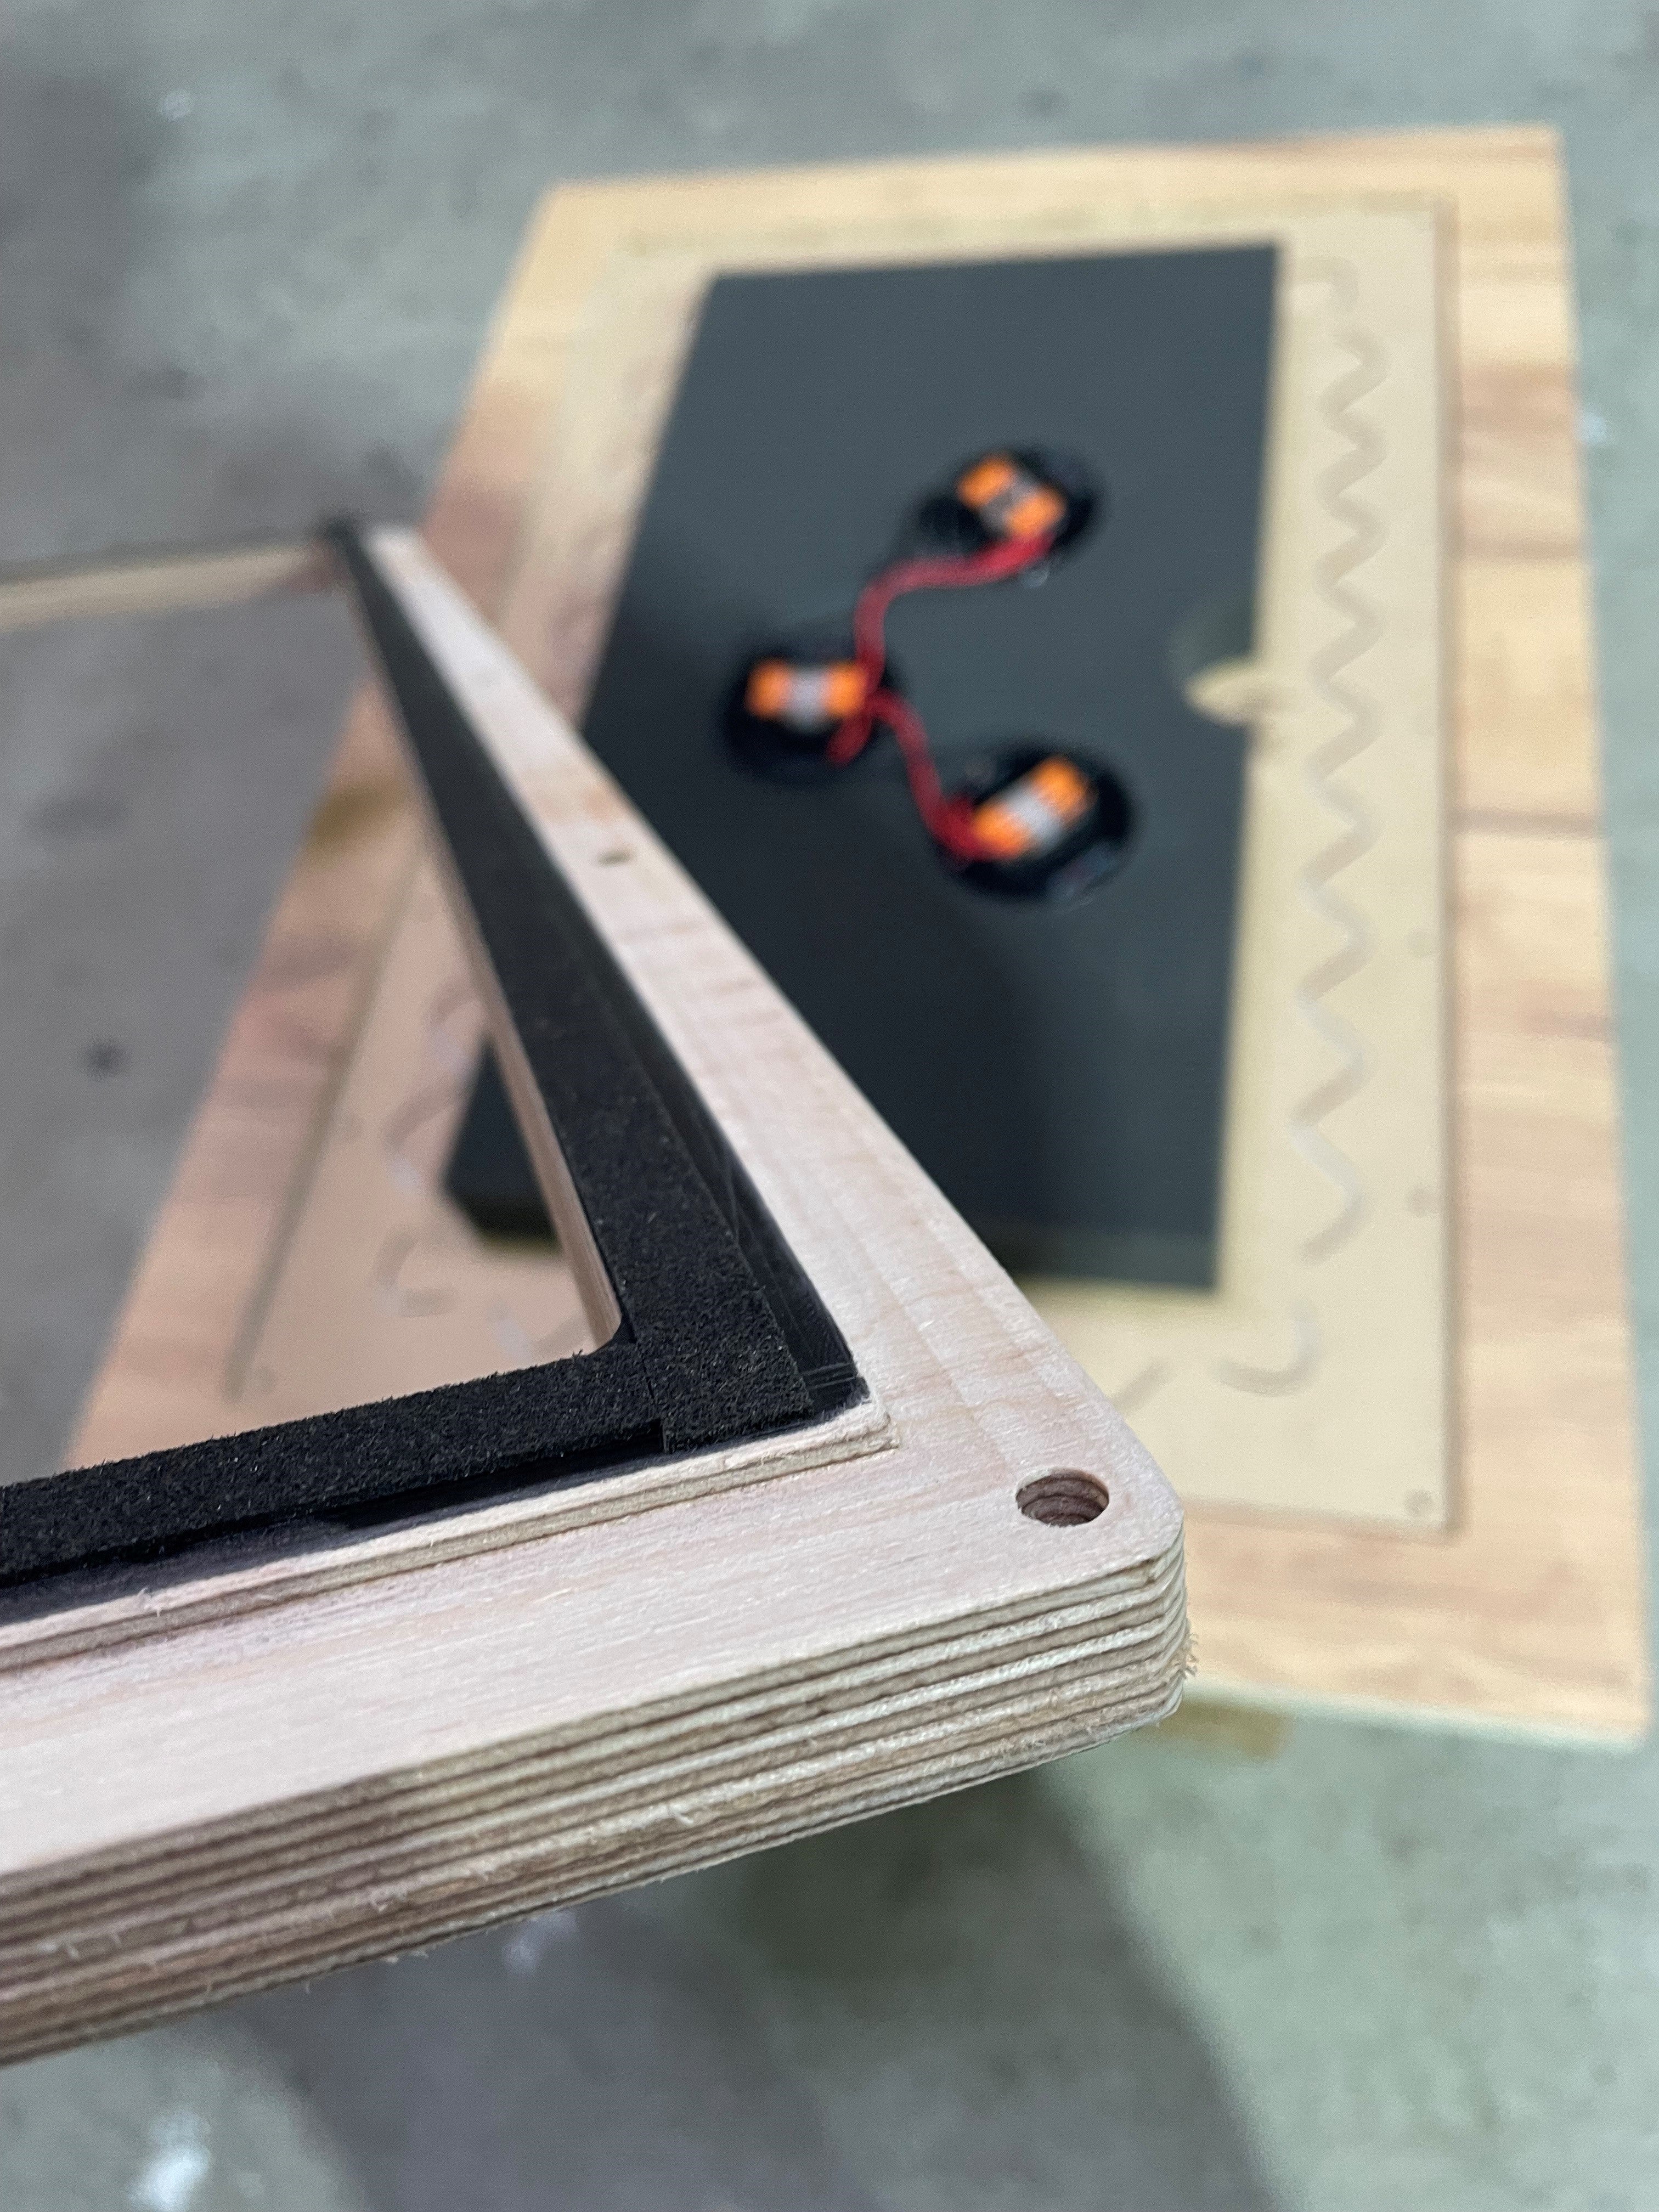
Attached the bracket on rear of the speaker. This serves as an additional mechanical safety measure.

Step 11

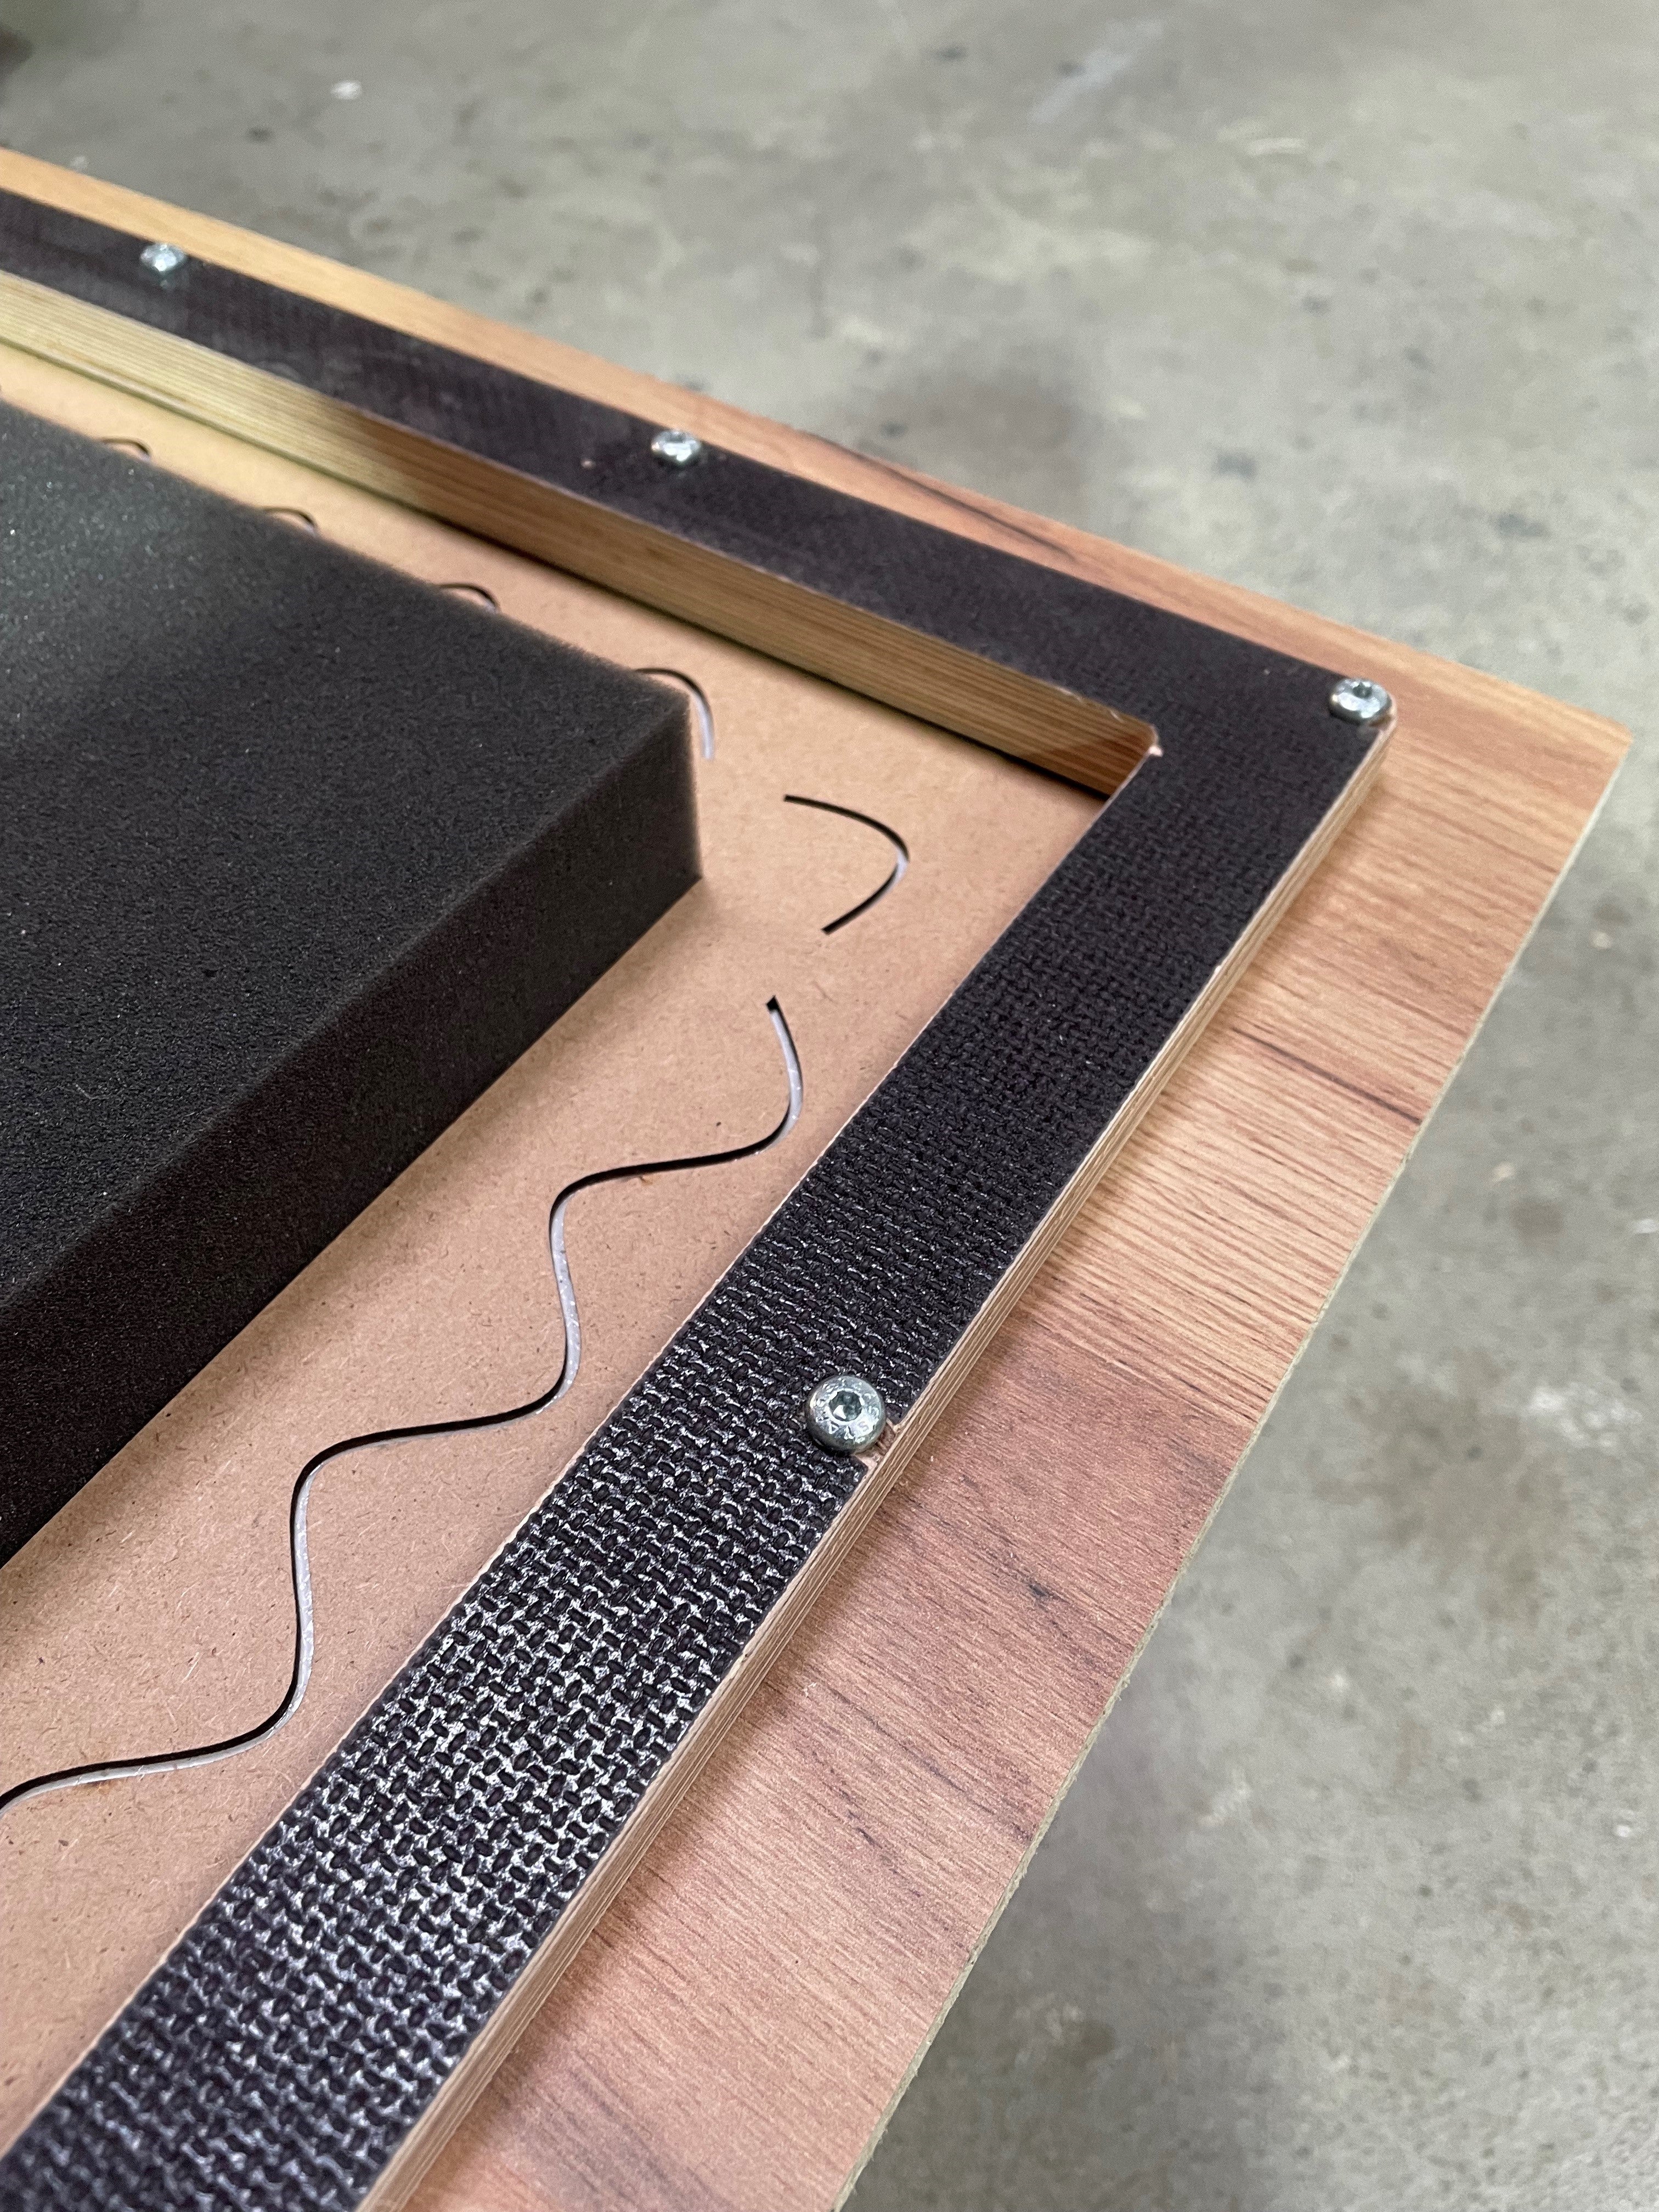
Now screw the bracket, use the pre-drilled holes. Do not overtighten the screws!

Test the speaker now.

Step 12

OPTIONAL BACKBOX MOUNT:
To install the cerasonar wood installation backbox, an installation groove must be provided in the wooden panel.

Step 13

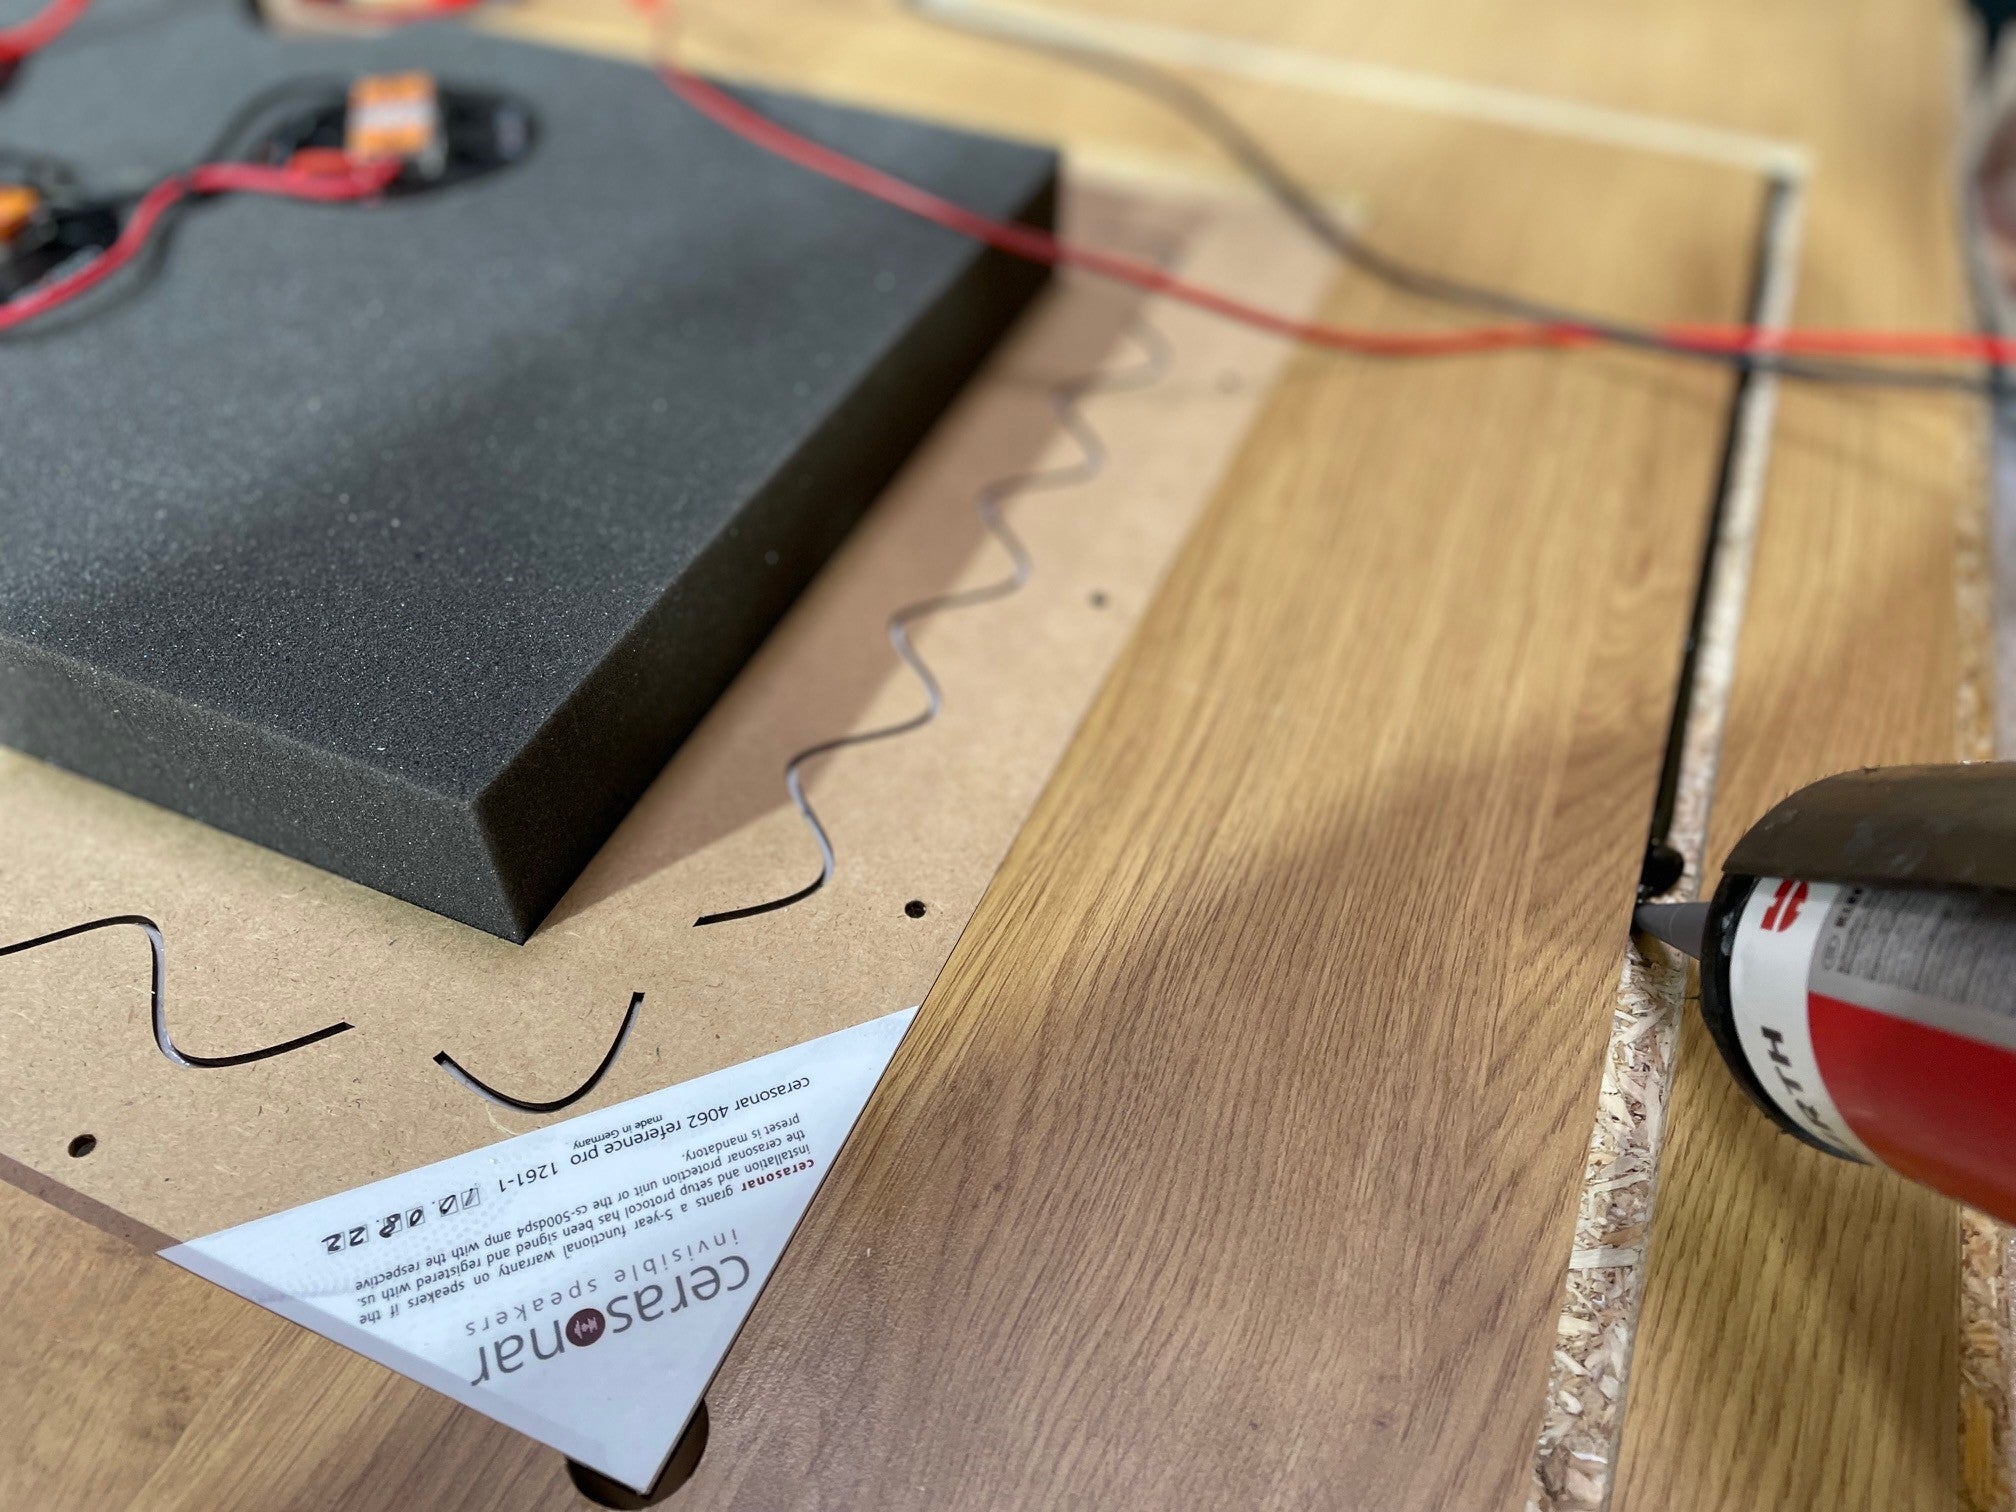
OPTIONAL BACKBOX MOUNT: The groove is filled with a suitable adhesive (e.g. Würth Bond + Seal).

Optional button

Step 14

OPTIONAL BACKBOX MOUNT: The speaker cables are connected with the correct polarity. The backbox is then pressed into the groove filled with adhesive.