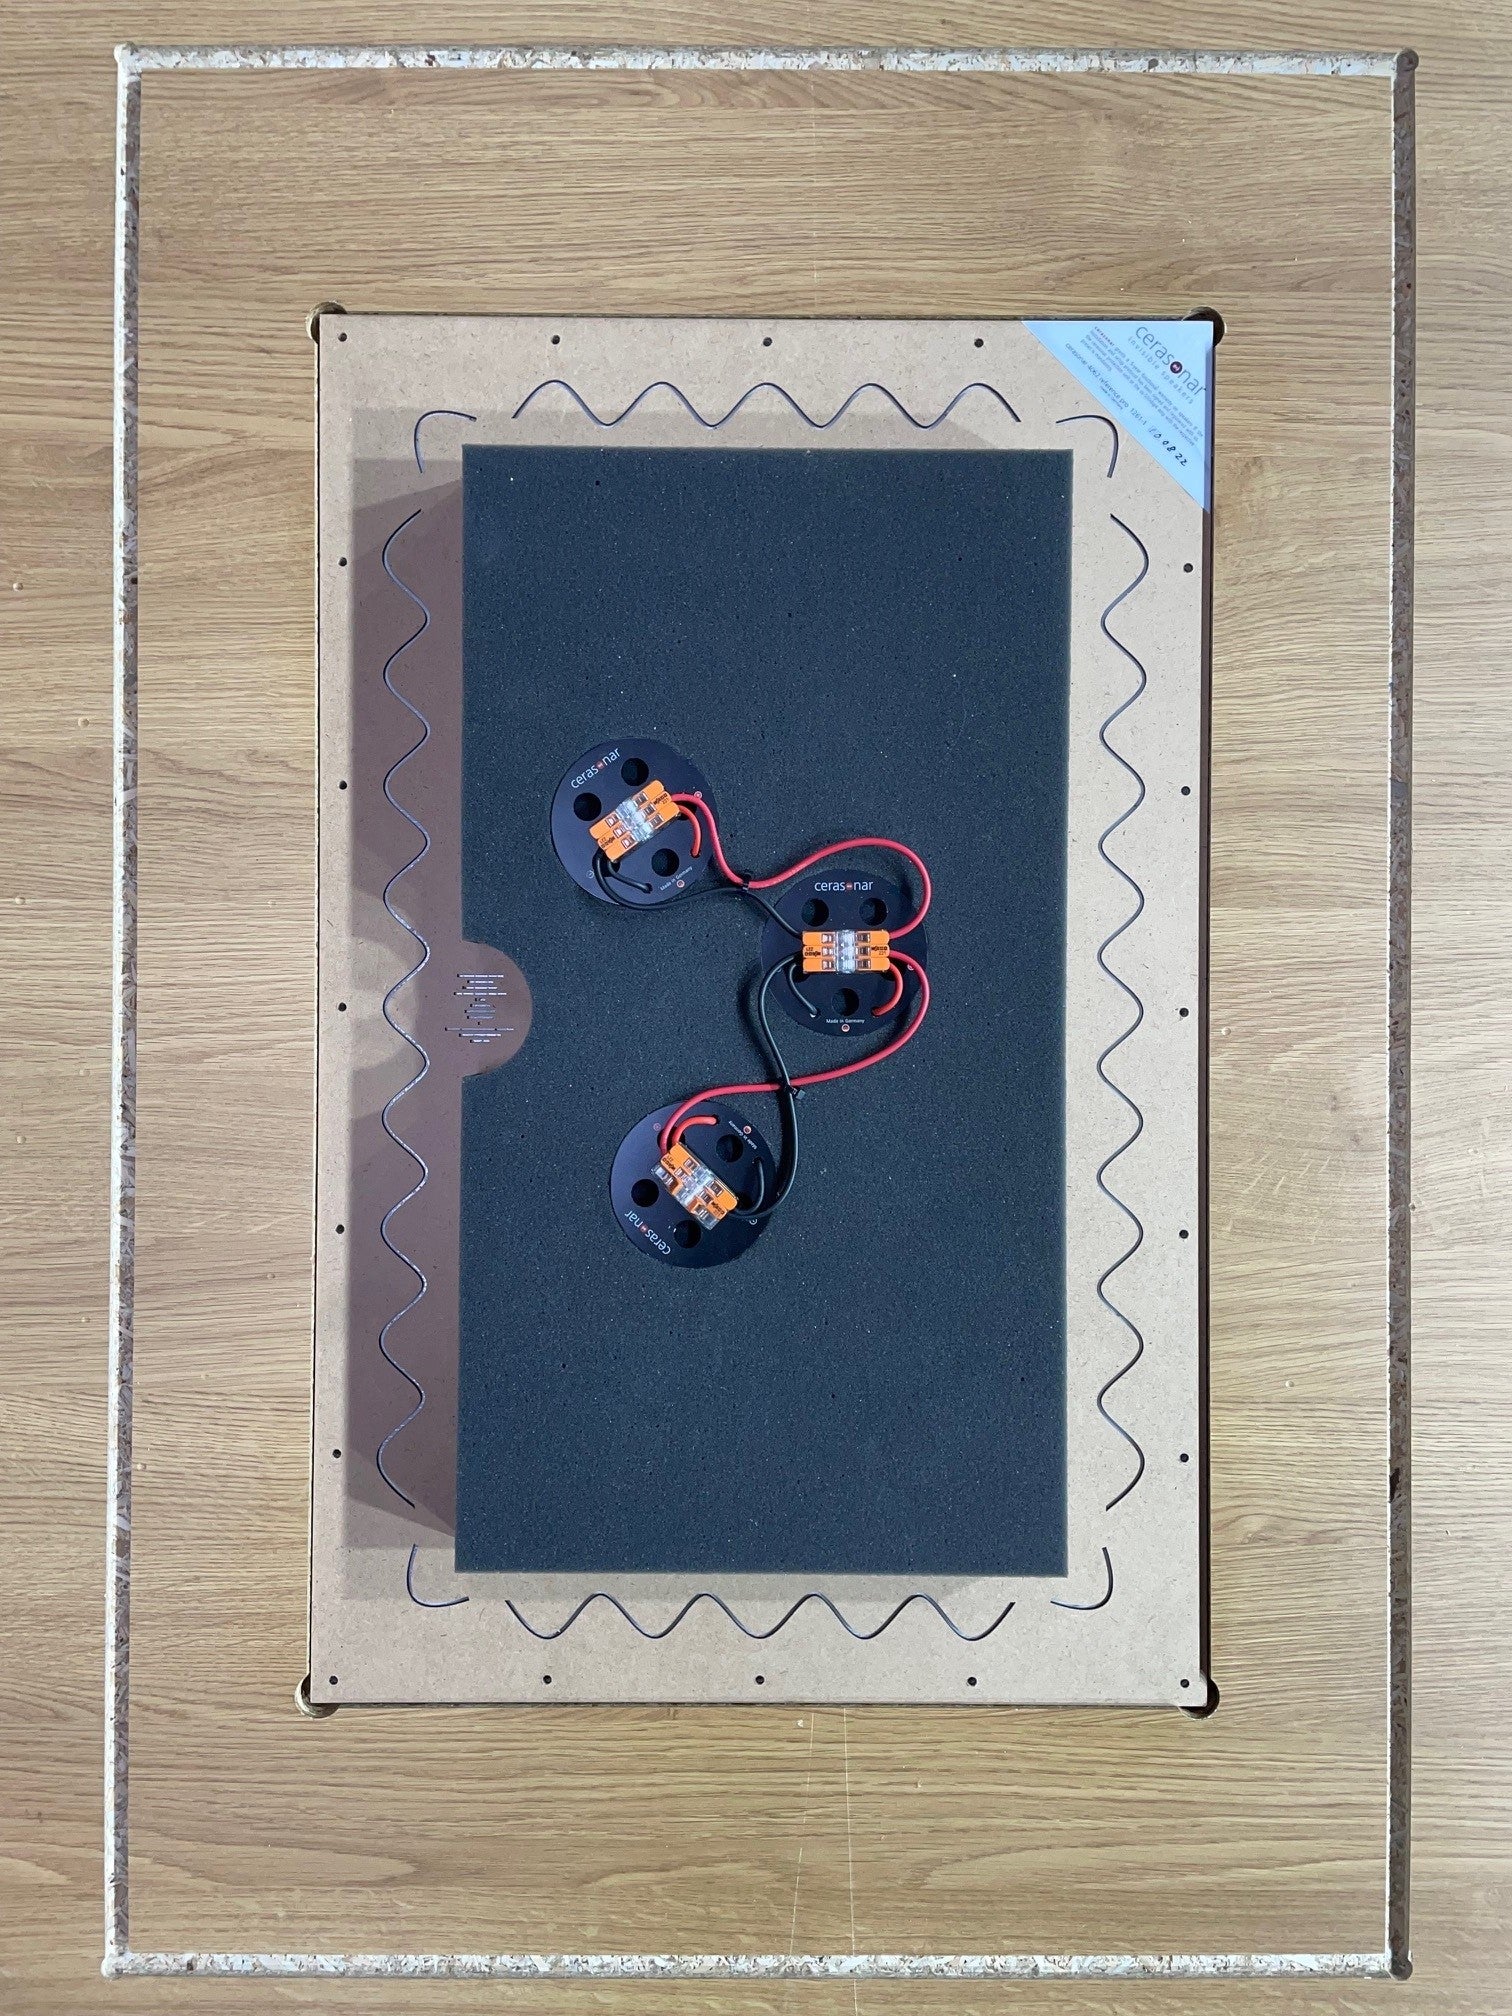

cerasonar wood installation backbox
1288
Regular price€313,95
/
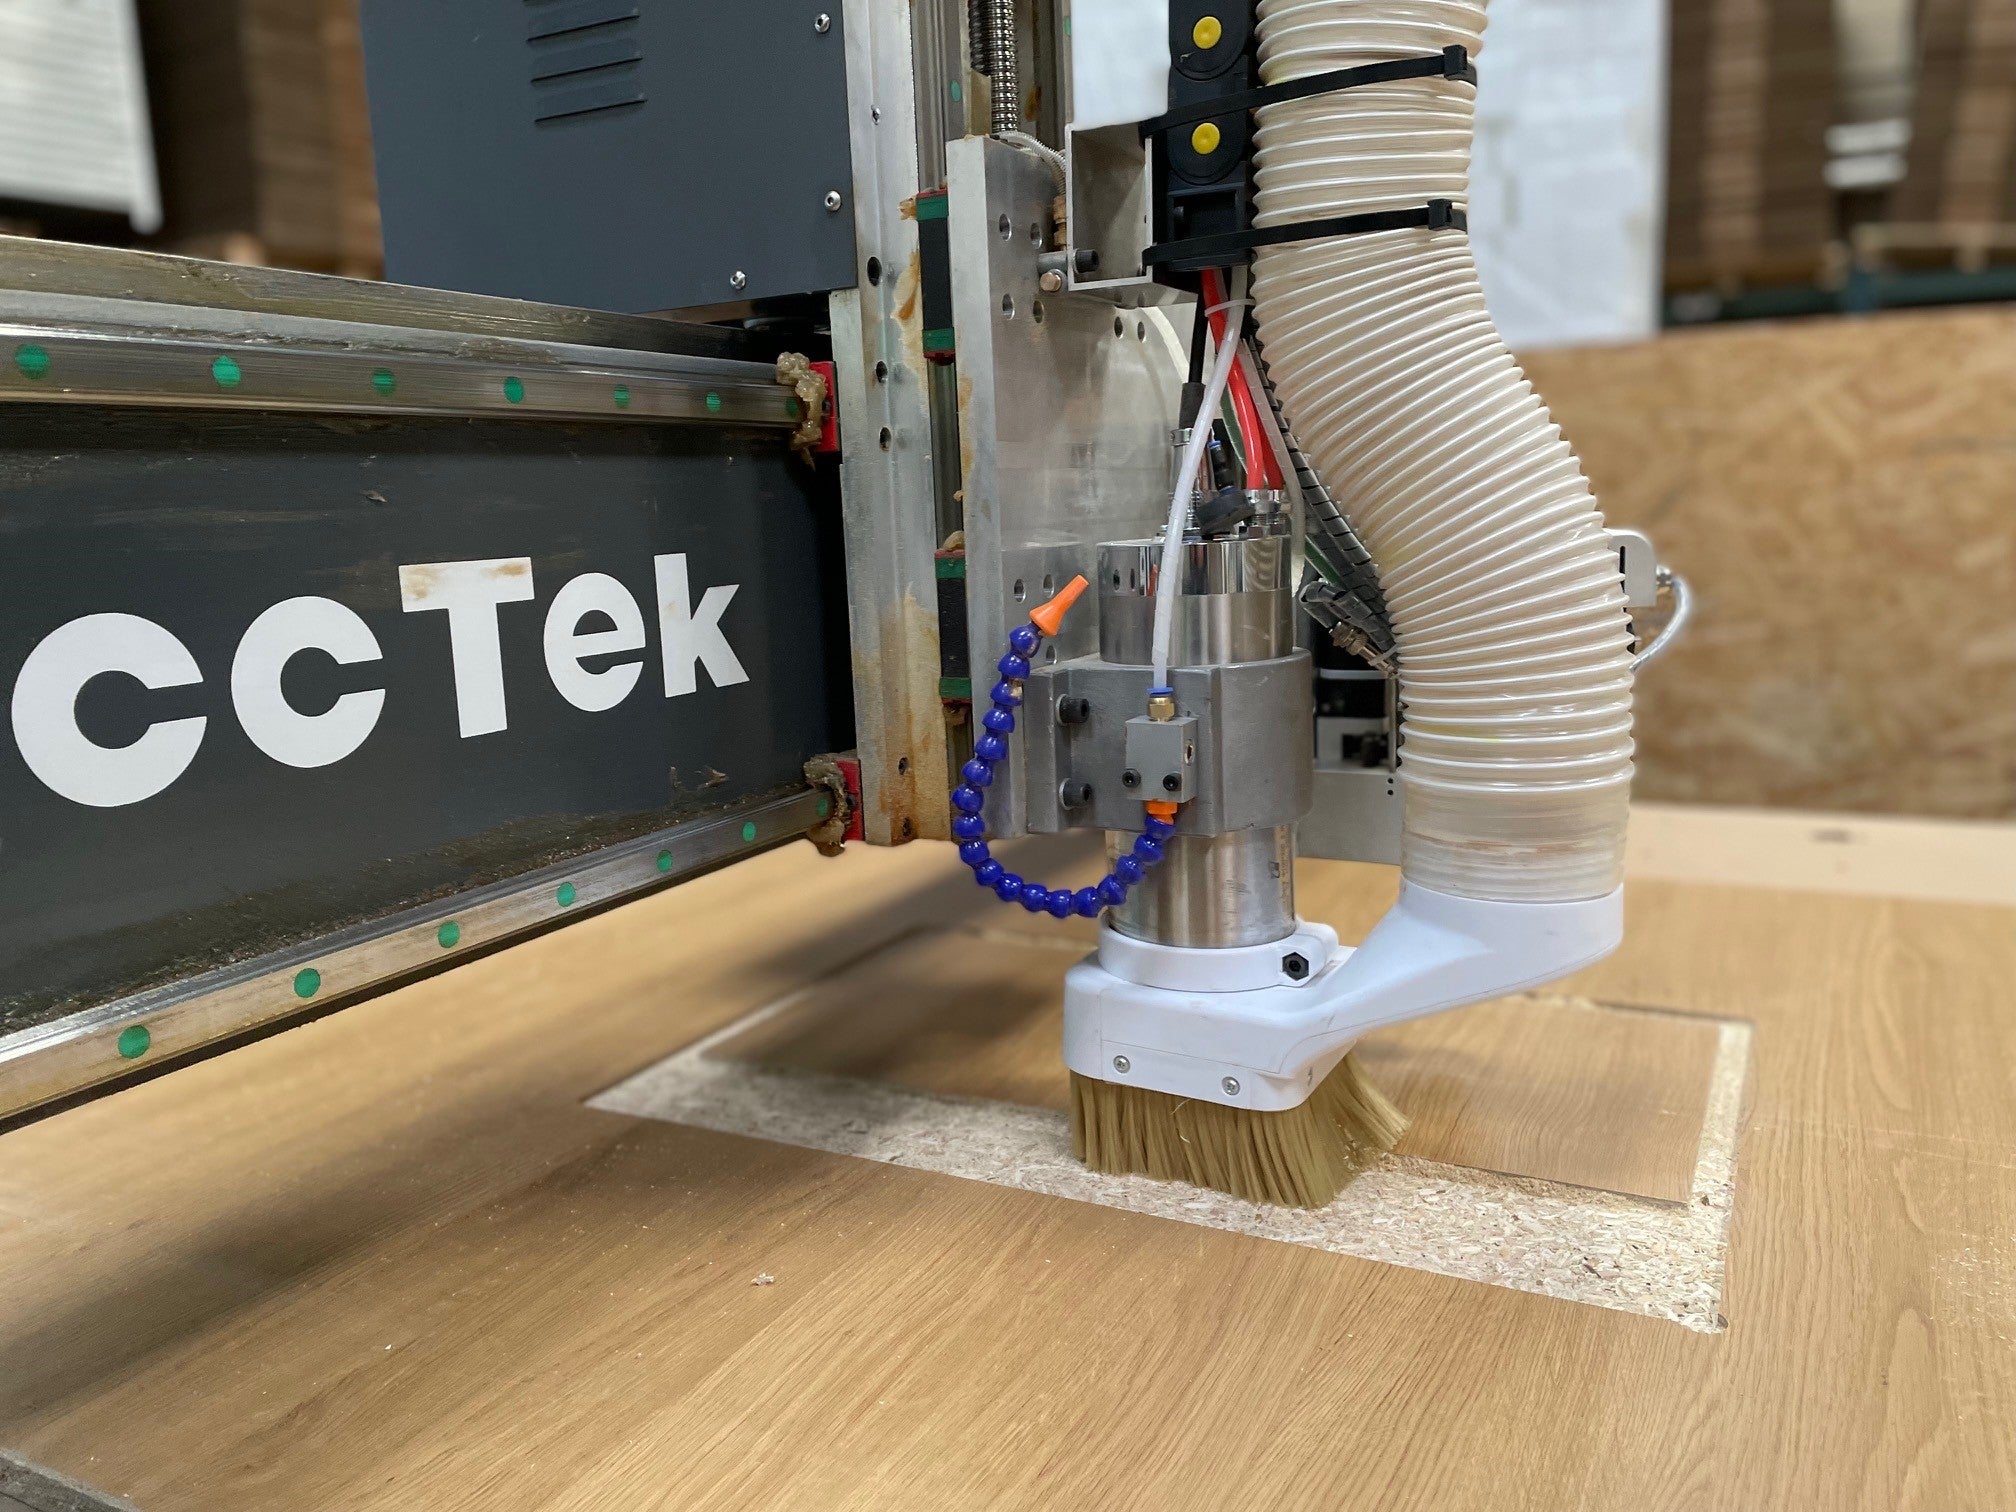
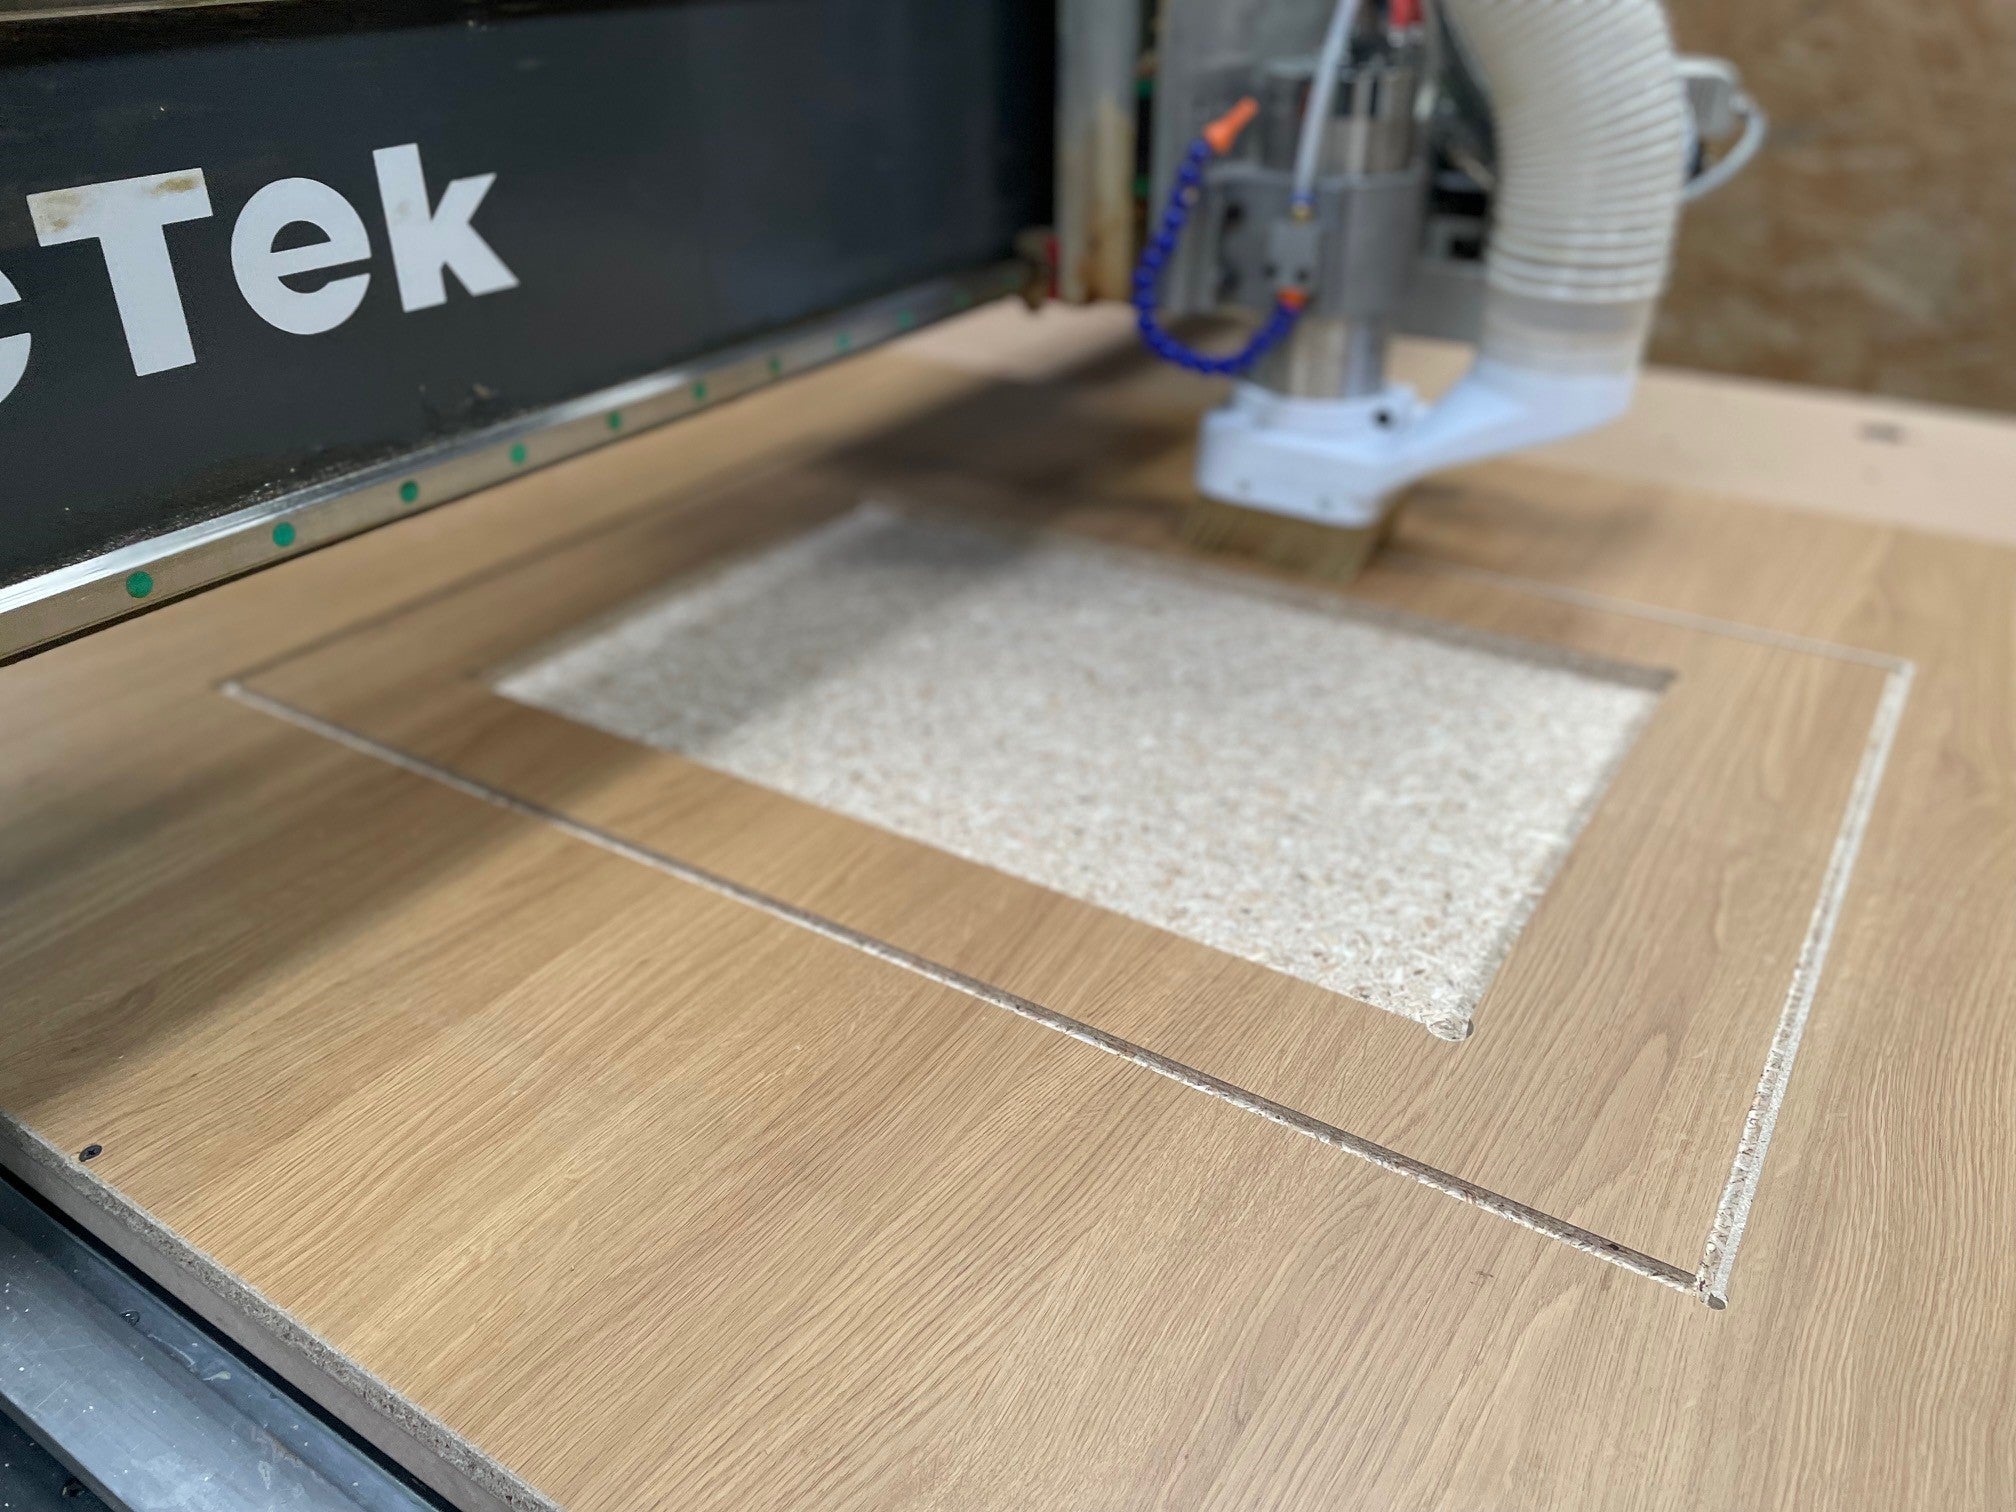
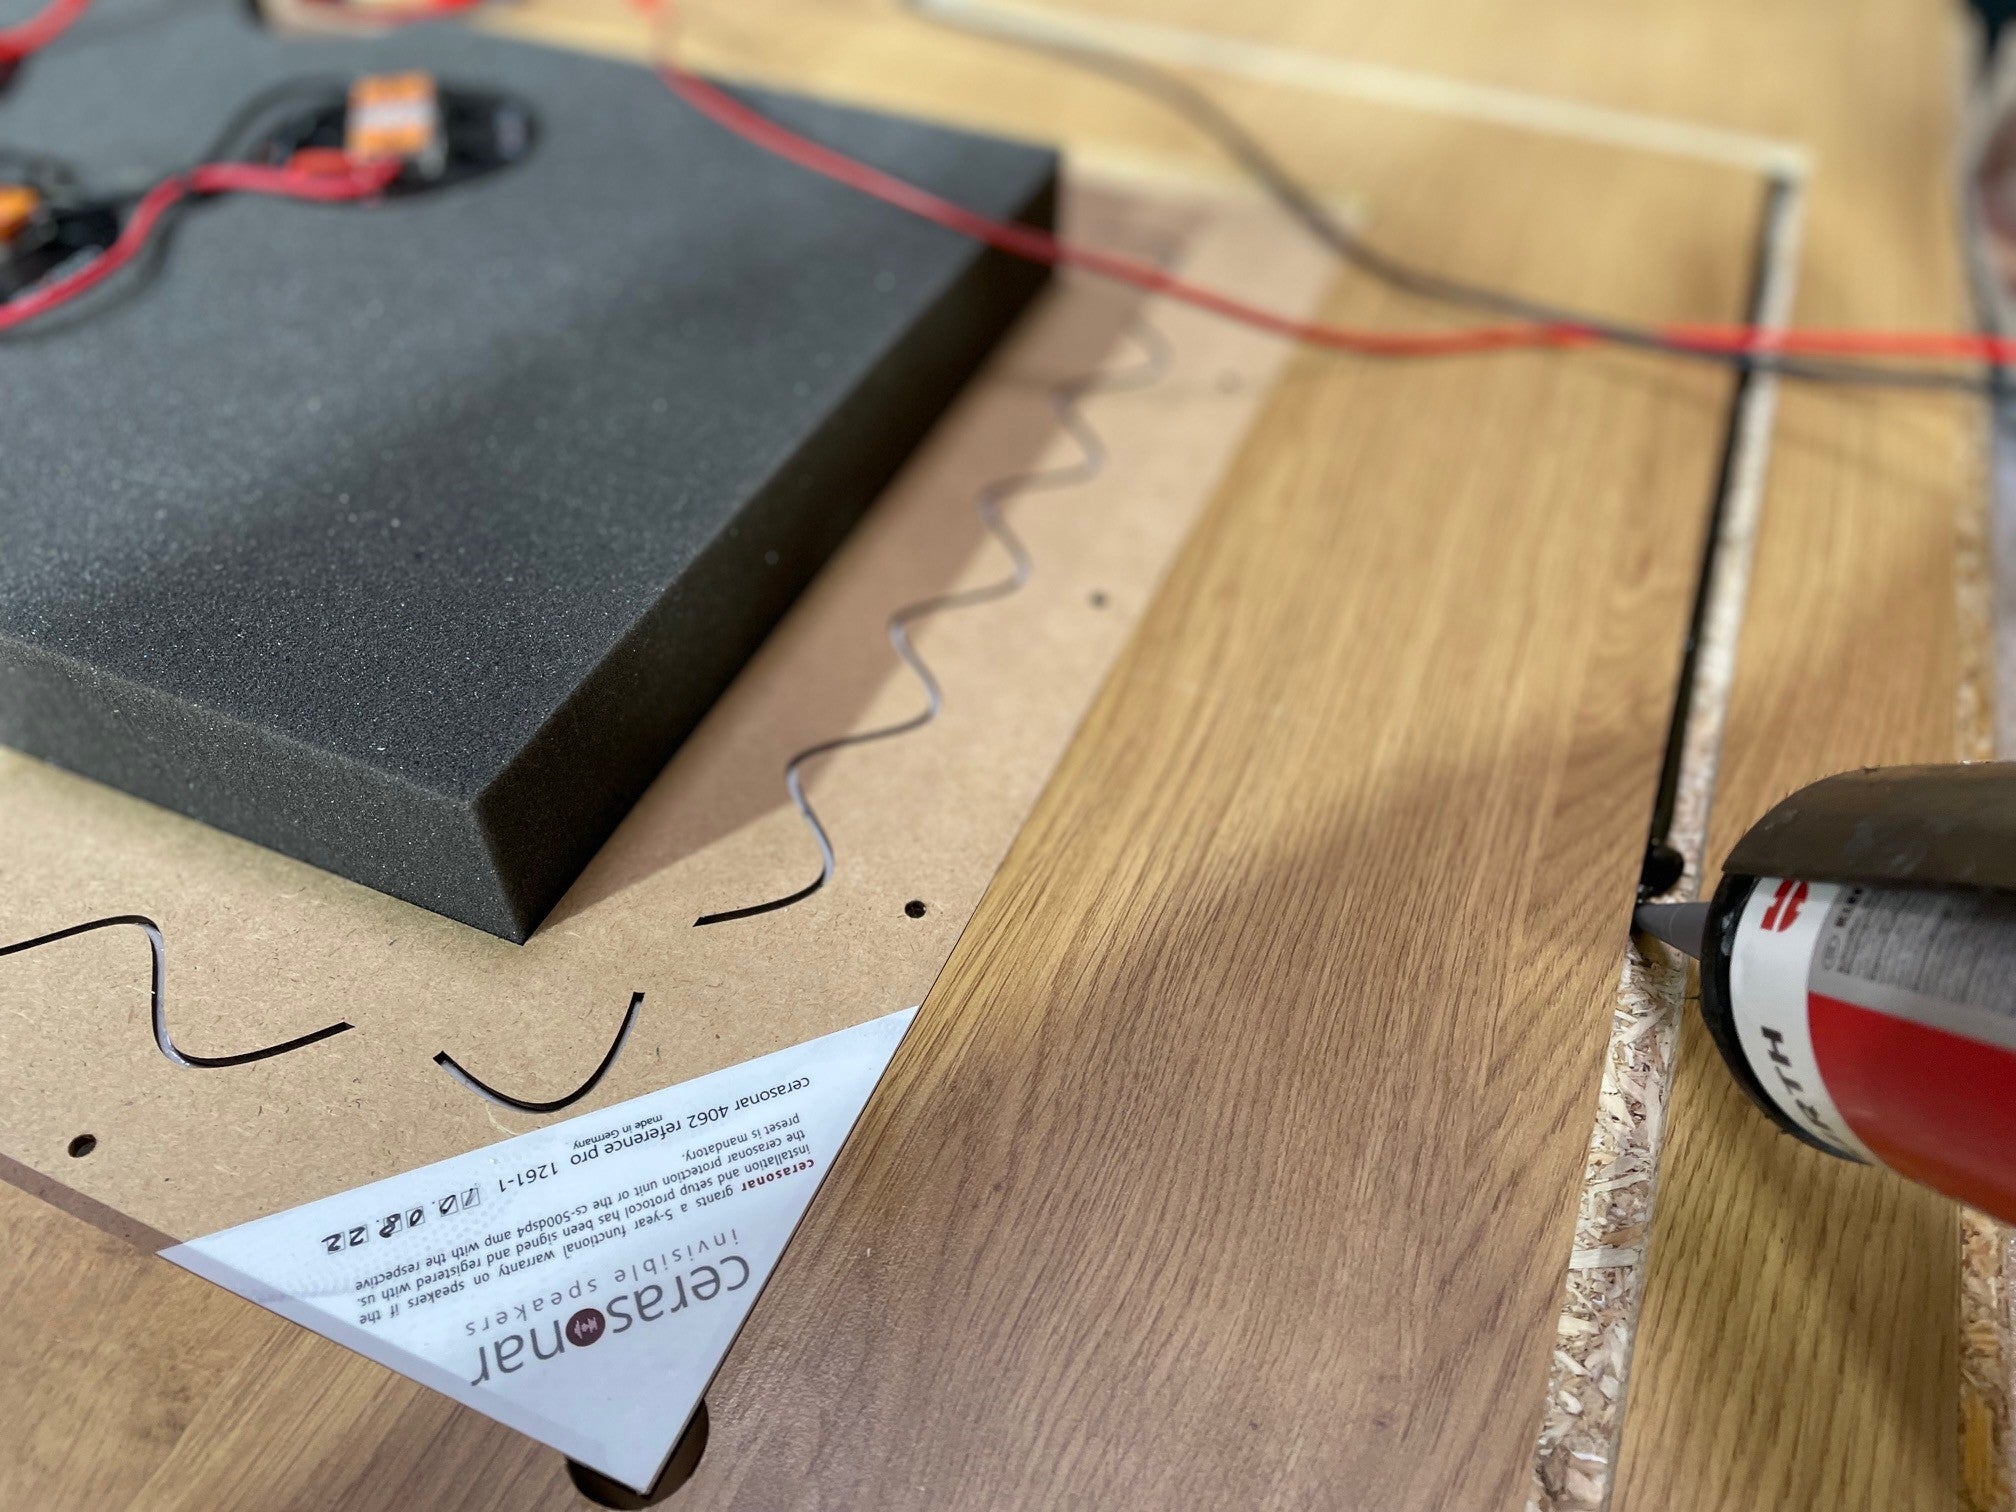
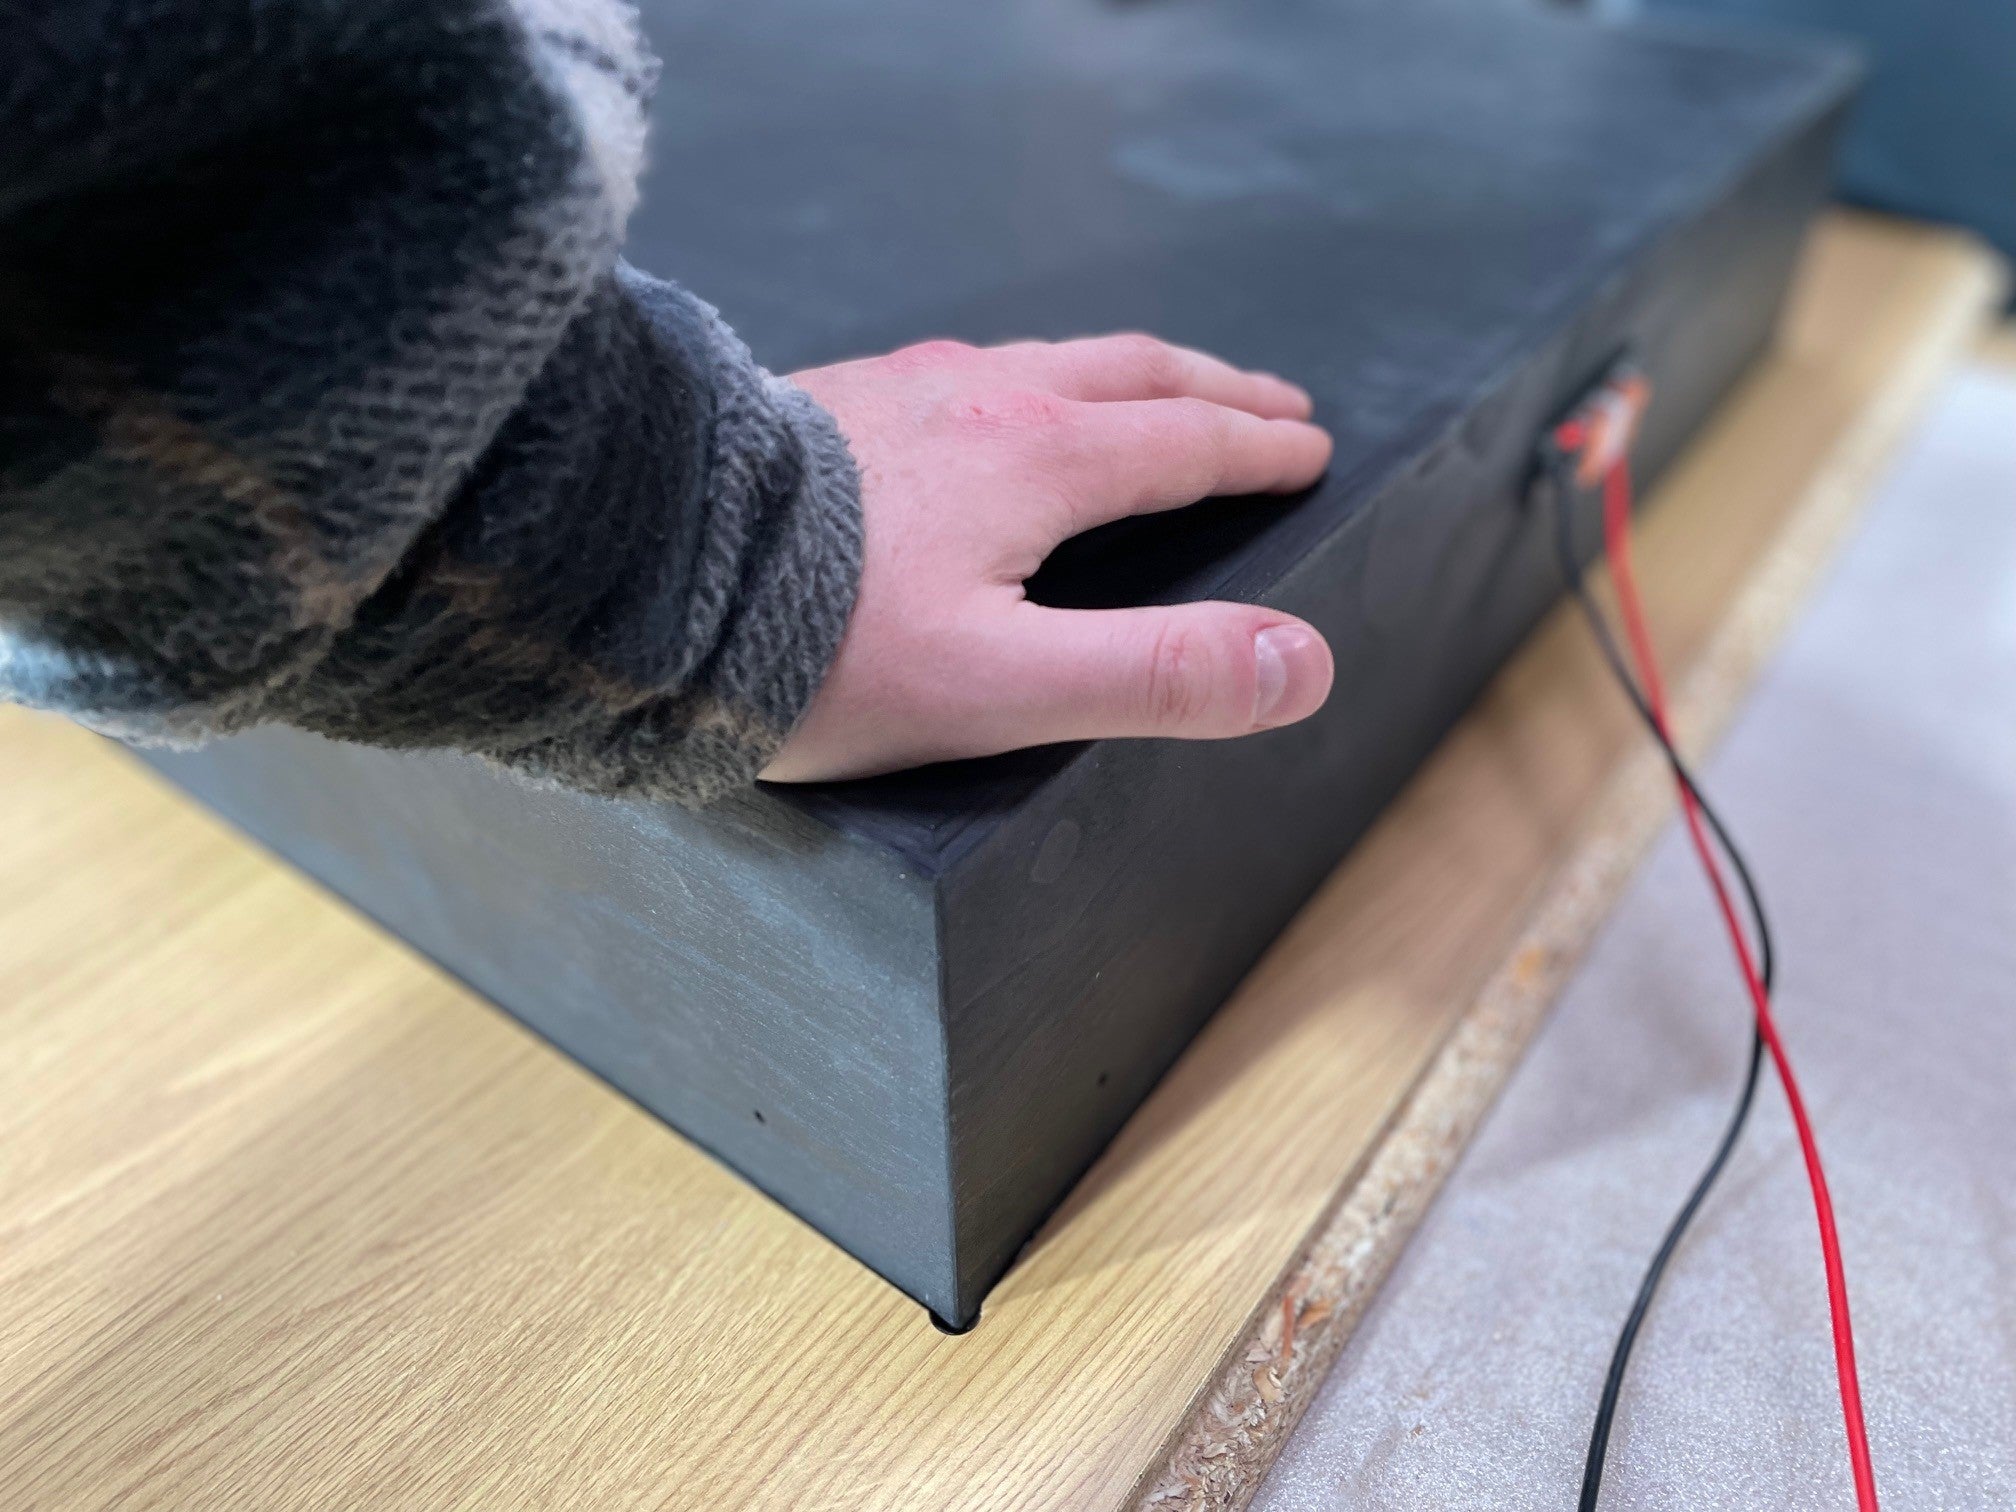
Special backboxes are required for the wooden installation. Currently only available for 4062 reference pro.
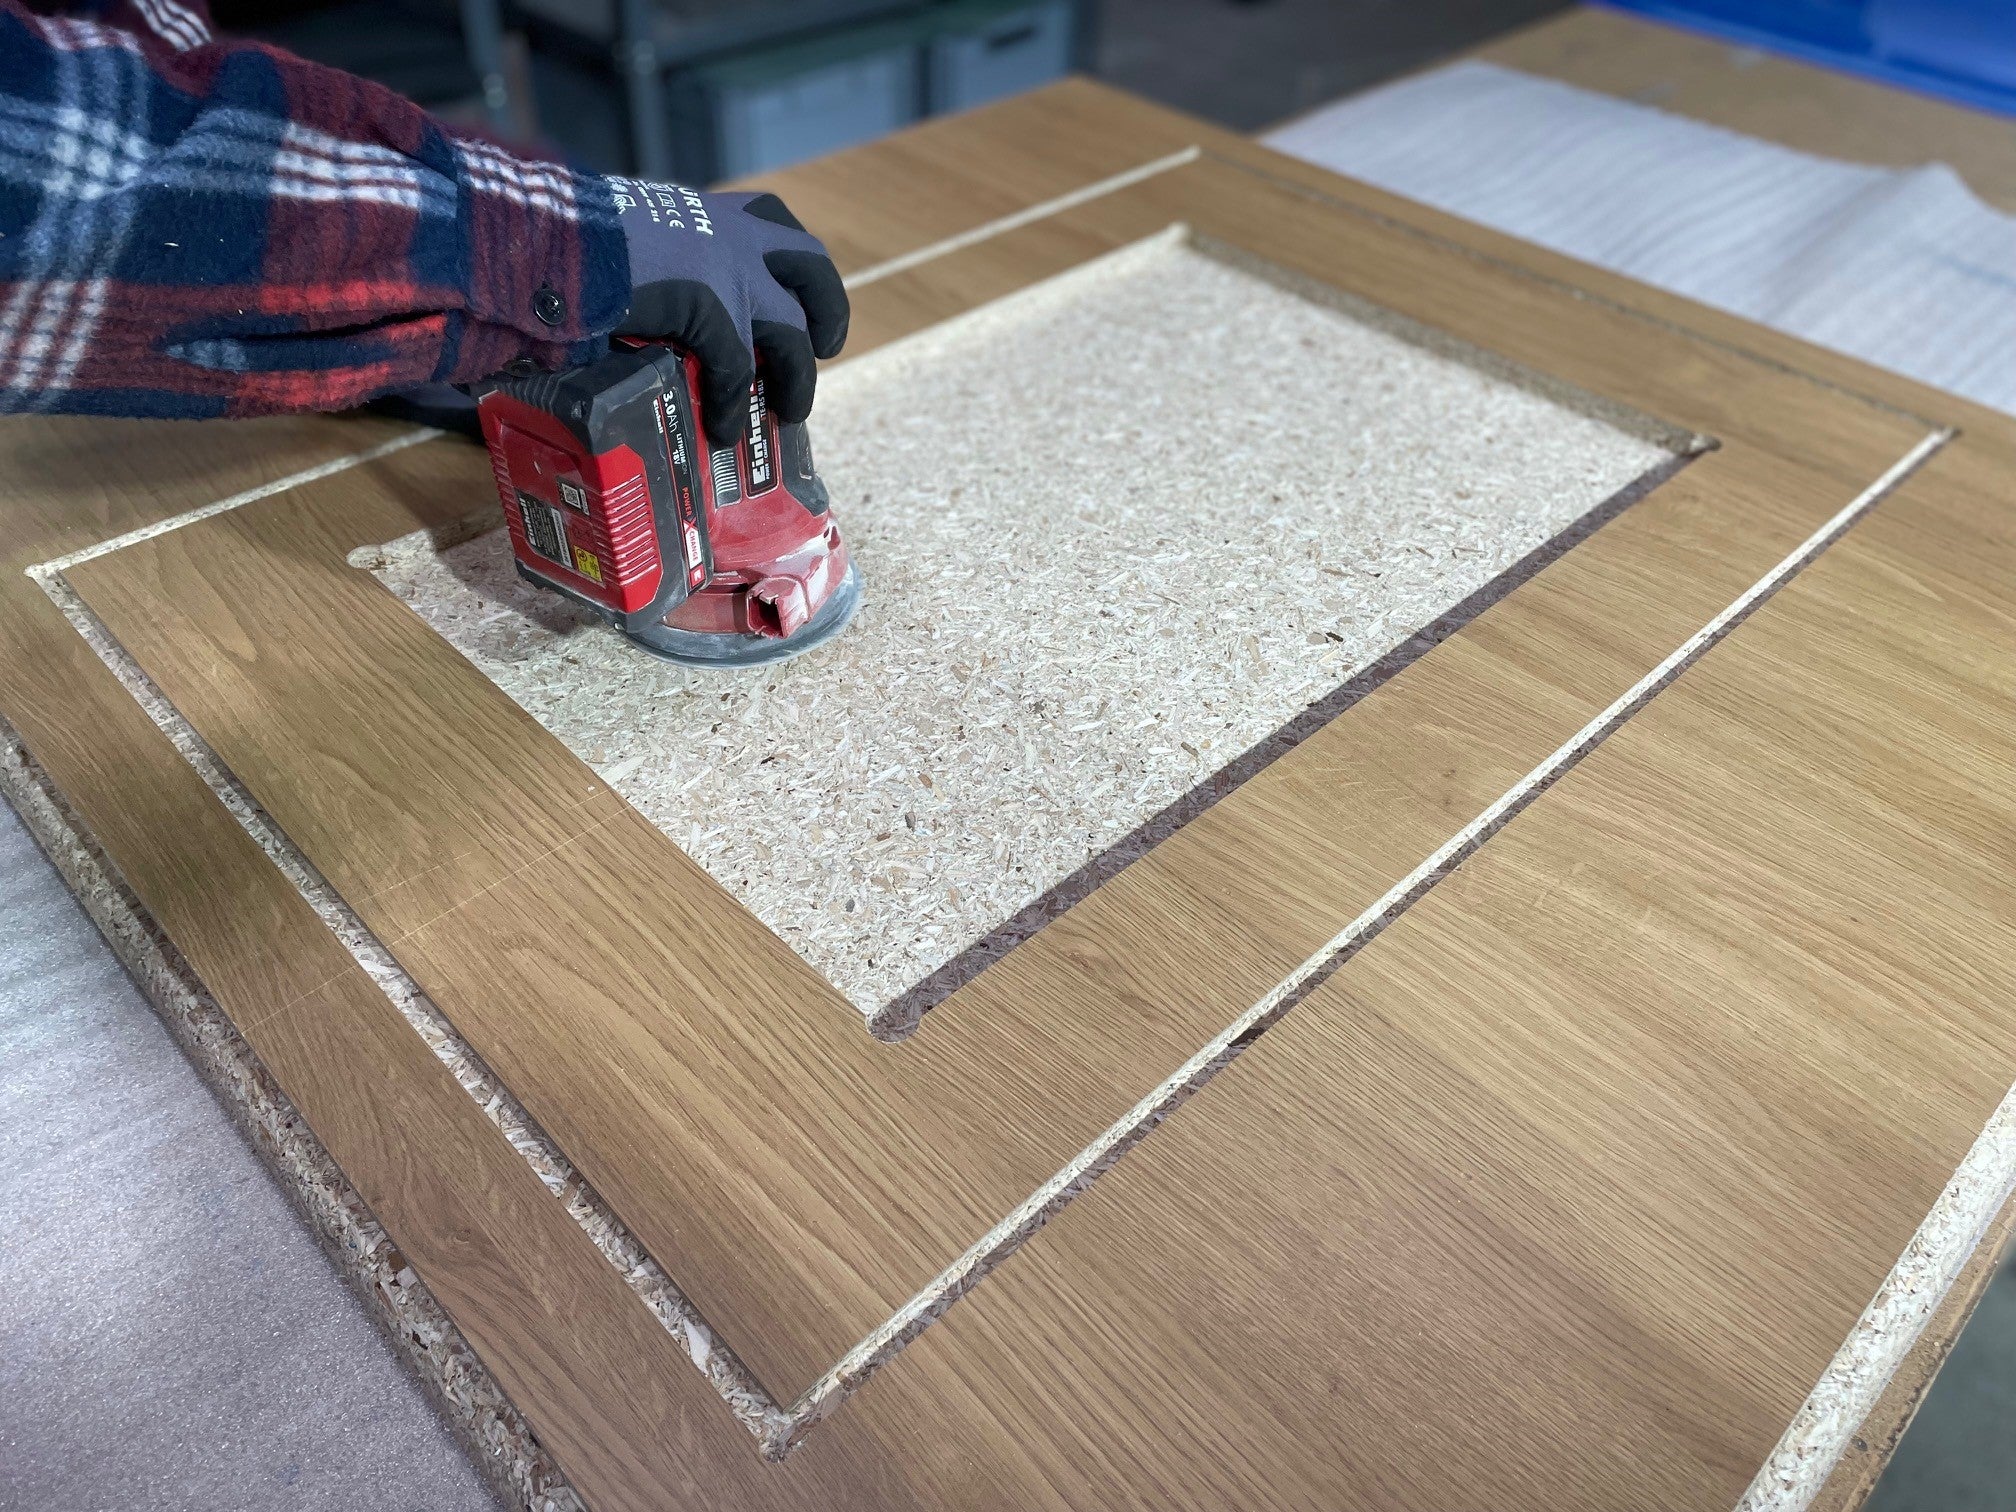
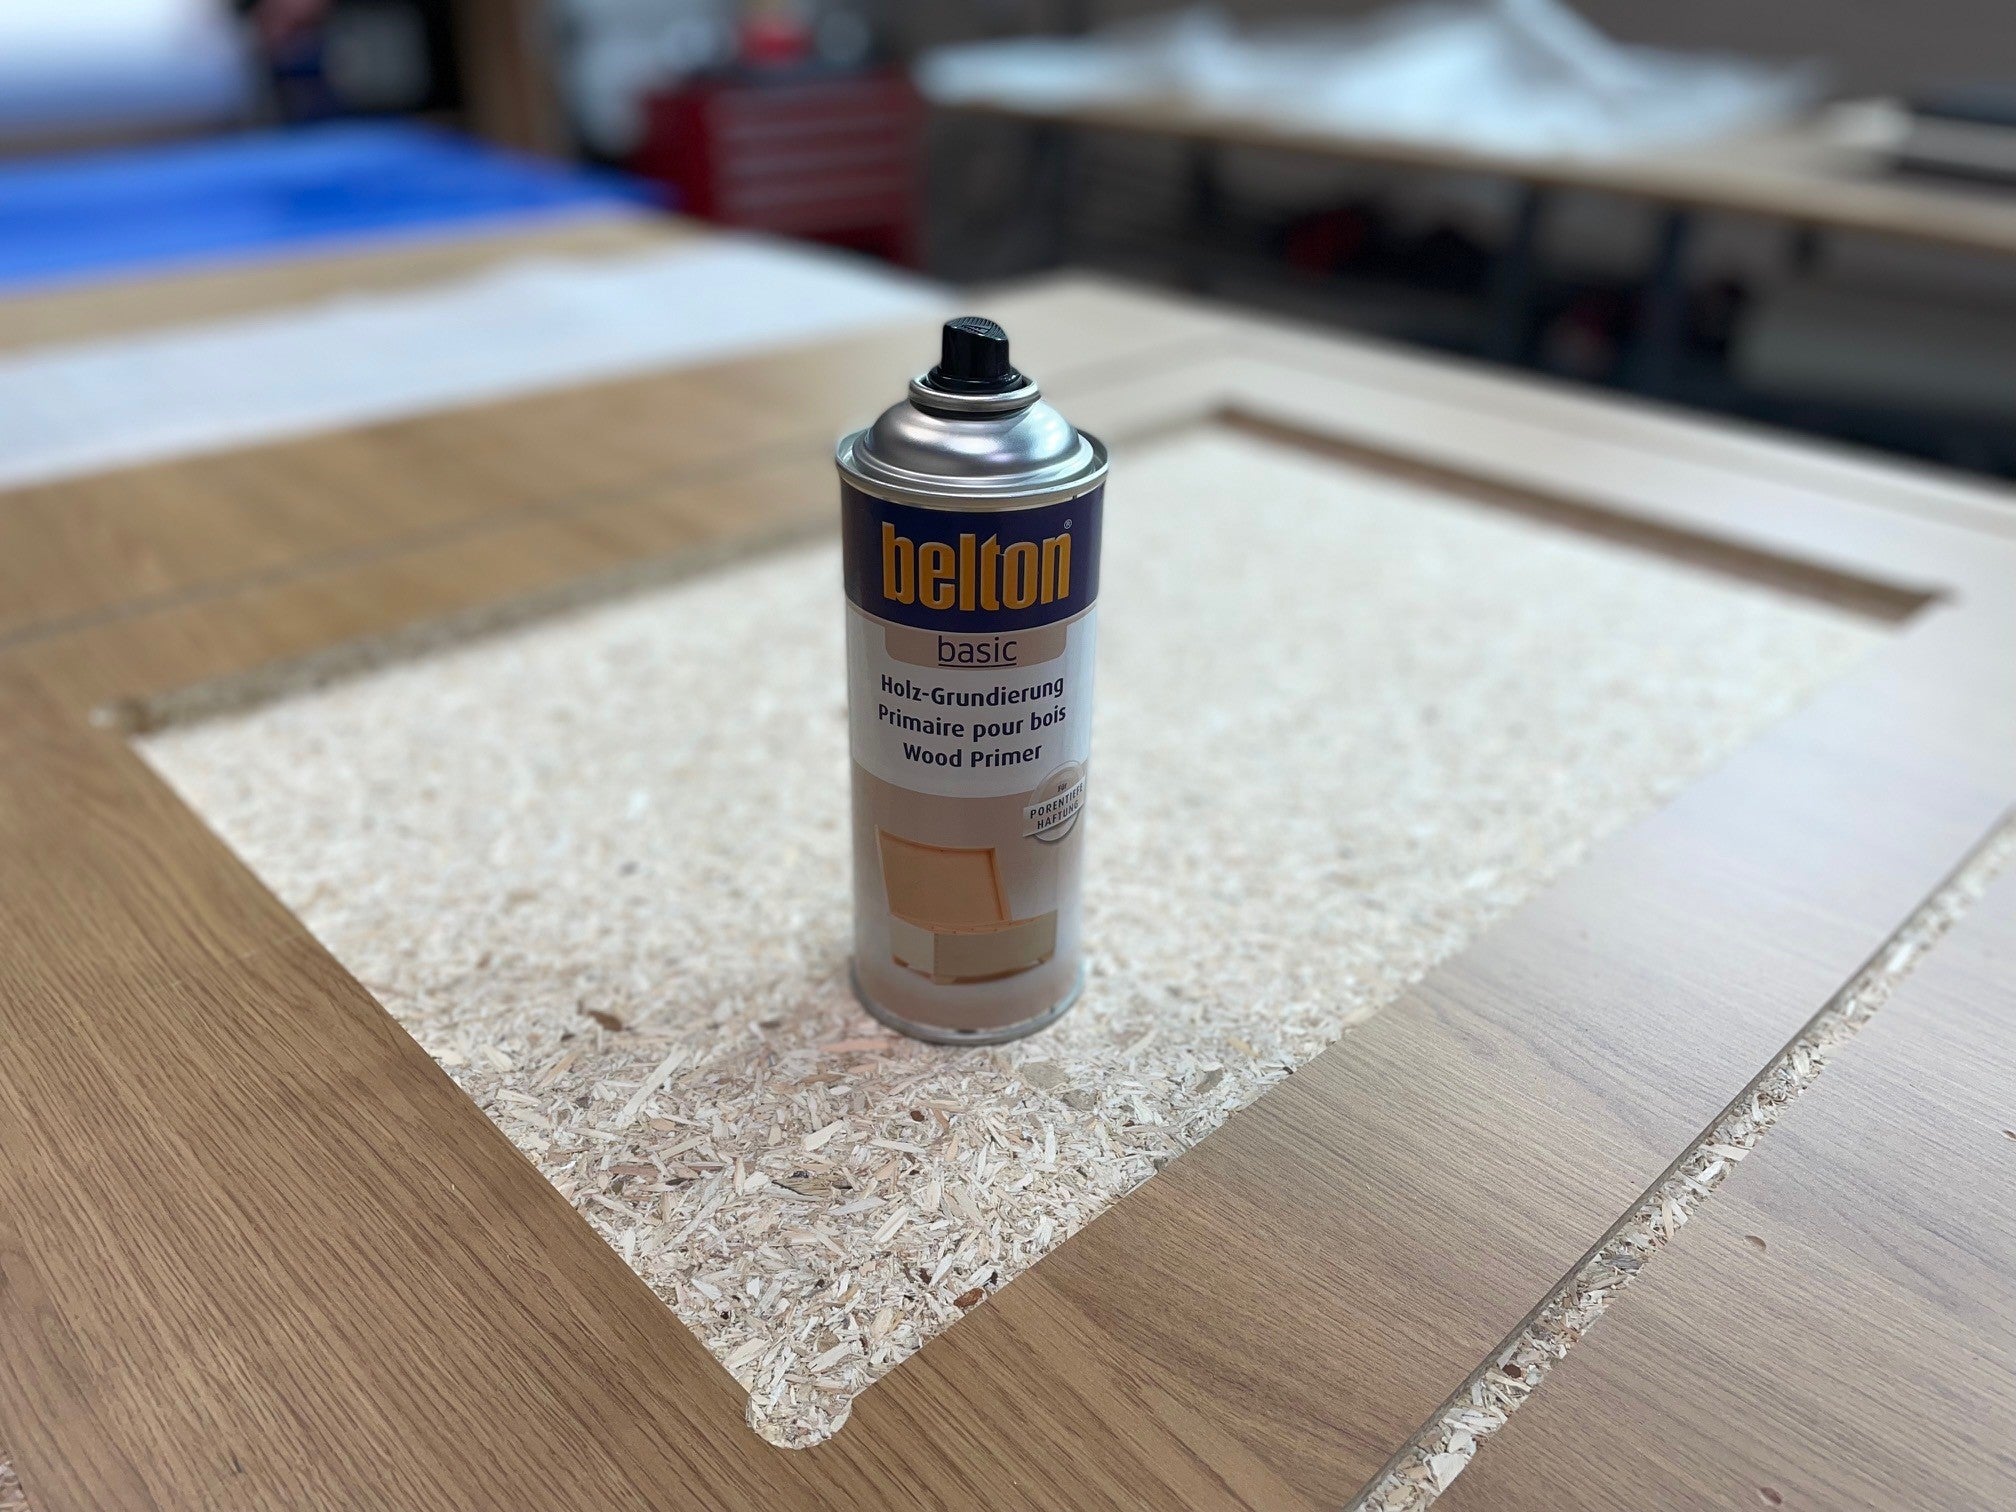
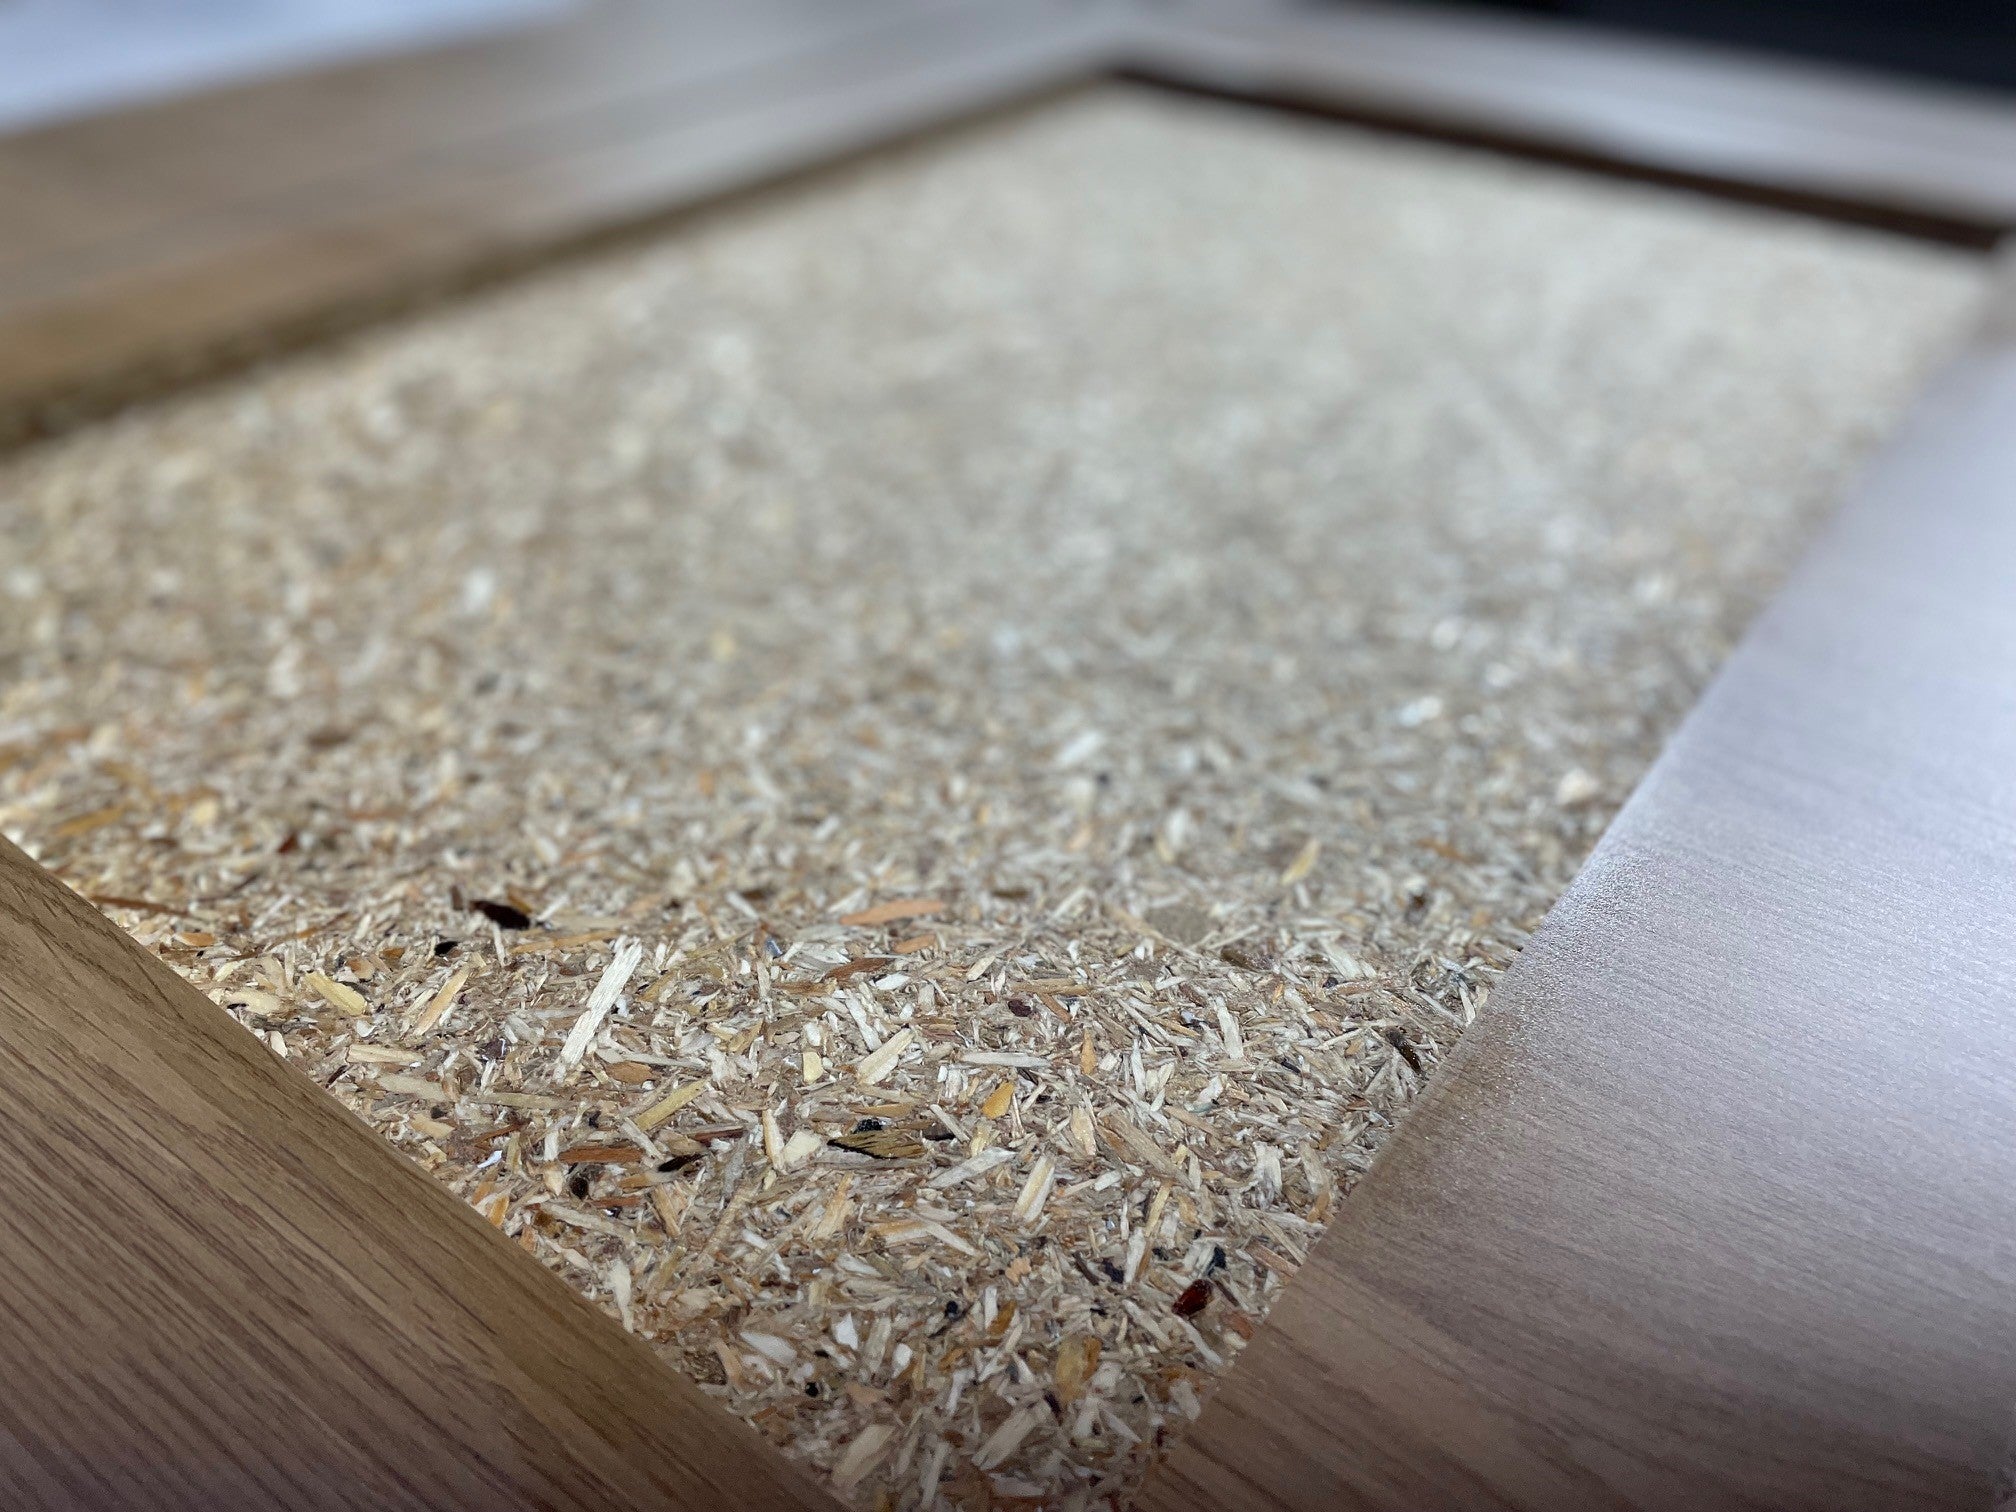
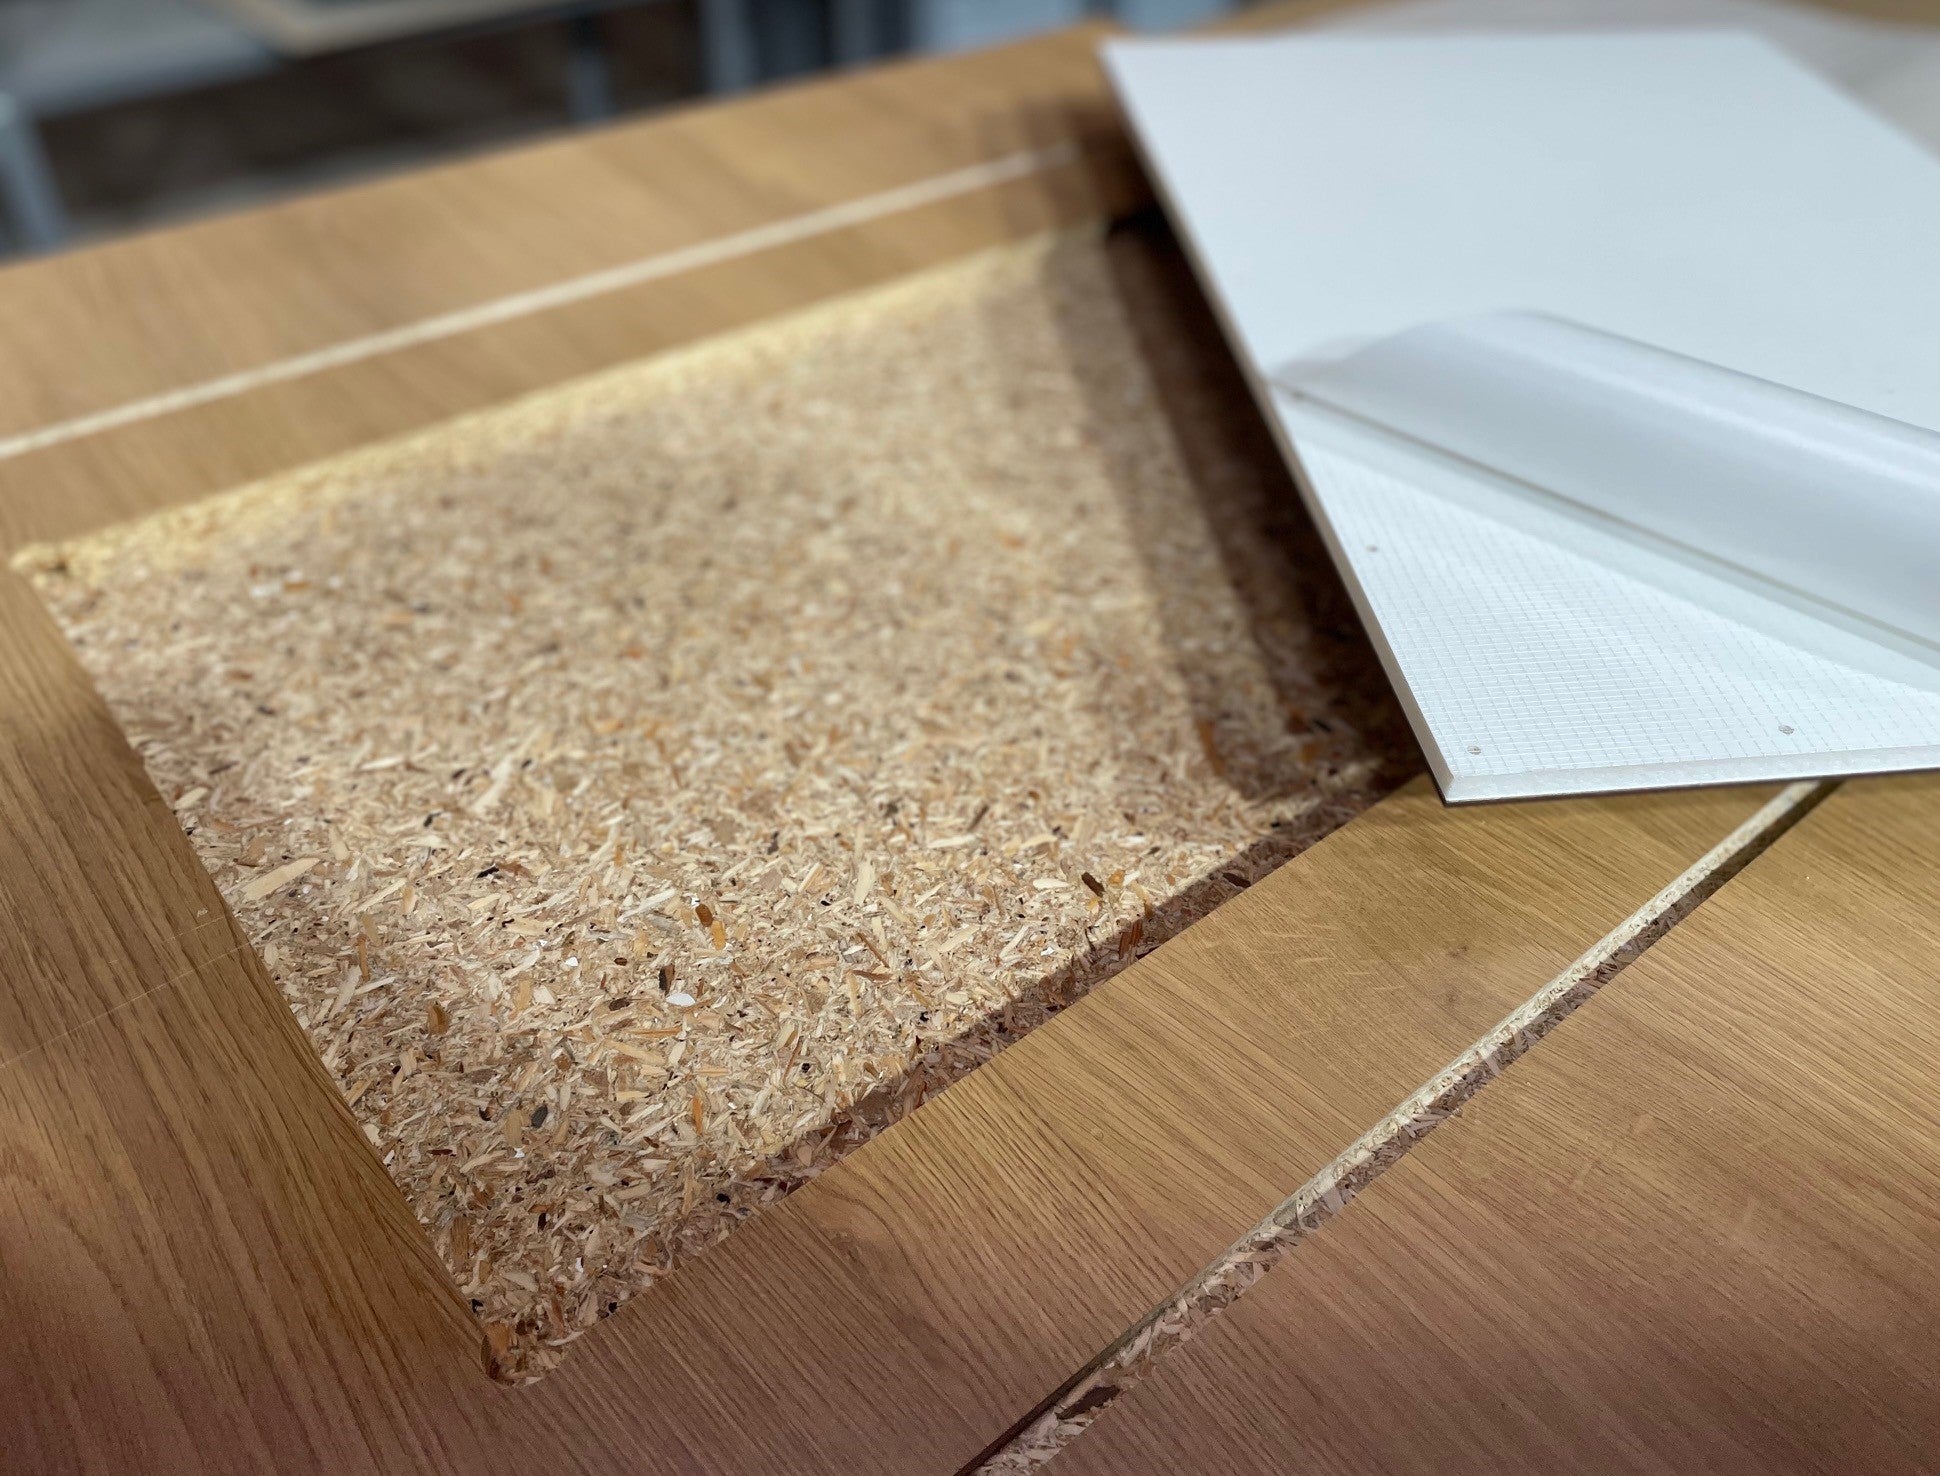
wood installation kit:
- Dimensions: 43,0 x 65 x 1,5 cm
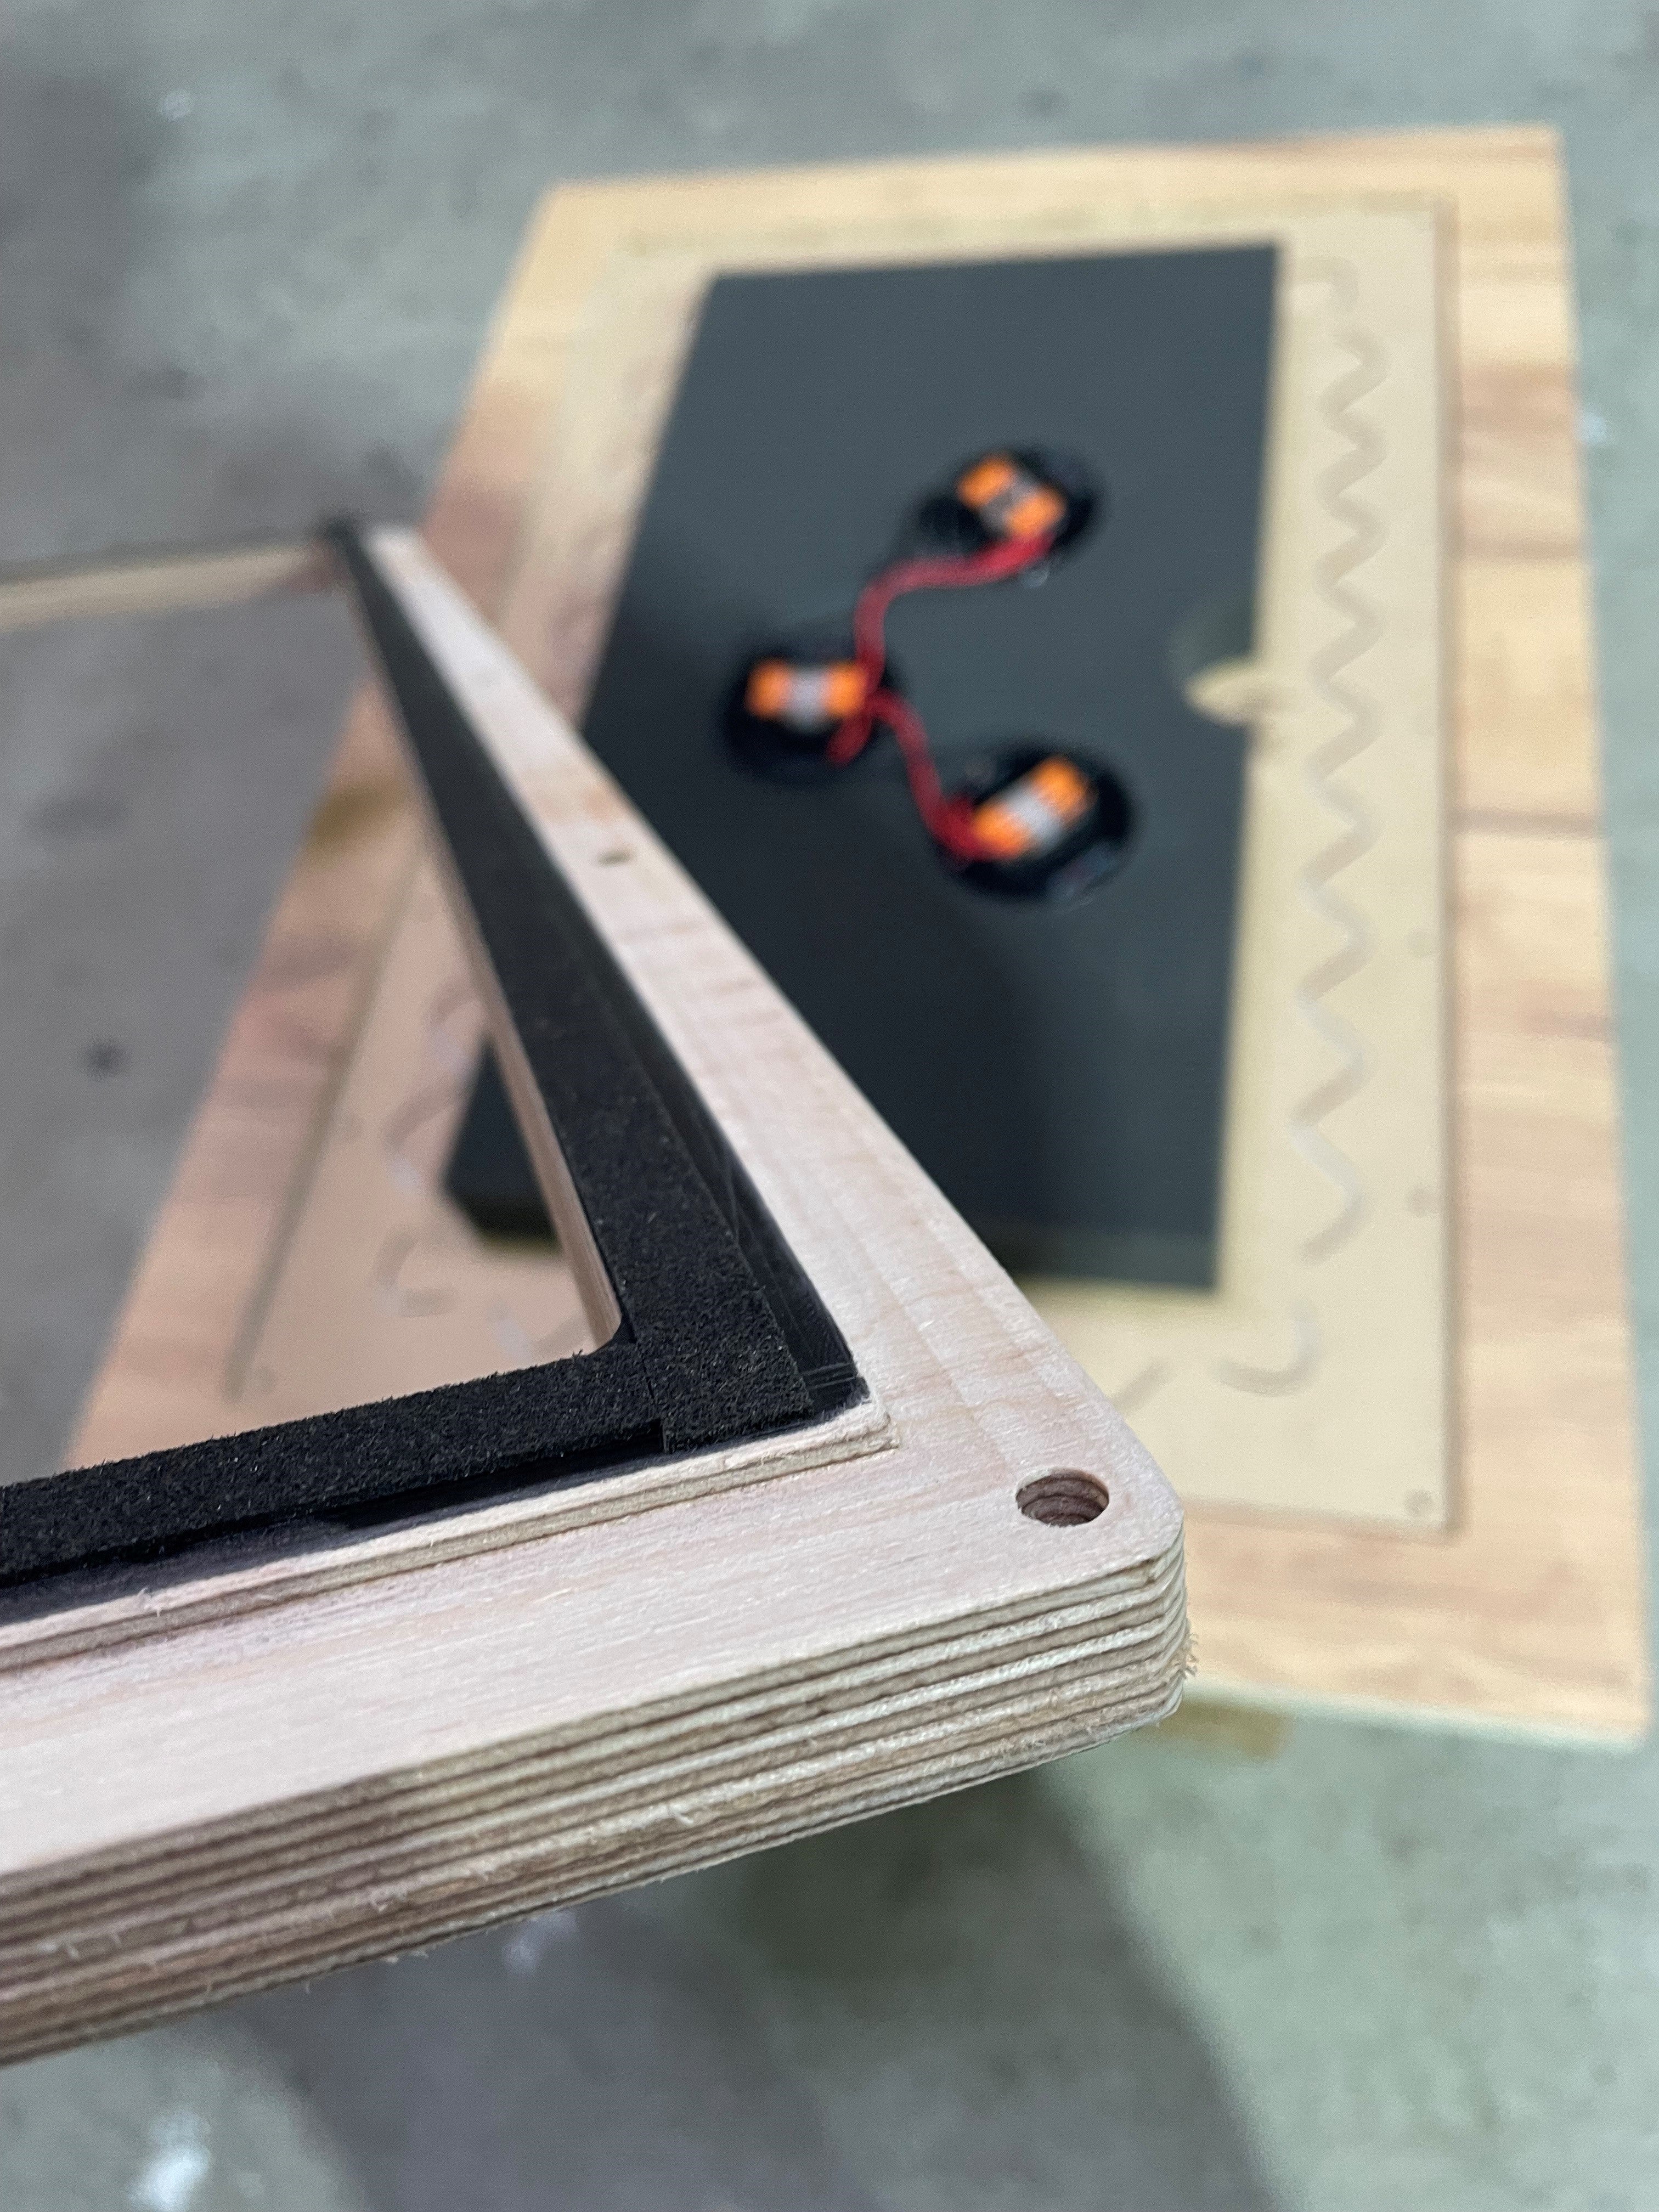
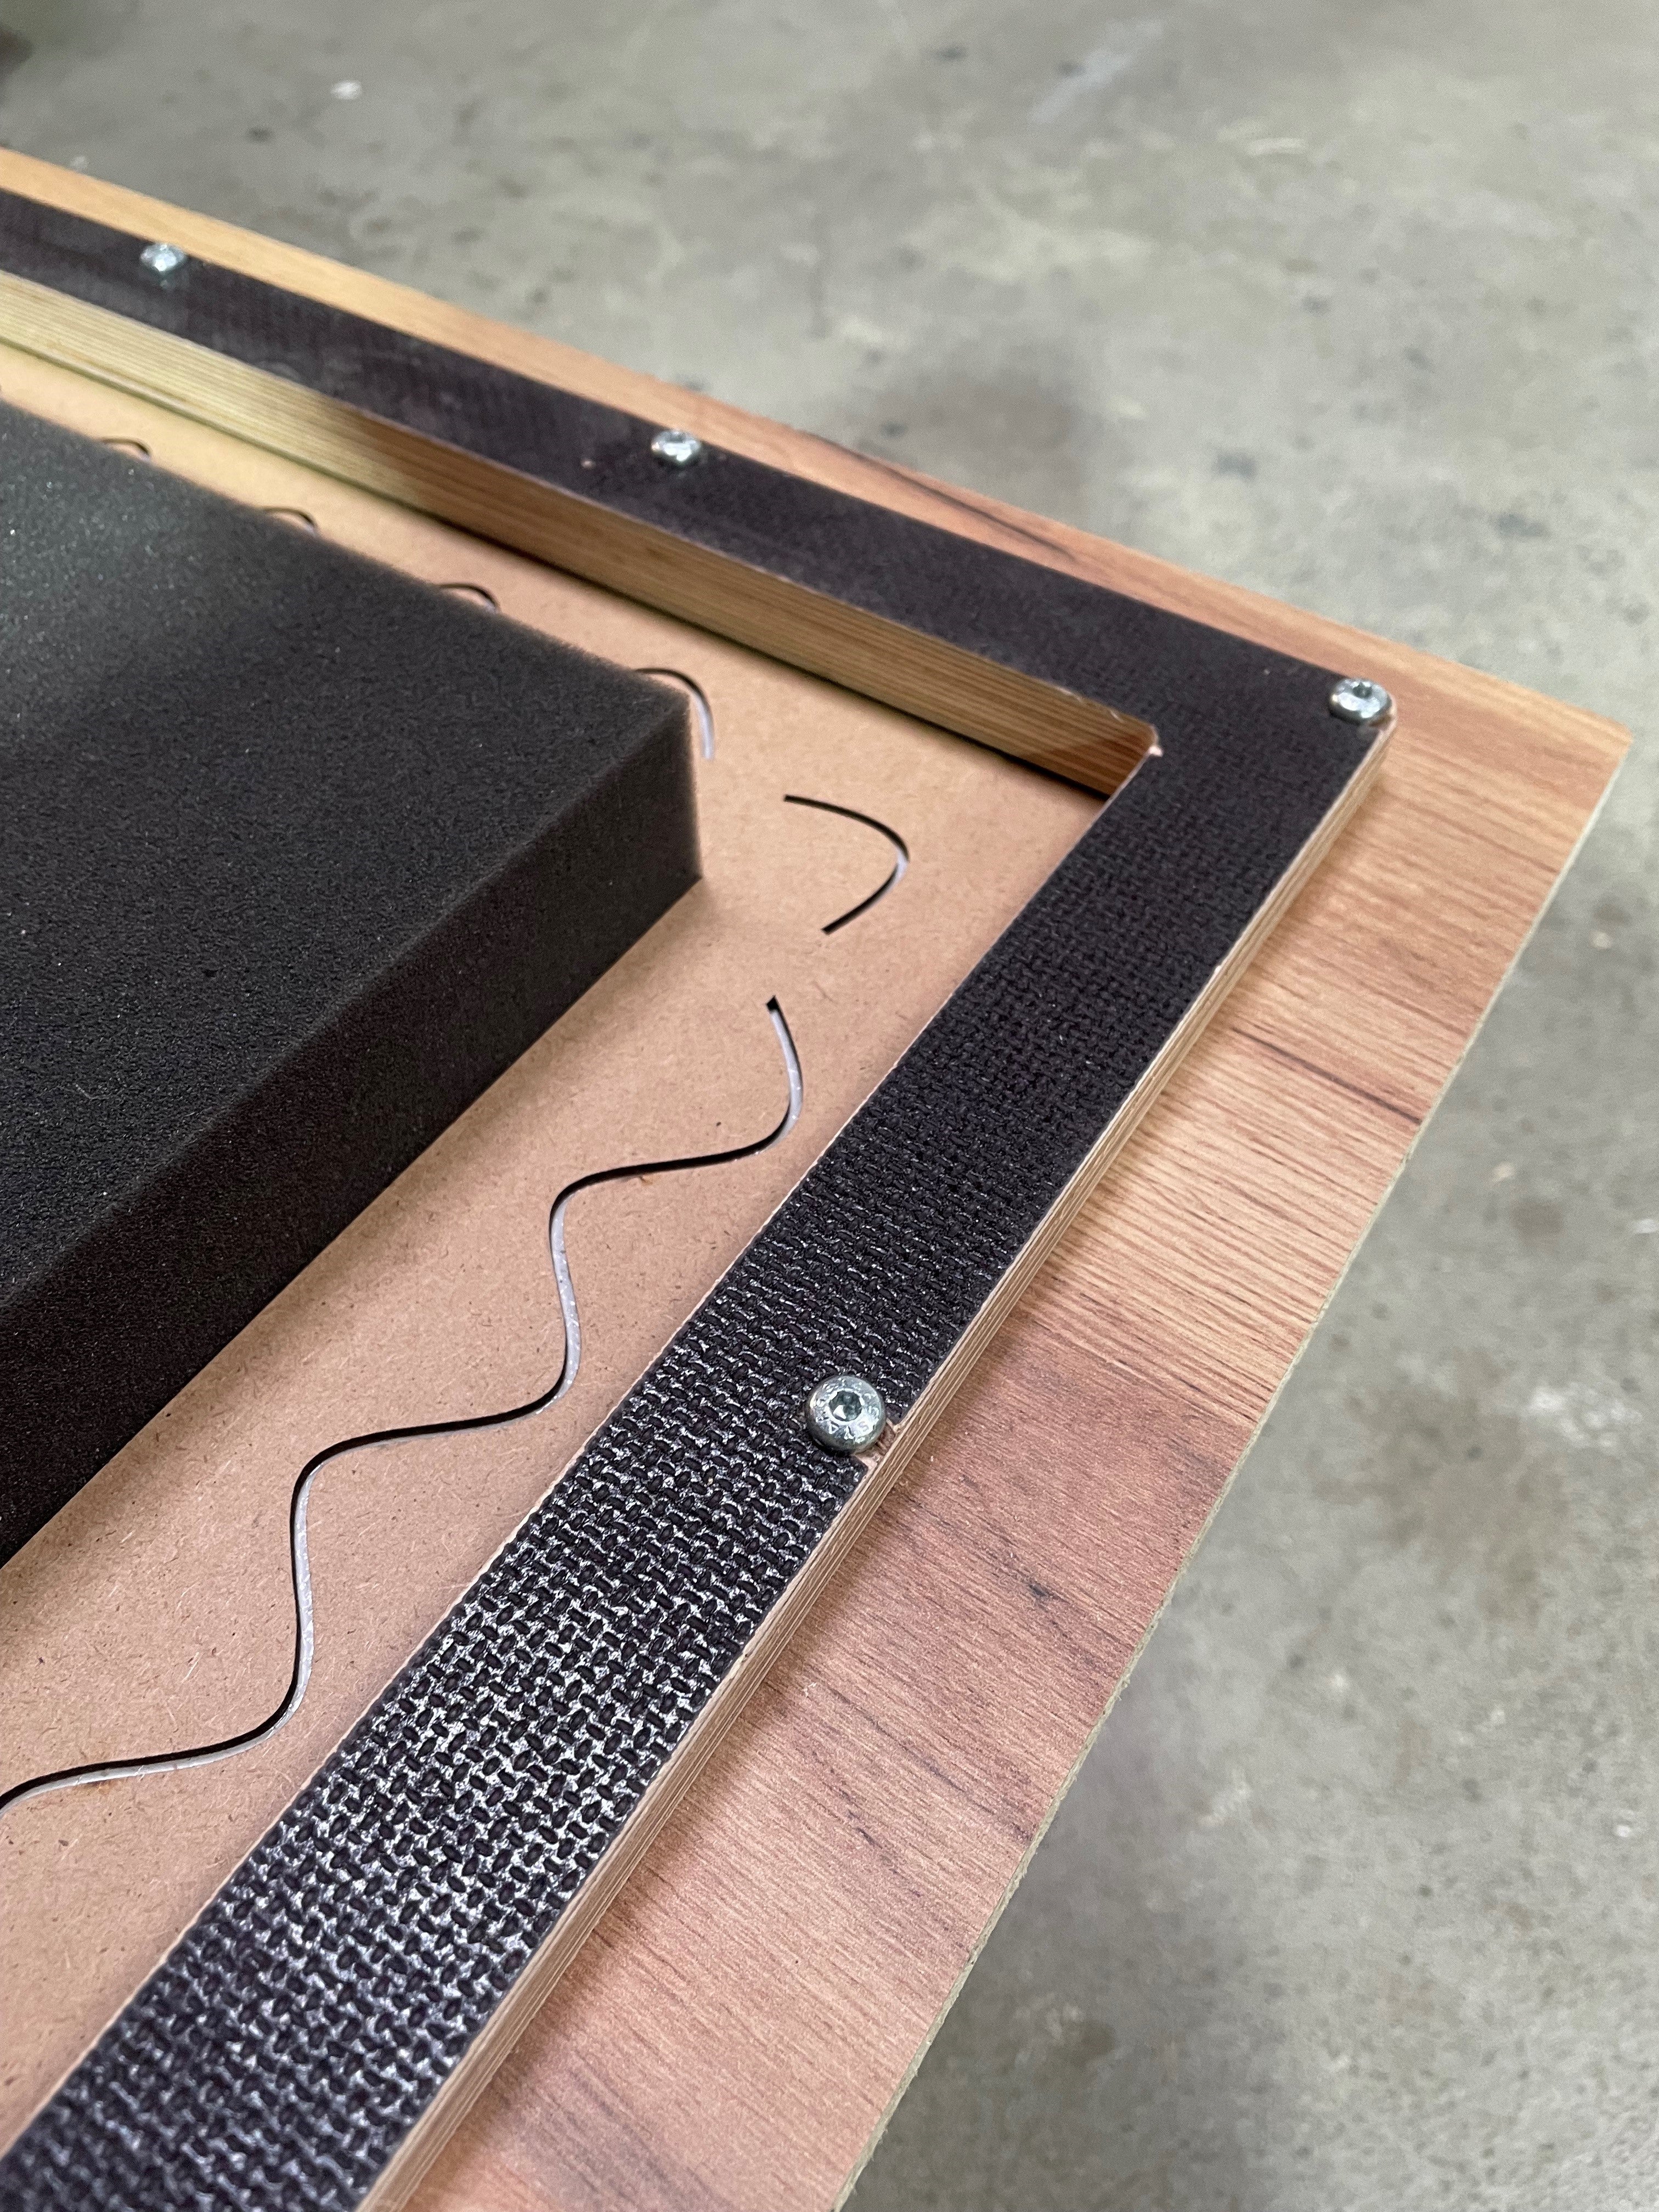
- Pre-drilled
- Equipped with high-performance Würth sealing tape (for pressing on the speaker)
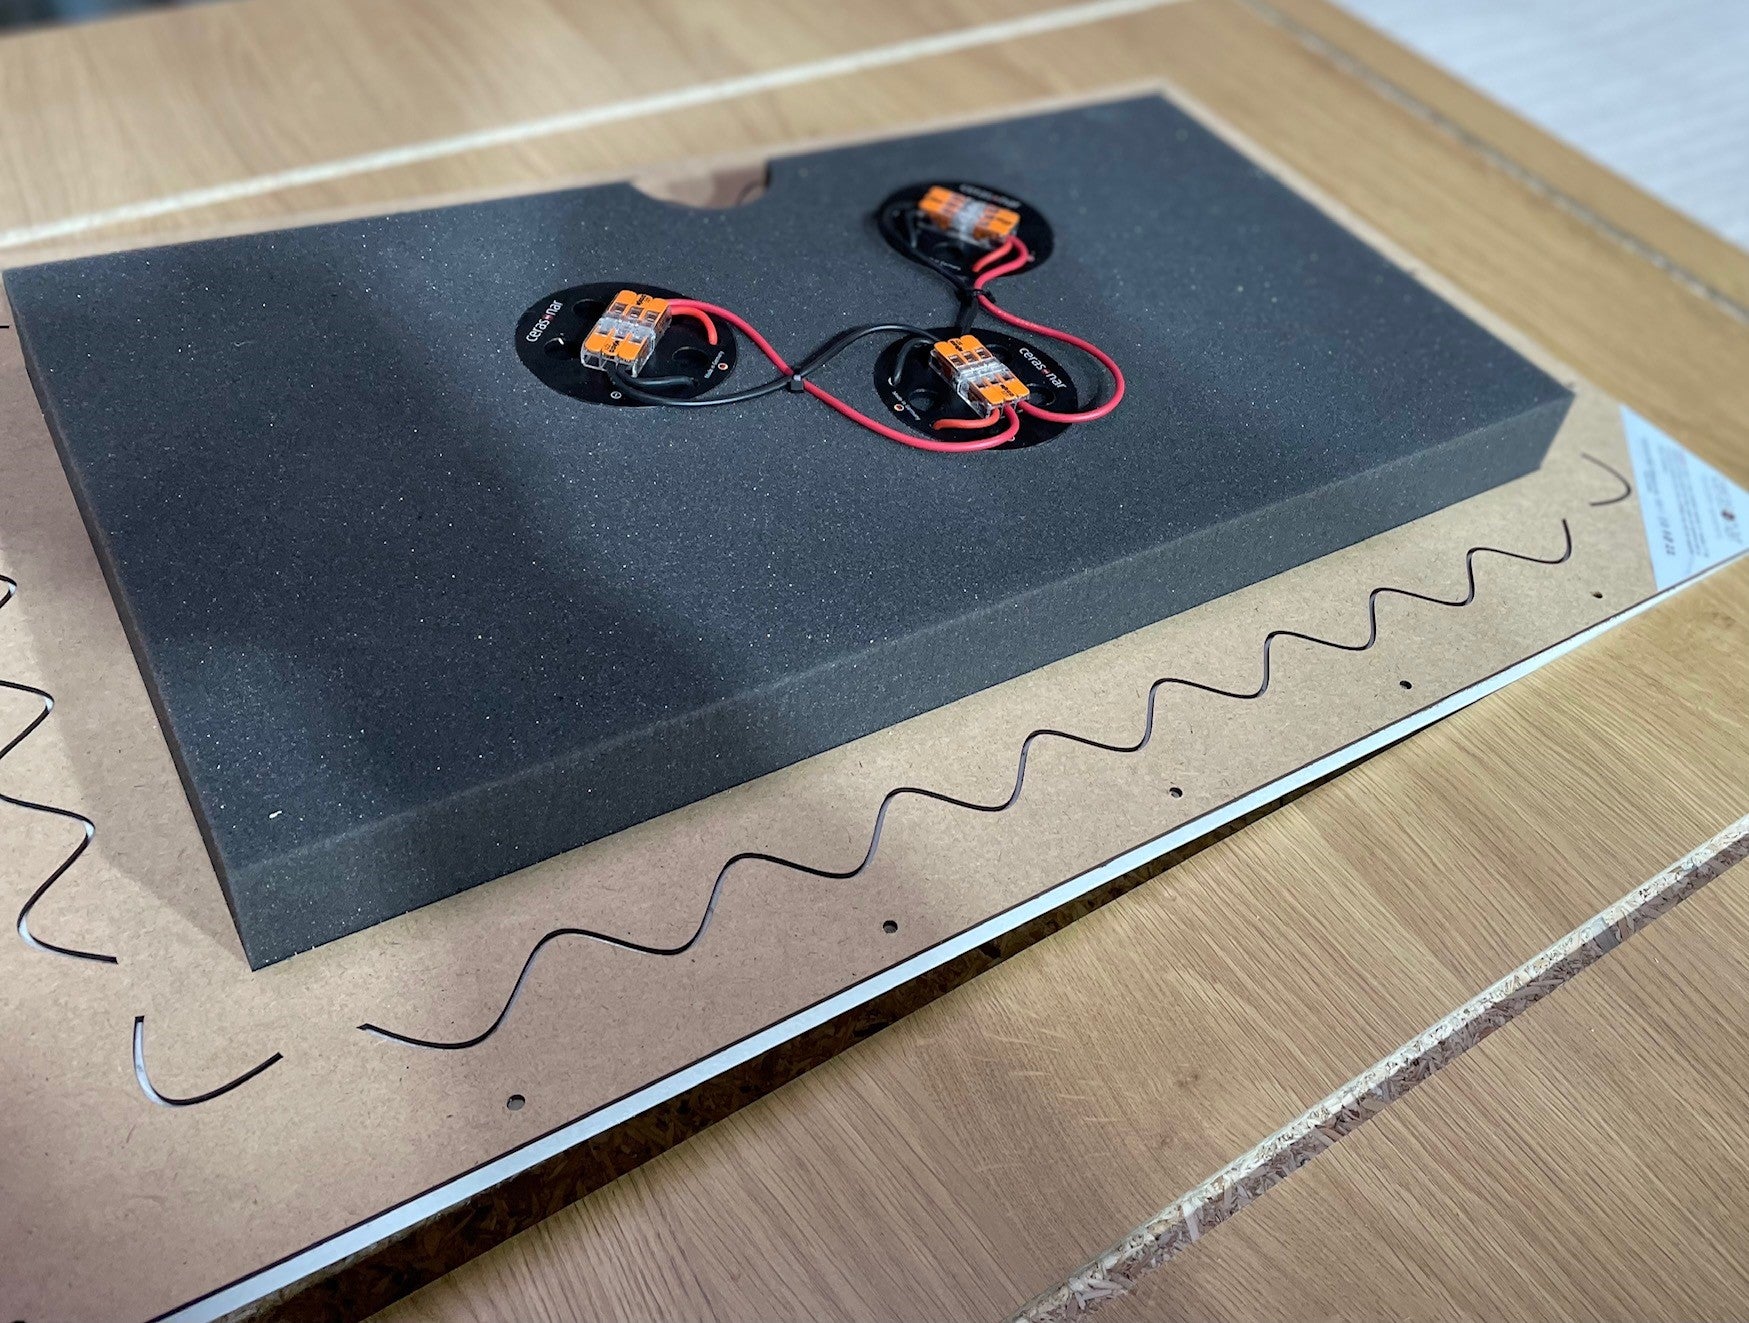
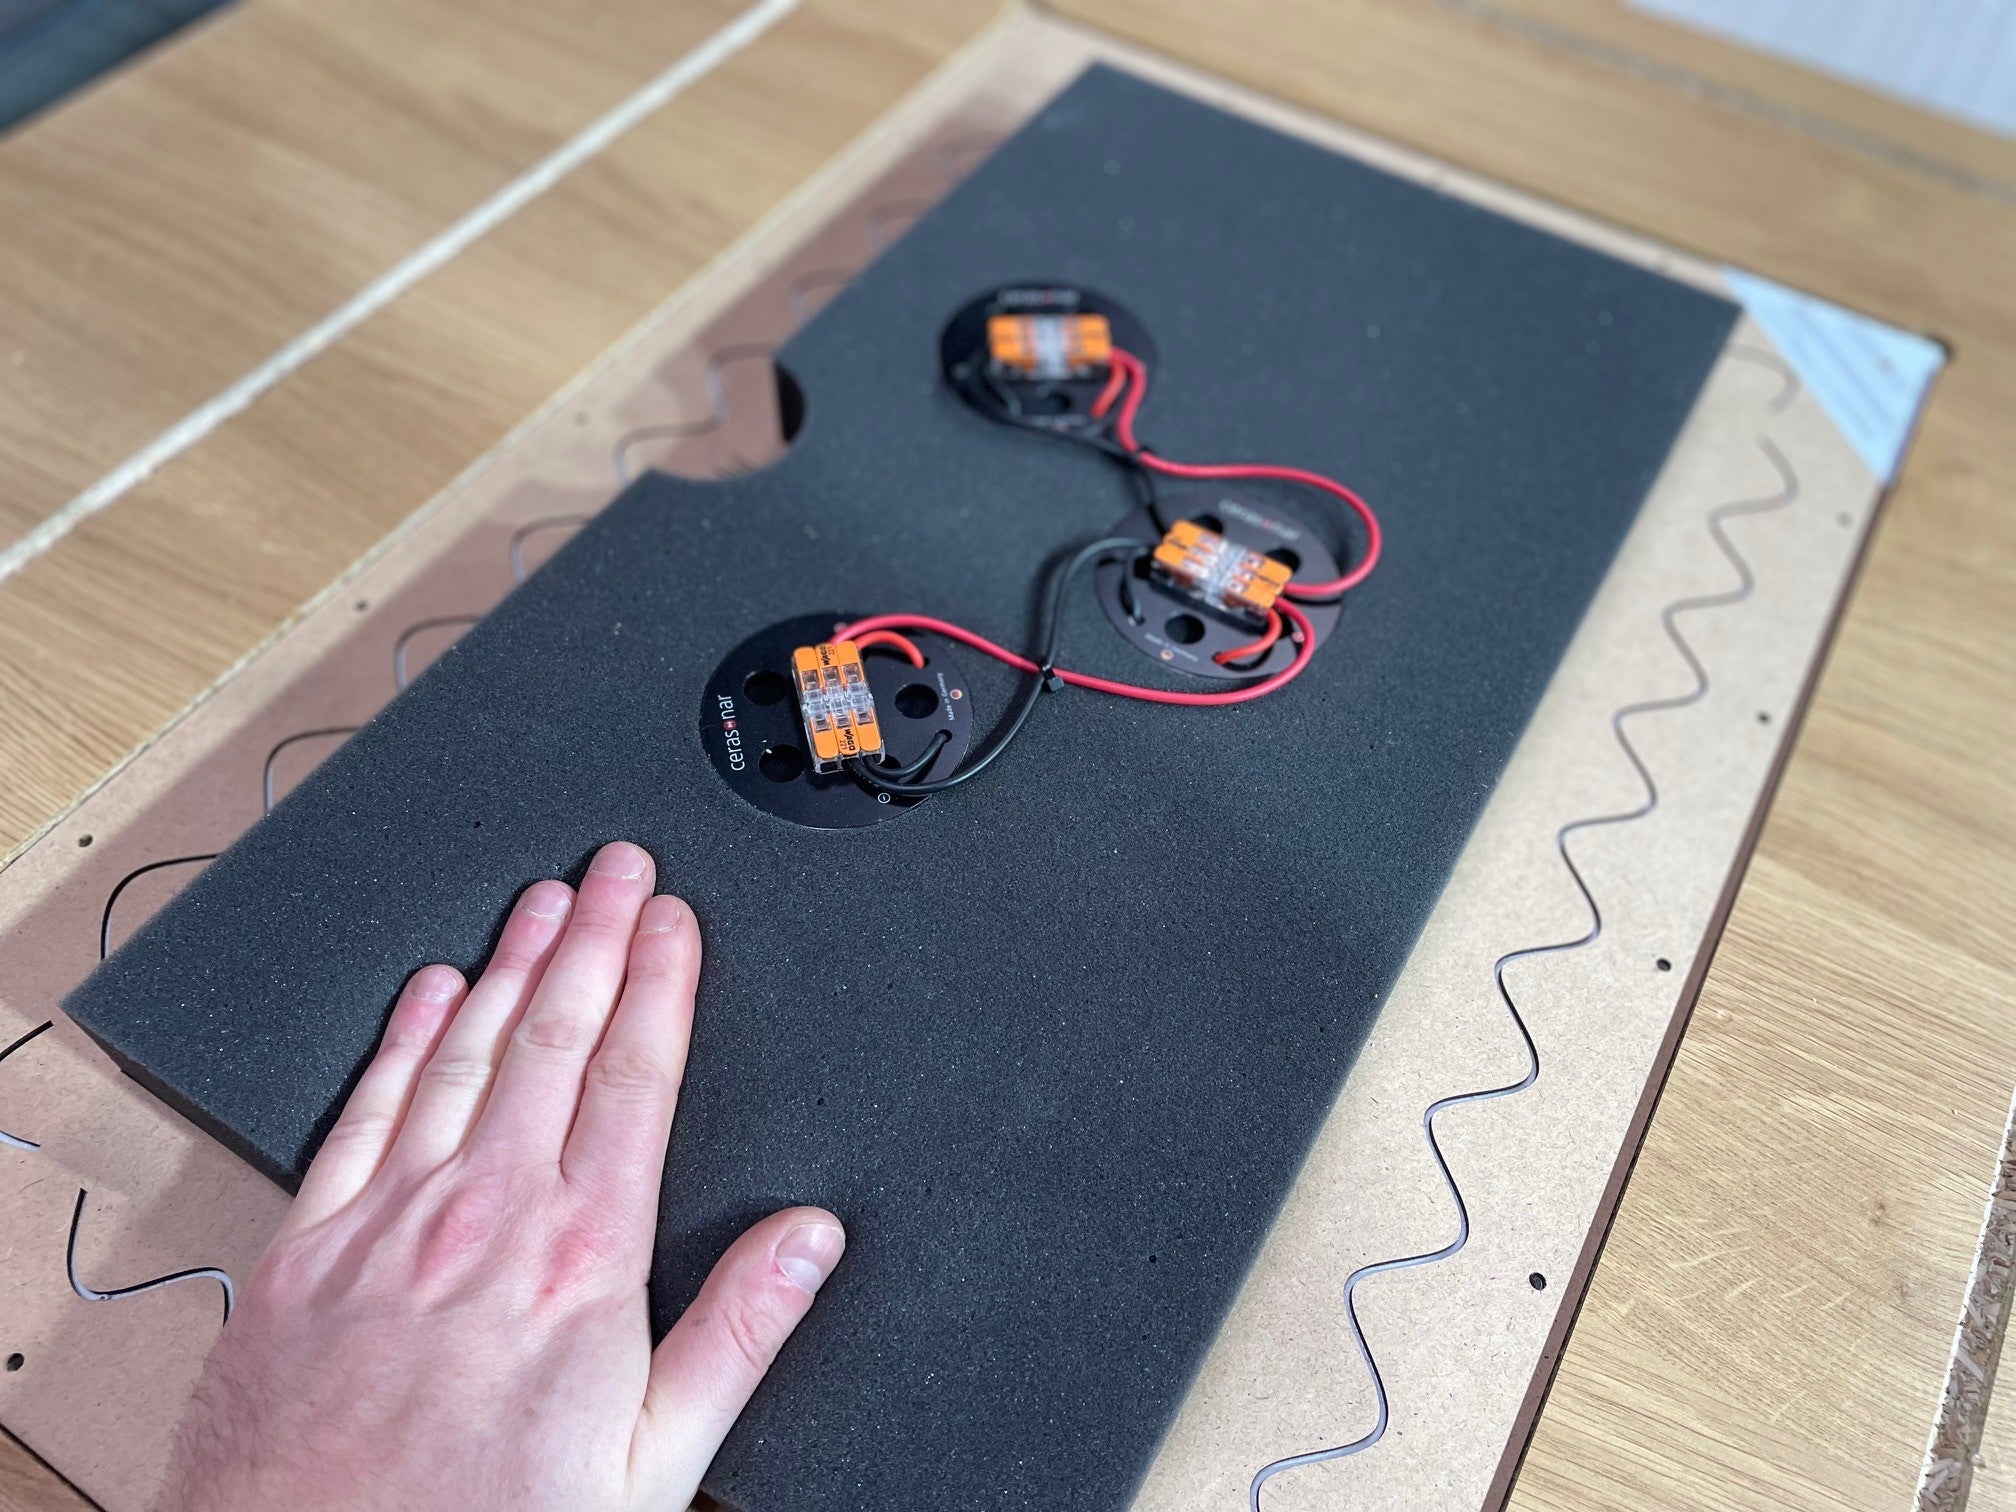
wood installation backbox 4062:
- Dimensions: 86 x 58 x 12,5 cm