


cerasonar installation frames (backboxes)
1291
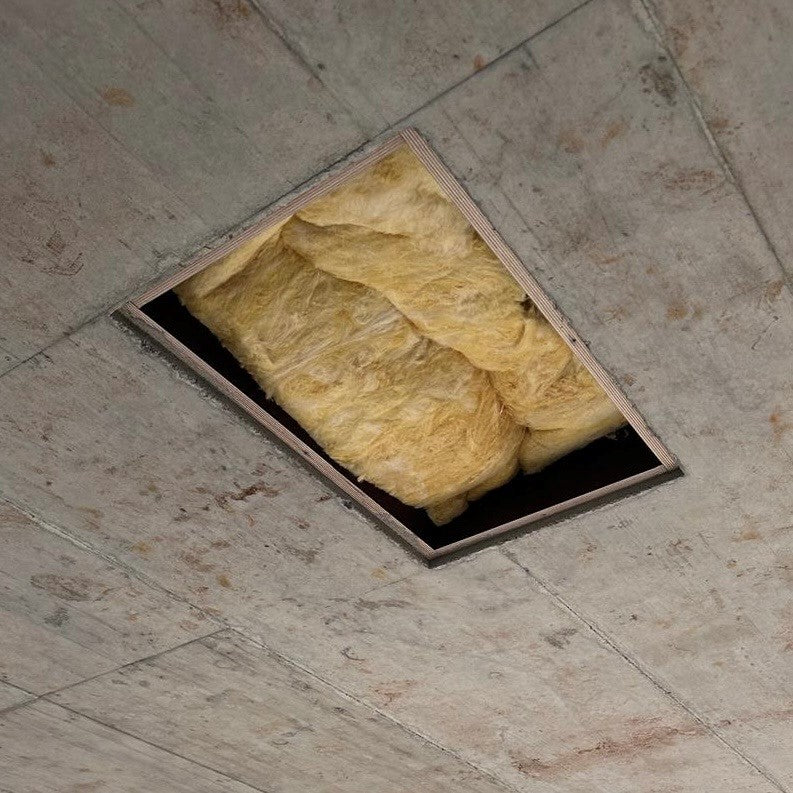
Le cadre d'installation de Cerasonar amélioré peut désormais être utilisé pour encore plus d'applications. Grâce à la construction stable en contreplaqué imperméable et à l'utilisation du matériau isolant Basotect®, il est également idéal comme boîte arrière pour réduire efficacement le bruit arrière.
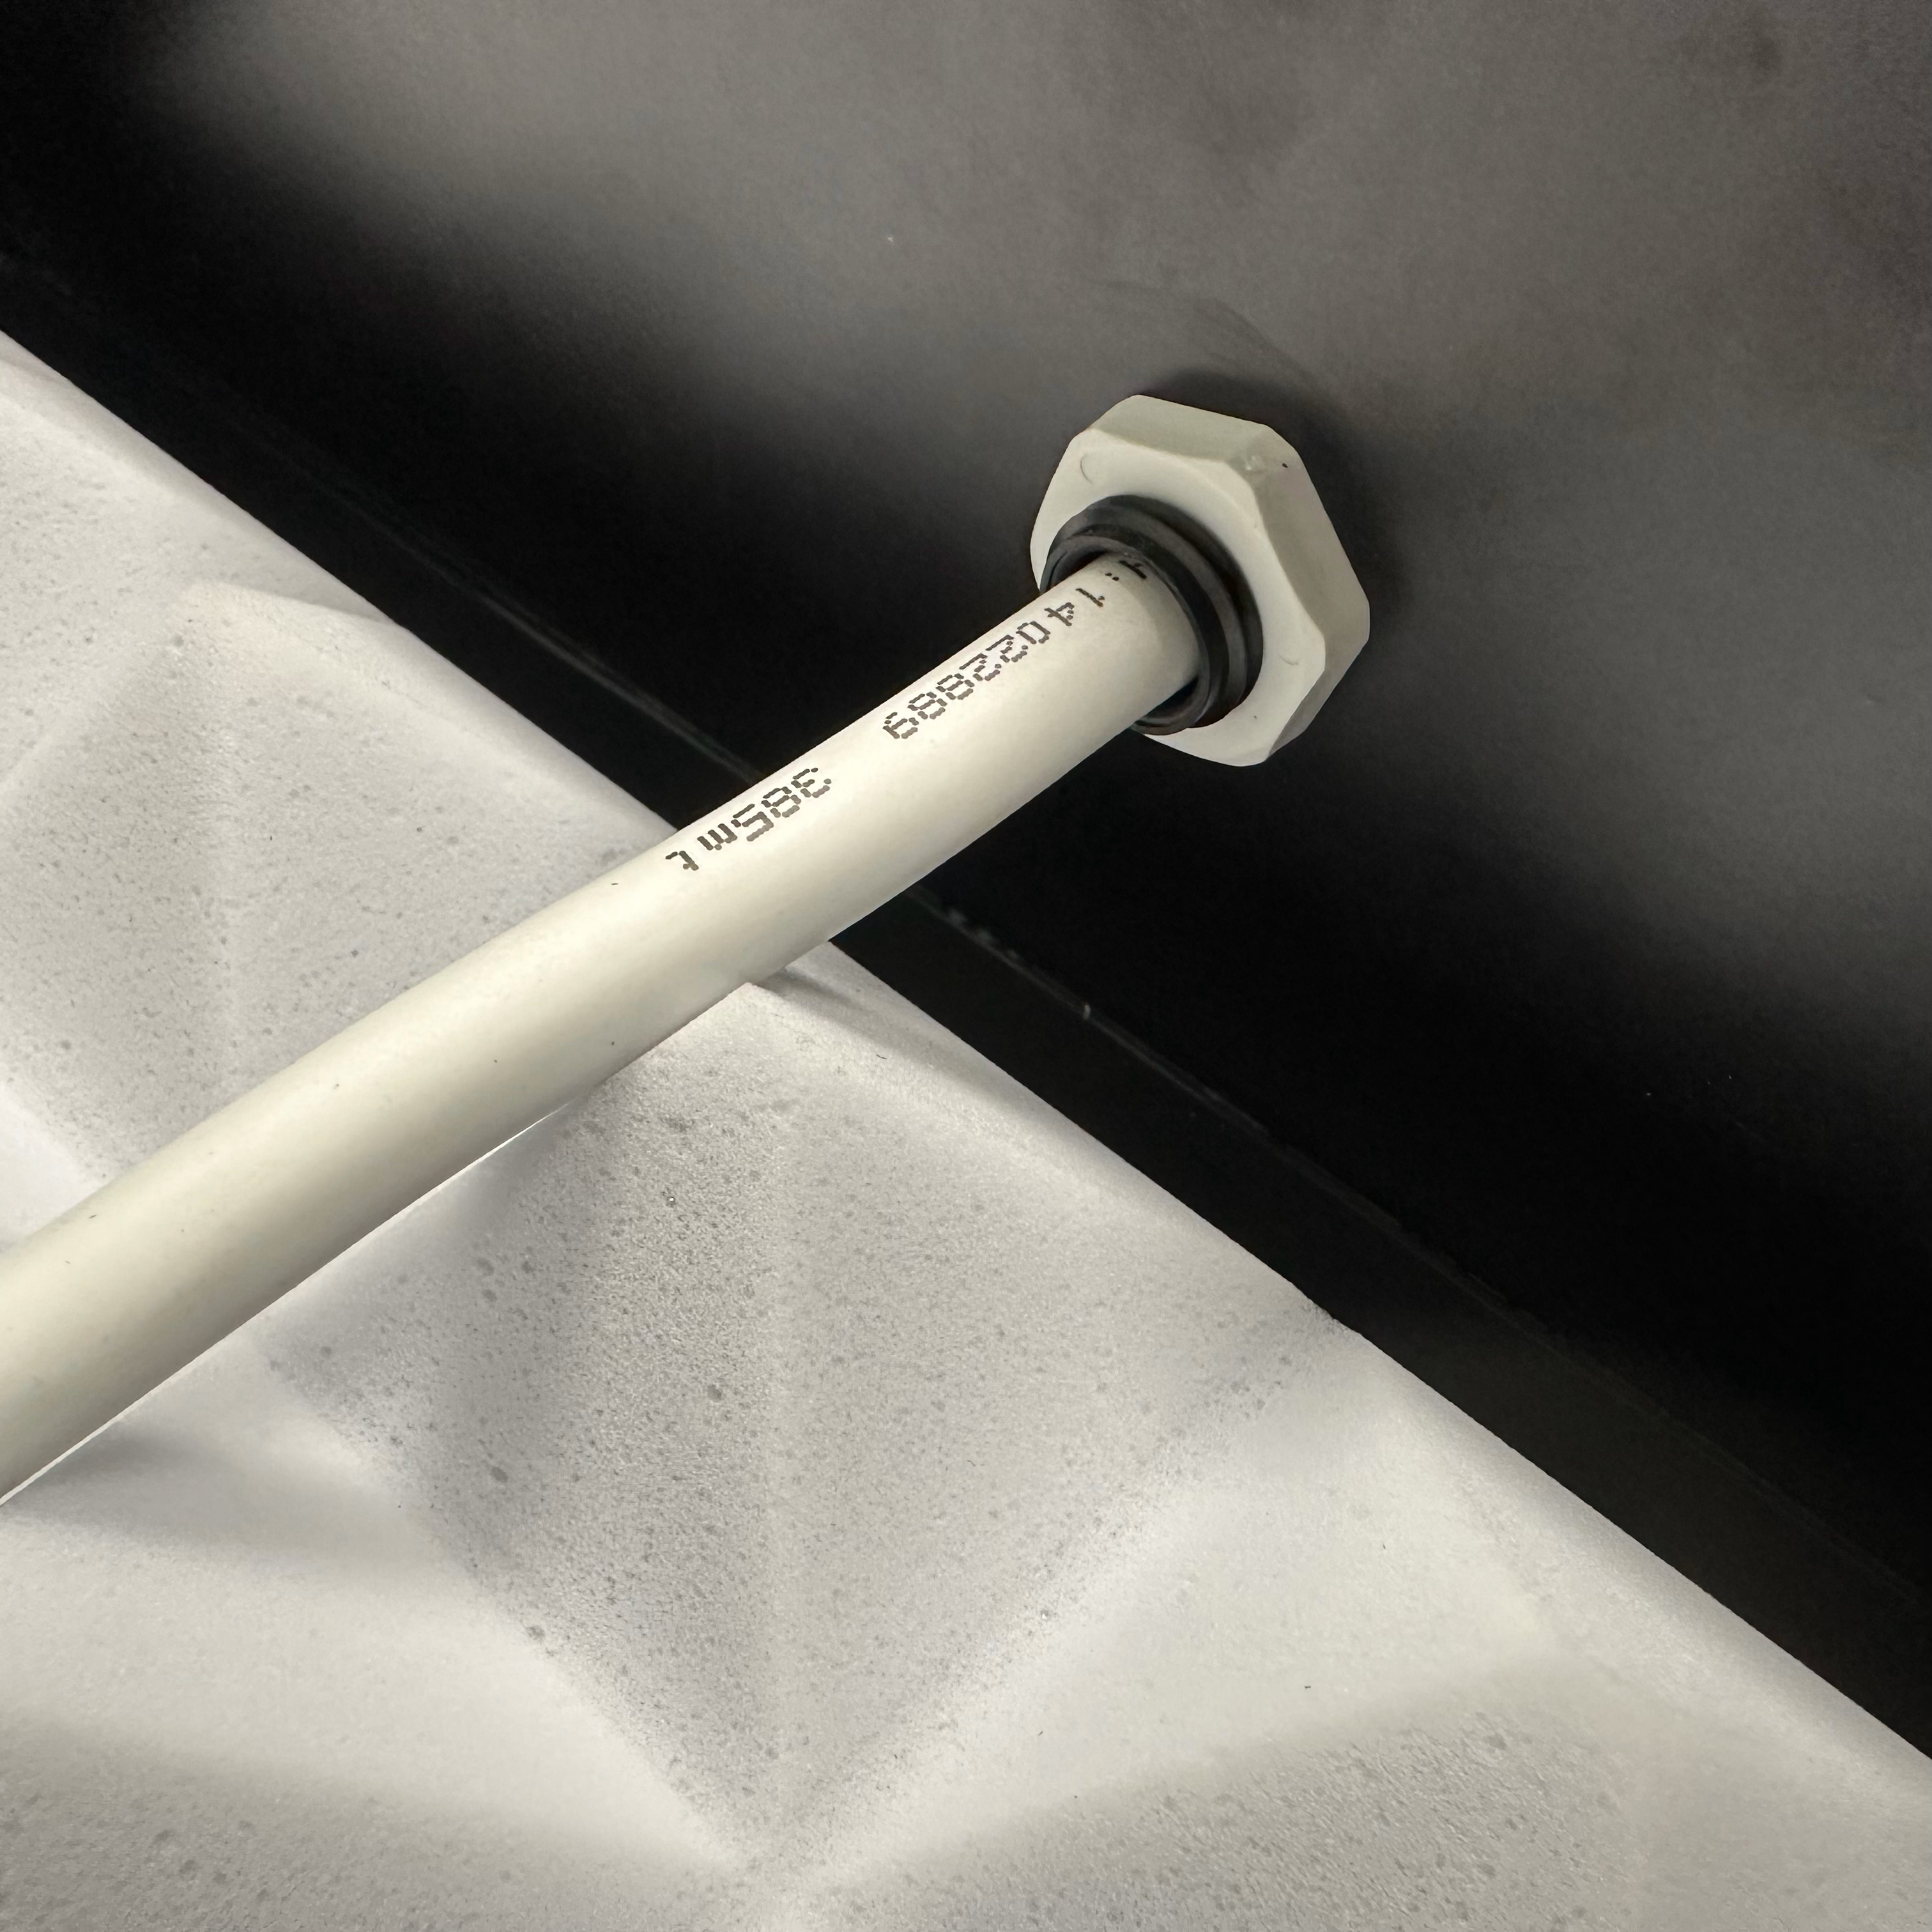
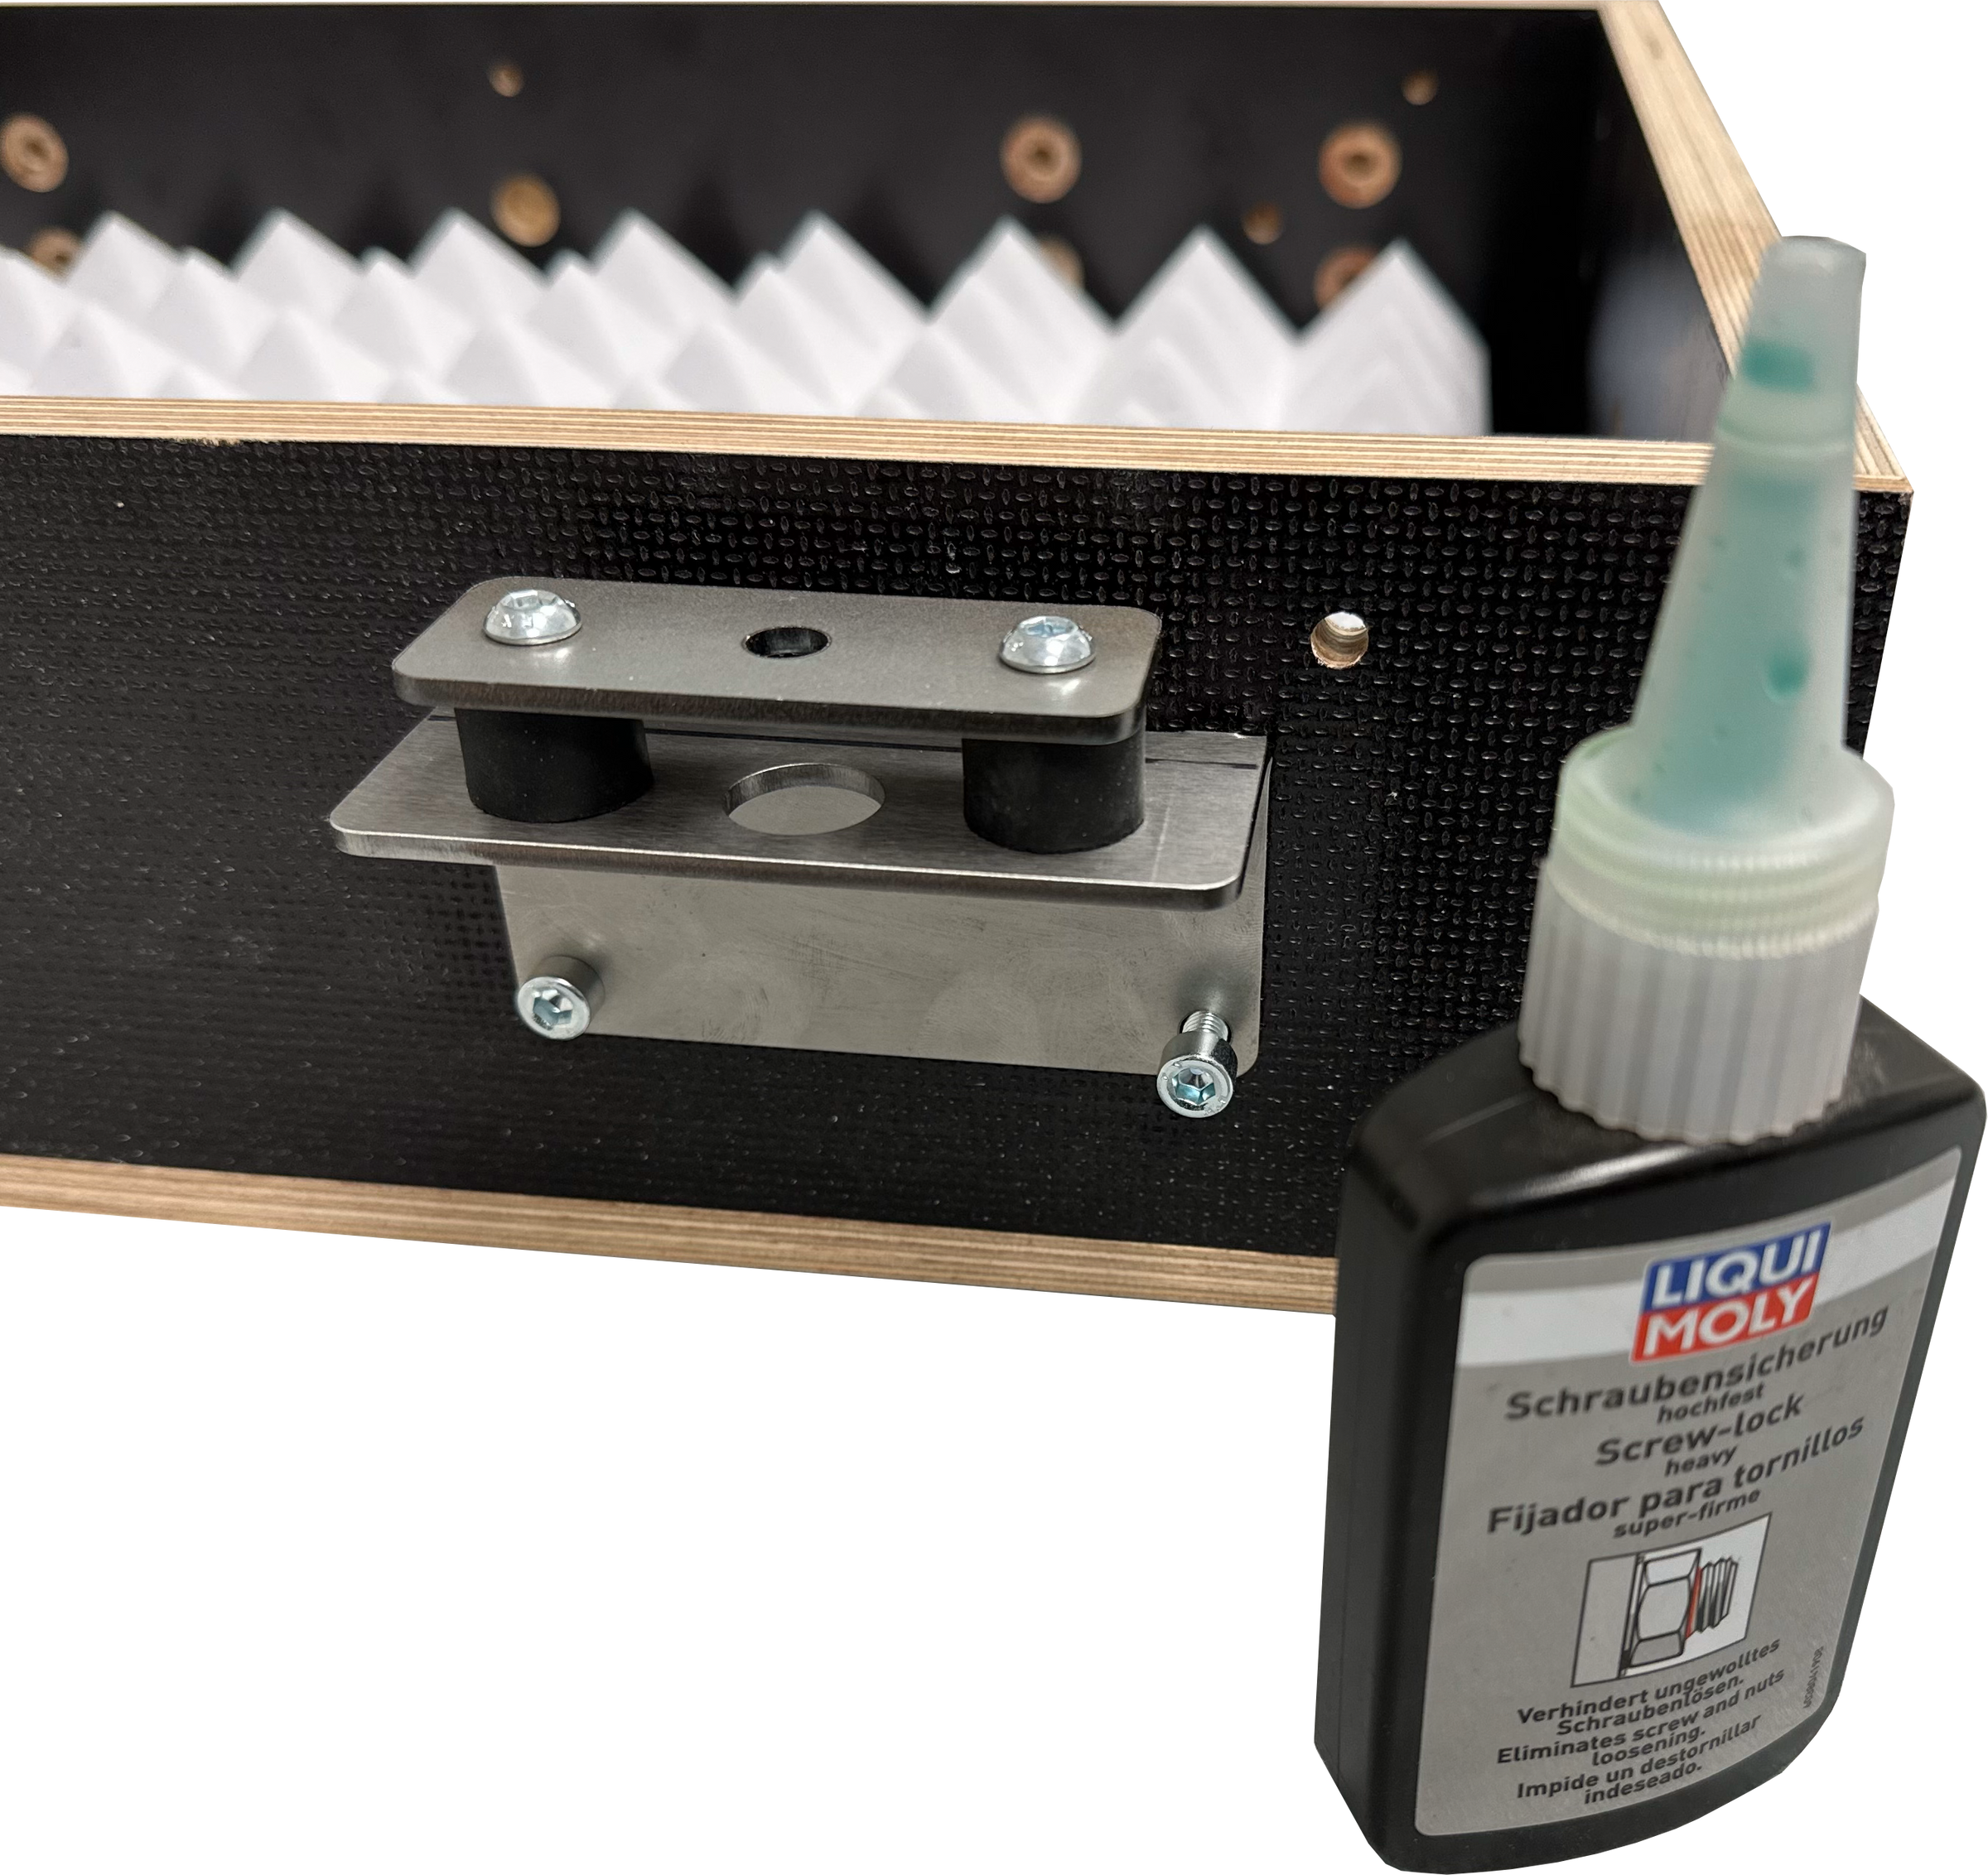
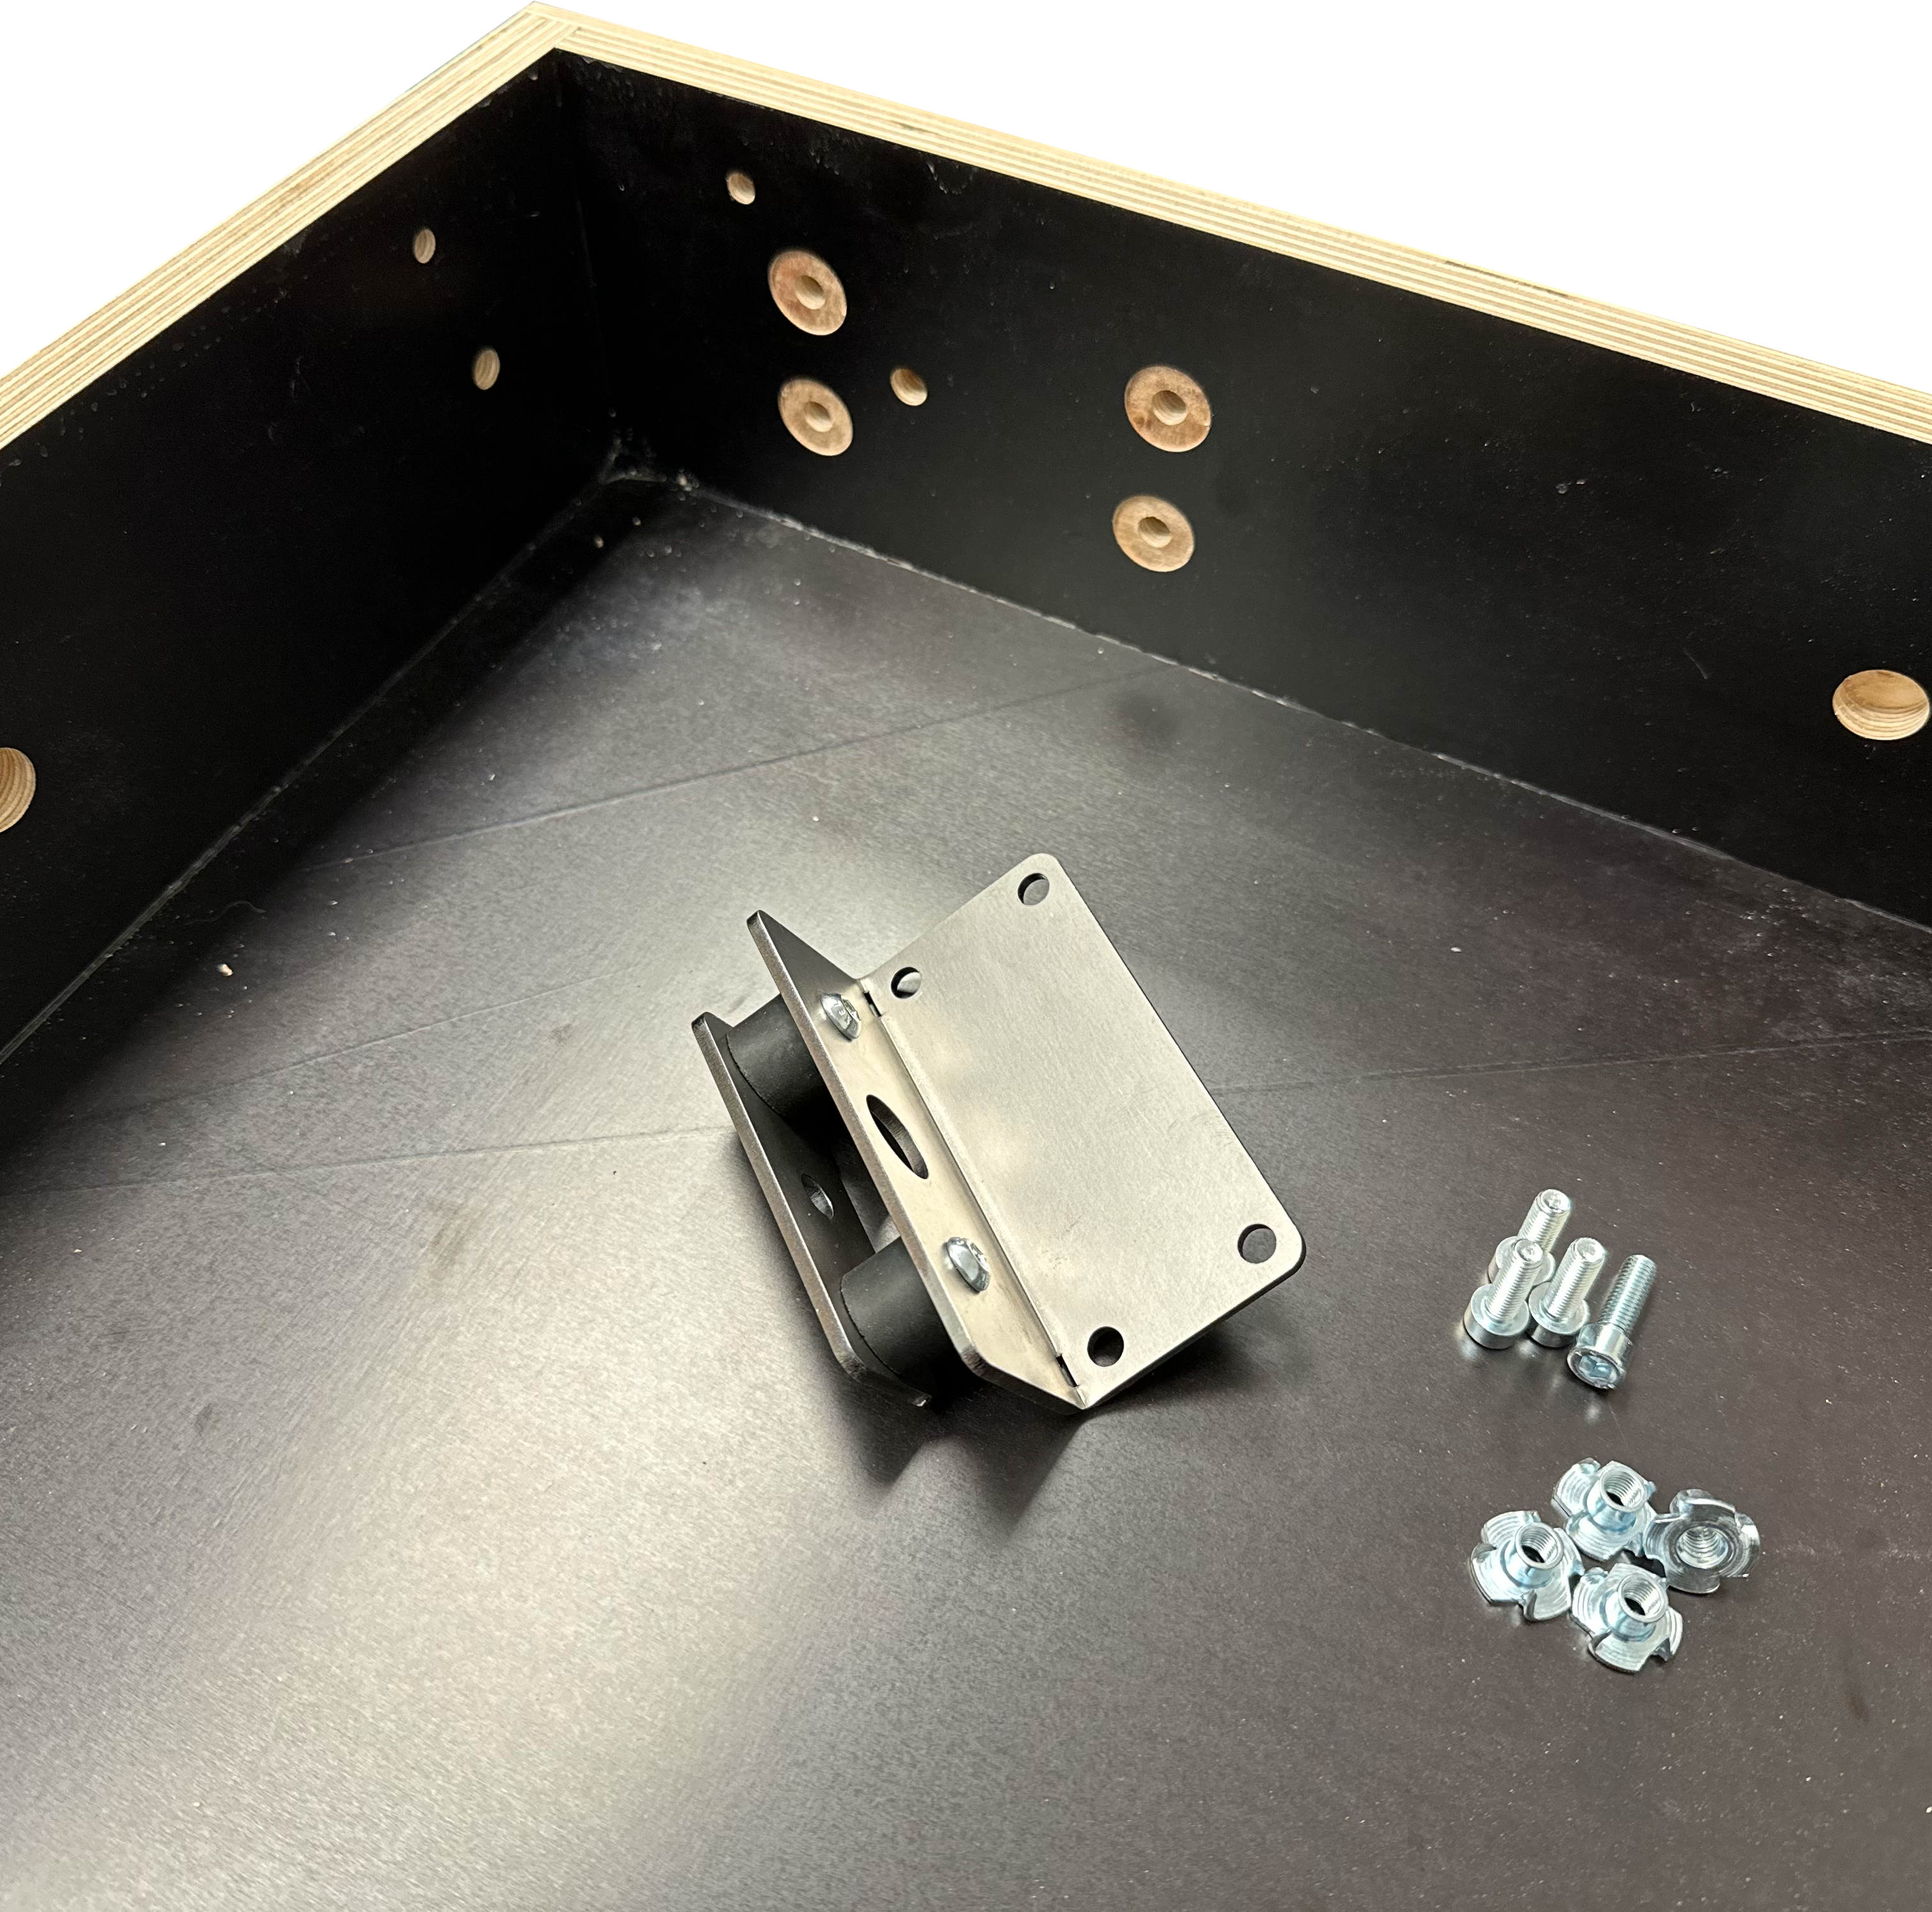
Les amortisseurs de vibration facultatifs innovants permettent désormais de réduire le bruit transmissible par la structure.
Le logement est pré-percé et peut donc être utilisé pour divers environnements d'installation, tels que:
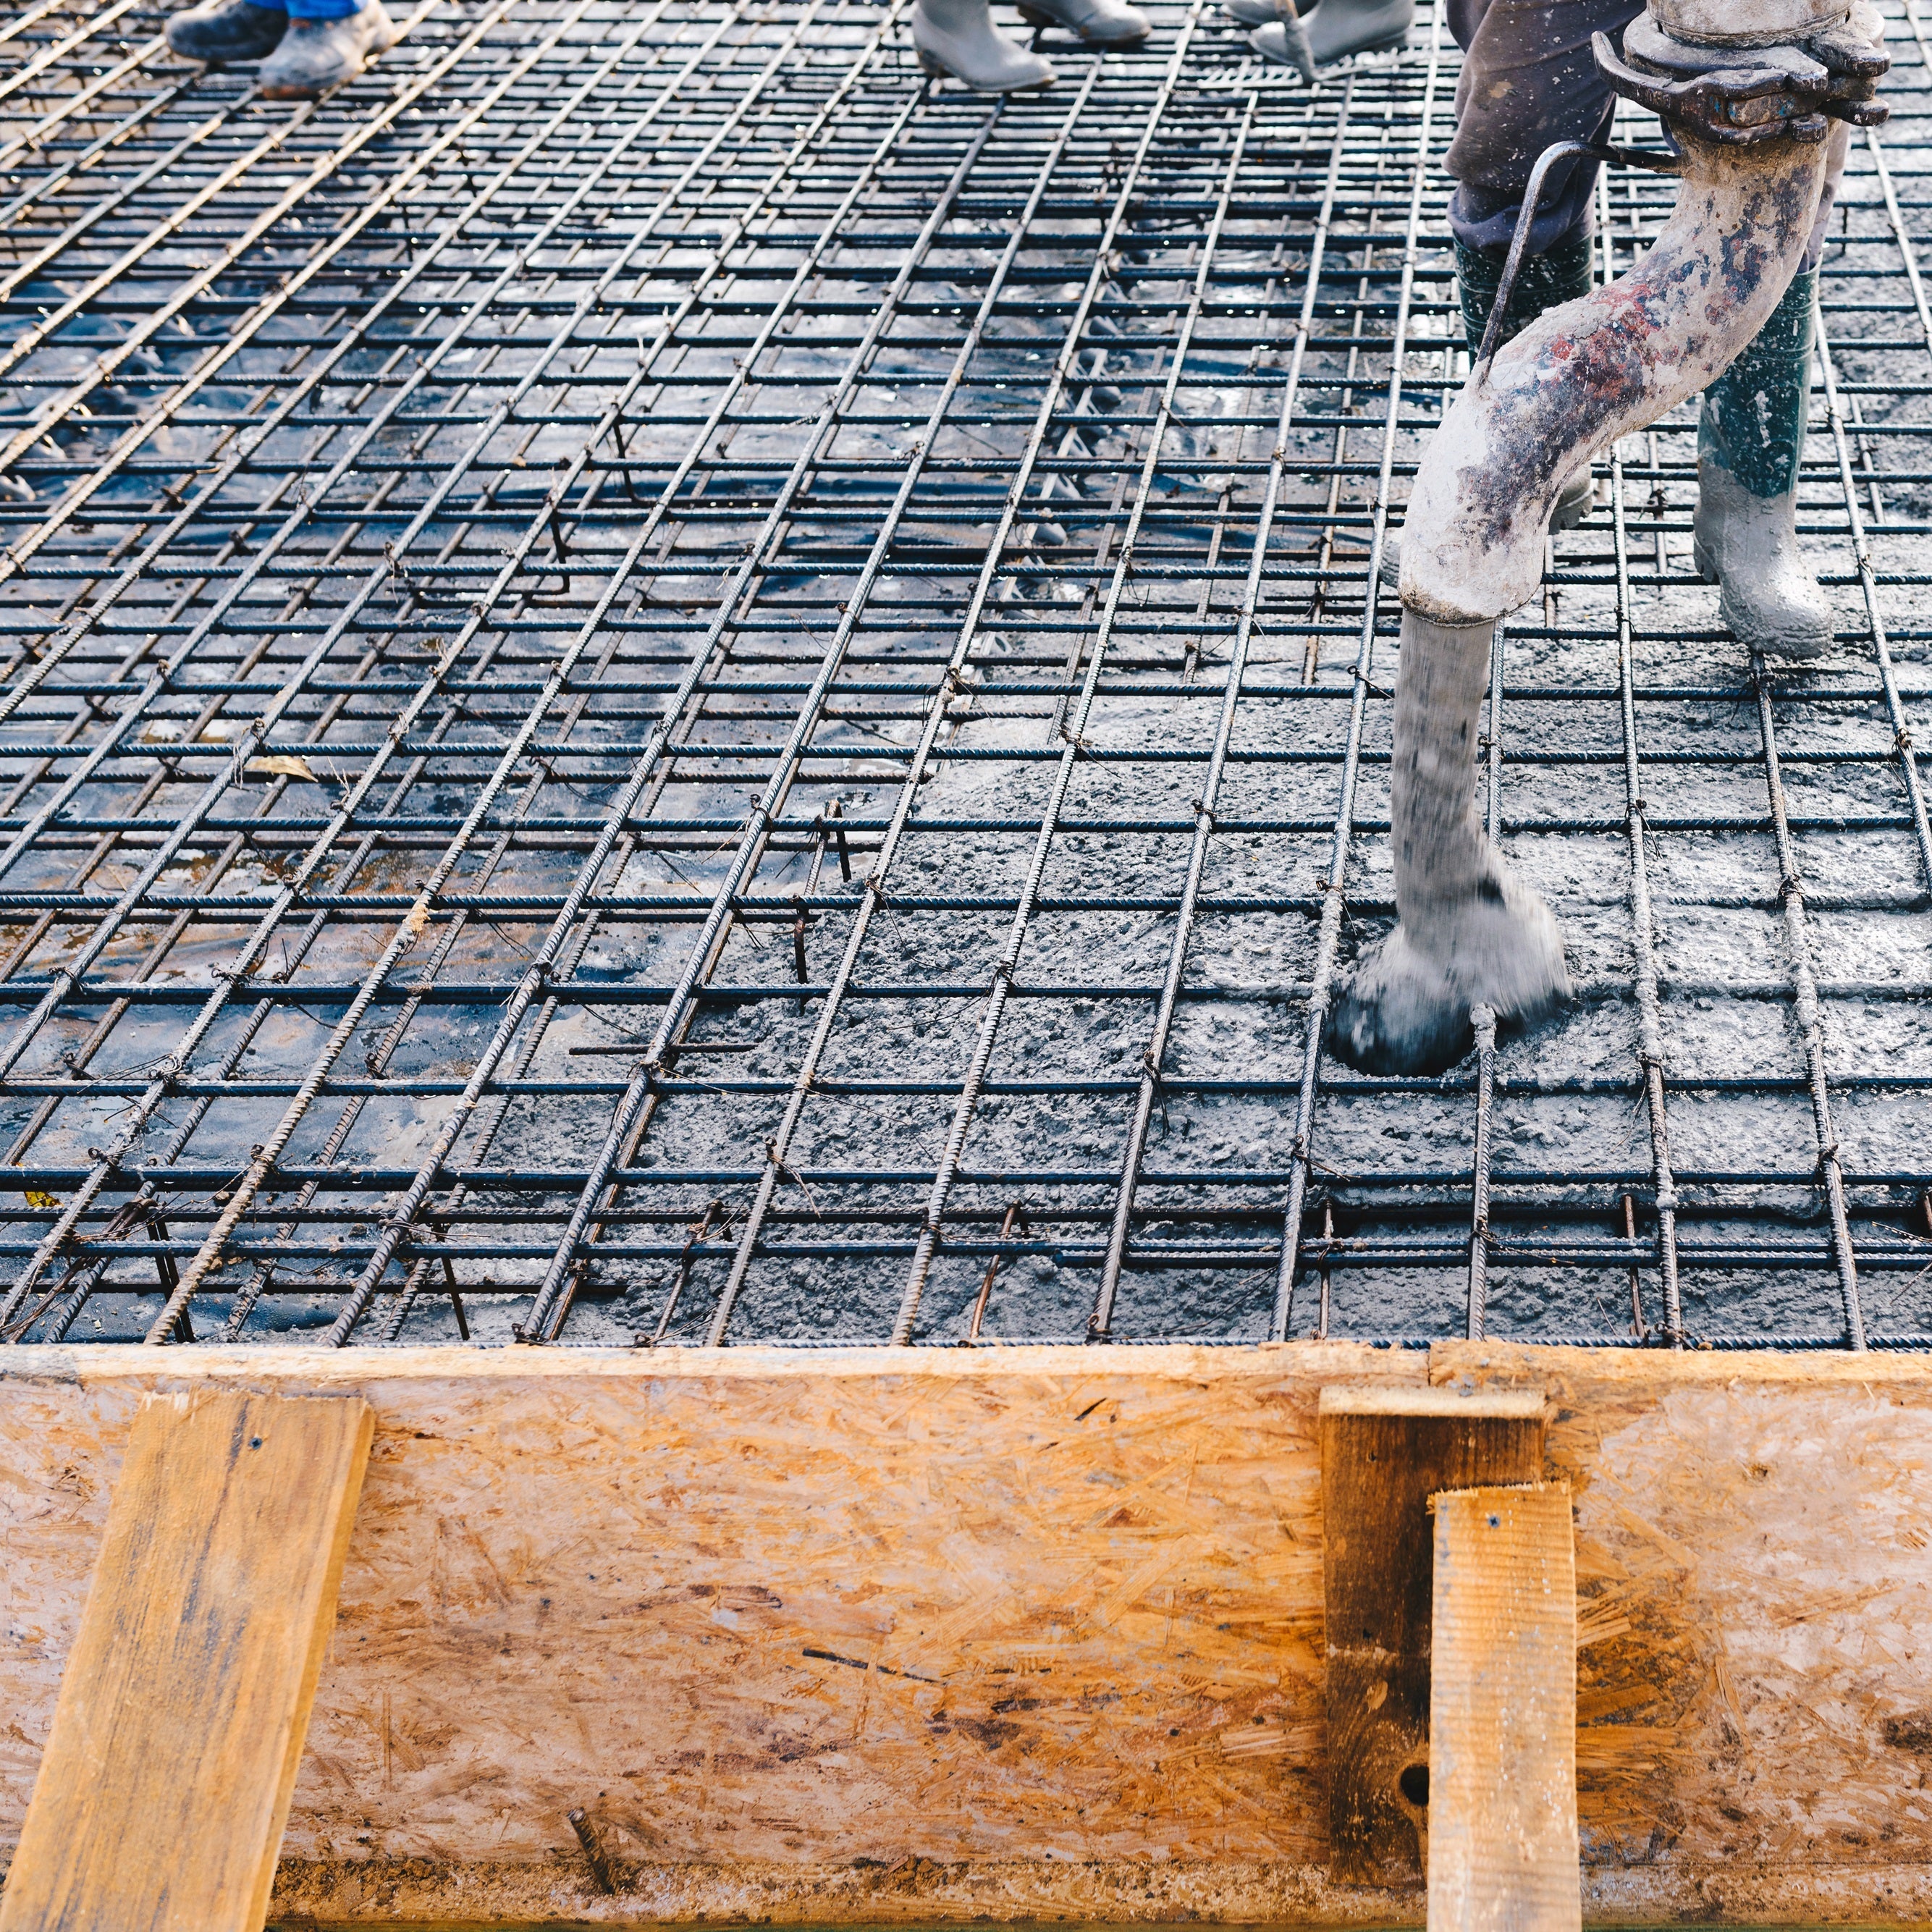
- Installation en béton in situ
- Installation de maçonnerie
- Installation de plafond facile
- Installation de l'amortisseur de vibration (plafond de cloisons sèches en suspension)
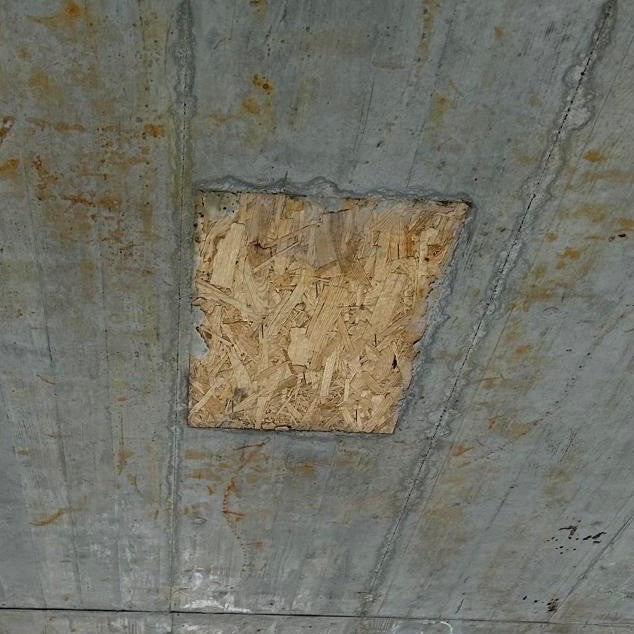
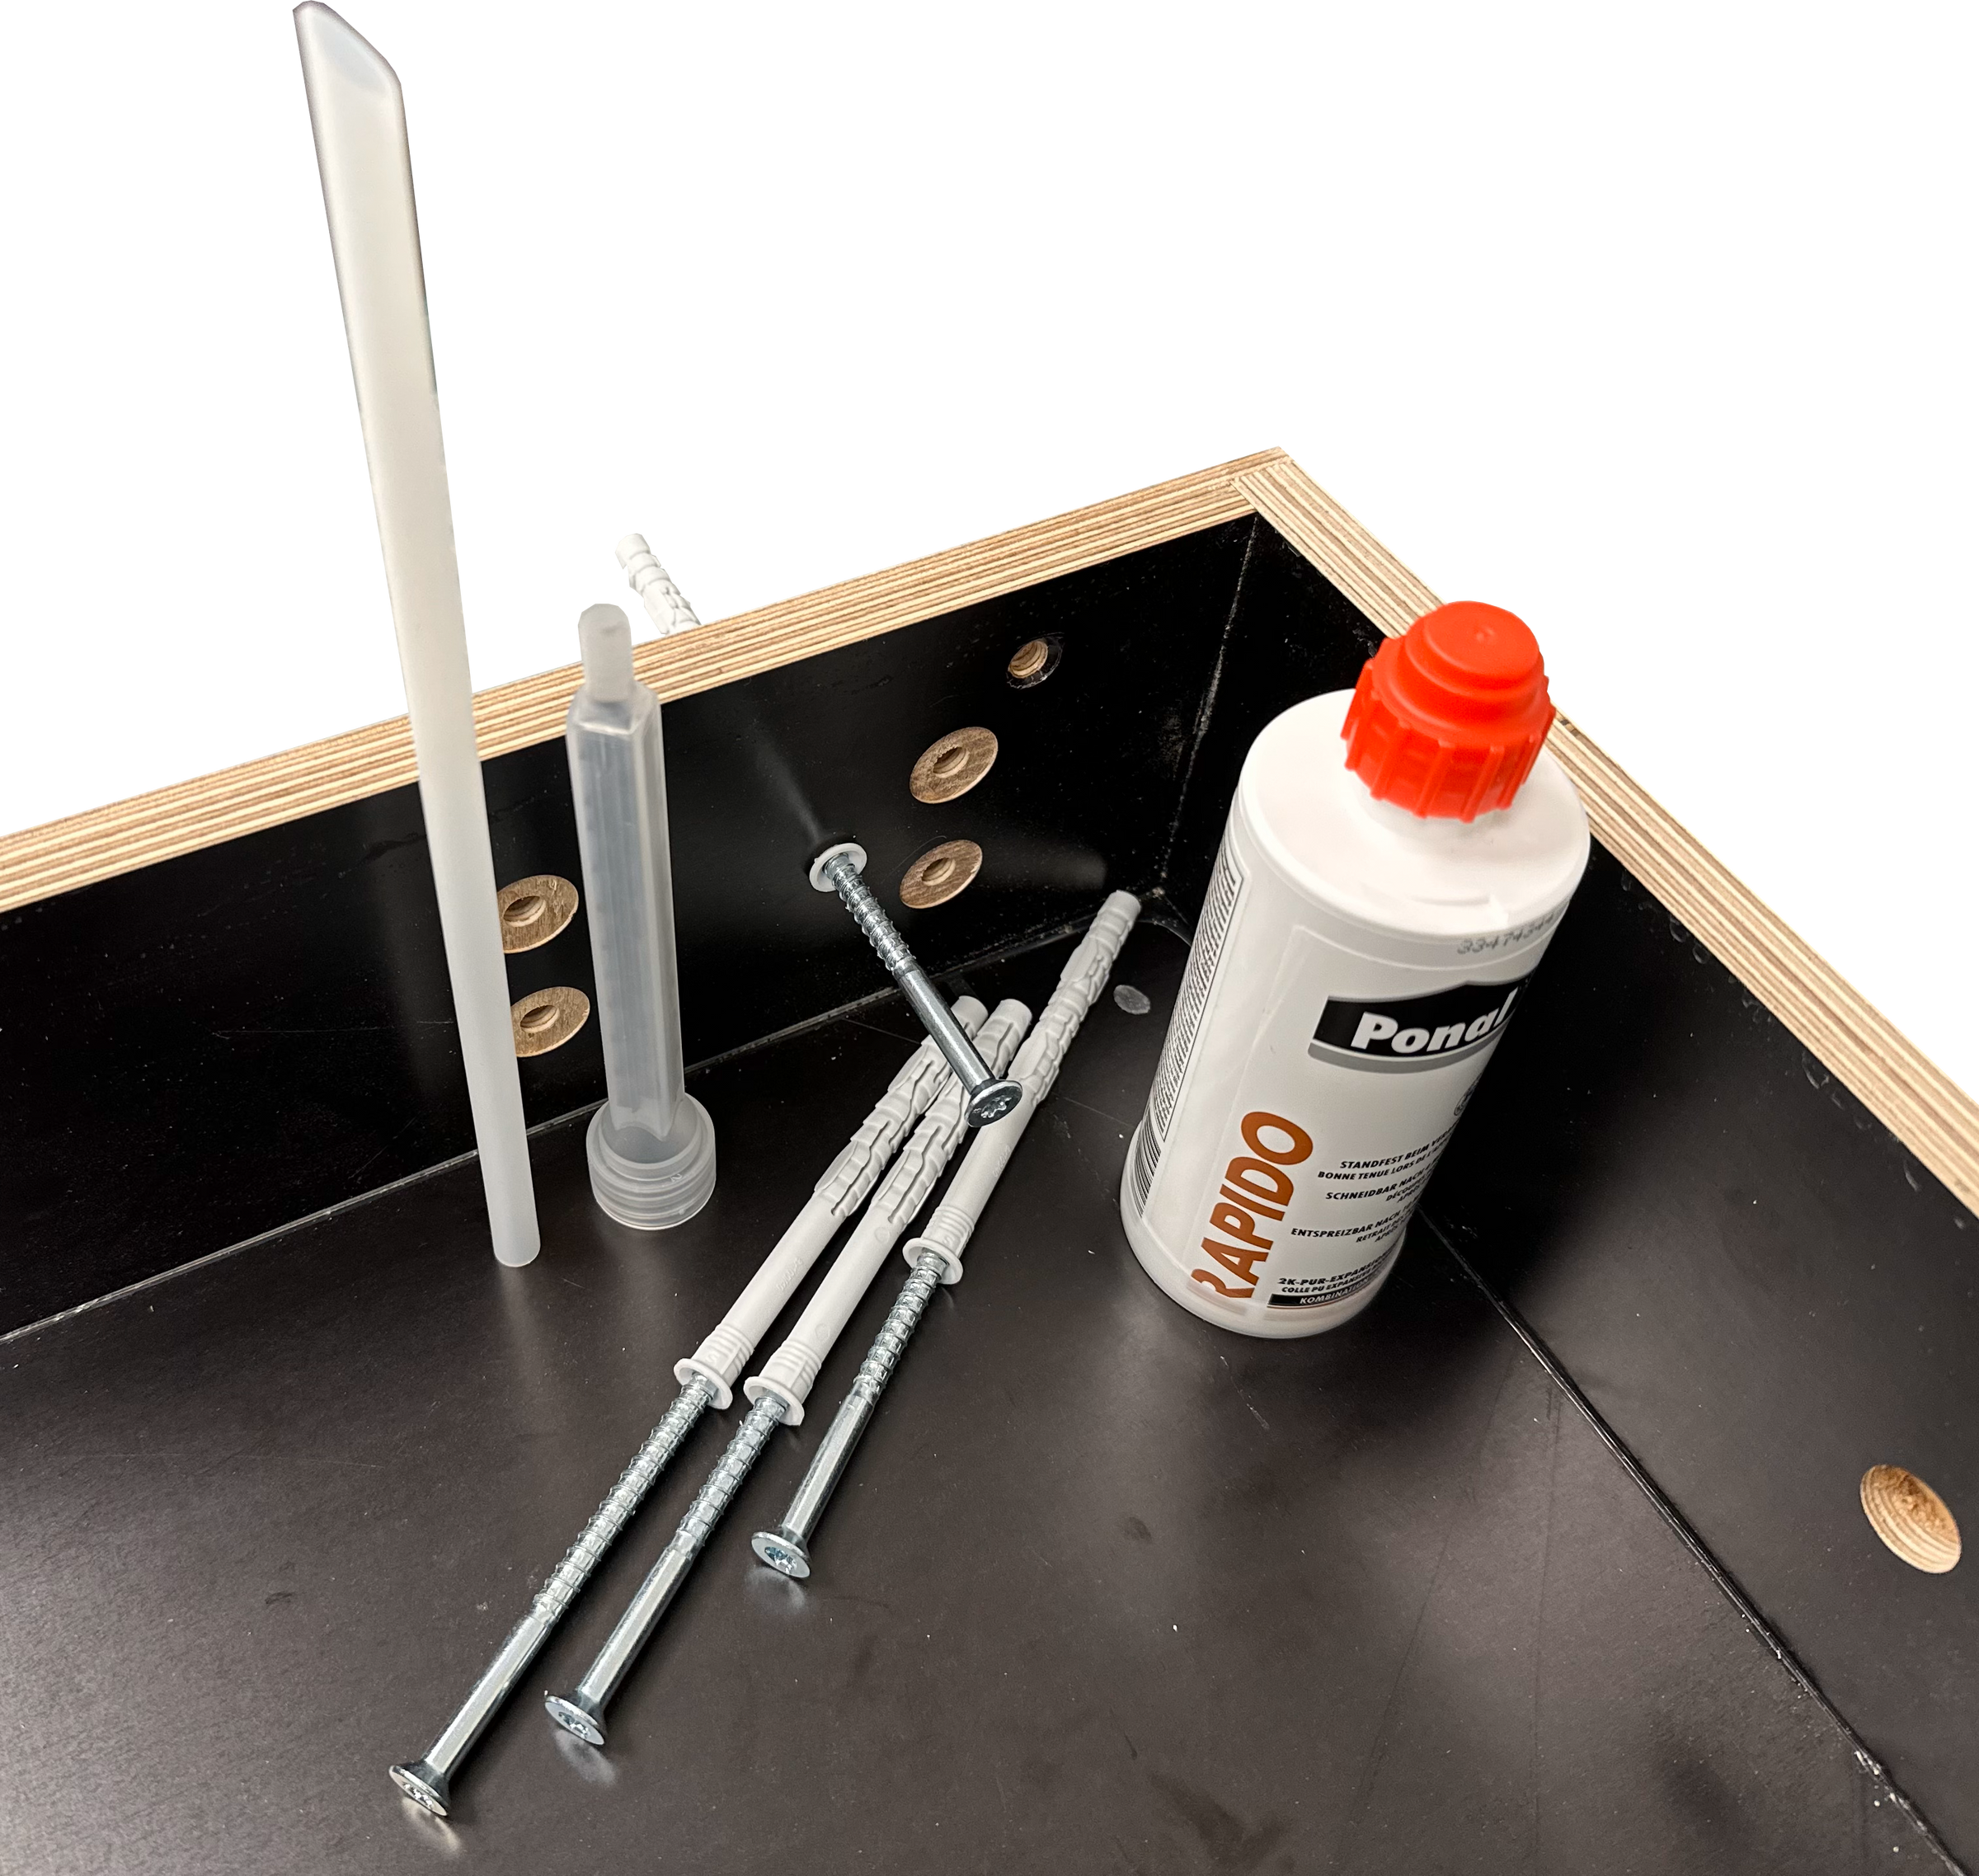
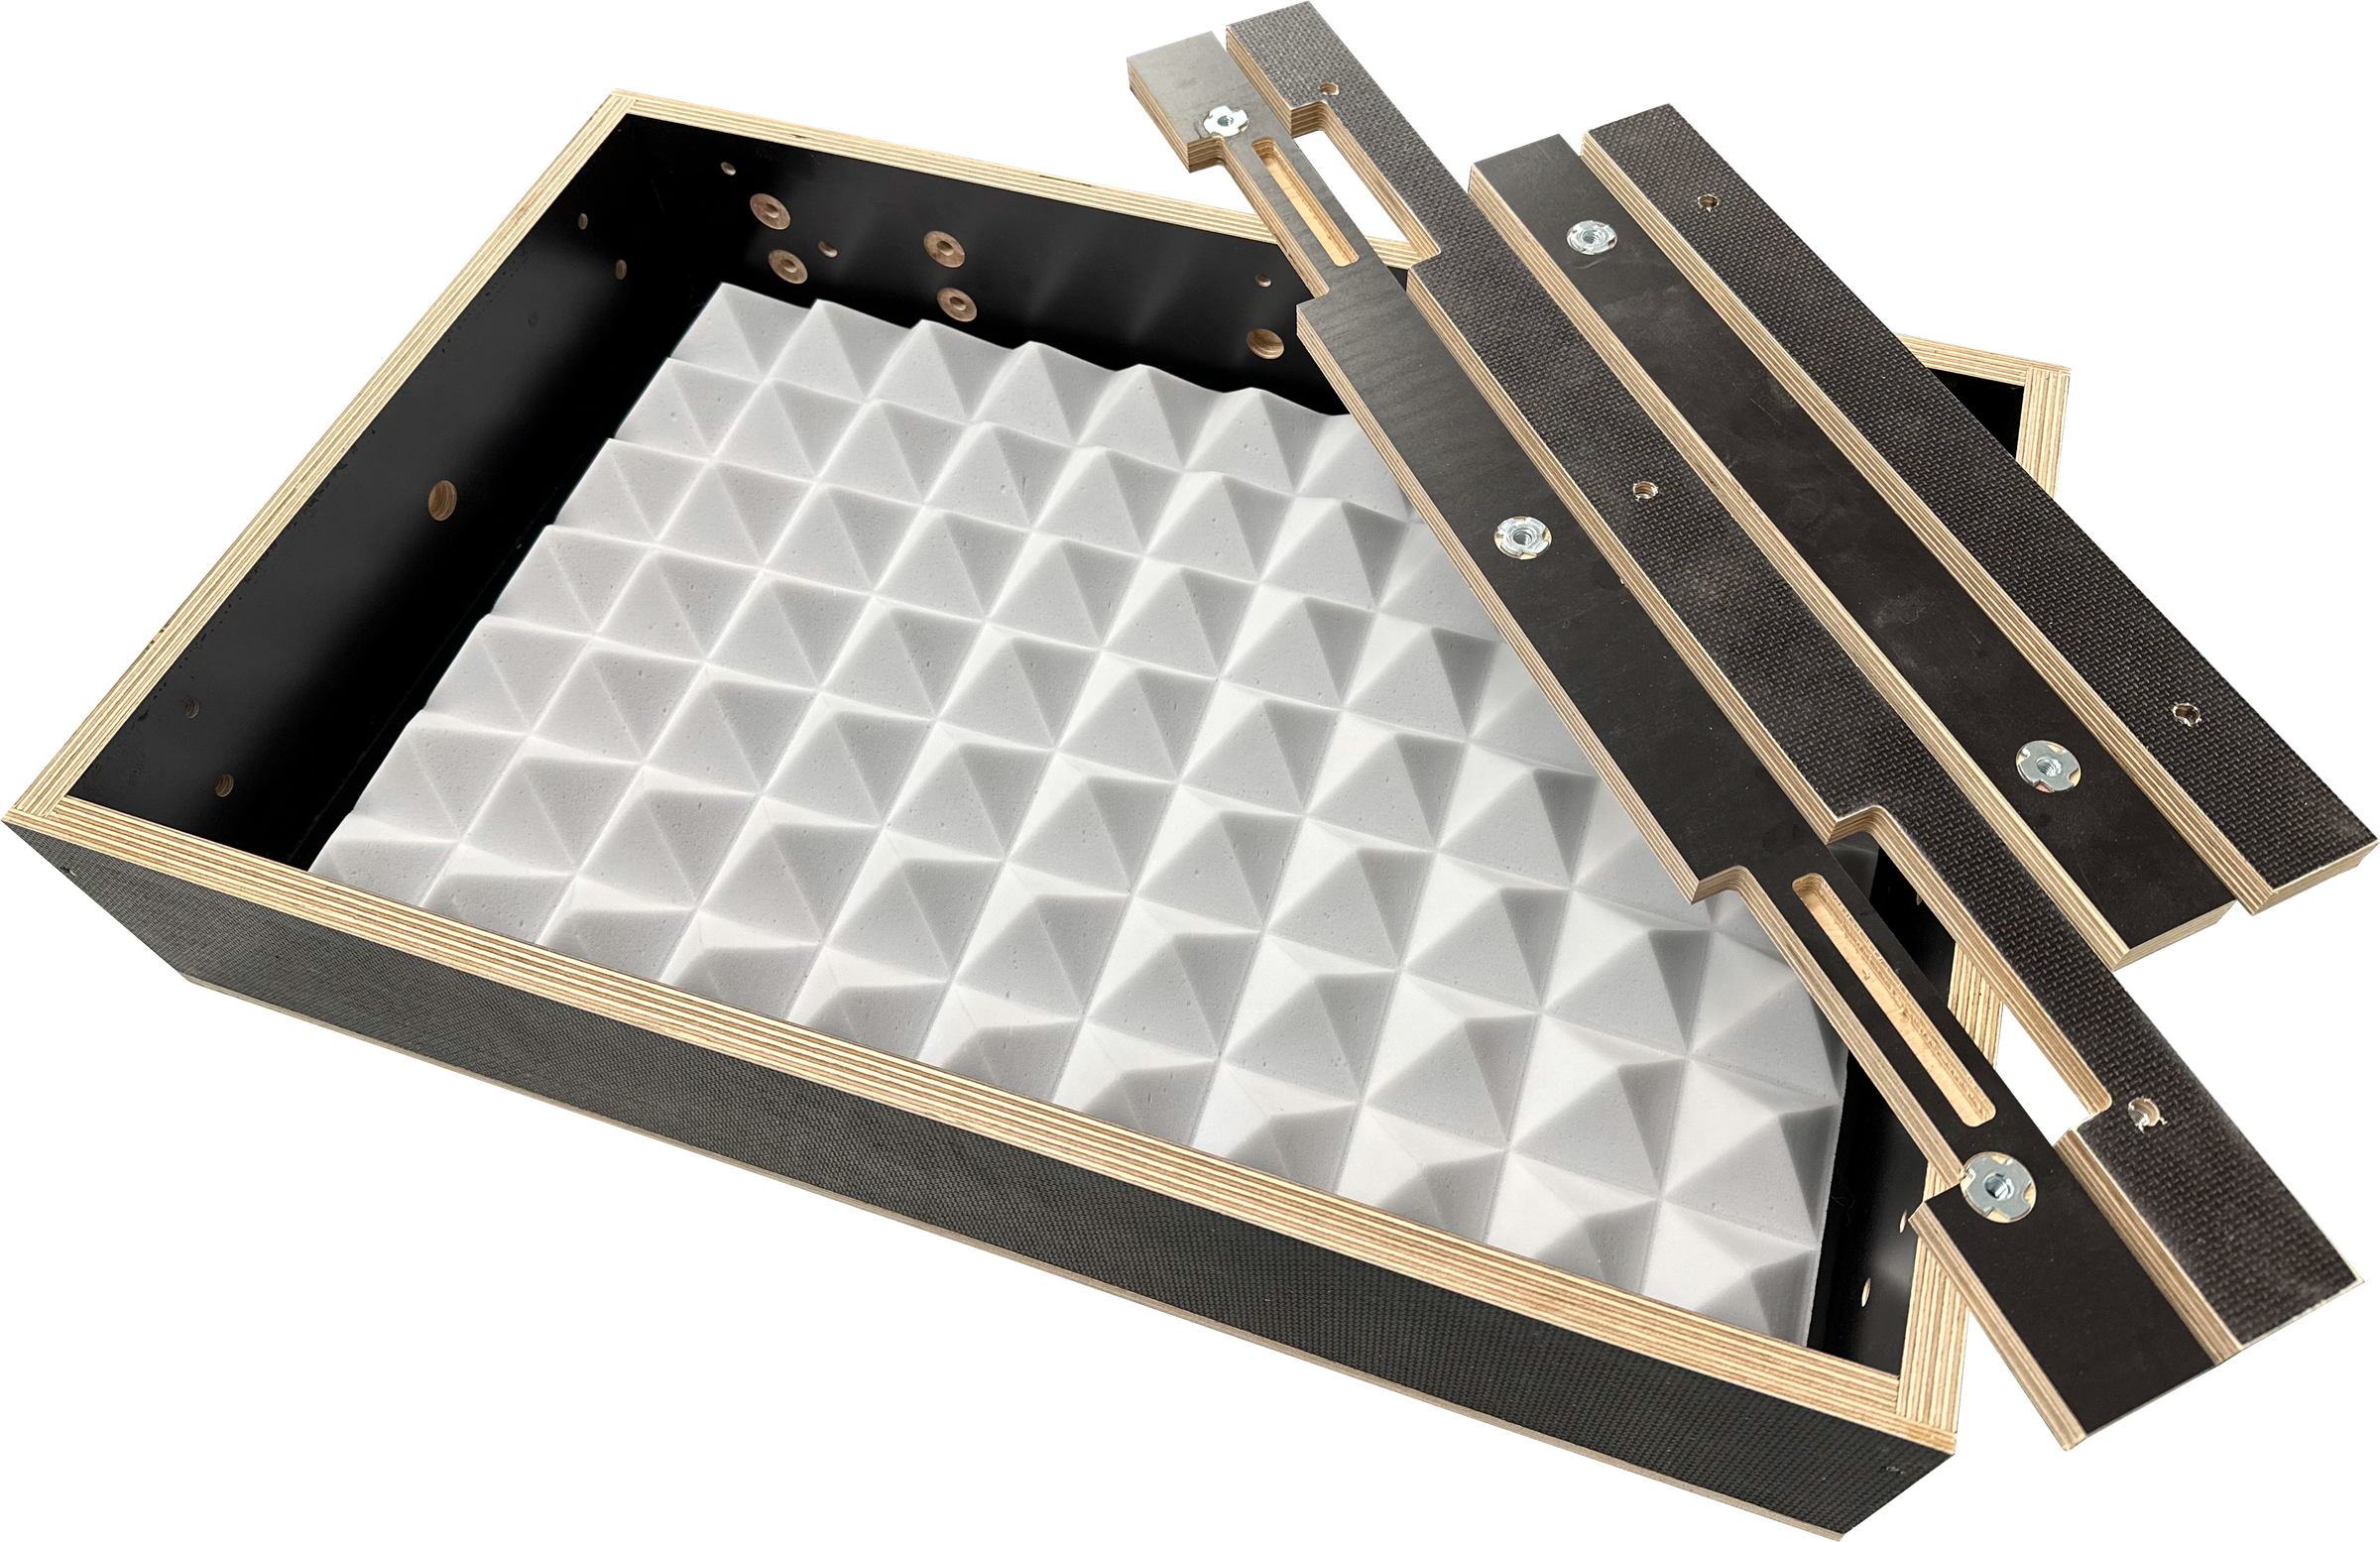
Le cadre d'installation est fourni en standard avec des glandes de câbles de haute qualité et un soulagement de la contrainte intégré de l'OBO, du matériau d'isolation de Basotect® ainsi qu'un panneau à blanc OSB et des lattes d'alignement.
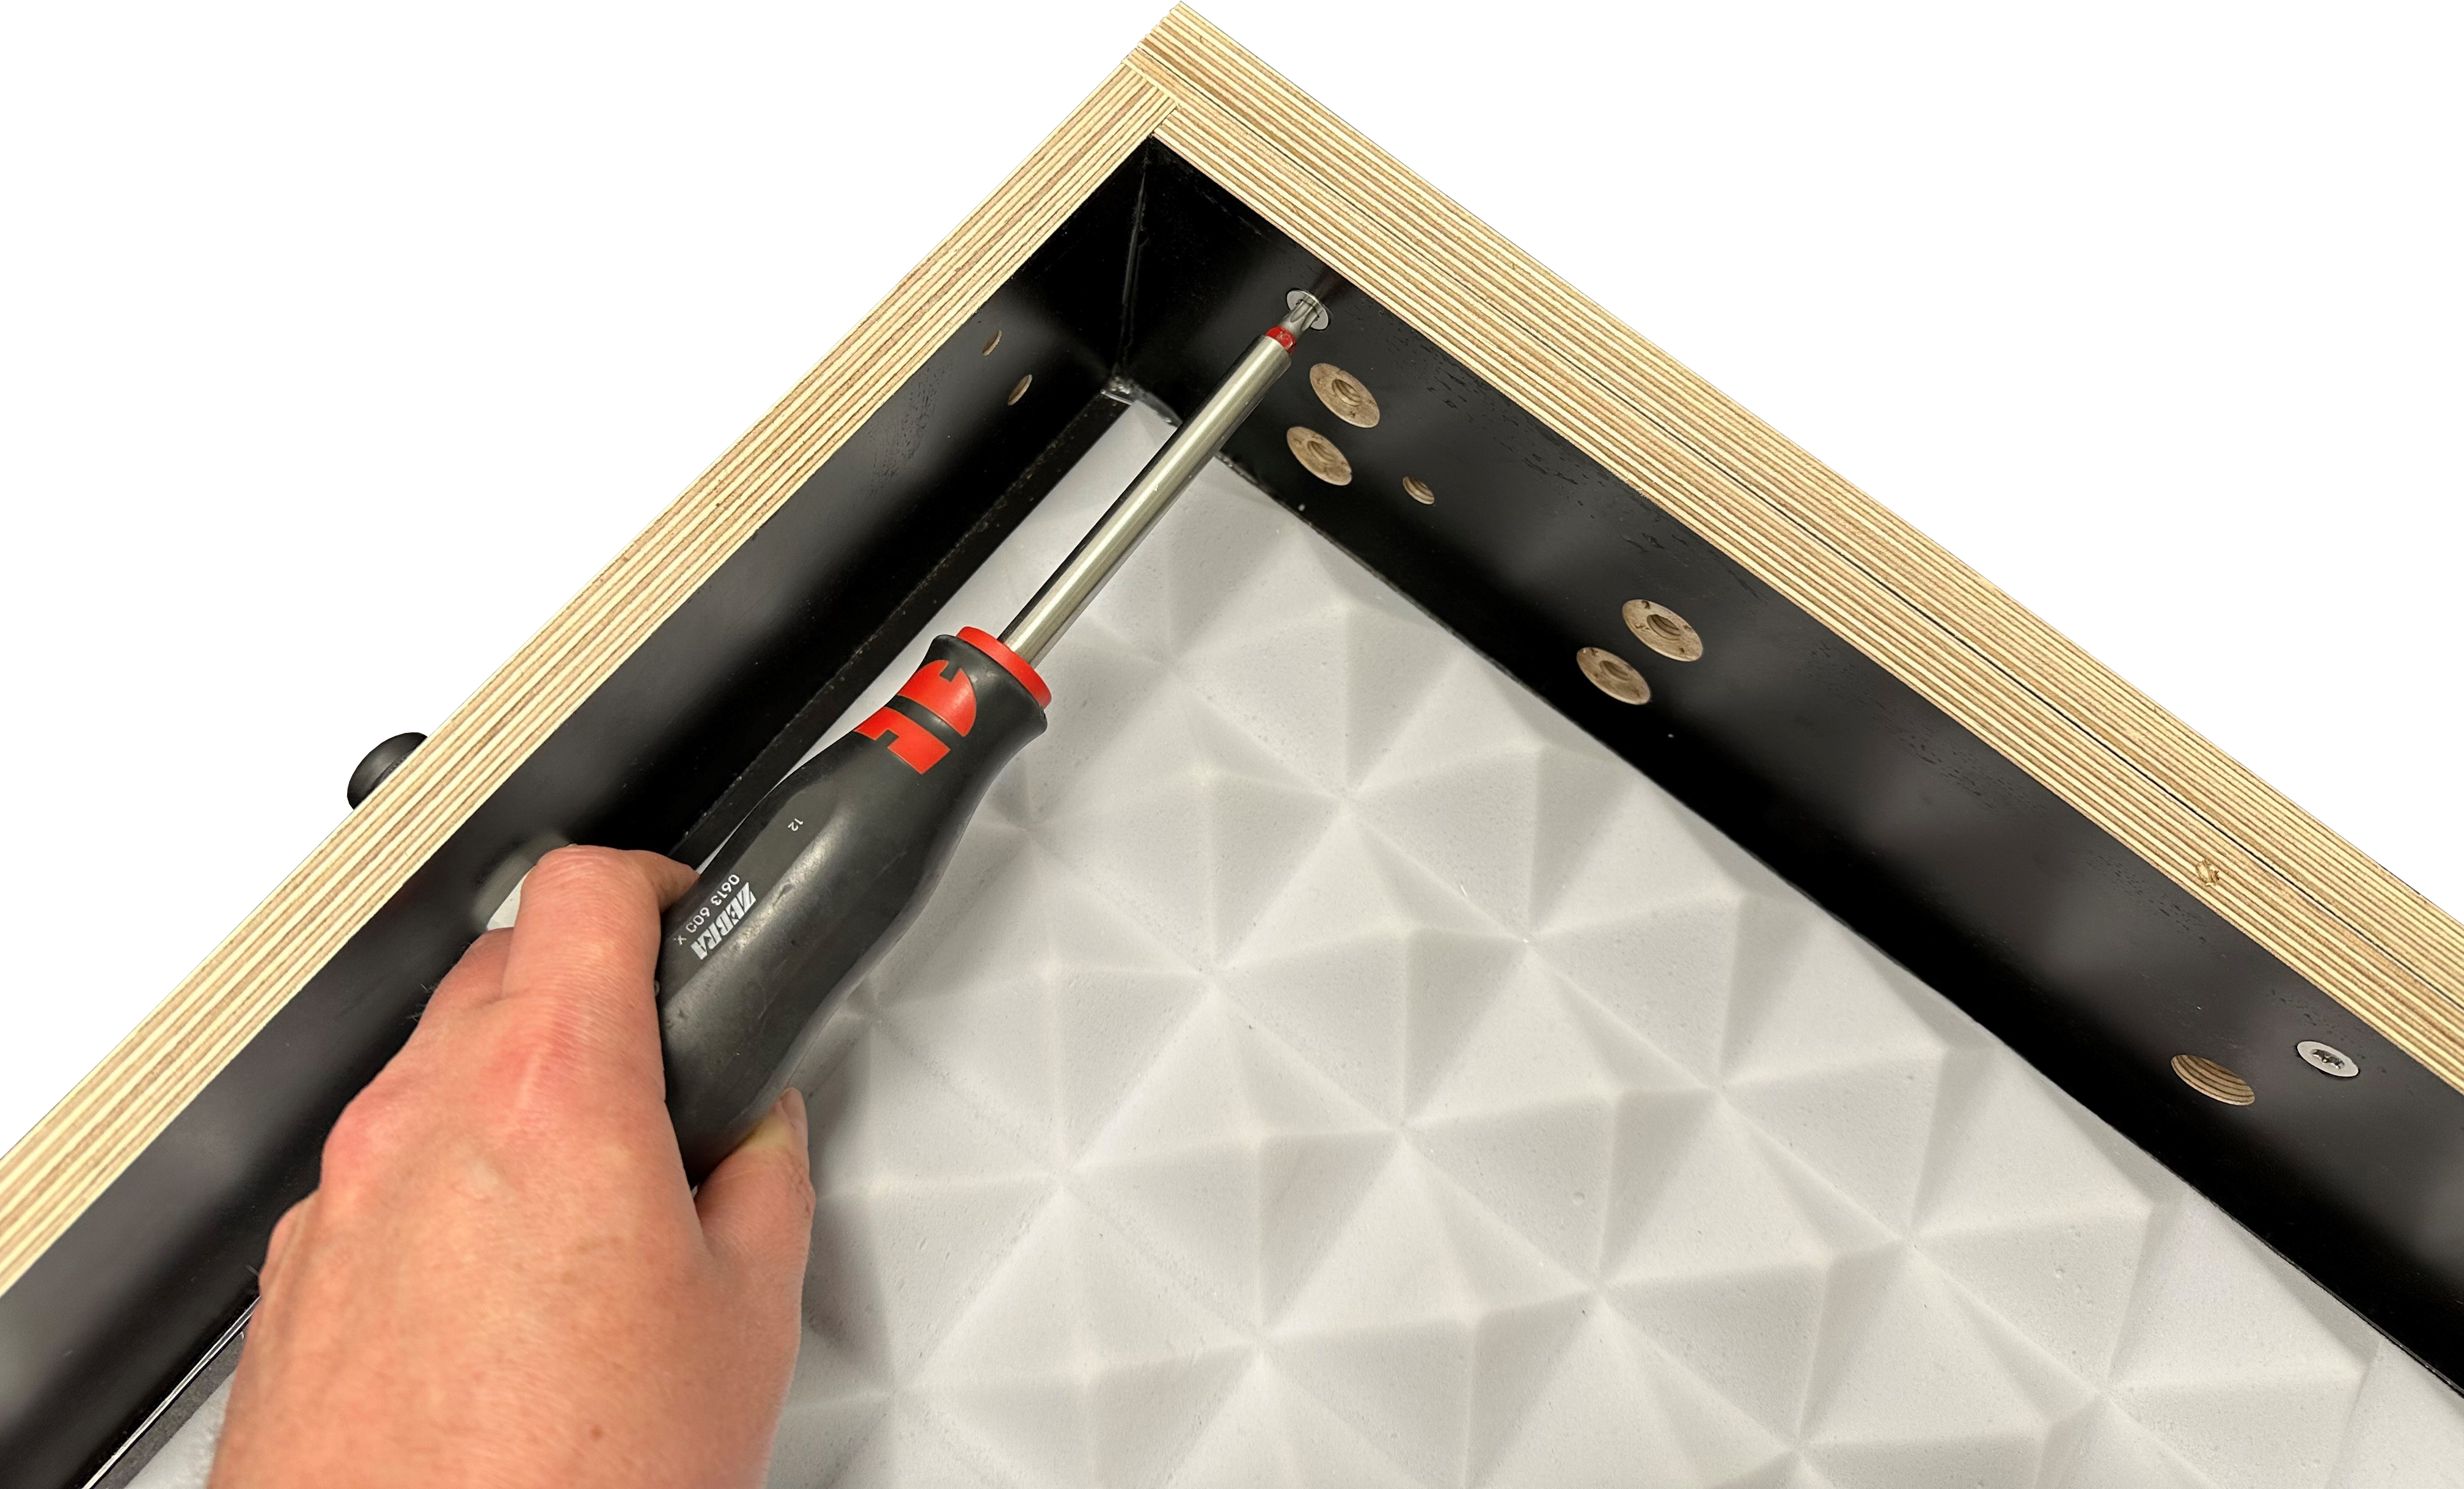
L'installation est facile: les trous pré-percés d'usine sont agrandis avec une perceuse appropriée pour l'application souhaitée, puis la glande de câble, le matériau d'isolation et tous les accessoires sont installés.
sizes and information for:
- 4062 architect
- Only for drywall - very shallow only 5 cm incl. speaker!
- Use cerasonar DSP settings with correct preset for best sound quality!
- Plasterboard can be screwed all round the front plate of the housing (screw length no more than 25 mm)
- Dimensions: 55,5 x 77,5 x 3,7 cm
(4,9 cm incl. OSB plate) - Weight: X,X kg
sizes for:
- 1520 & 2525 fit
- 4062 reference (pro)
- Installation cut out: 42 x 64 x 14 cm
- Dimensions: 40,0 x 62,0 x 12,0 cm
(13,2 cm incl. OSB plate or CNC milled installation plate for 1520 & 2525 fit) - Weight: 4,8 kg
sizes for:
- 6062 reference (pro)
- 6062 sub
- Installation cut out: 62 x 64 x 14 cm
- Dimensions: 60,0 x 62,0 x 12,0 cm
(13,2 cm incl. OSB blank plate) - Weight: 7,1 kg
sizes for:
- 4080 ultimate
- Installation cut out: 42 x 82 x 14 cm
- Dimensions: 40,0 x 80,0 x 12,0 cm
(13,2 cm incl. OSB blank plate) - Weight: 6,1 kg
sizes for:
- 10040 sub
- Installation cut out: 42 x 102 x 14 cm
- Dimensions: 40,0 x 100,0 x 12,0 cm
(13,2 cm incl. OSB blank plate) - Weight: 7,7 kg
sizes for:
- 13362 sub
- Installation cut out: 135,5 x 64 x 16,5 cm
- Dimensions: 133,5 x 62 x 14,5 cm
(15,7 cm incl. OSB blank plate) - Weight: X,X kg
installation frames (backboxes) - DOWNLOAD