


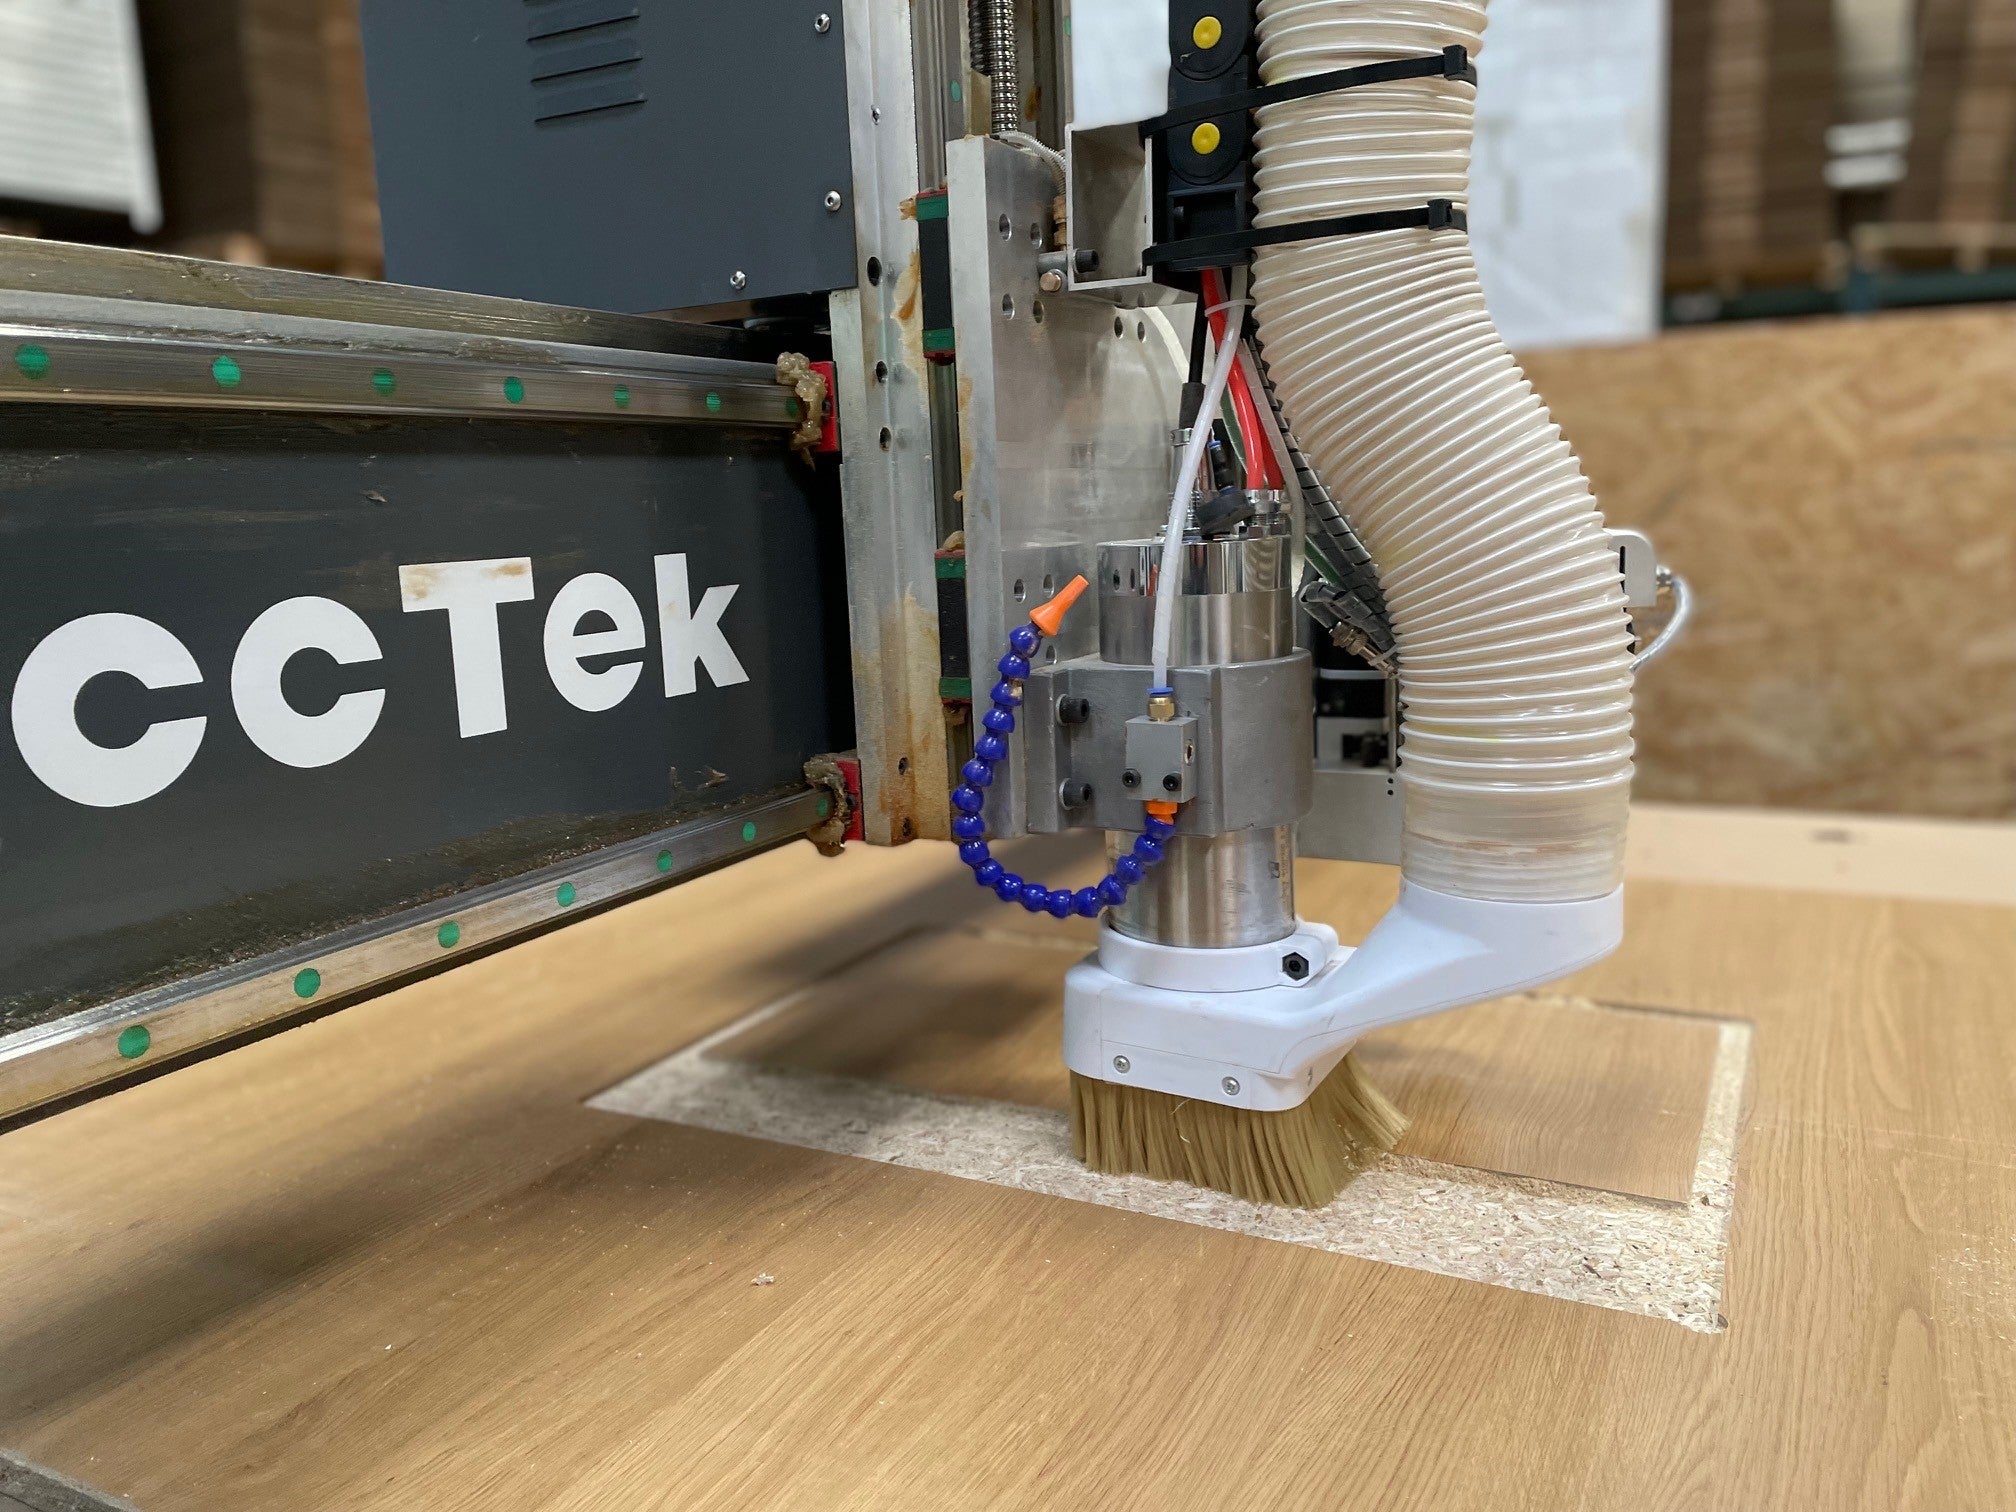
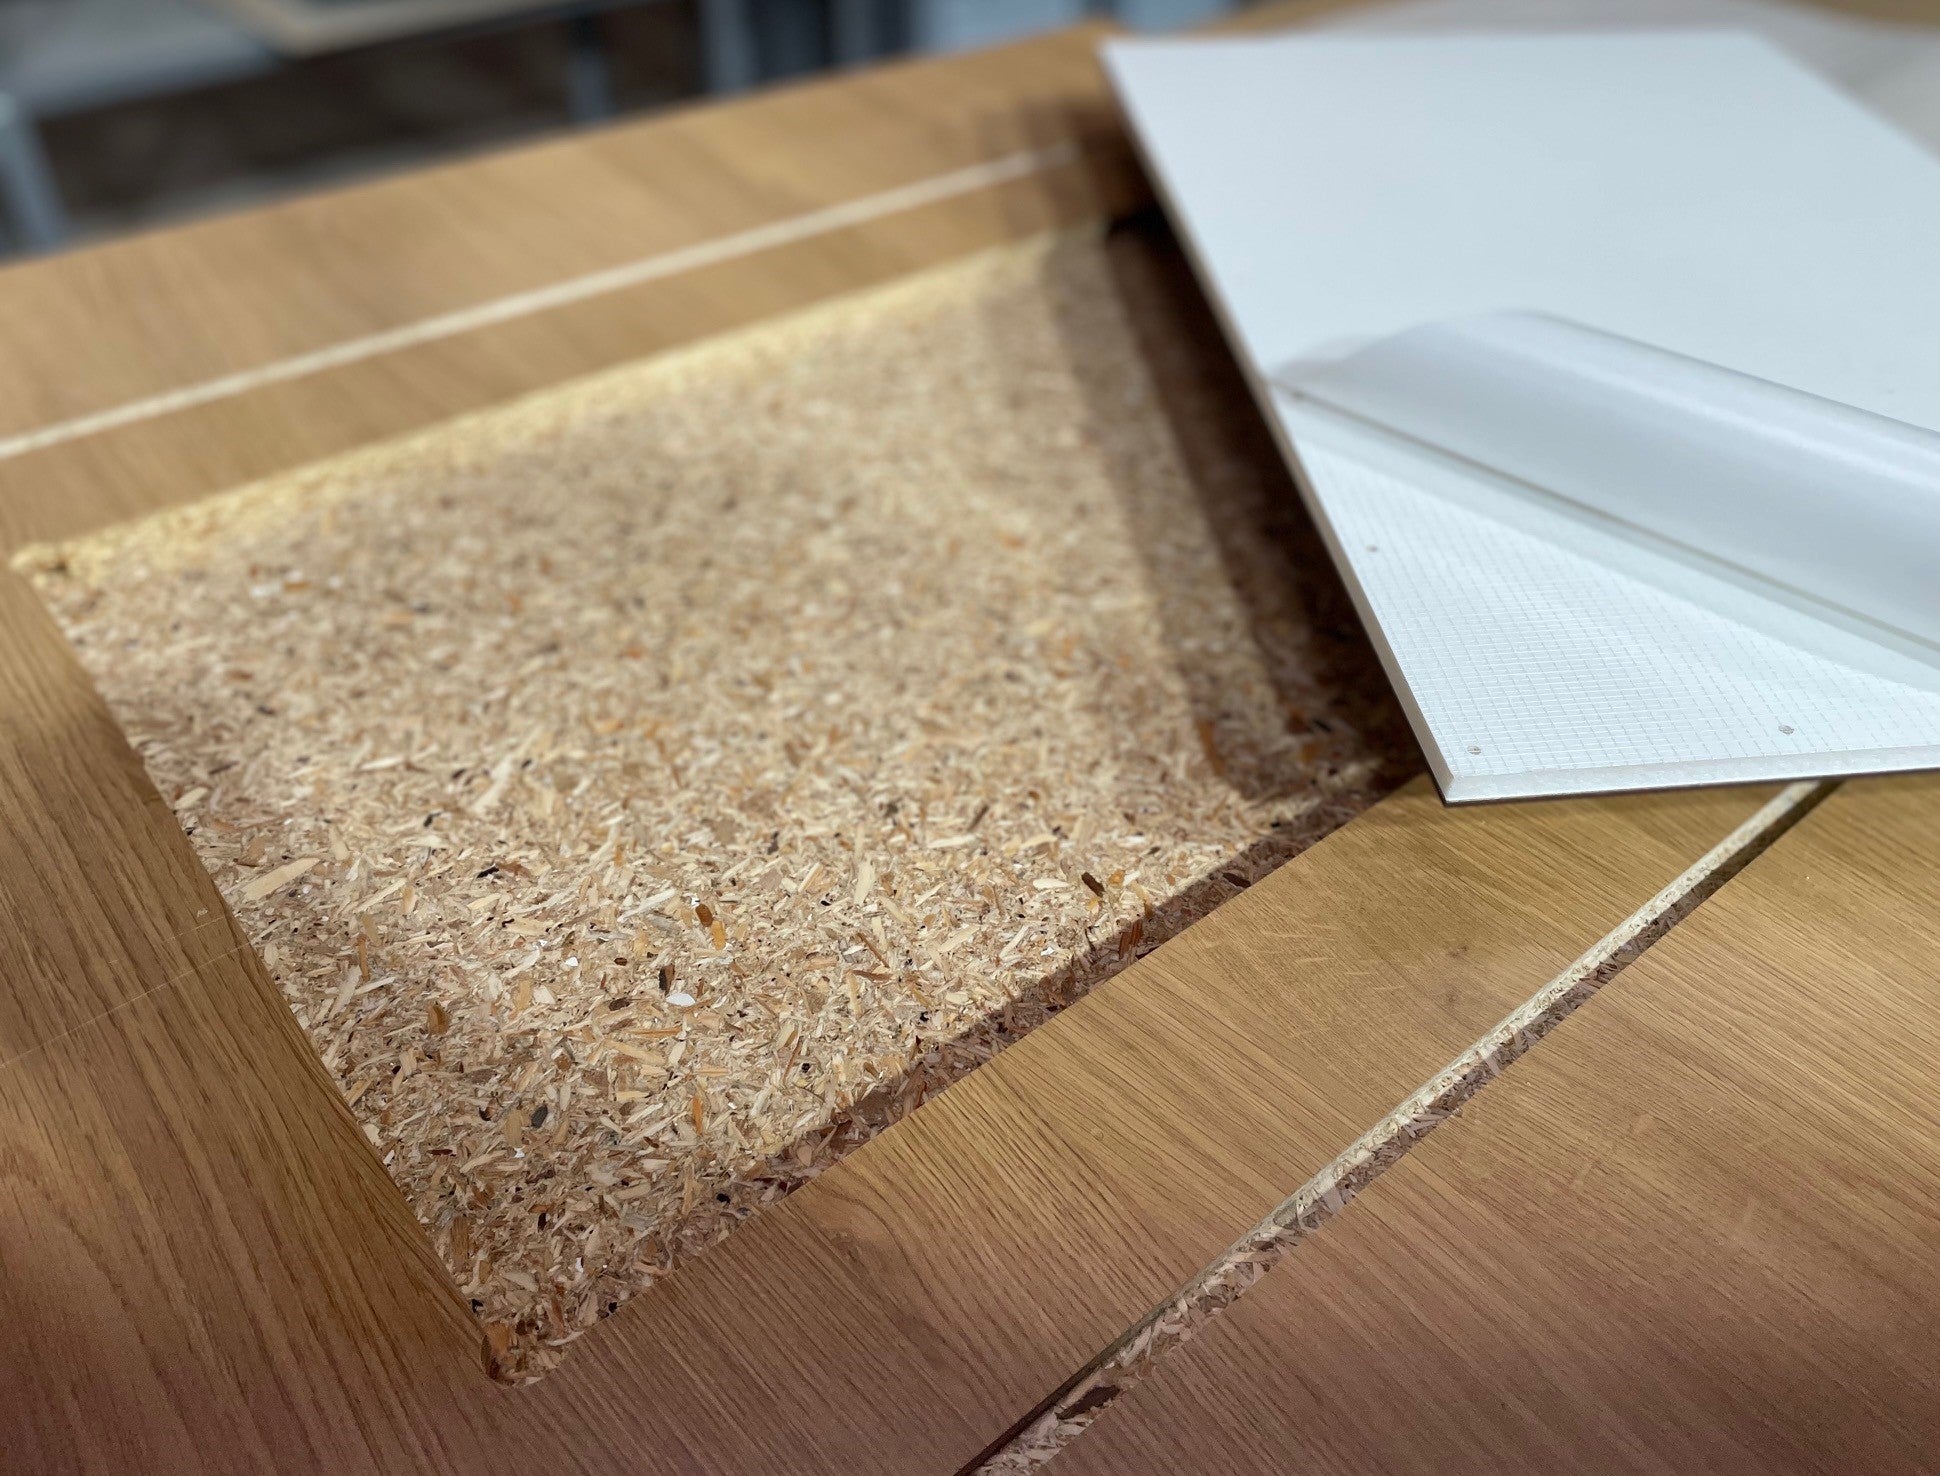
Realice un fresado de bolsillo y utilice
una herramienta adecuada. Los archivos DXF son
disponibles a petición
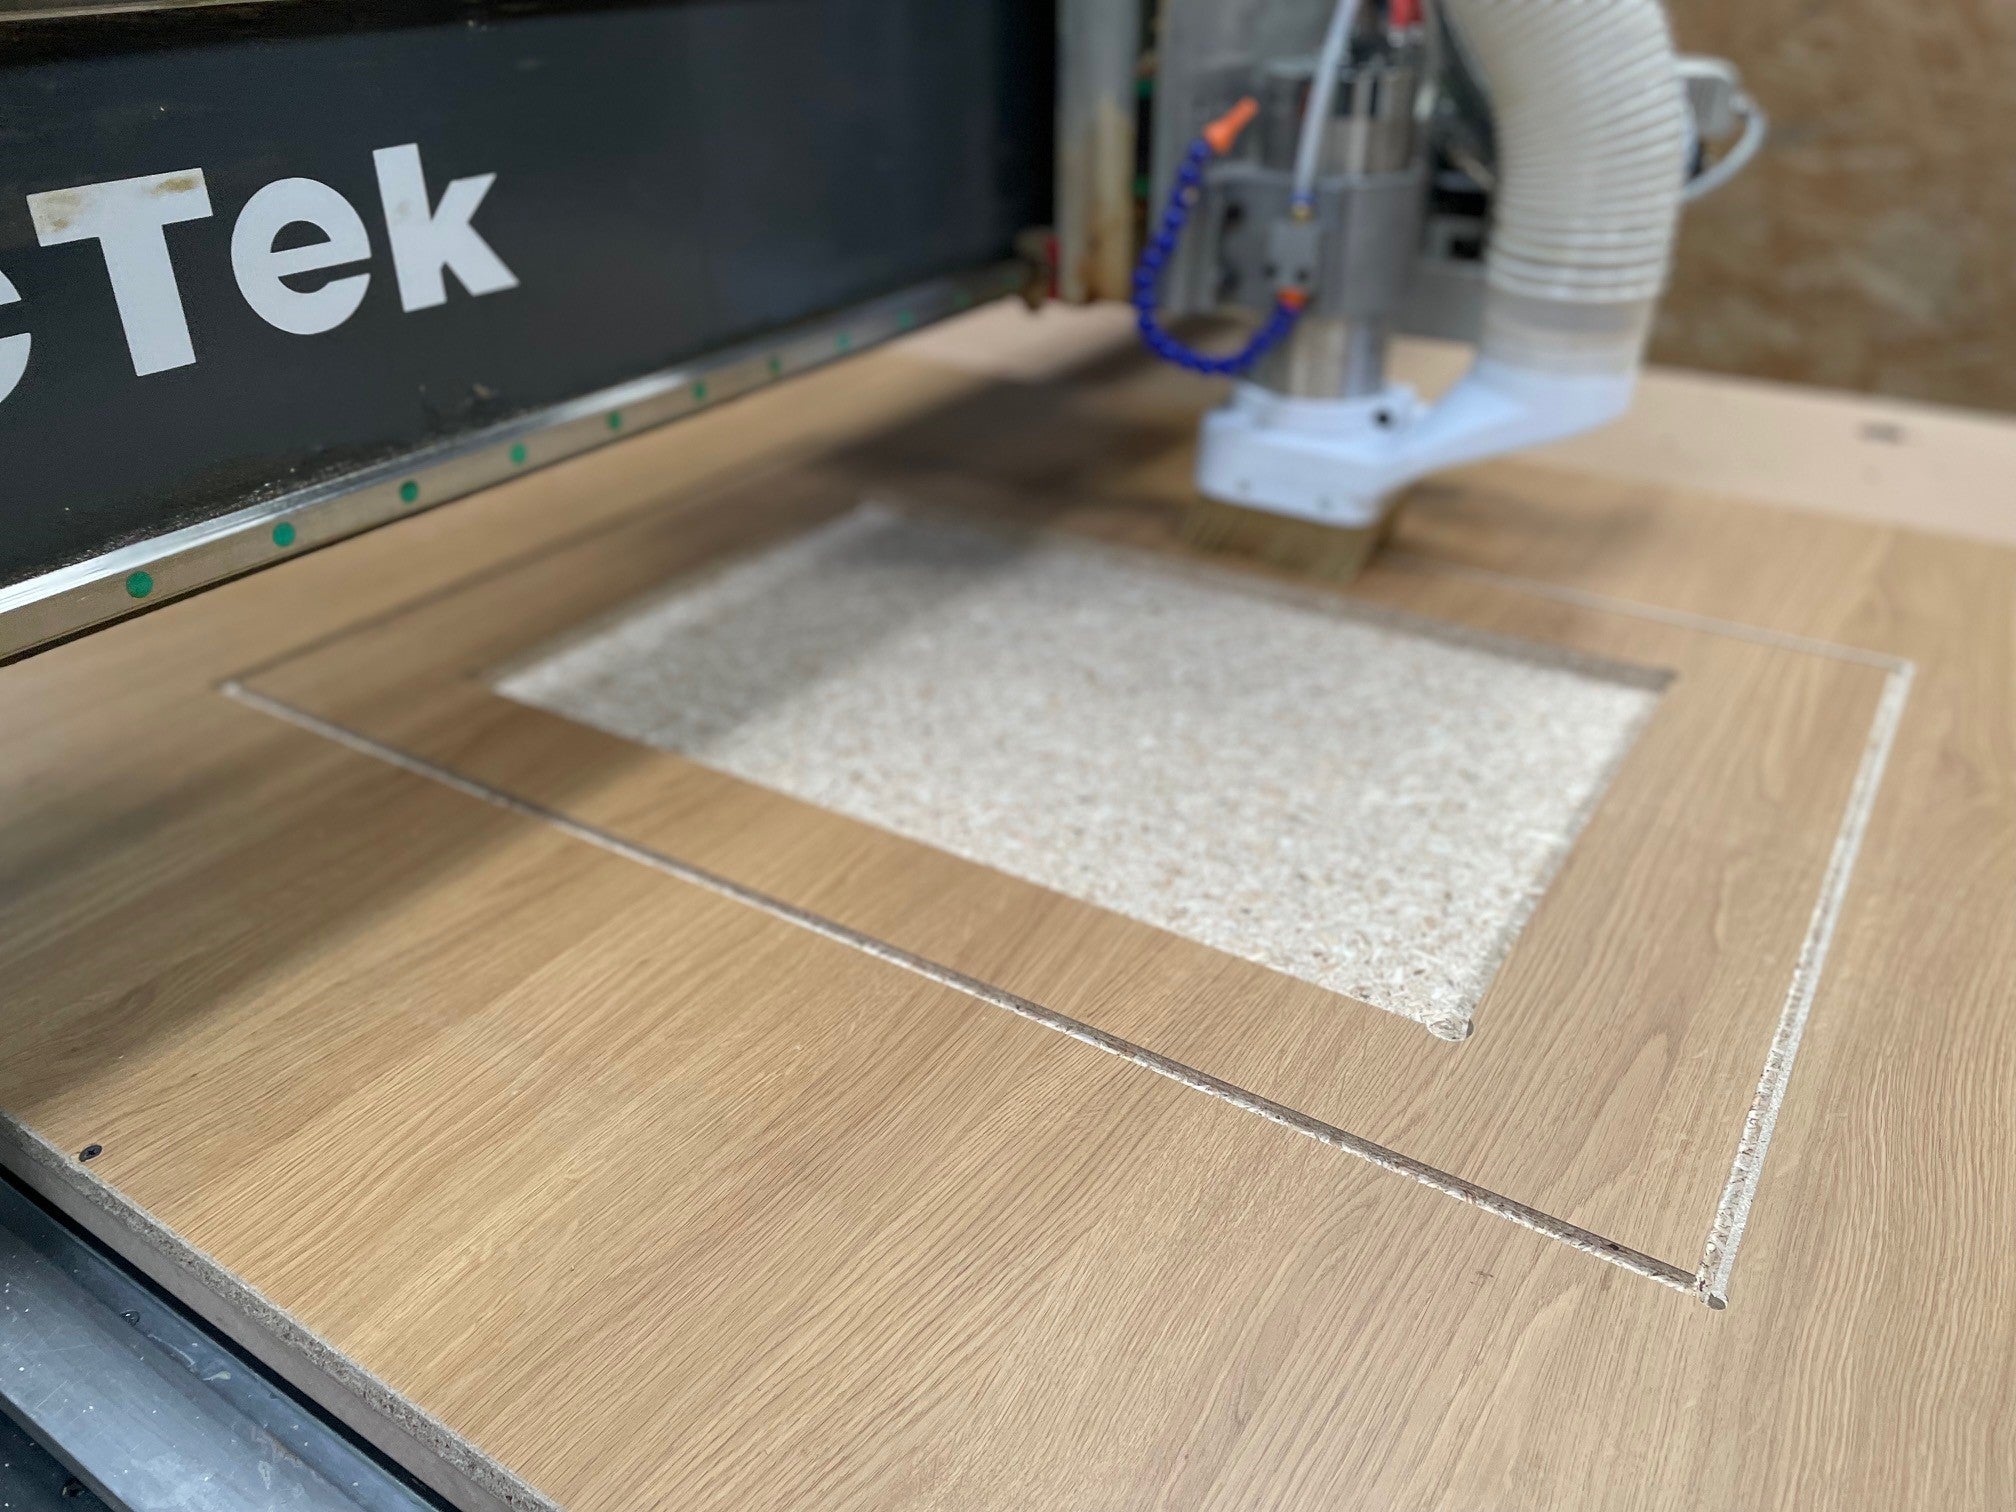
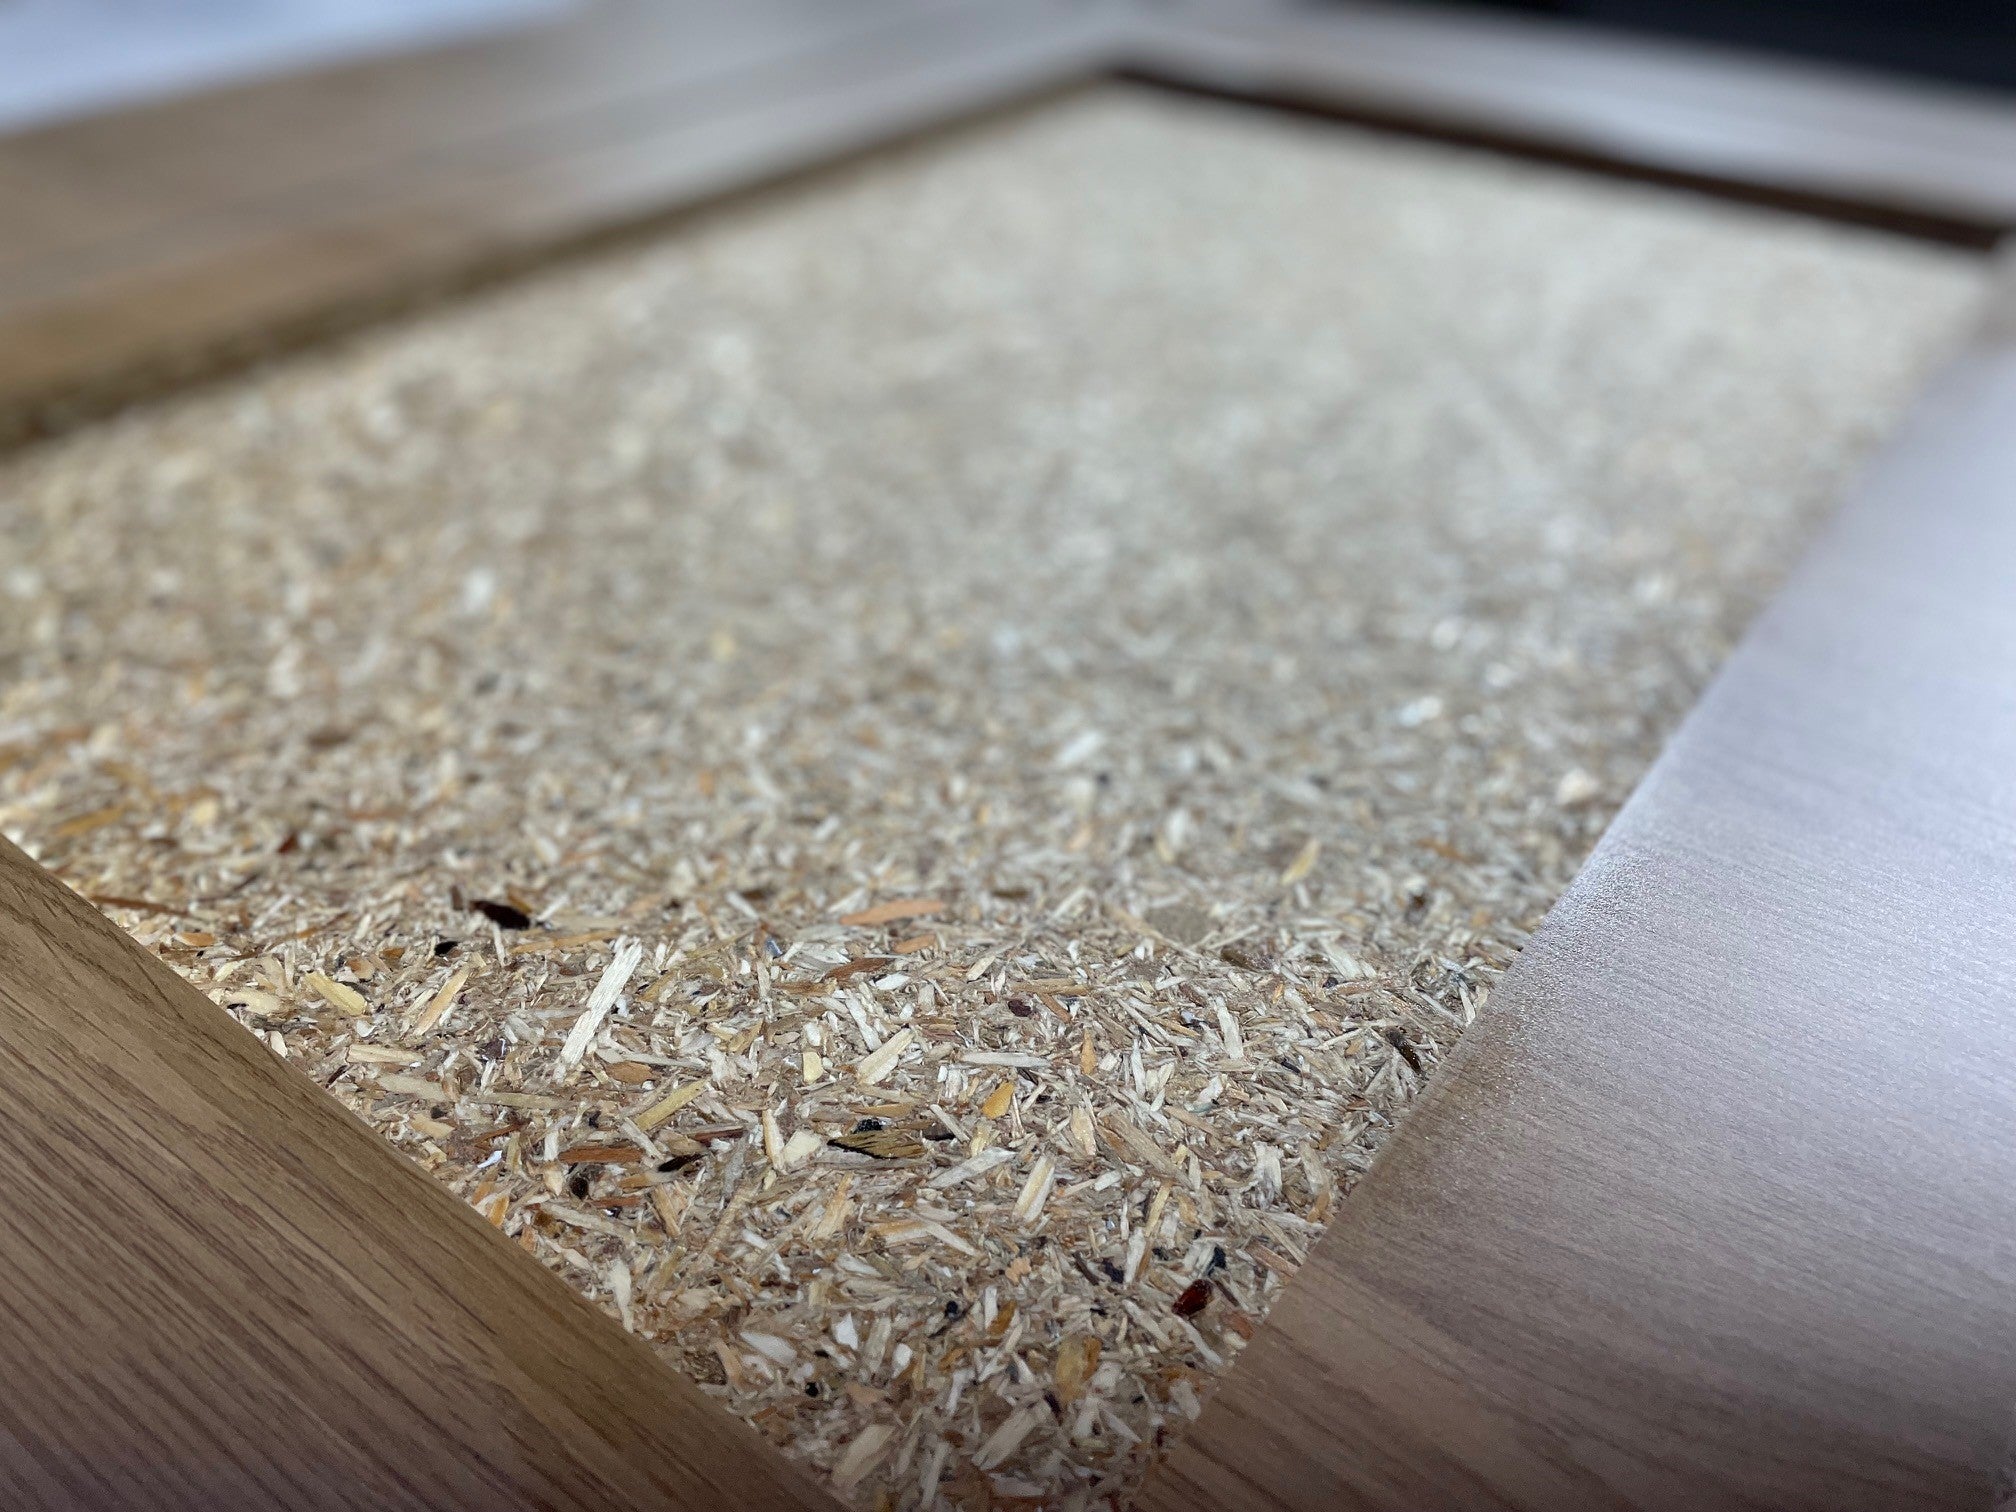
La madera sobrante no debe
más de 2,0 - 3,0 mm de grosor
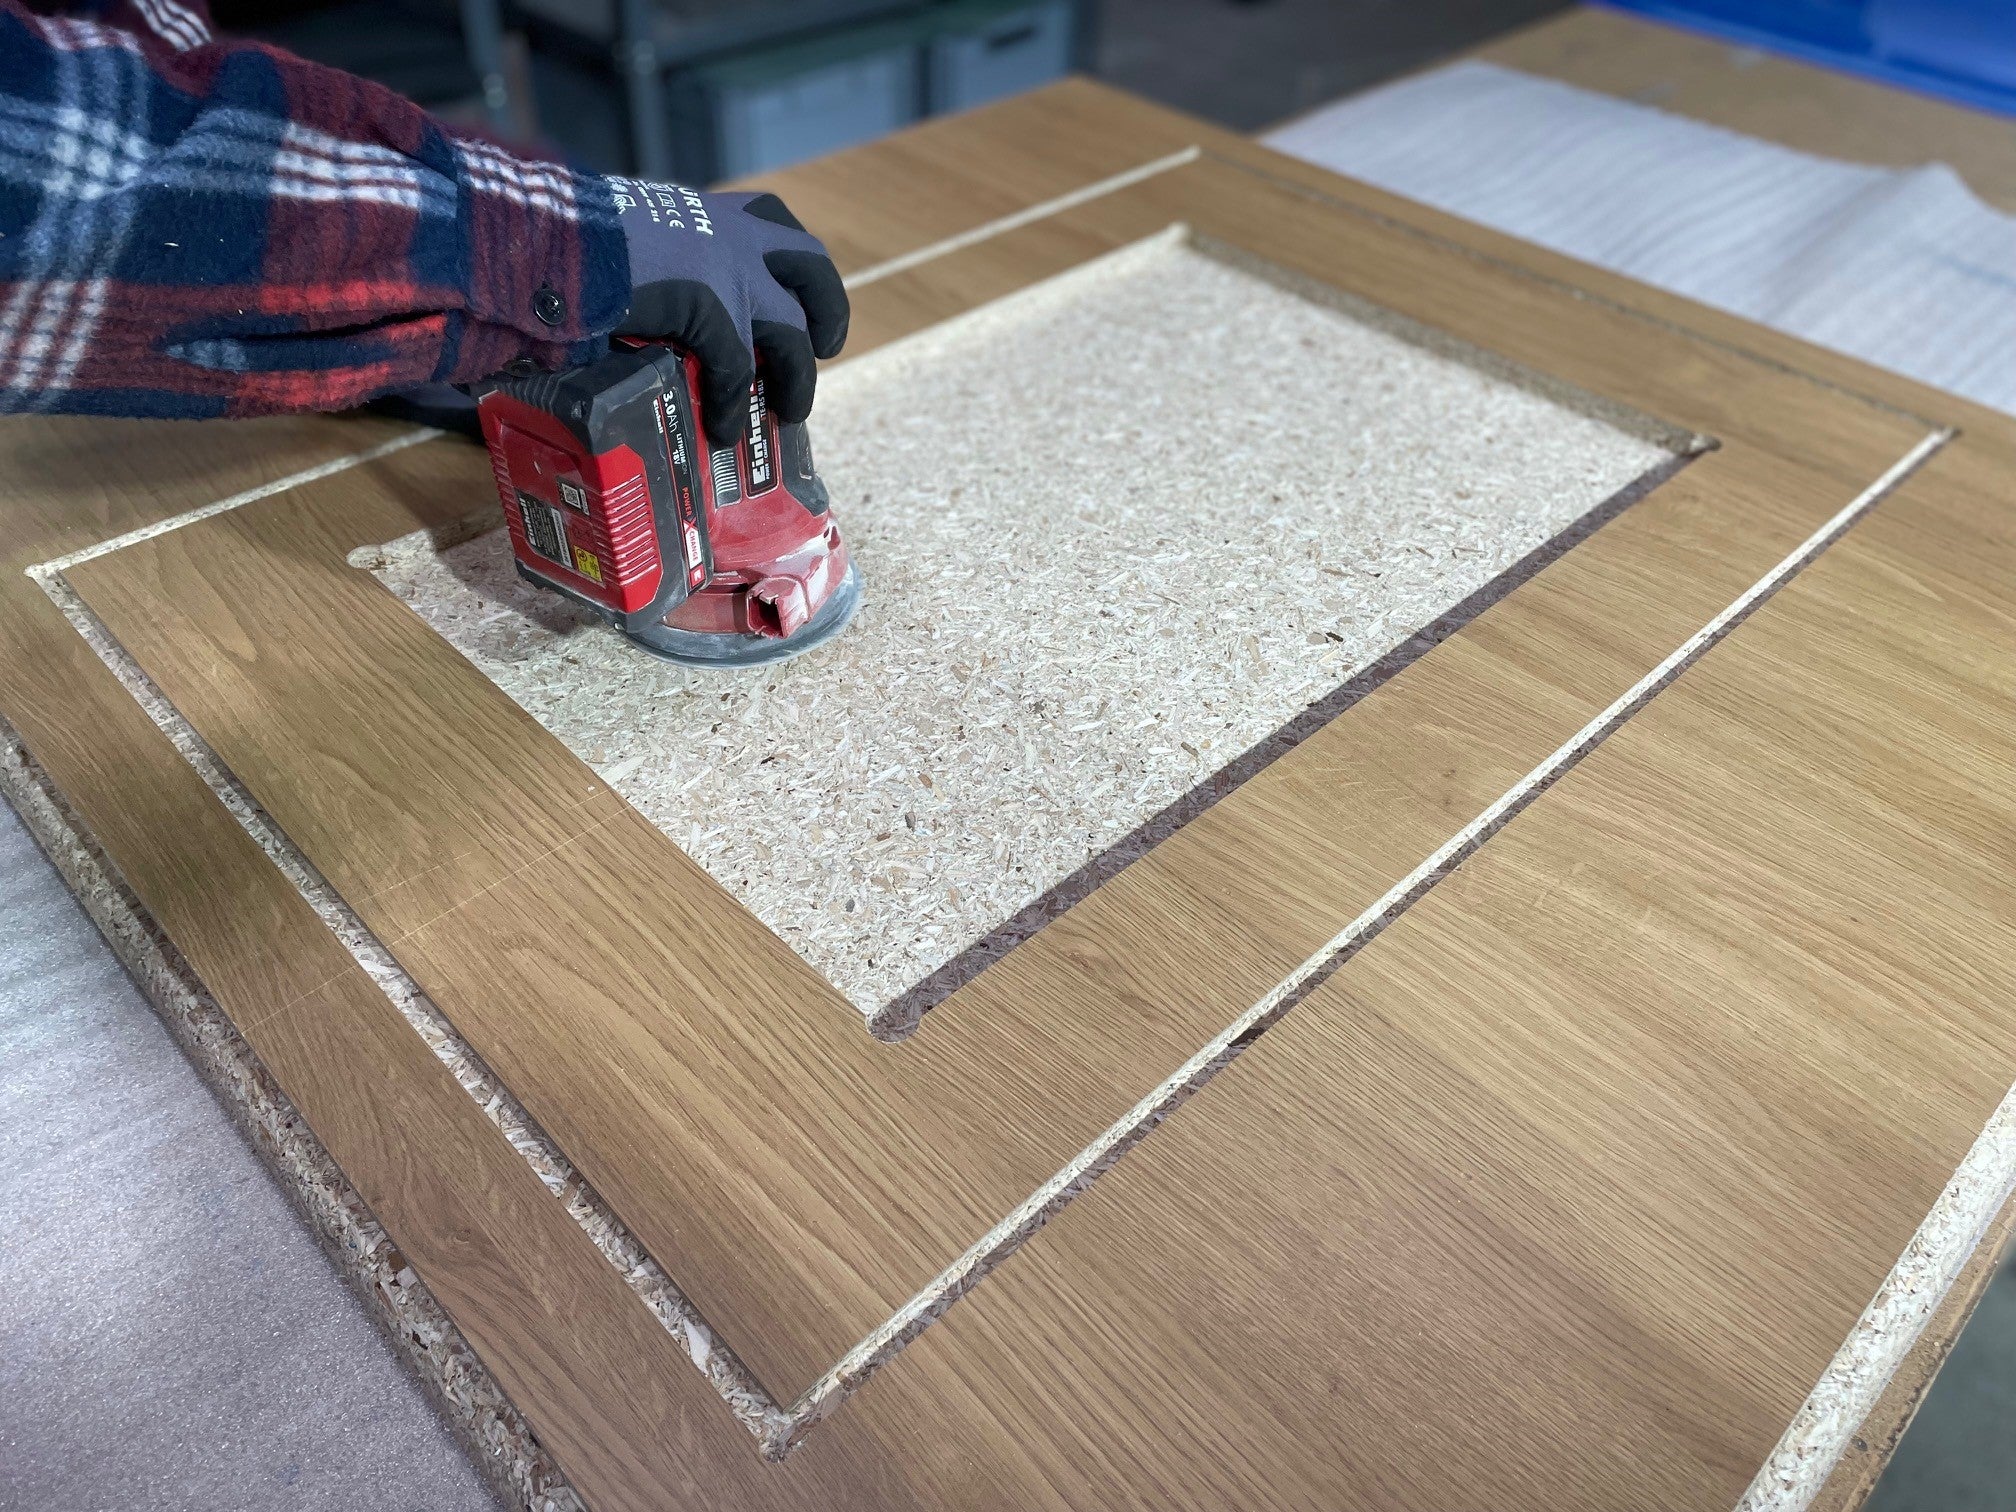
Limpie cuidadosamente el enrutamiento y
lije el fresado de la cavidad en el siguiente paso
Lije la superficie del fresado
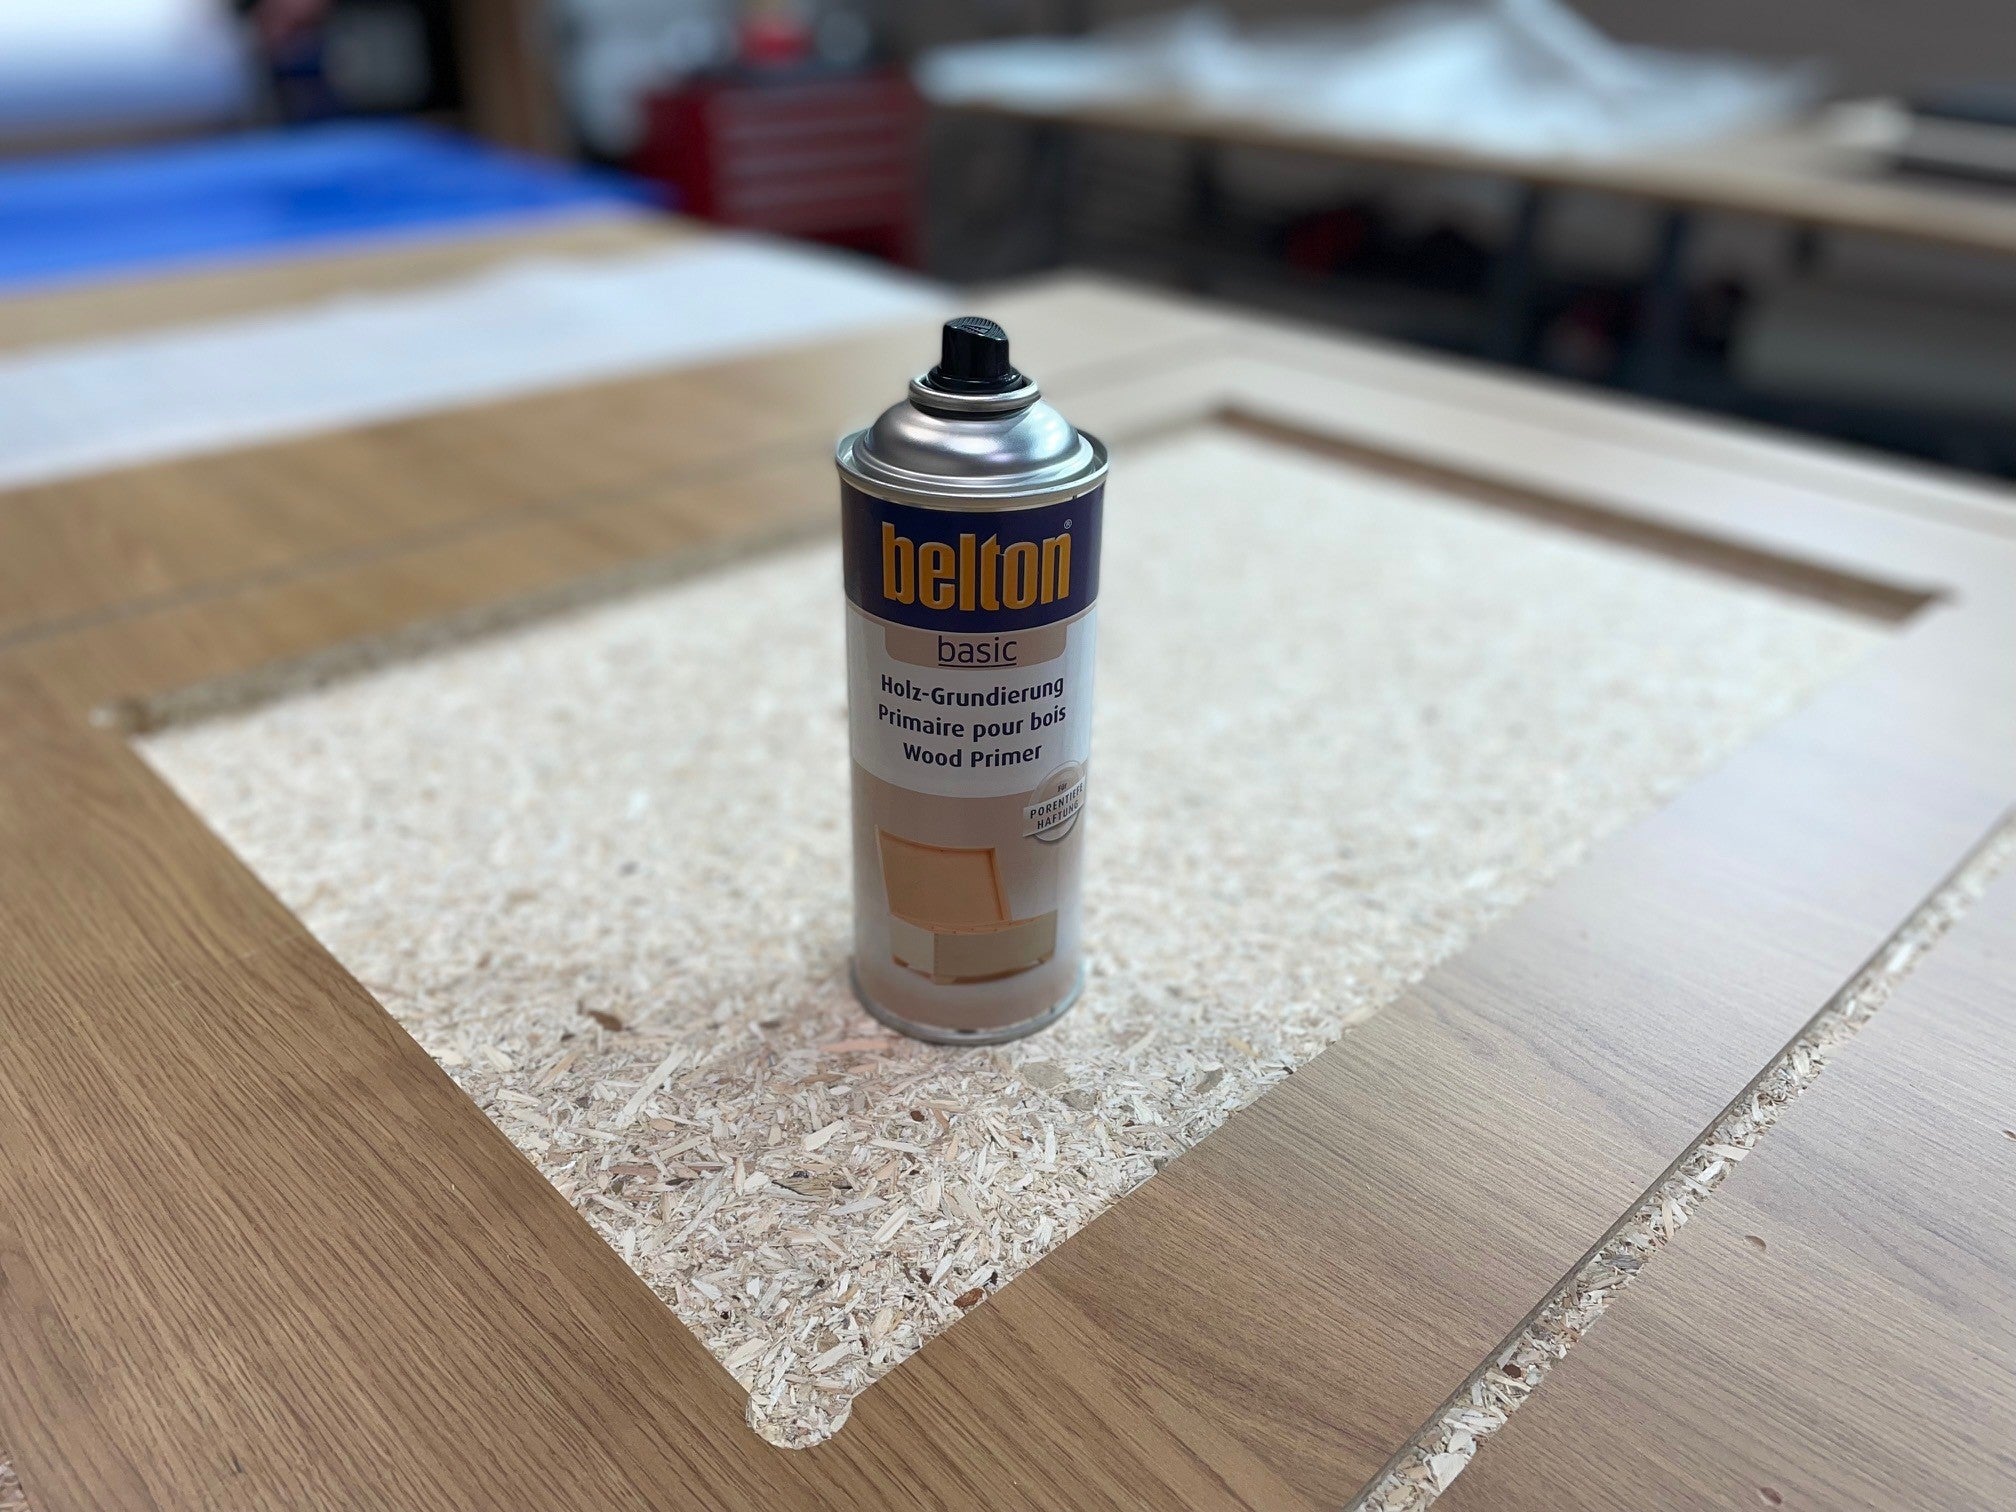
Utilice una imprimación para madera para obtener las mejores propiedades adhesivas, antes elimine todo el polvo, etc.
Retire la película protectora de la cinta adhesiva de doble cara*.
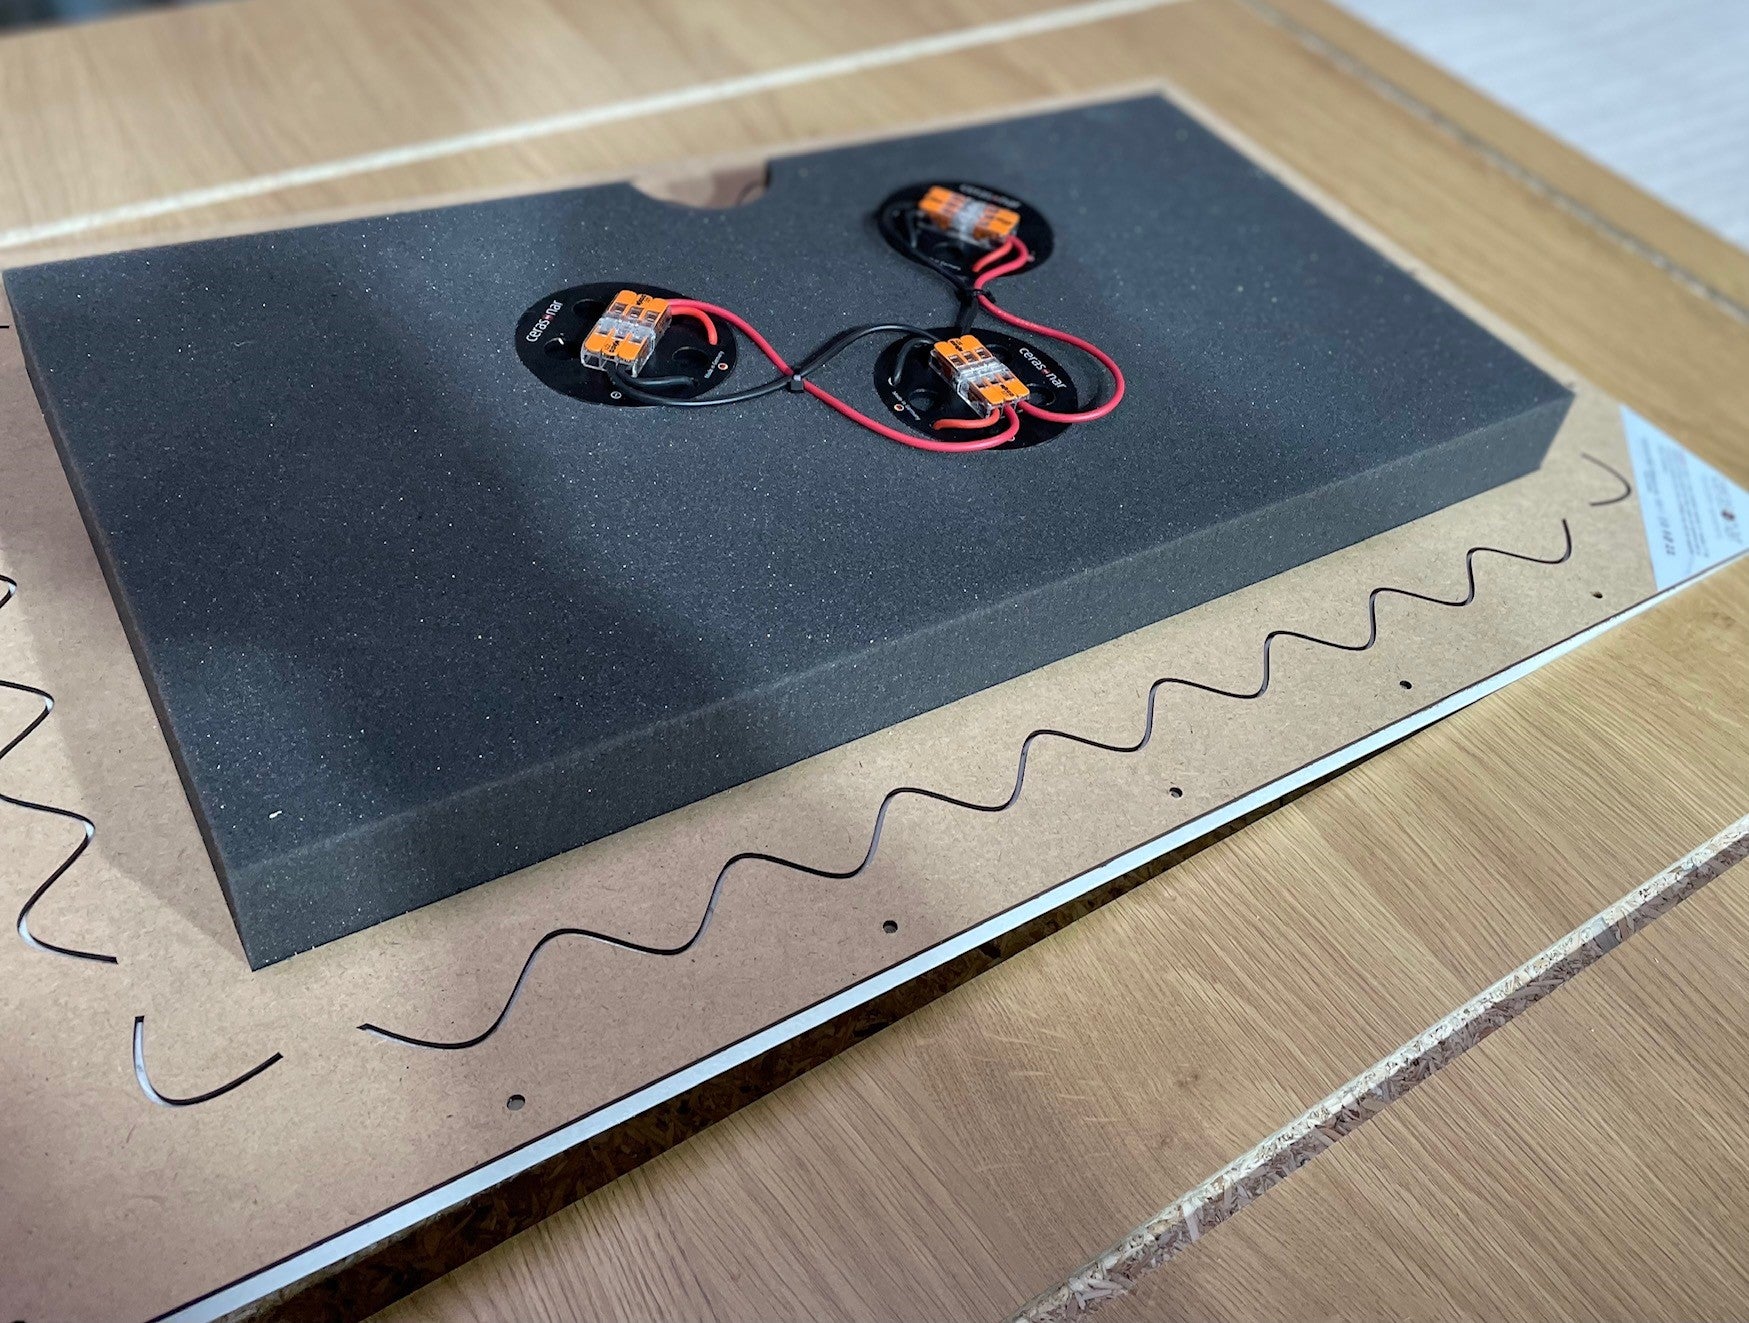
Inserte el altavoz con cuidado
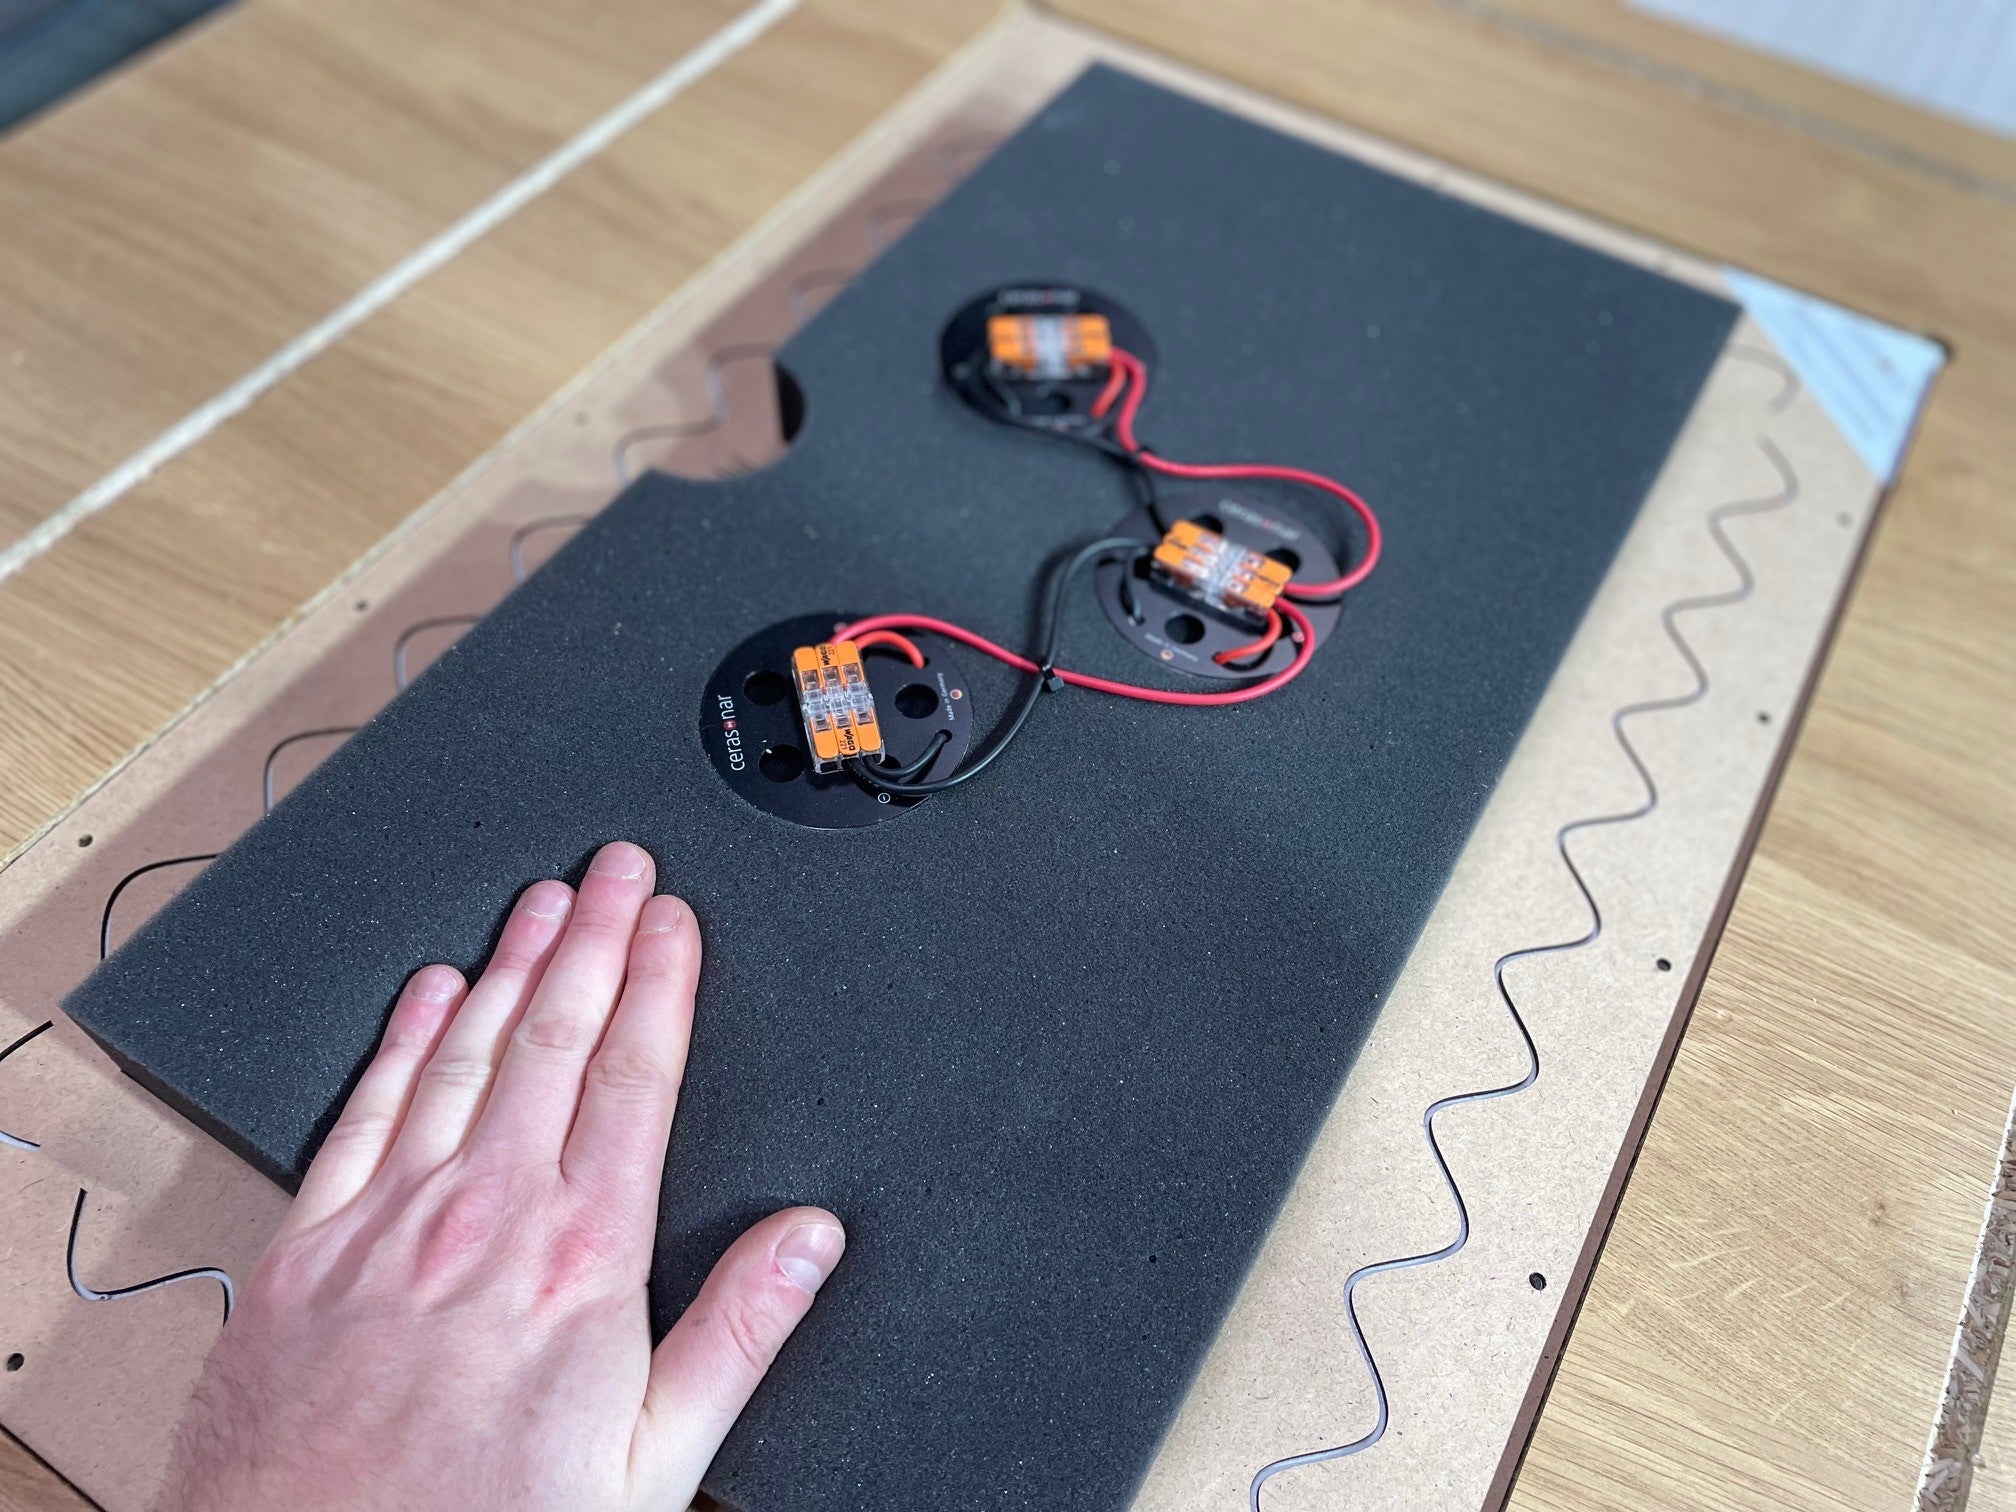
No utilice demasiada fuerza cuando
presione hacia abajo, ¡no debe presionar los excitadores!
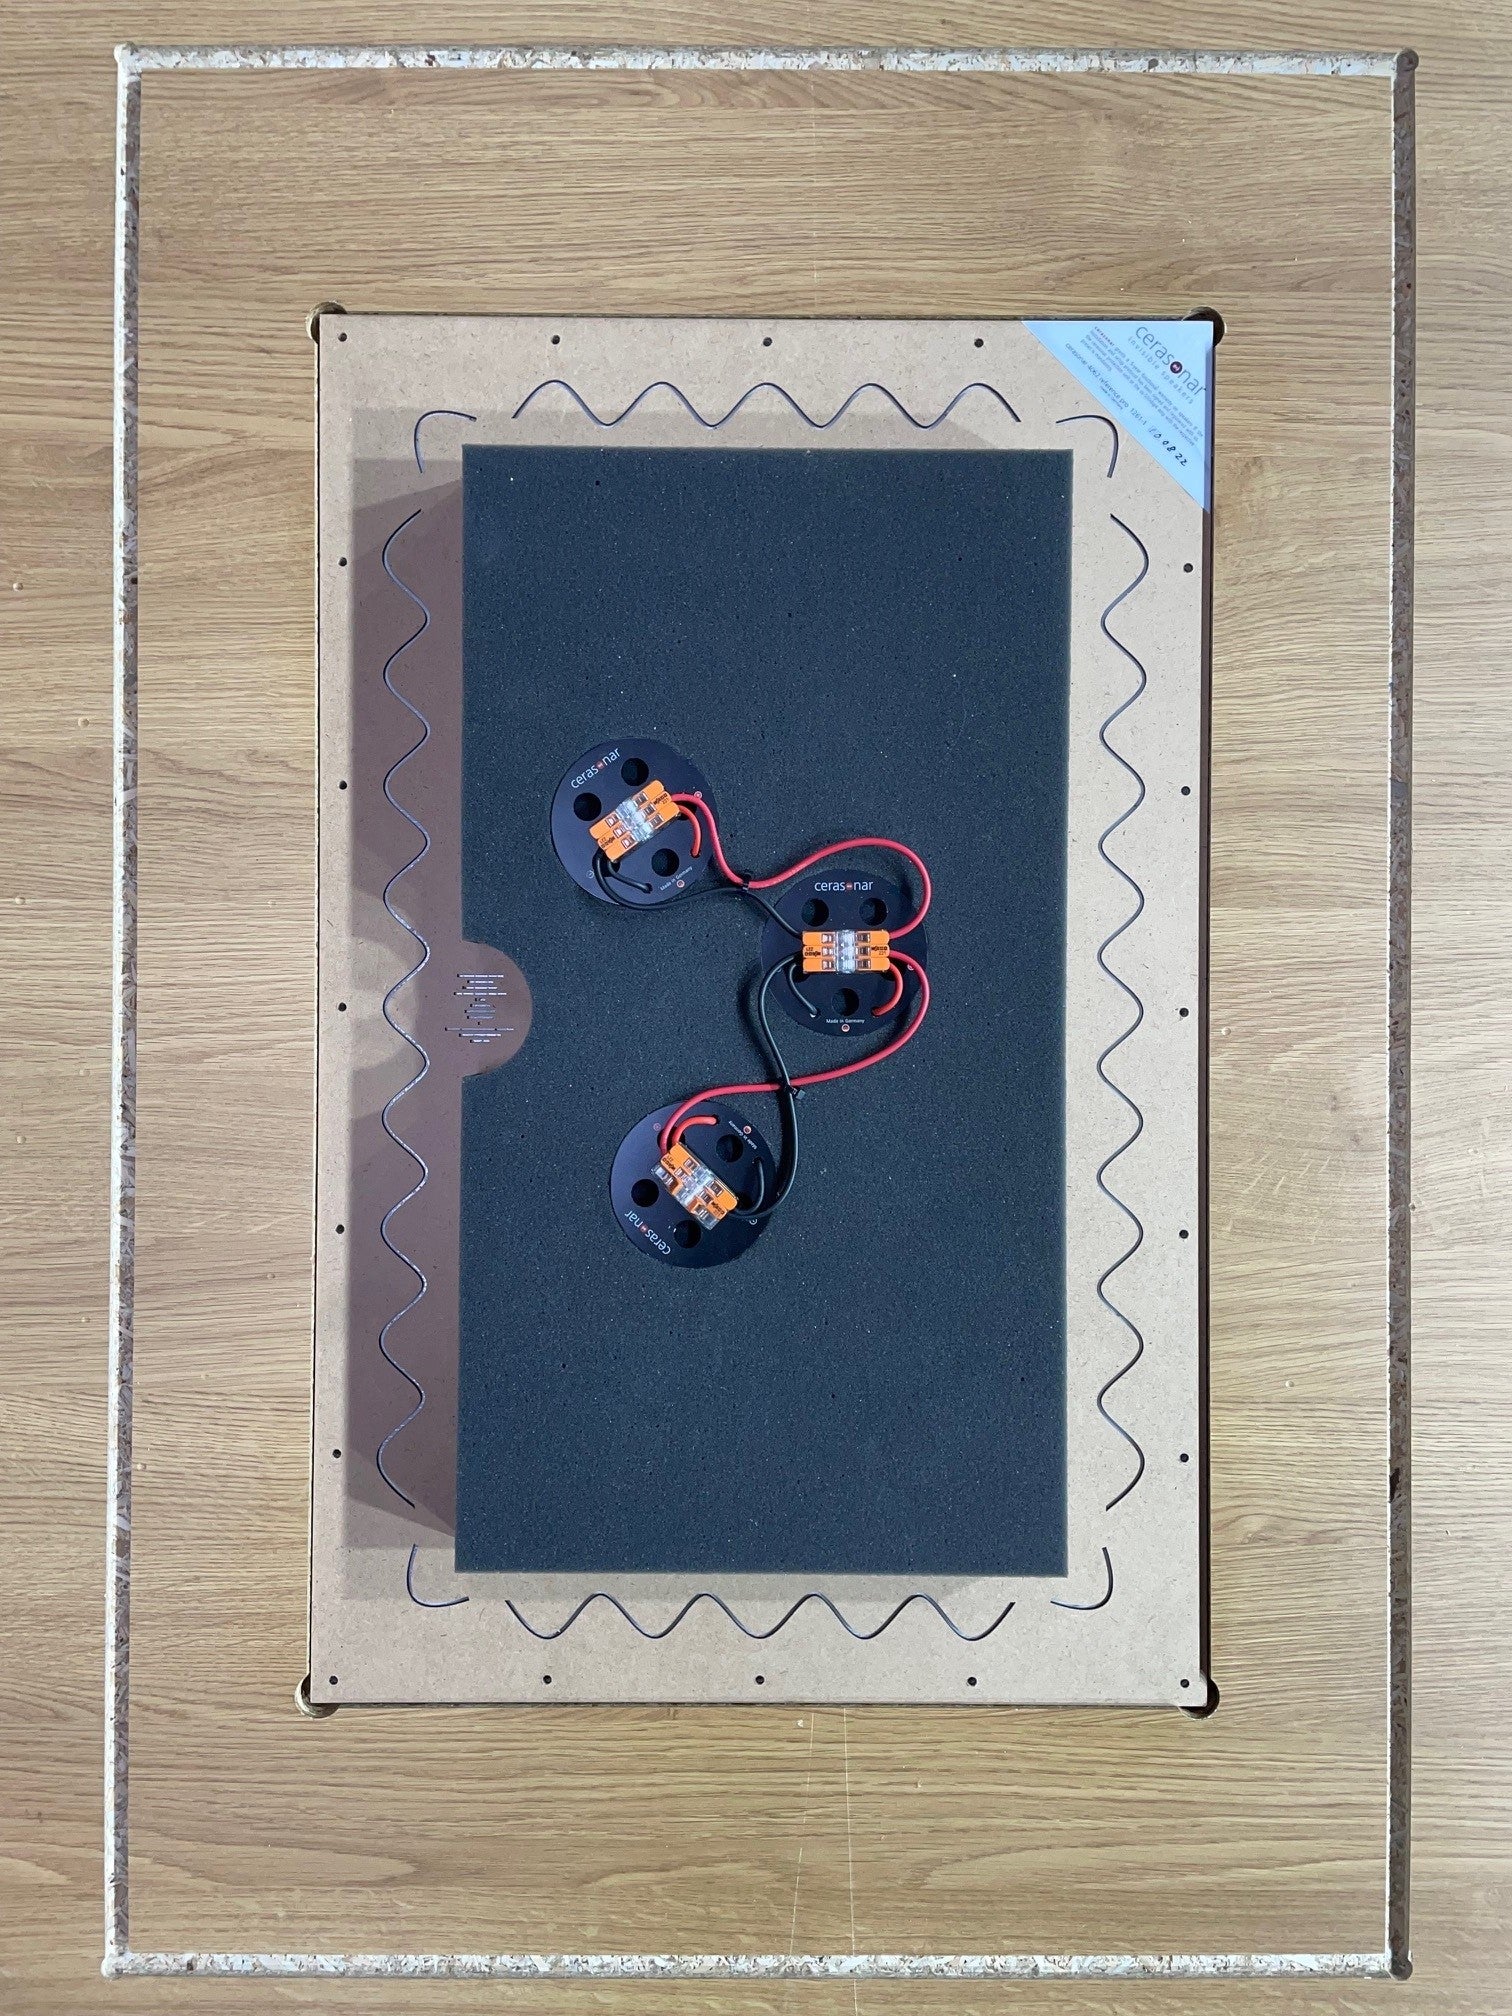
El altavoz está listo para la conexión por cable. Puede utilizar una caja posterior cerasonar como opción (por ejemplo, la caja posterior 9062).
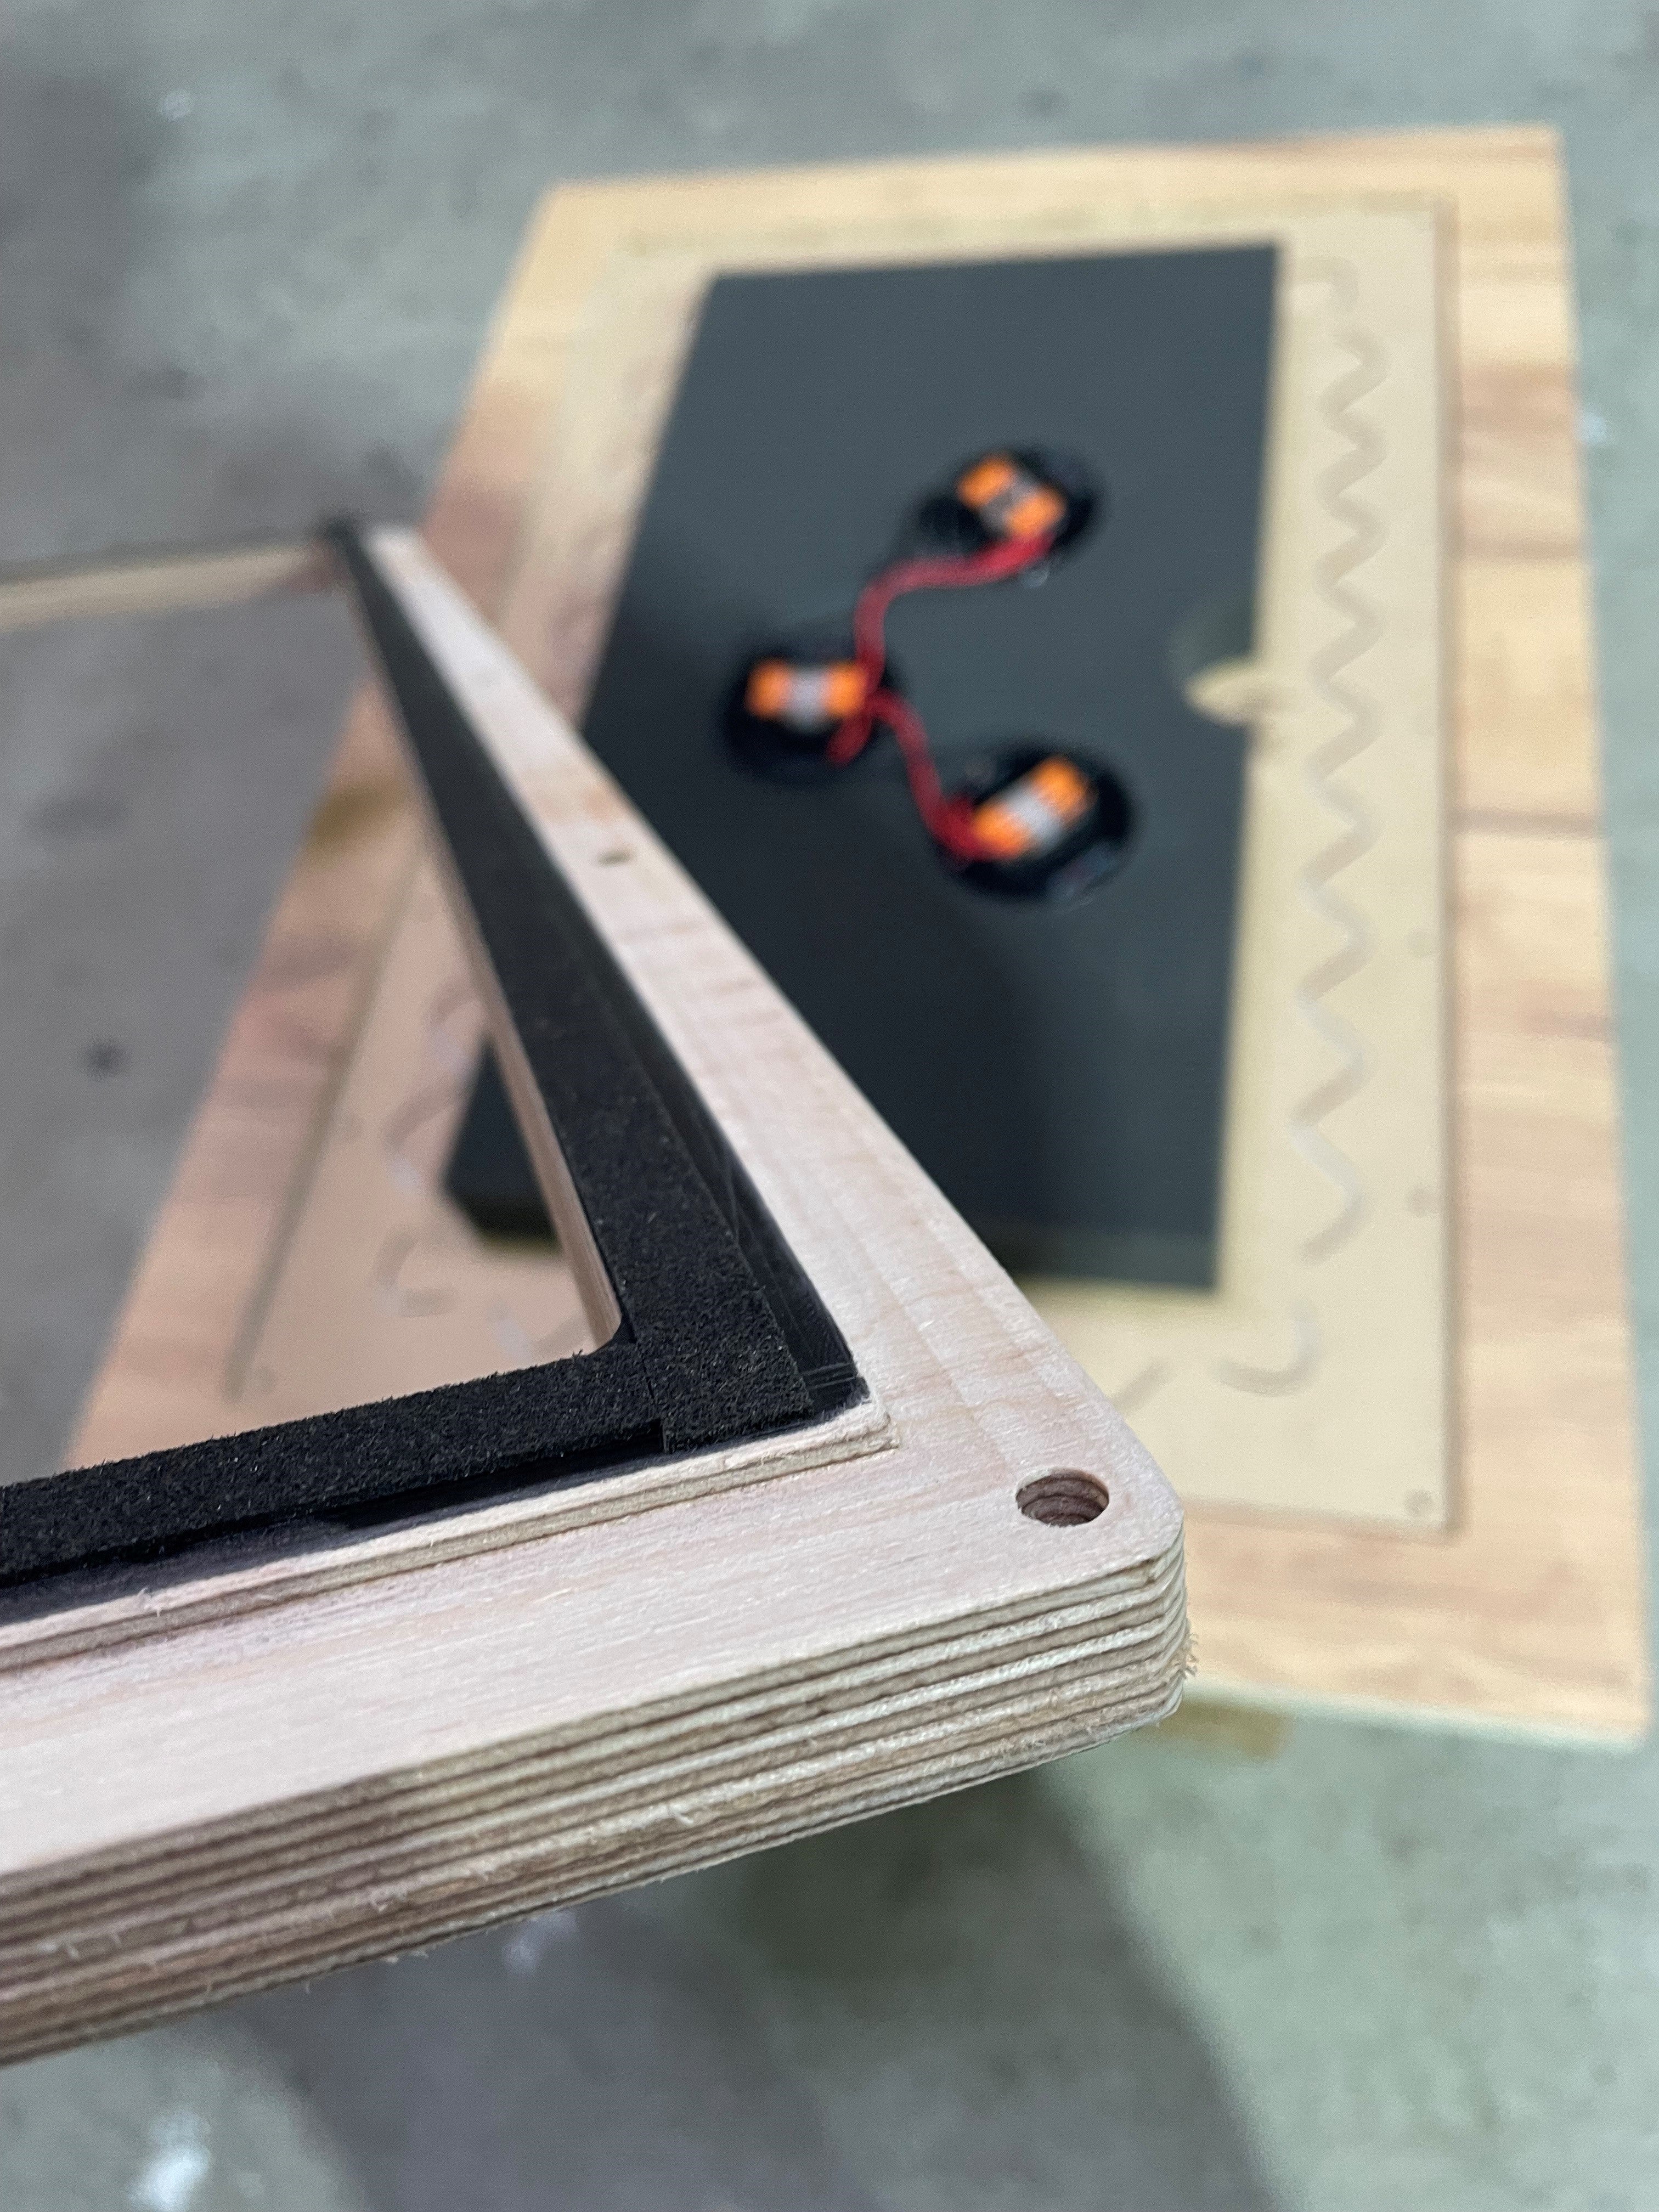
Fije el soporte en la parte posterior del altavoz. Esto sirve como medida de seguridad mecánica adicional.
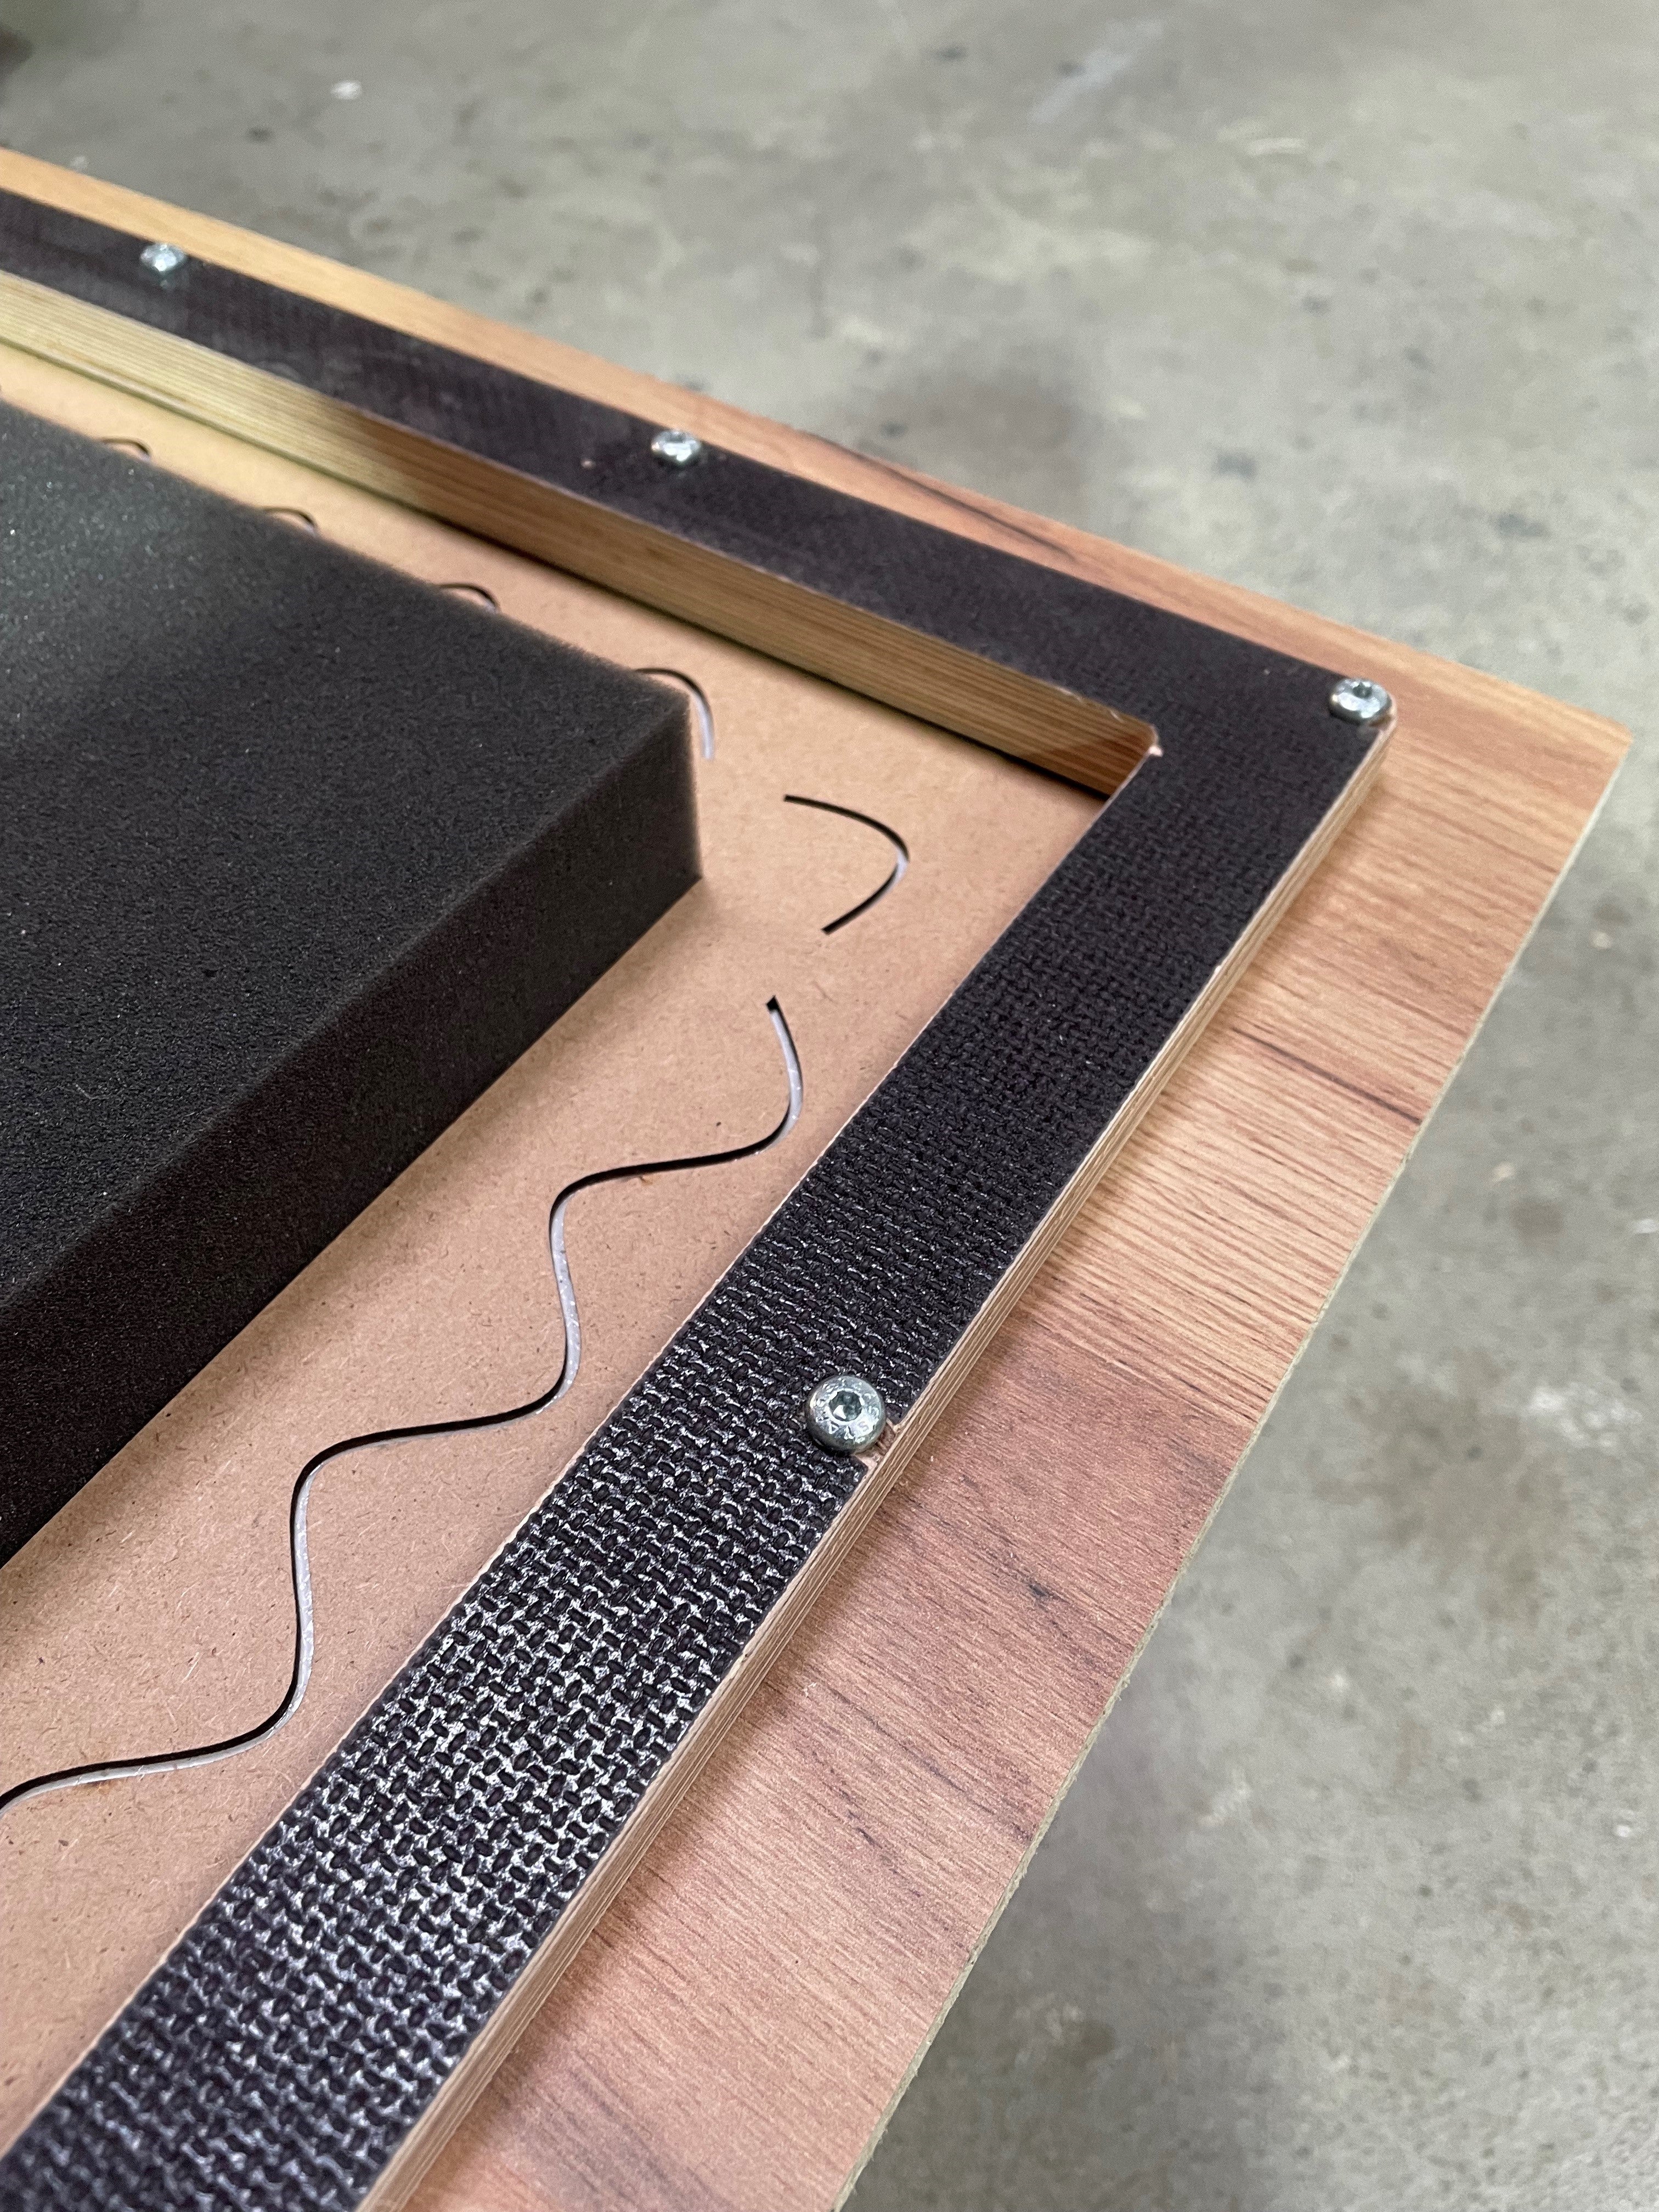
Ahora atornille el soporte, utilice los agujeros pretaladrados. No apriete demasiado los tornillos.
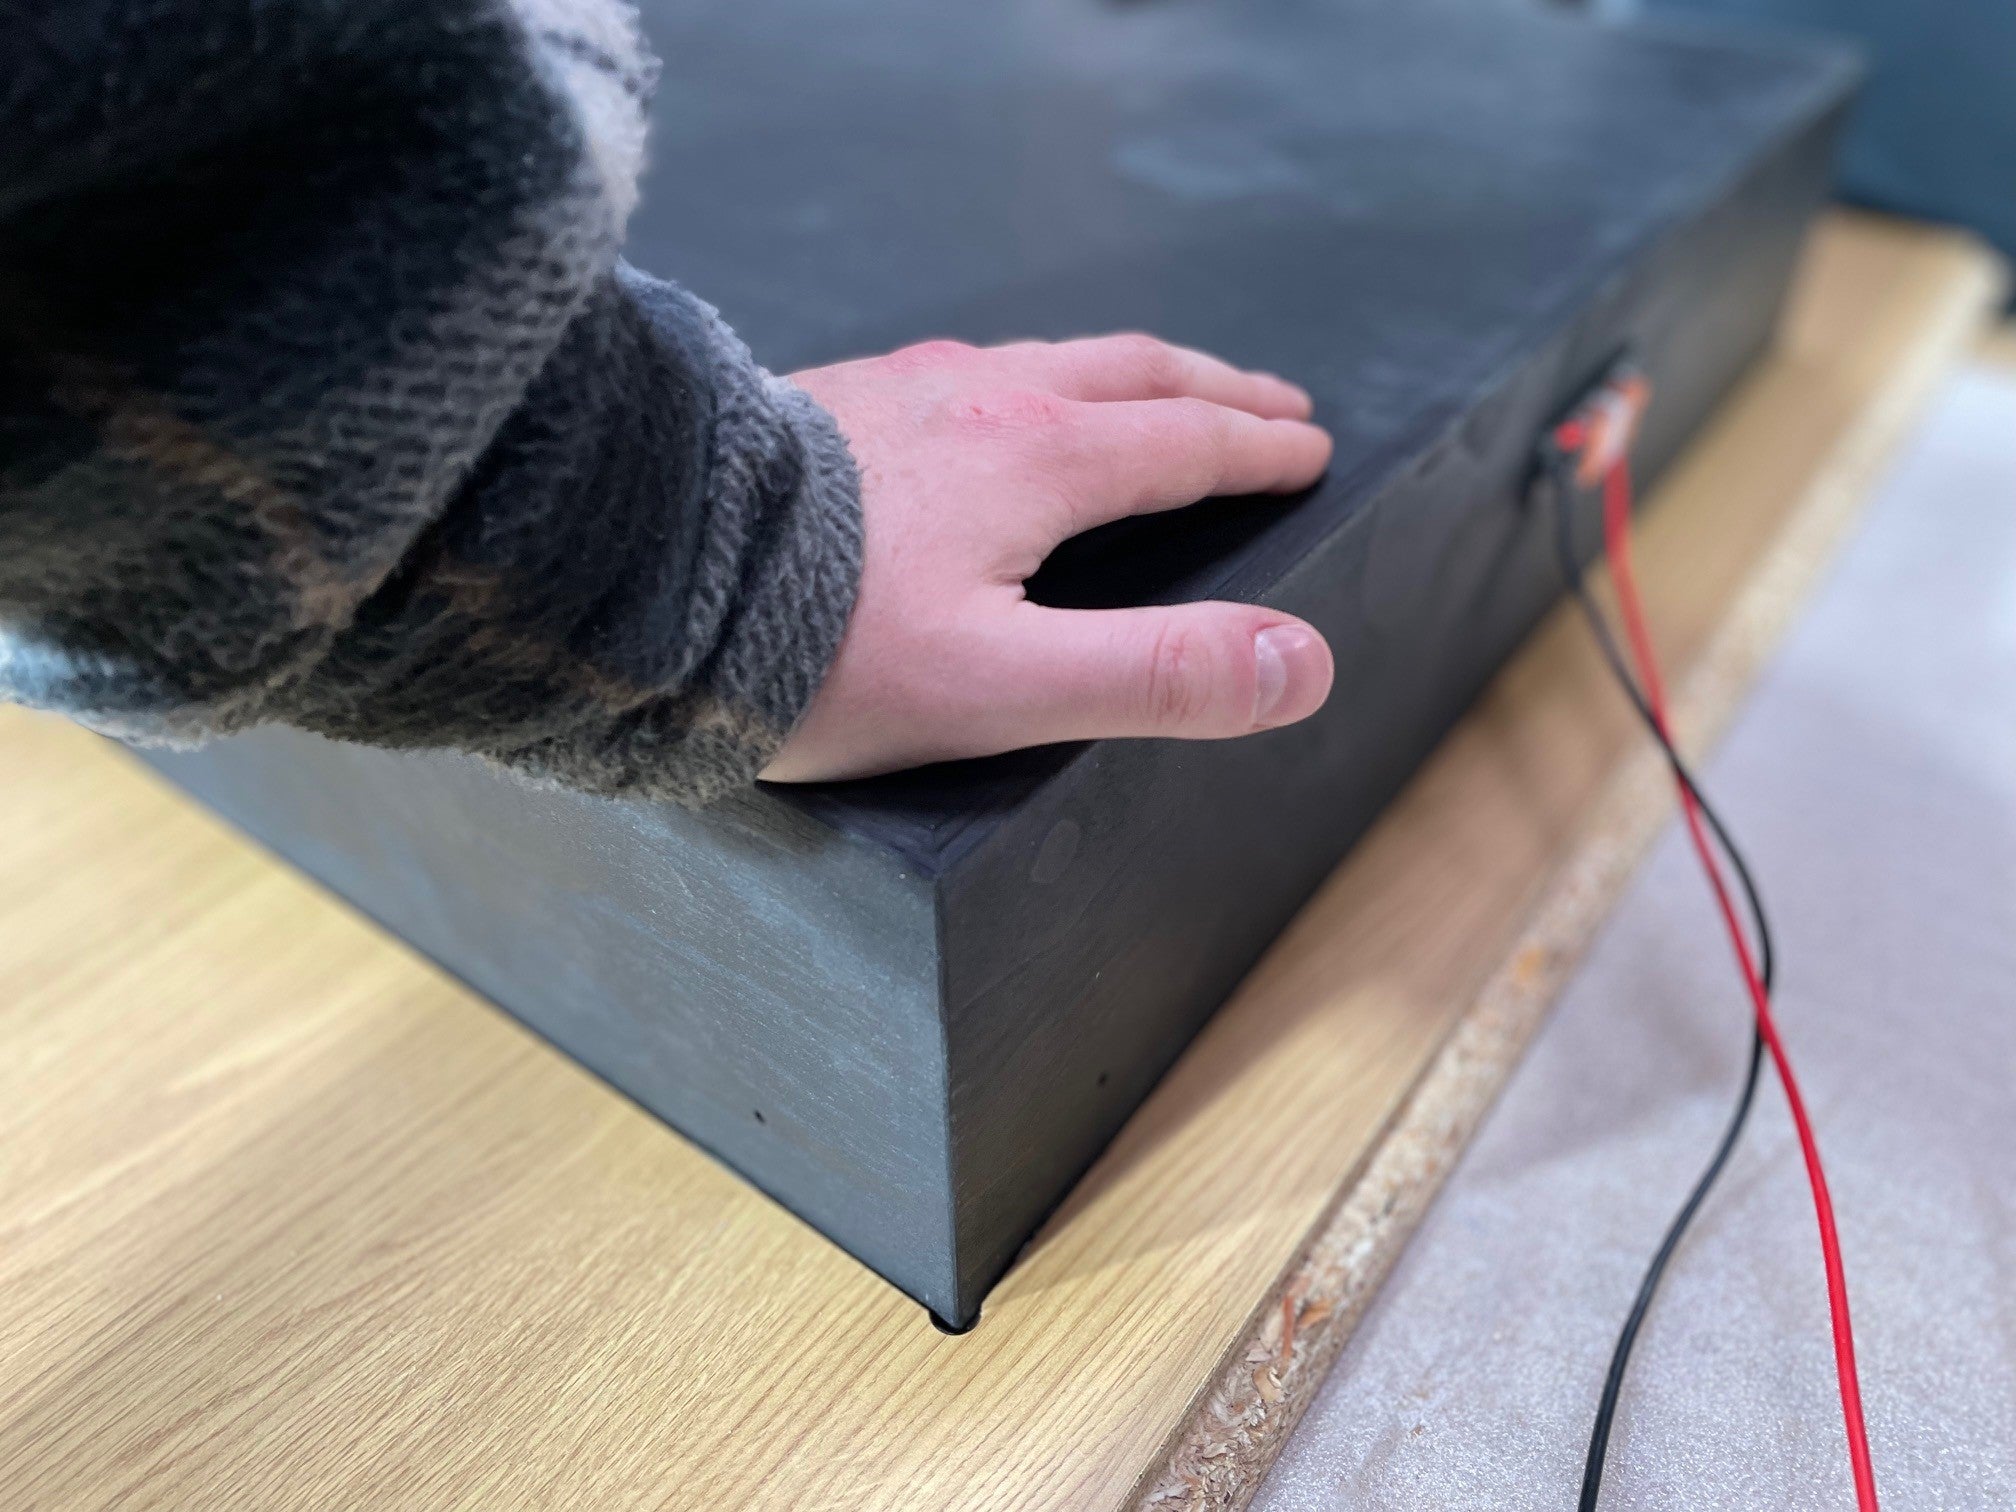
Pruebe ahora el altavoz.

MONTAJE OPCIONAL EN CAJA TRASERA:
Para instalar la caja trasera de instalación de madera cerasonar, debe preverse una ranura de instalación en el panel de madera.
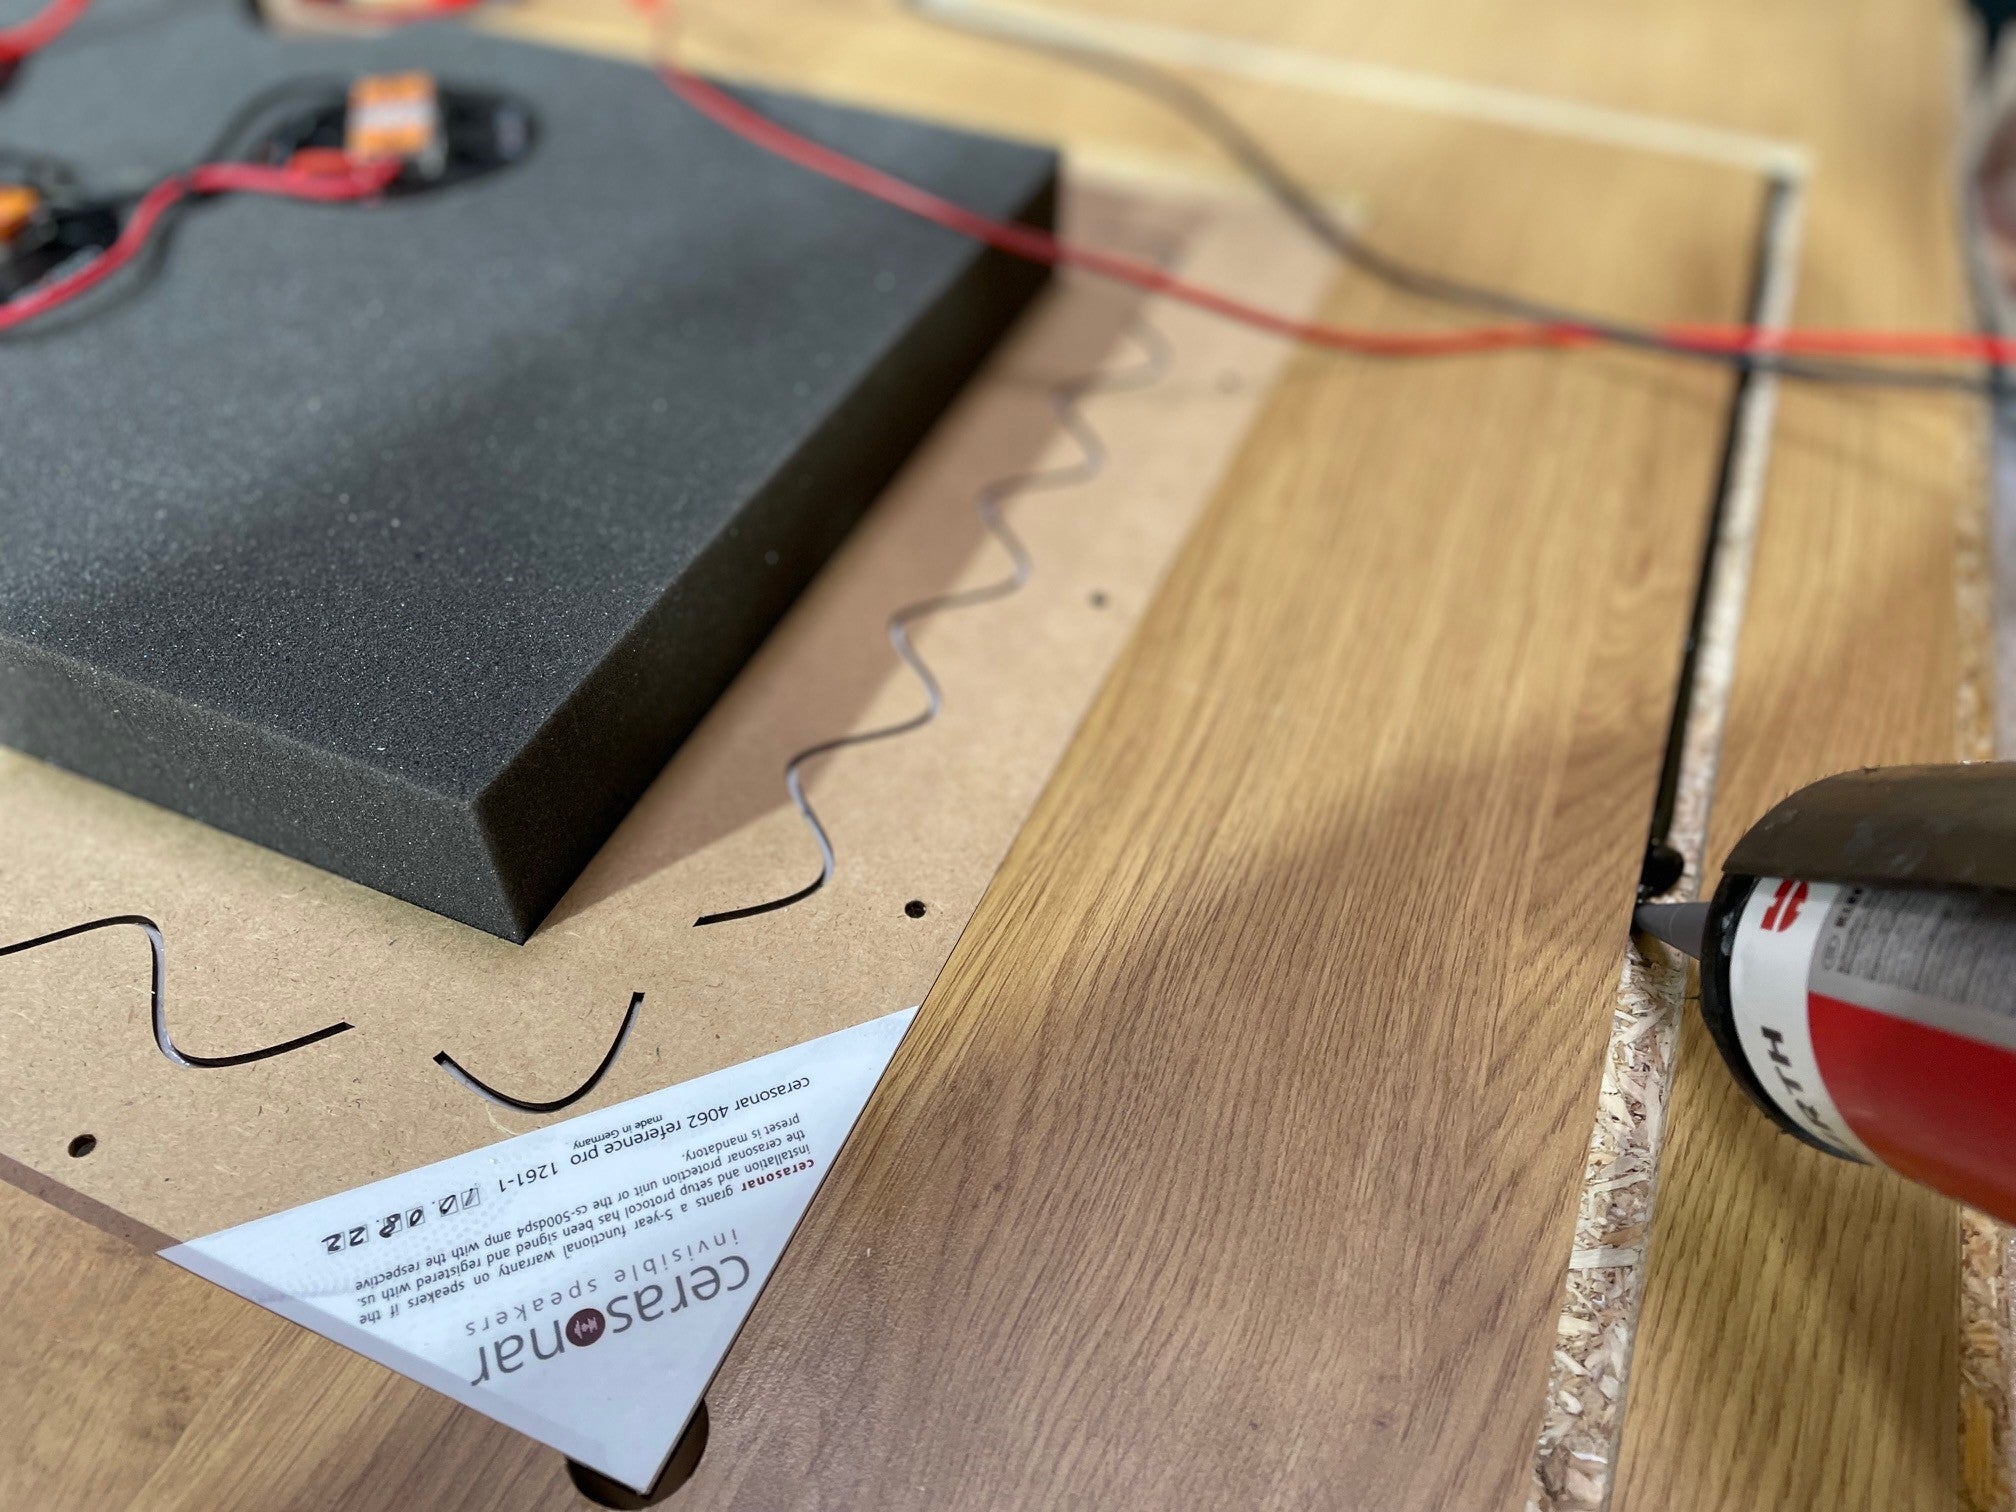
MONTAJE OPCIONAL DE LA CAJA POSTERIOR: La ranura se rellena con un adhesivo adecuado (por ejemplo, Würth Bond + Seal).
MONTAJE EN CAJA POSTERIOR OPCIONAL: Los cables de los altavoces se conectan con la polaridad correcta. A continuación, se presiona la caja posterior en la ranura rellenada con adhesivo.