


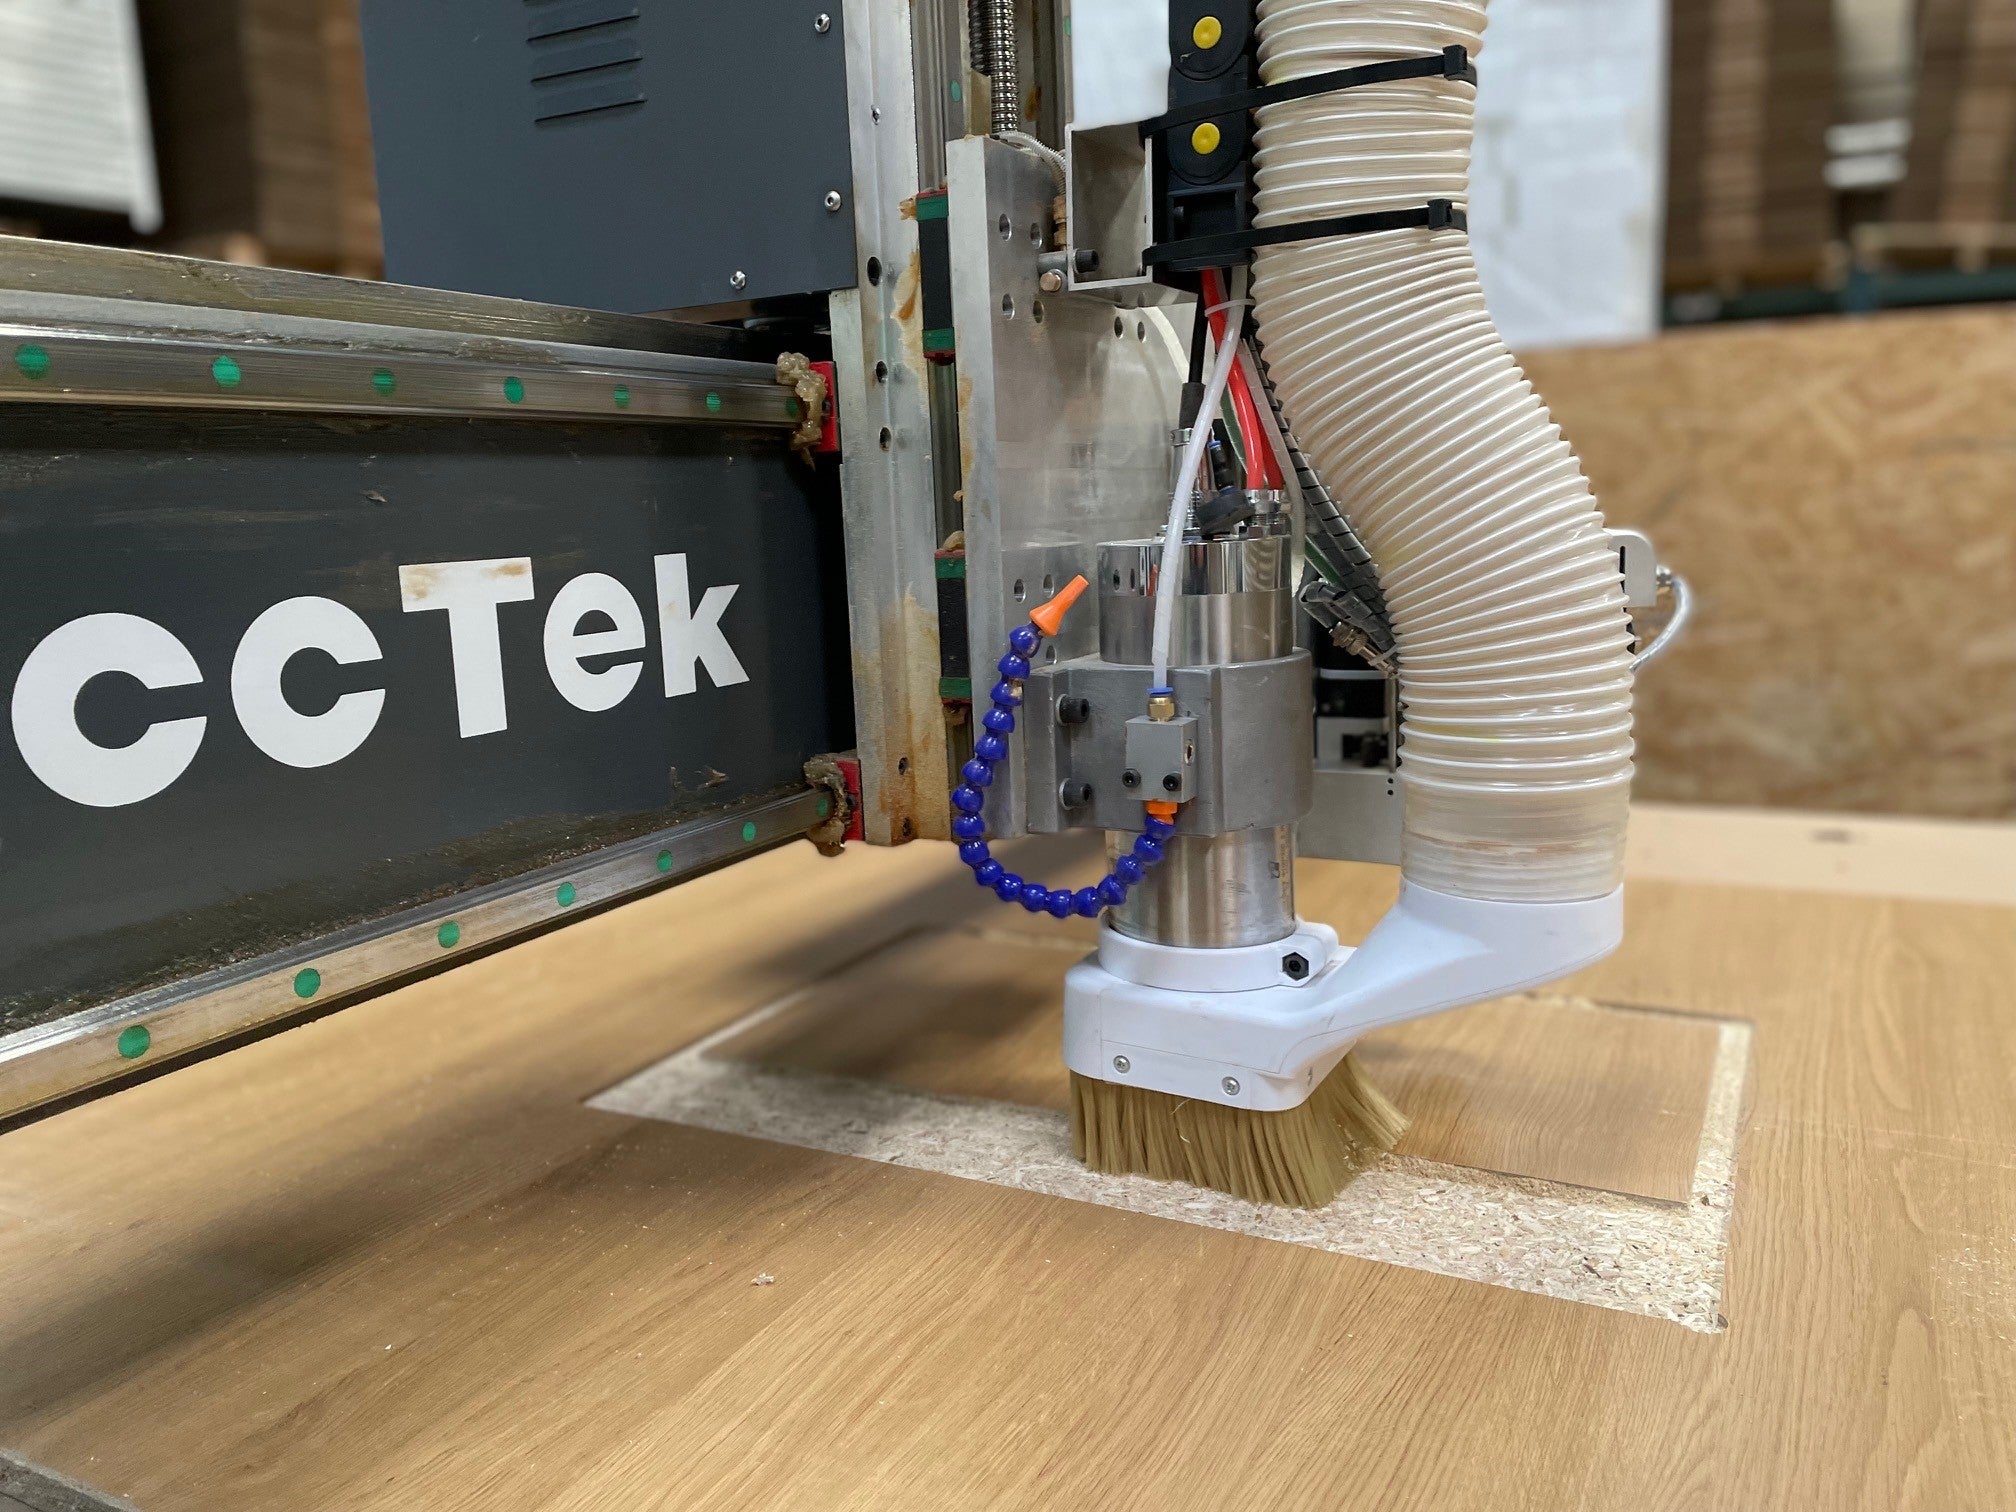
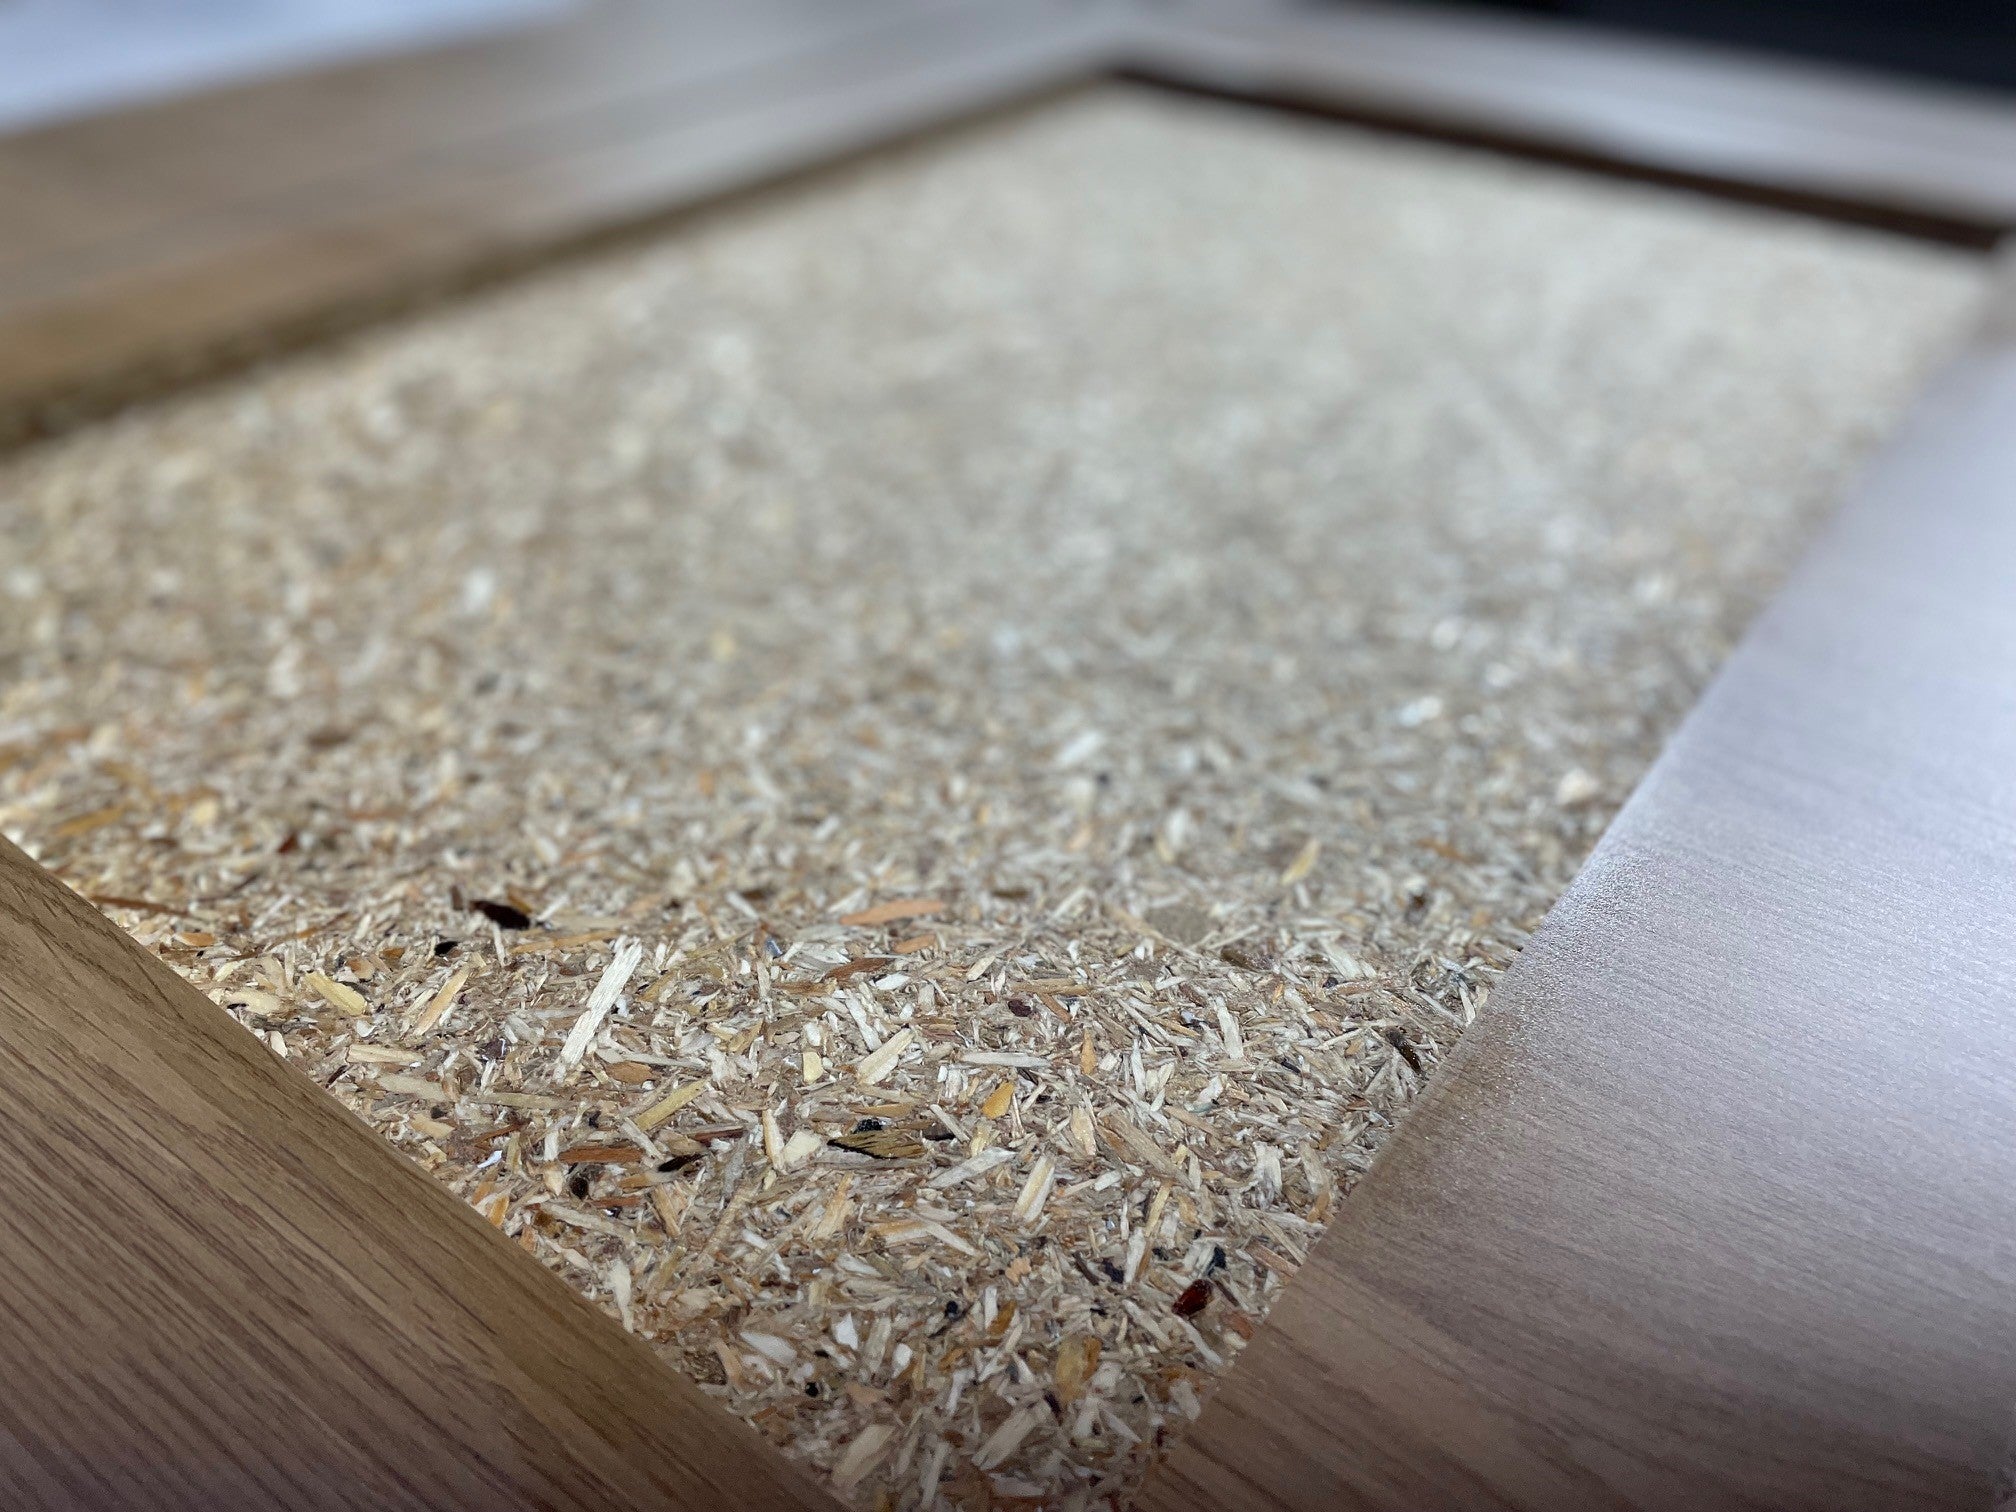
Сделайте фрезеровку кармана и используйте
подходящий инструмент. Файлы DXF - это
доступны по запросу
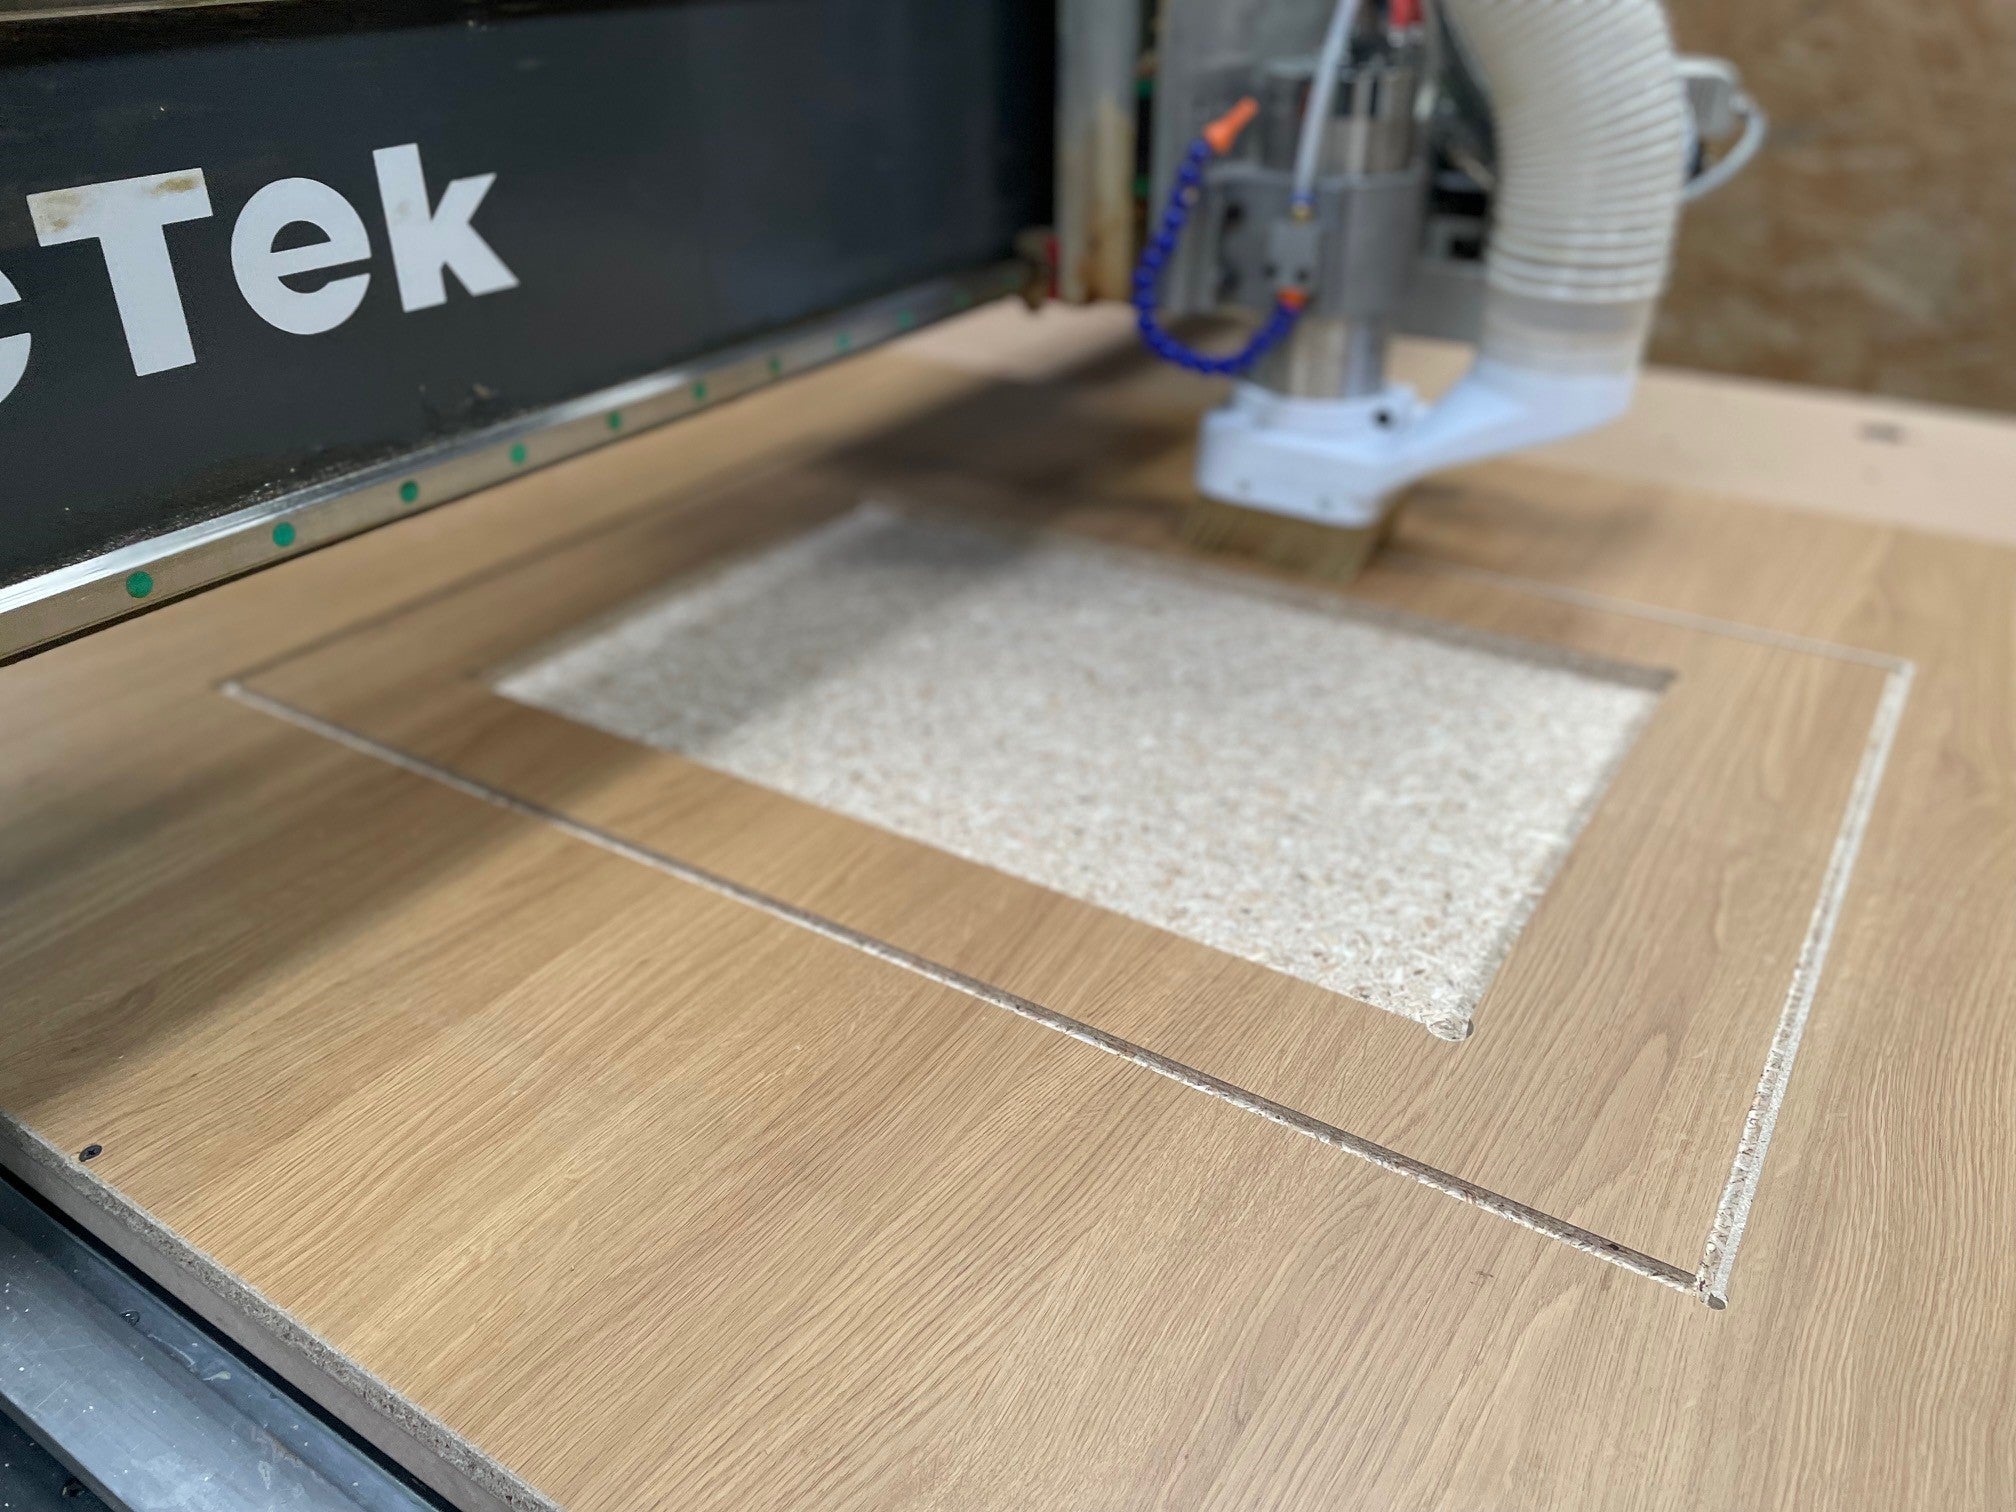
Лишняя древесина не должна
более 2,0 - 3,0 мм толщиной
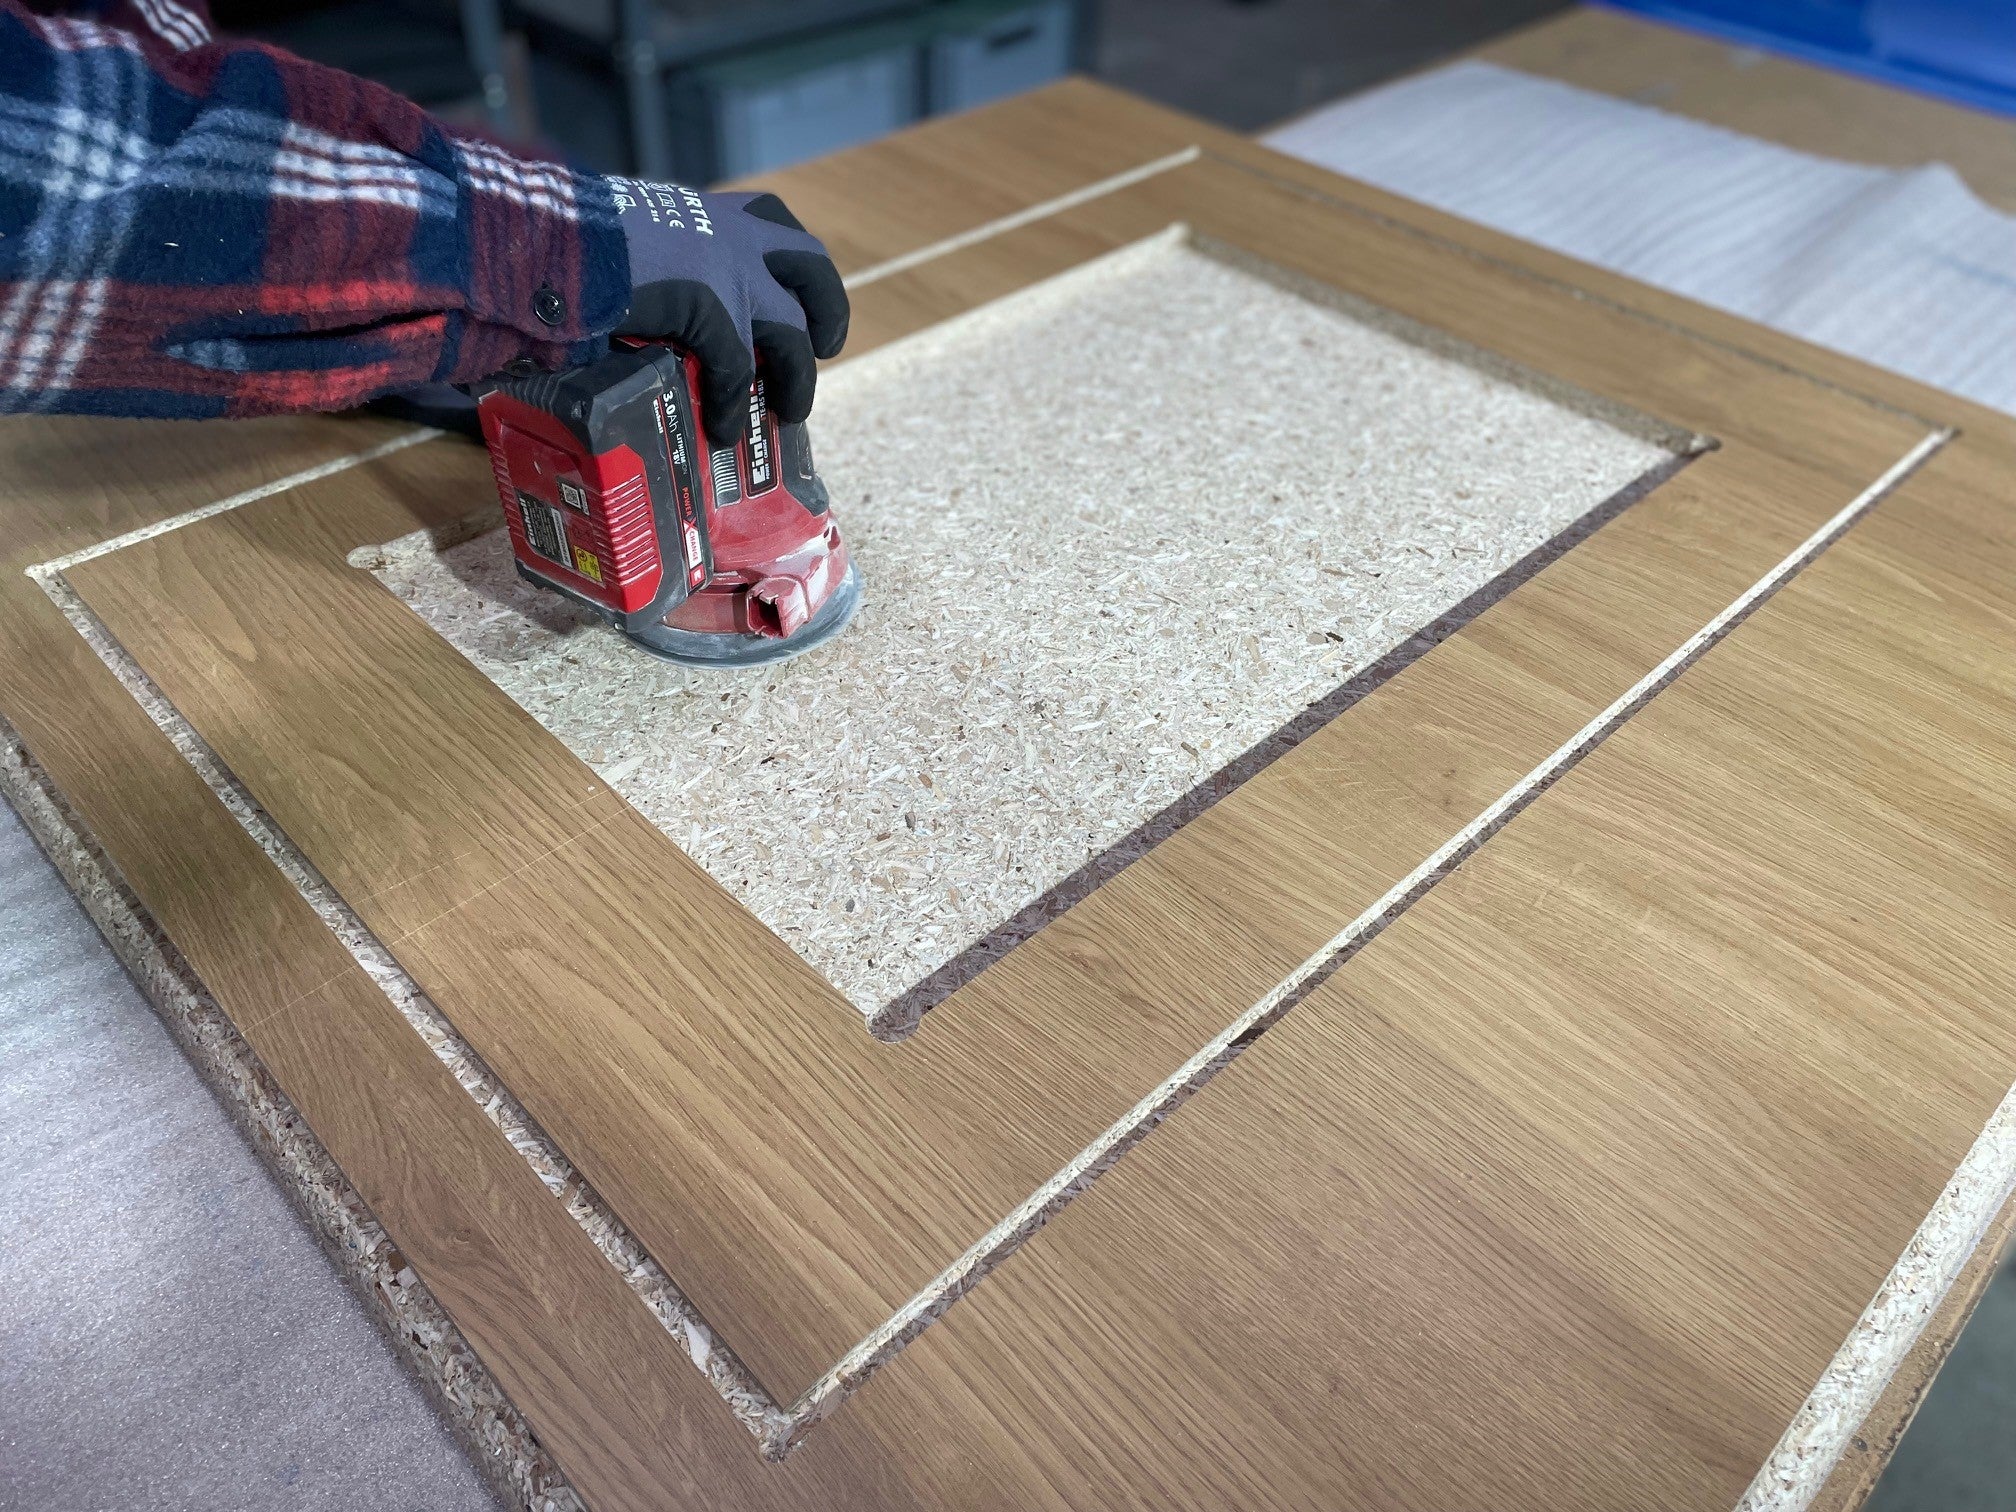
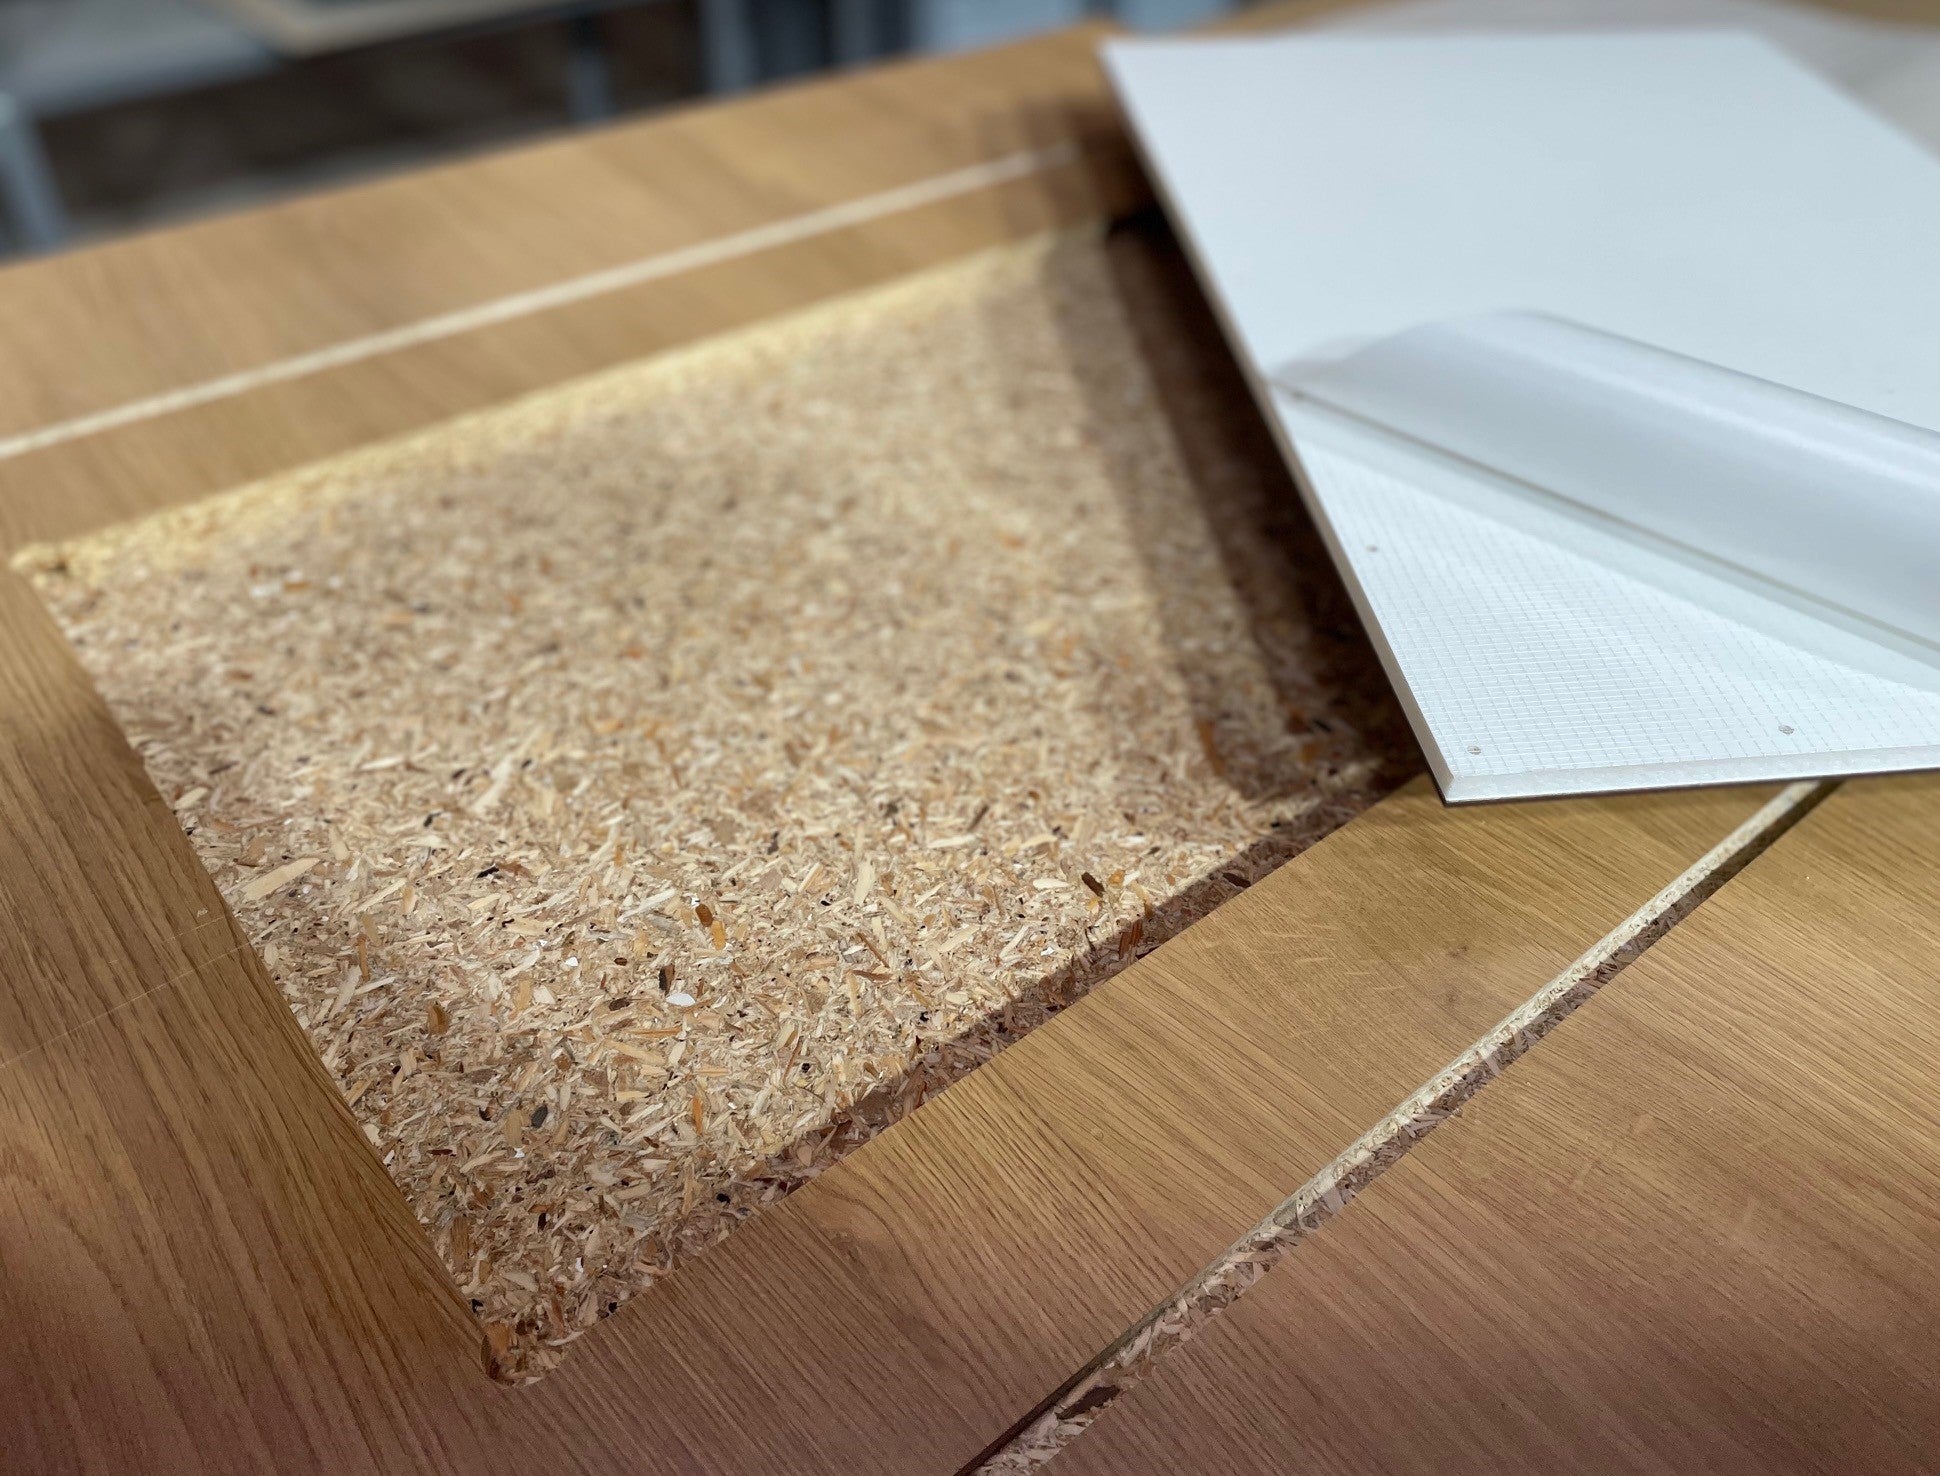
Тщательно очистите фрезеровку и
отшлифуйте карманную фрезеровку в следующем шаге
Отшлифуйте поверхность фрезы
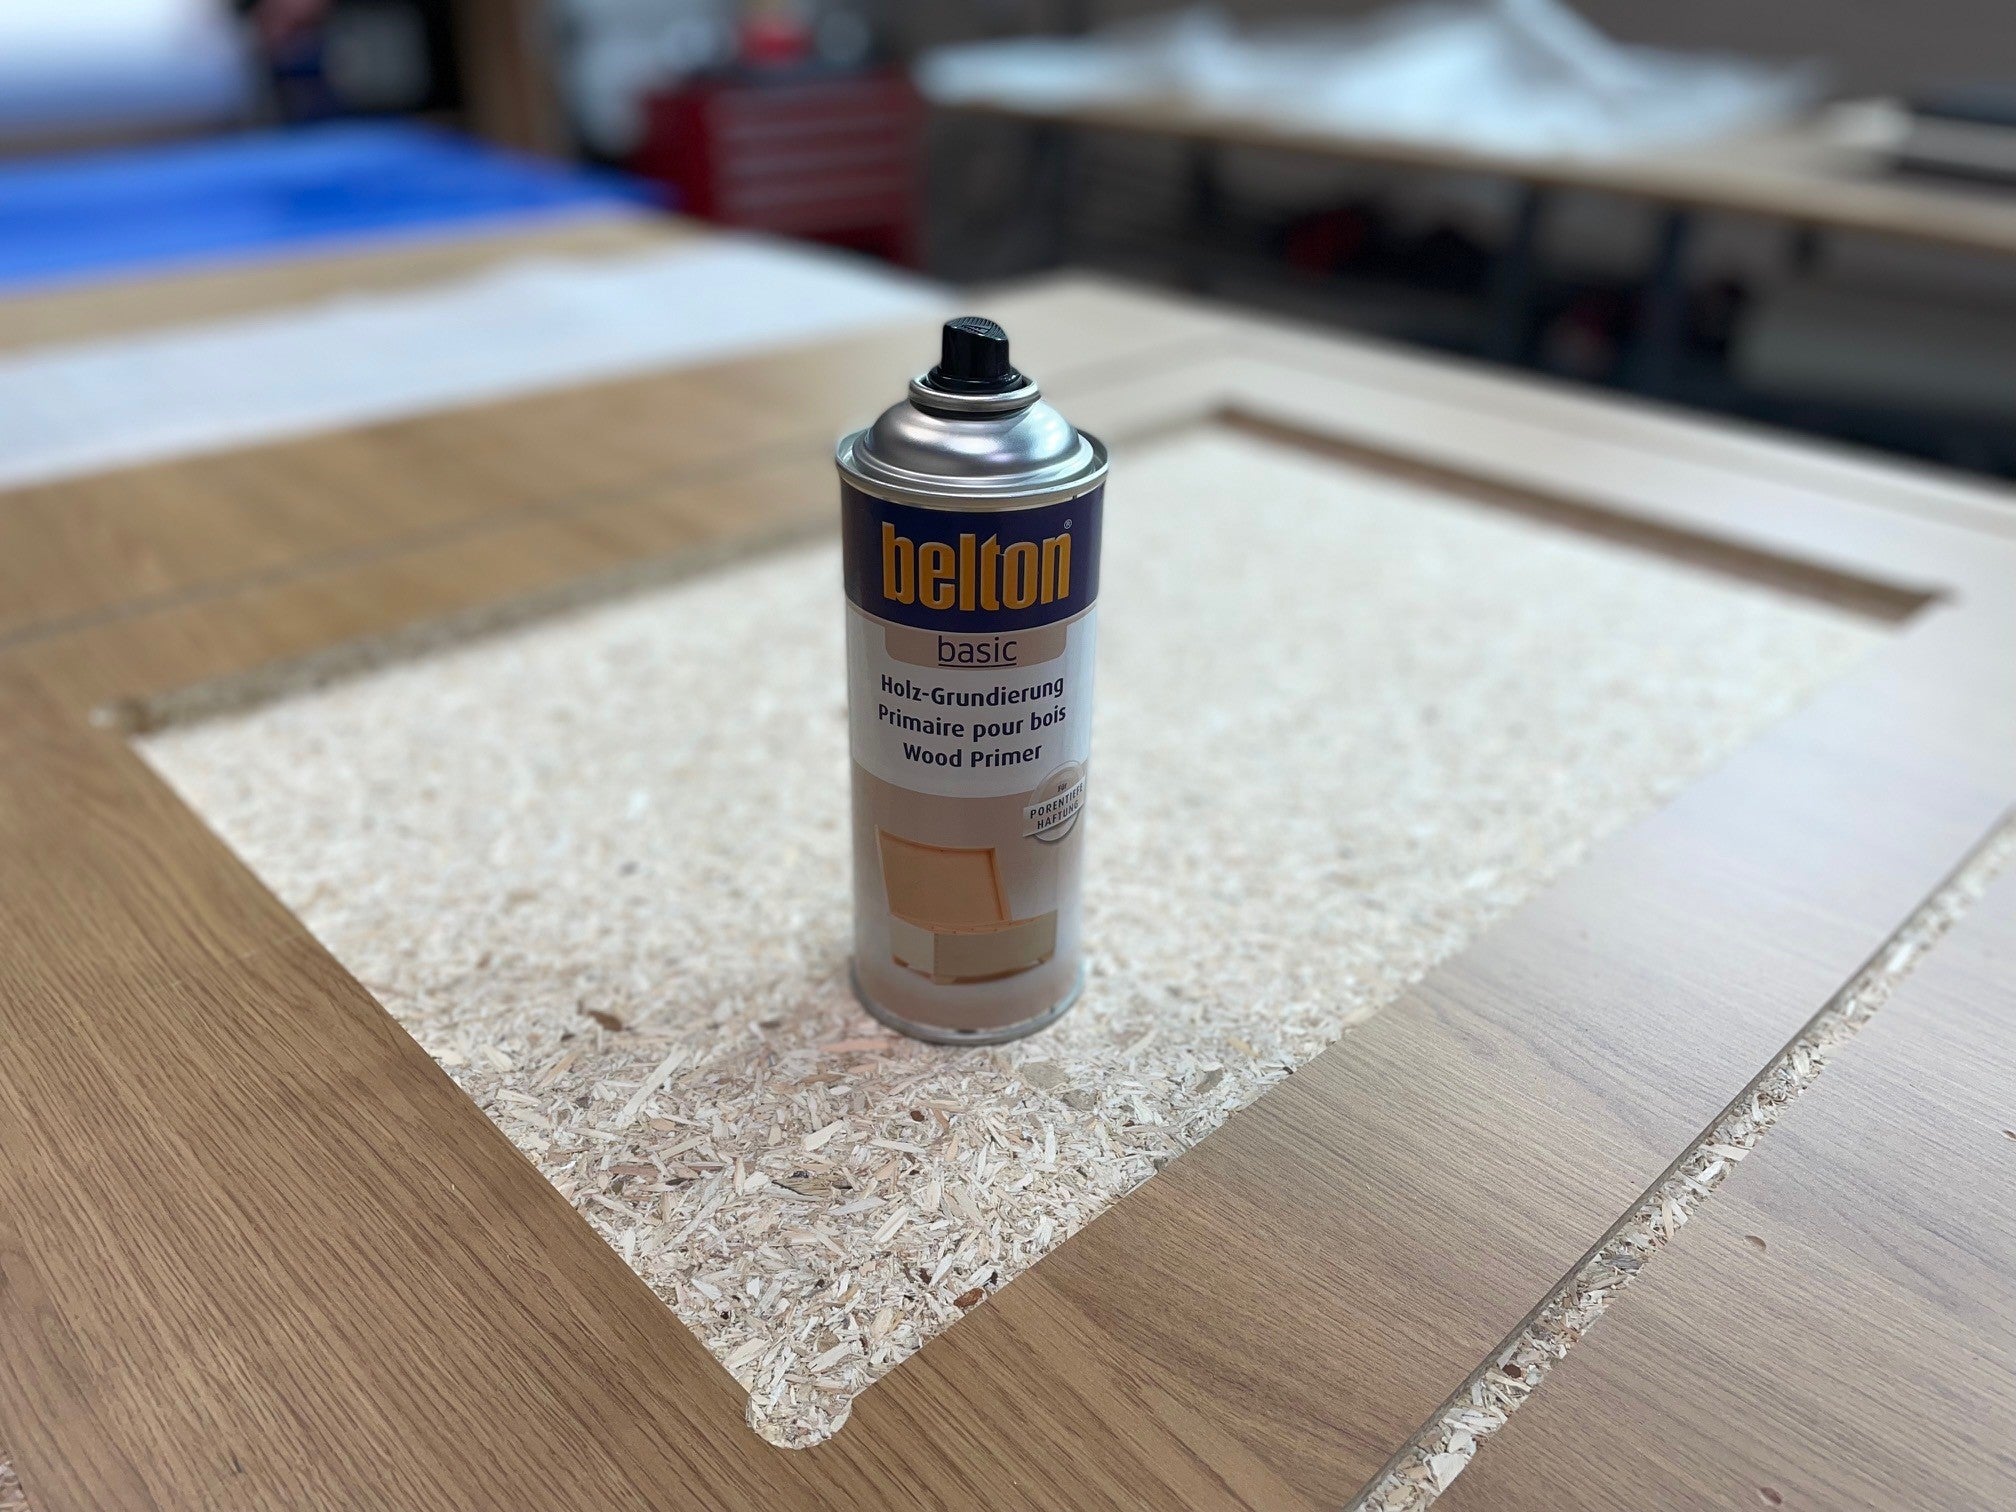
Используйте грунтовку для дерева для наилучшего сцепления, перед этим удалите всю пыль и т.д.
Снимите защитную пленку с двустороннего скотча*.
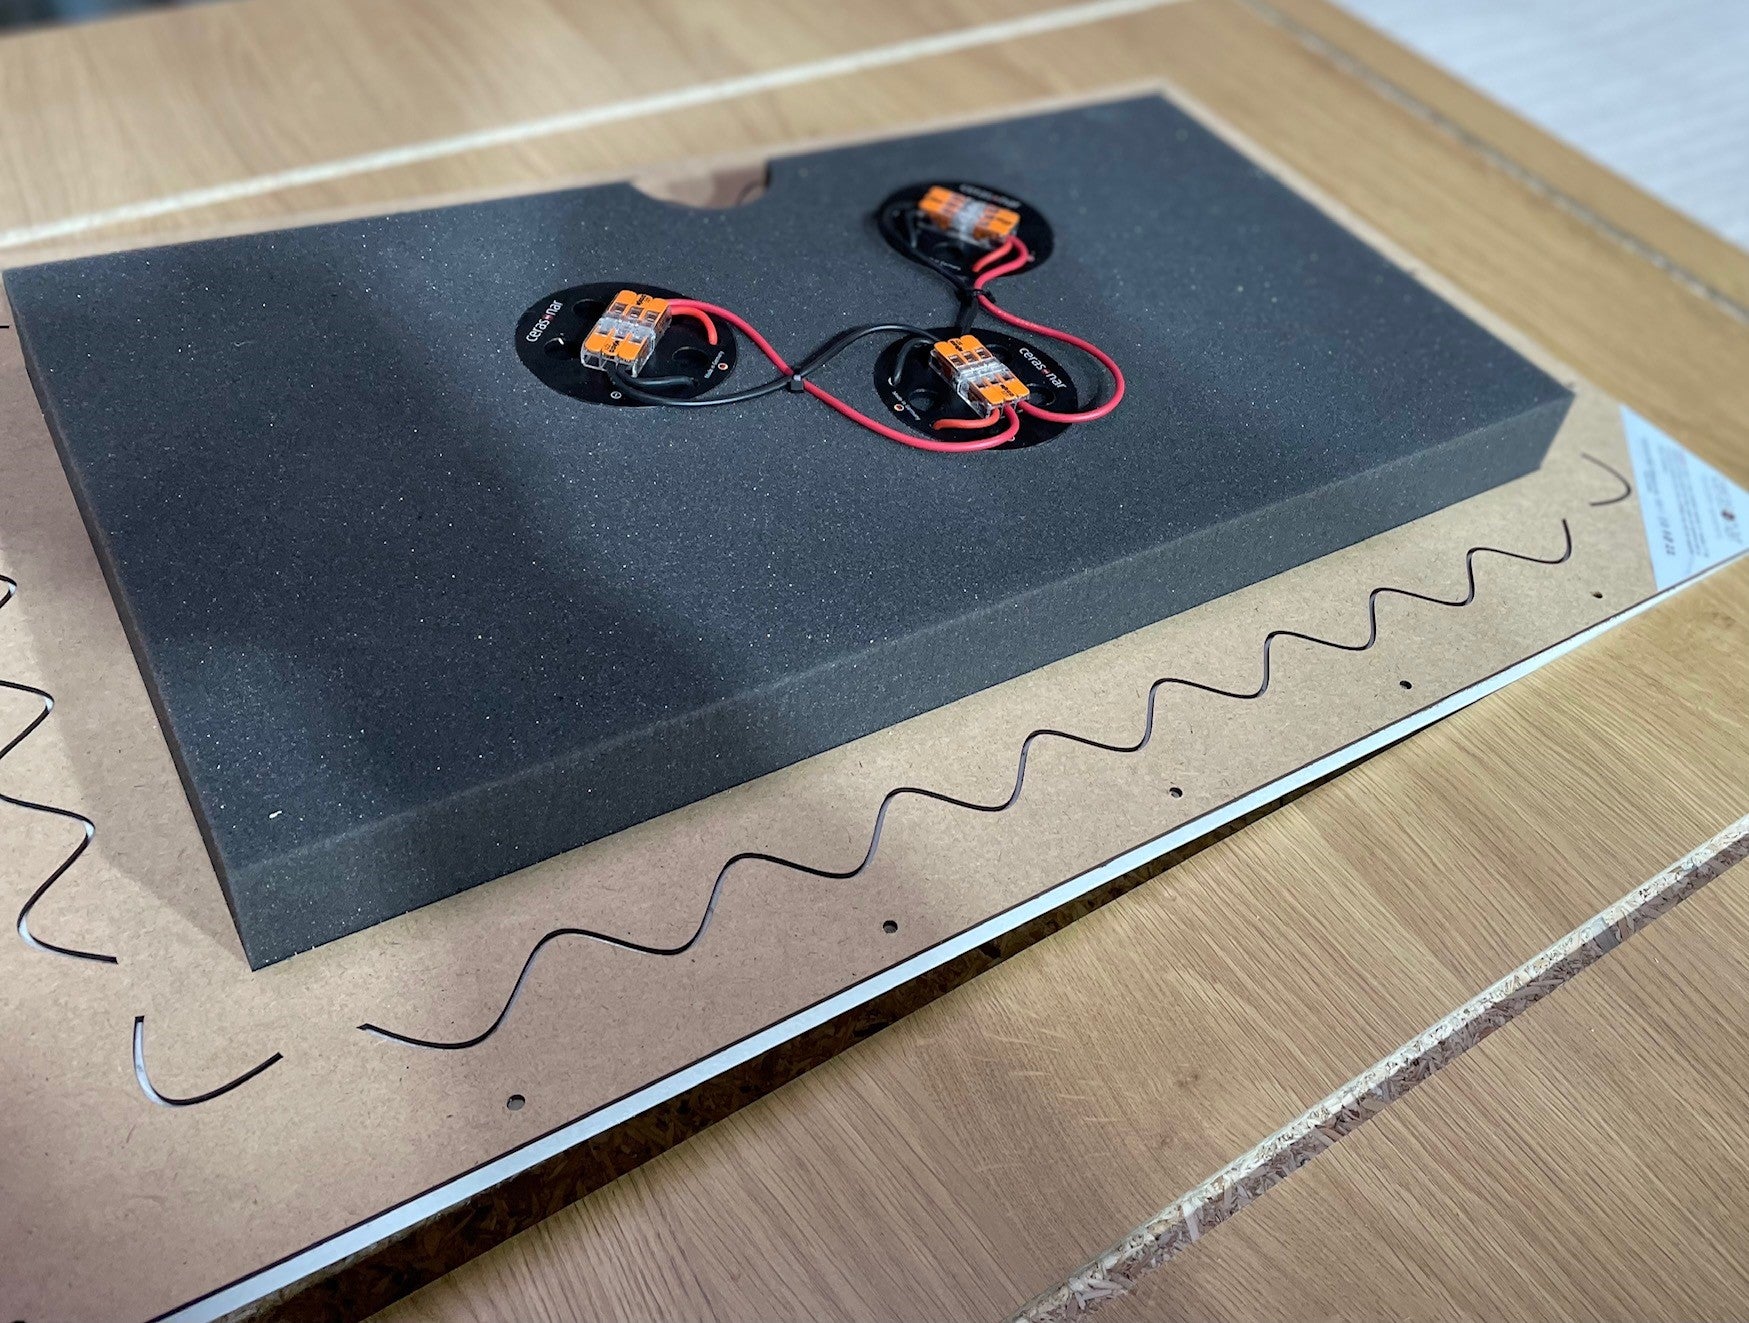
Осторожно вставьте динамик
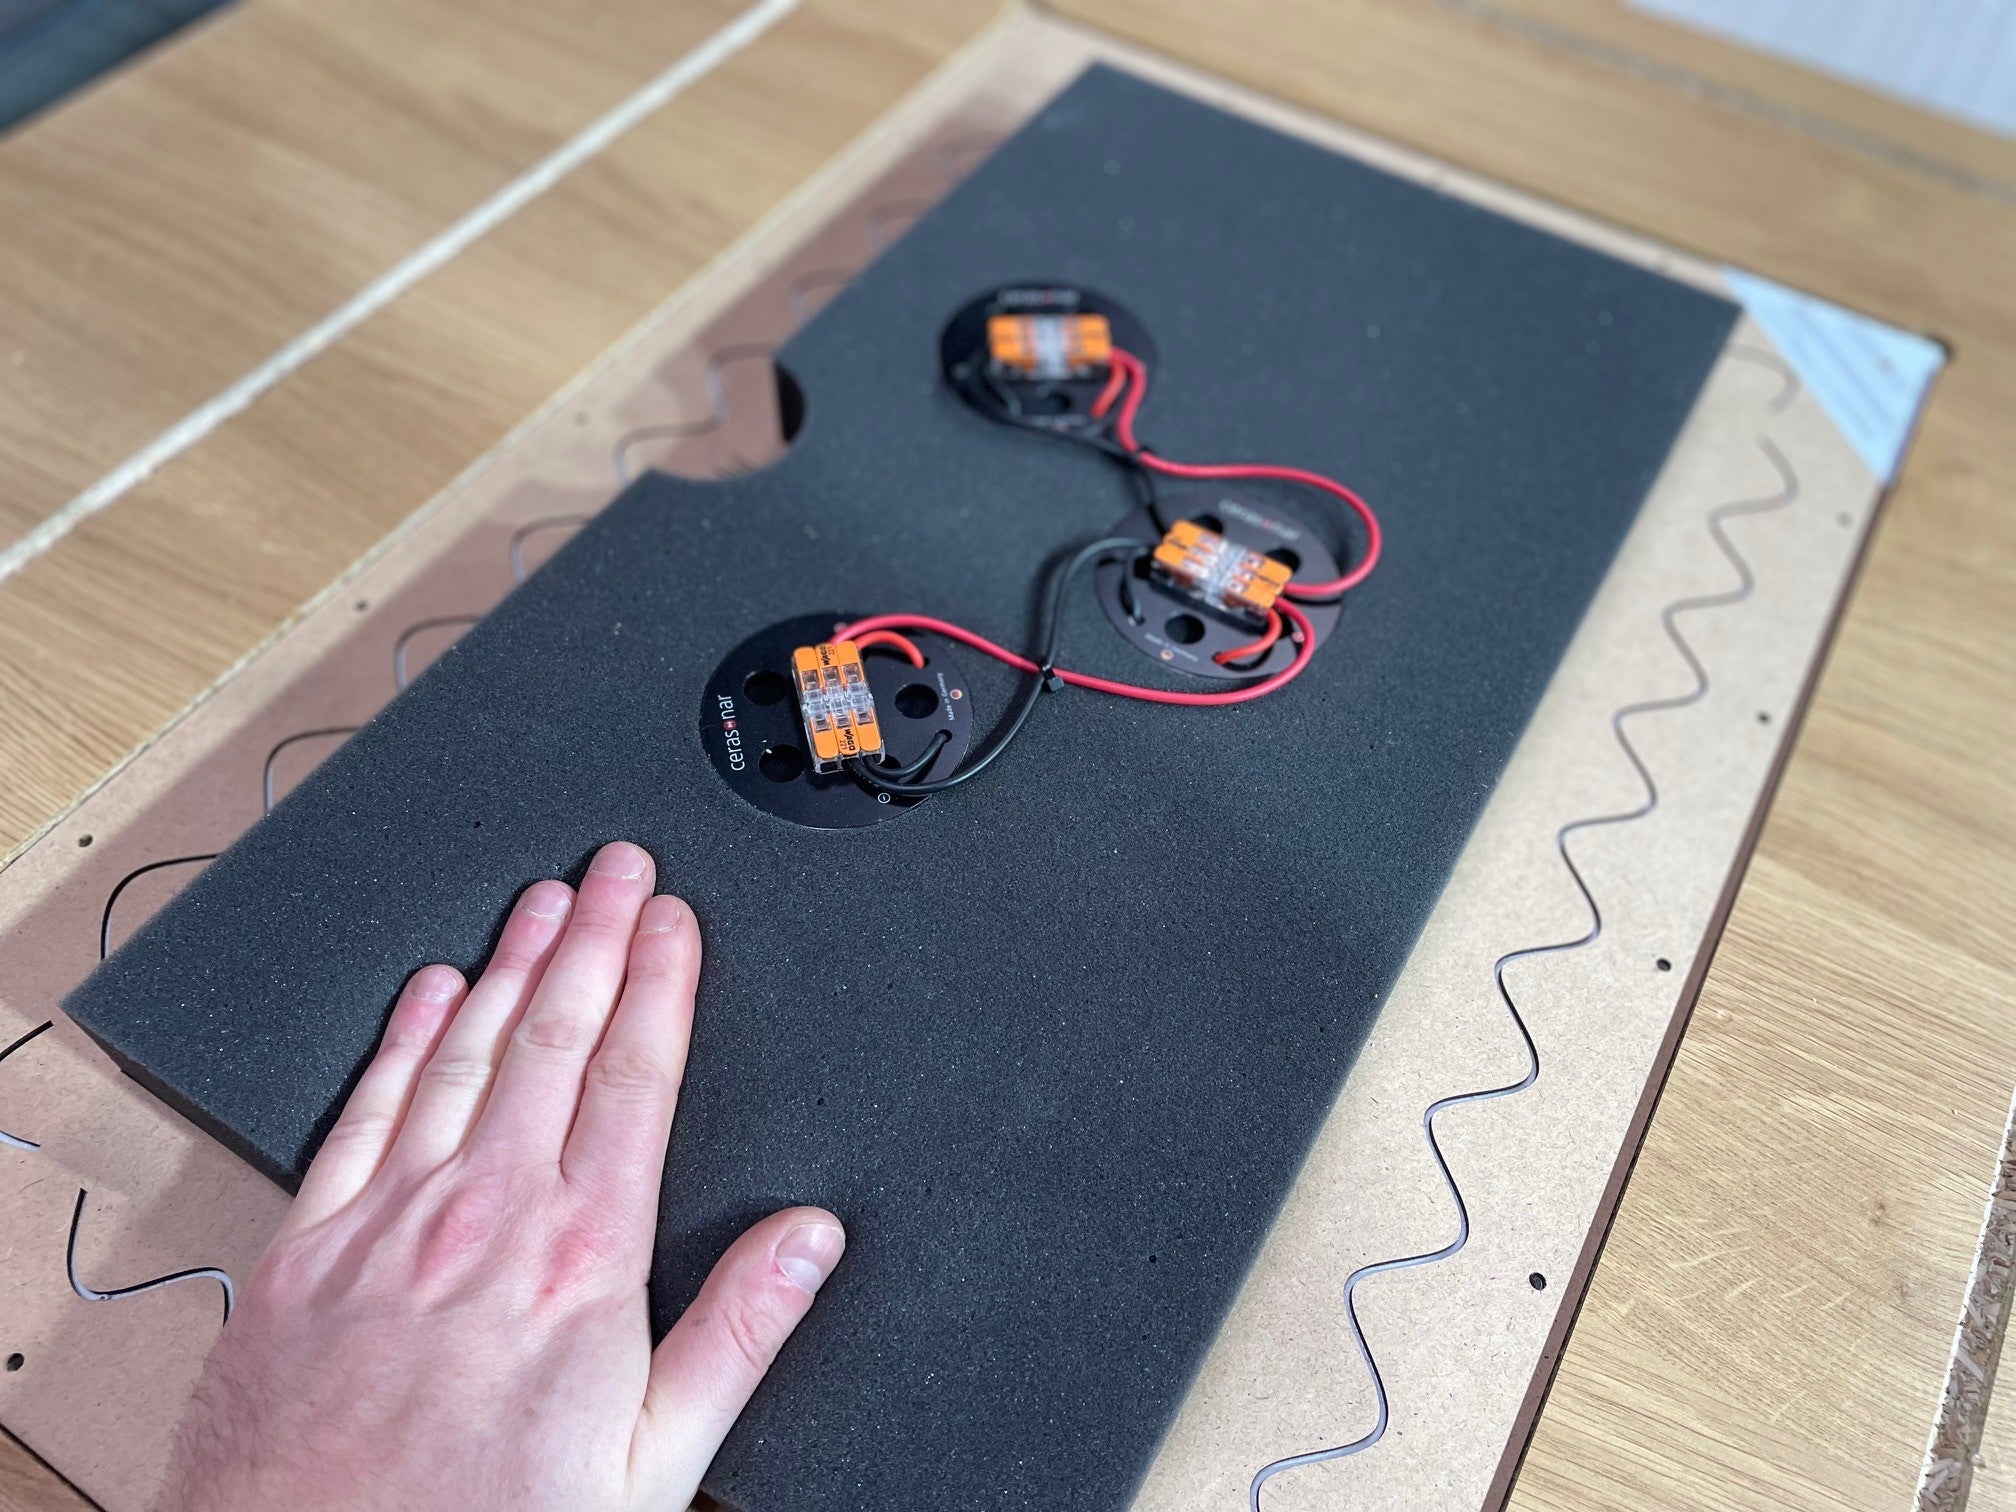
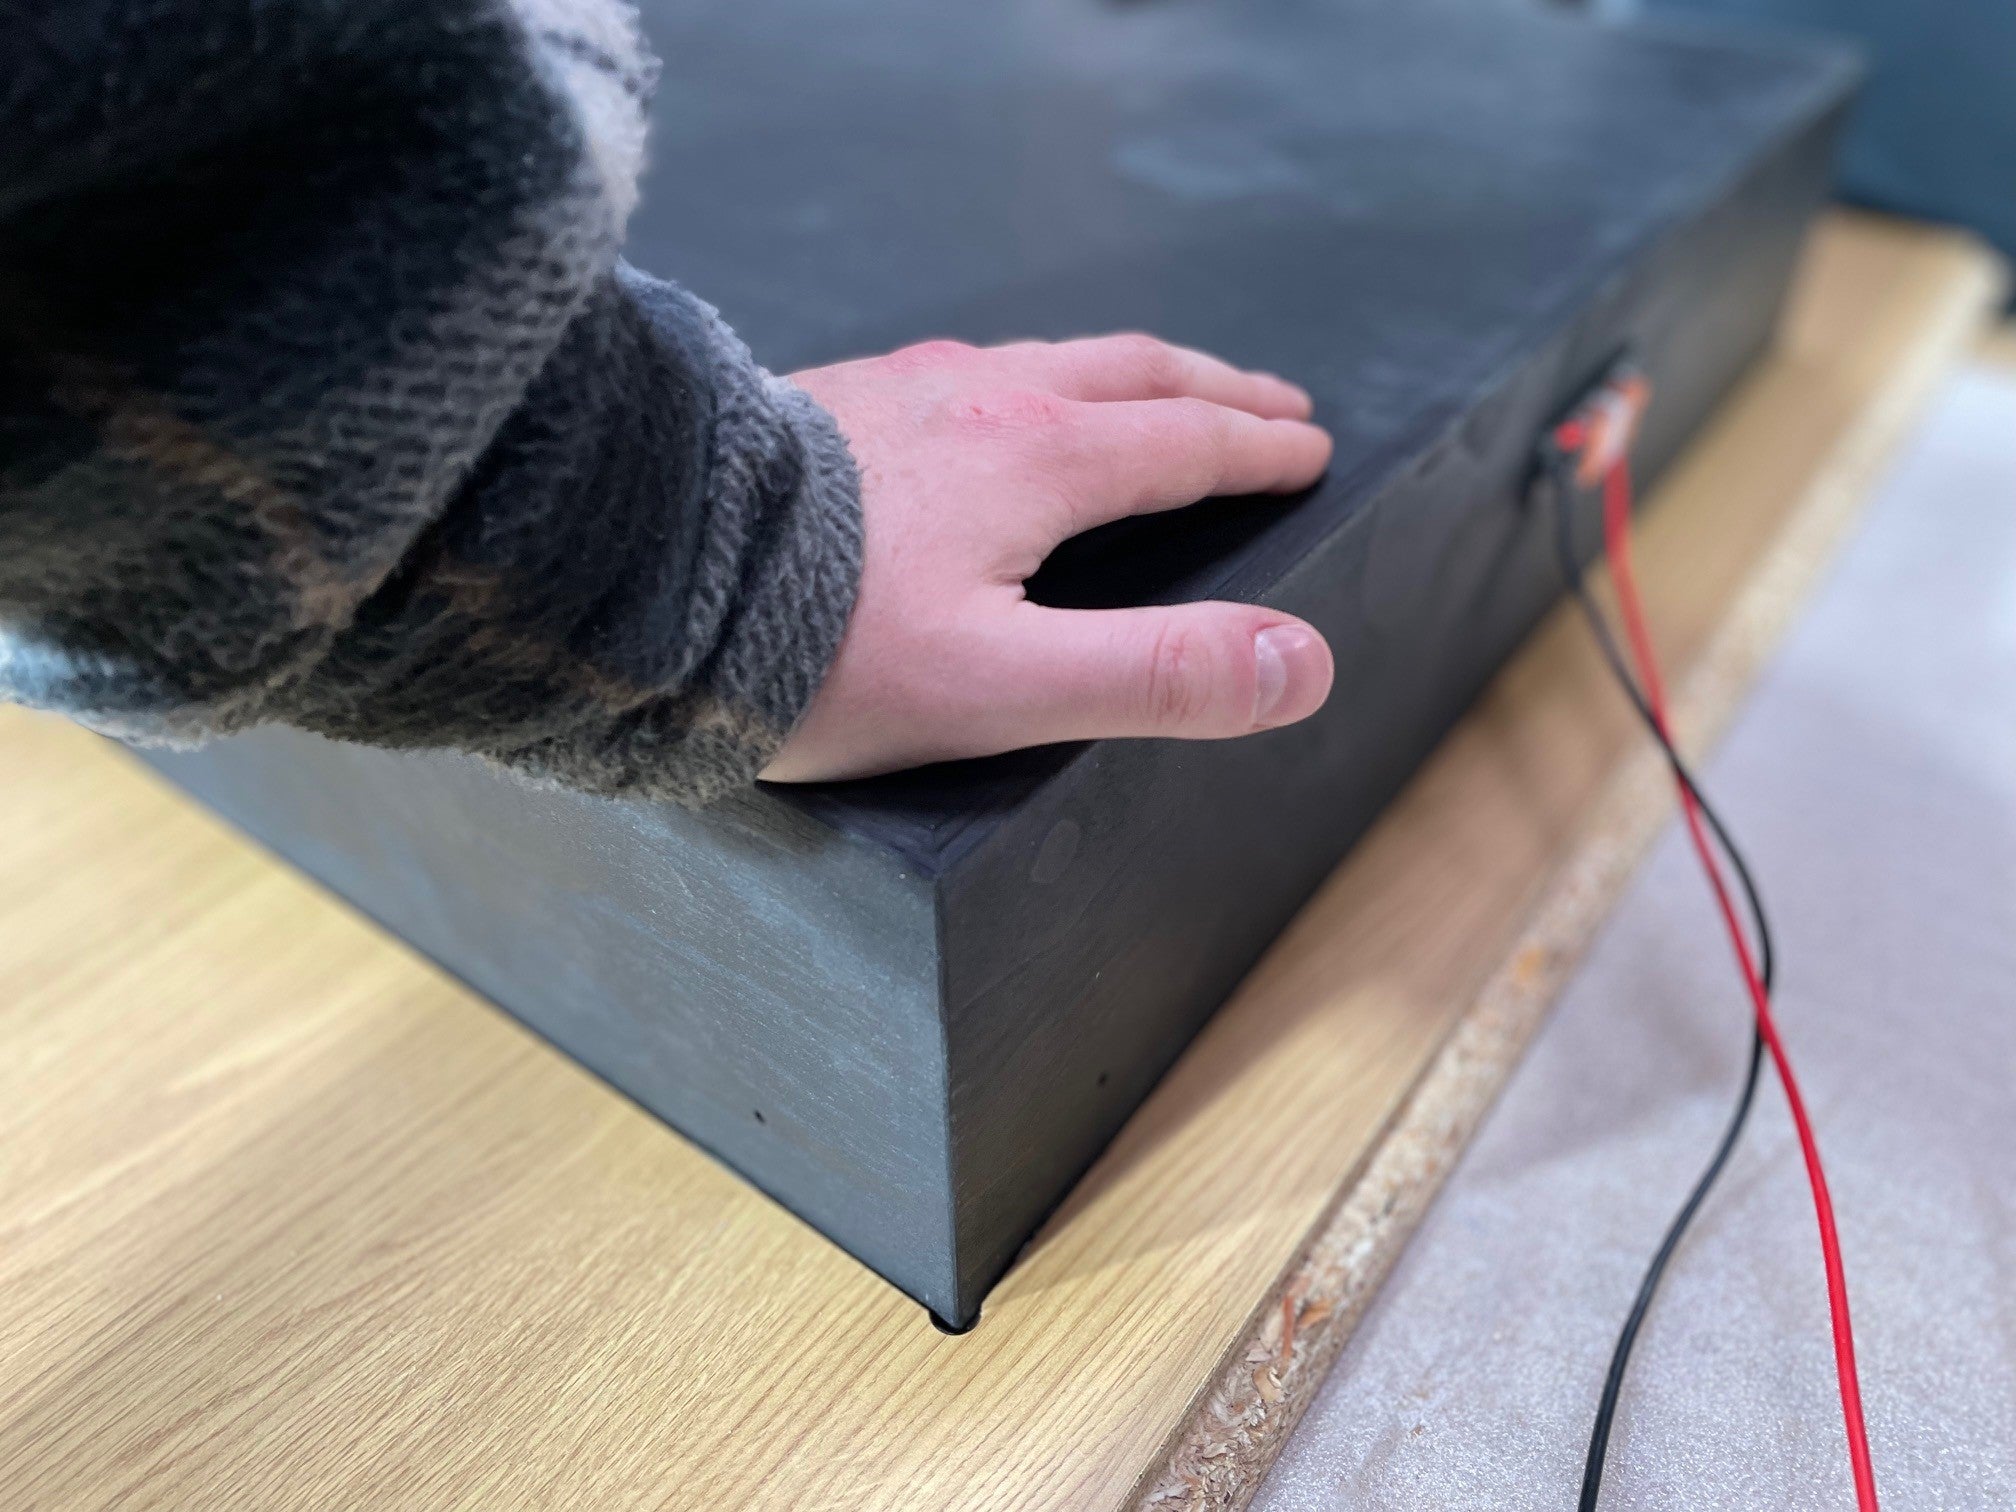
Не прилагайте слишком много усилий, когда
Не нажимайте вниз, Вы не должны давить на драйверы возбудителя!
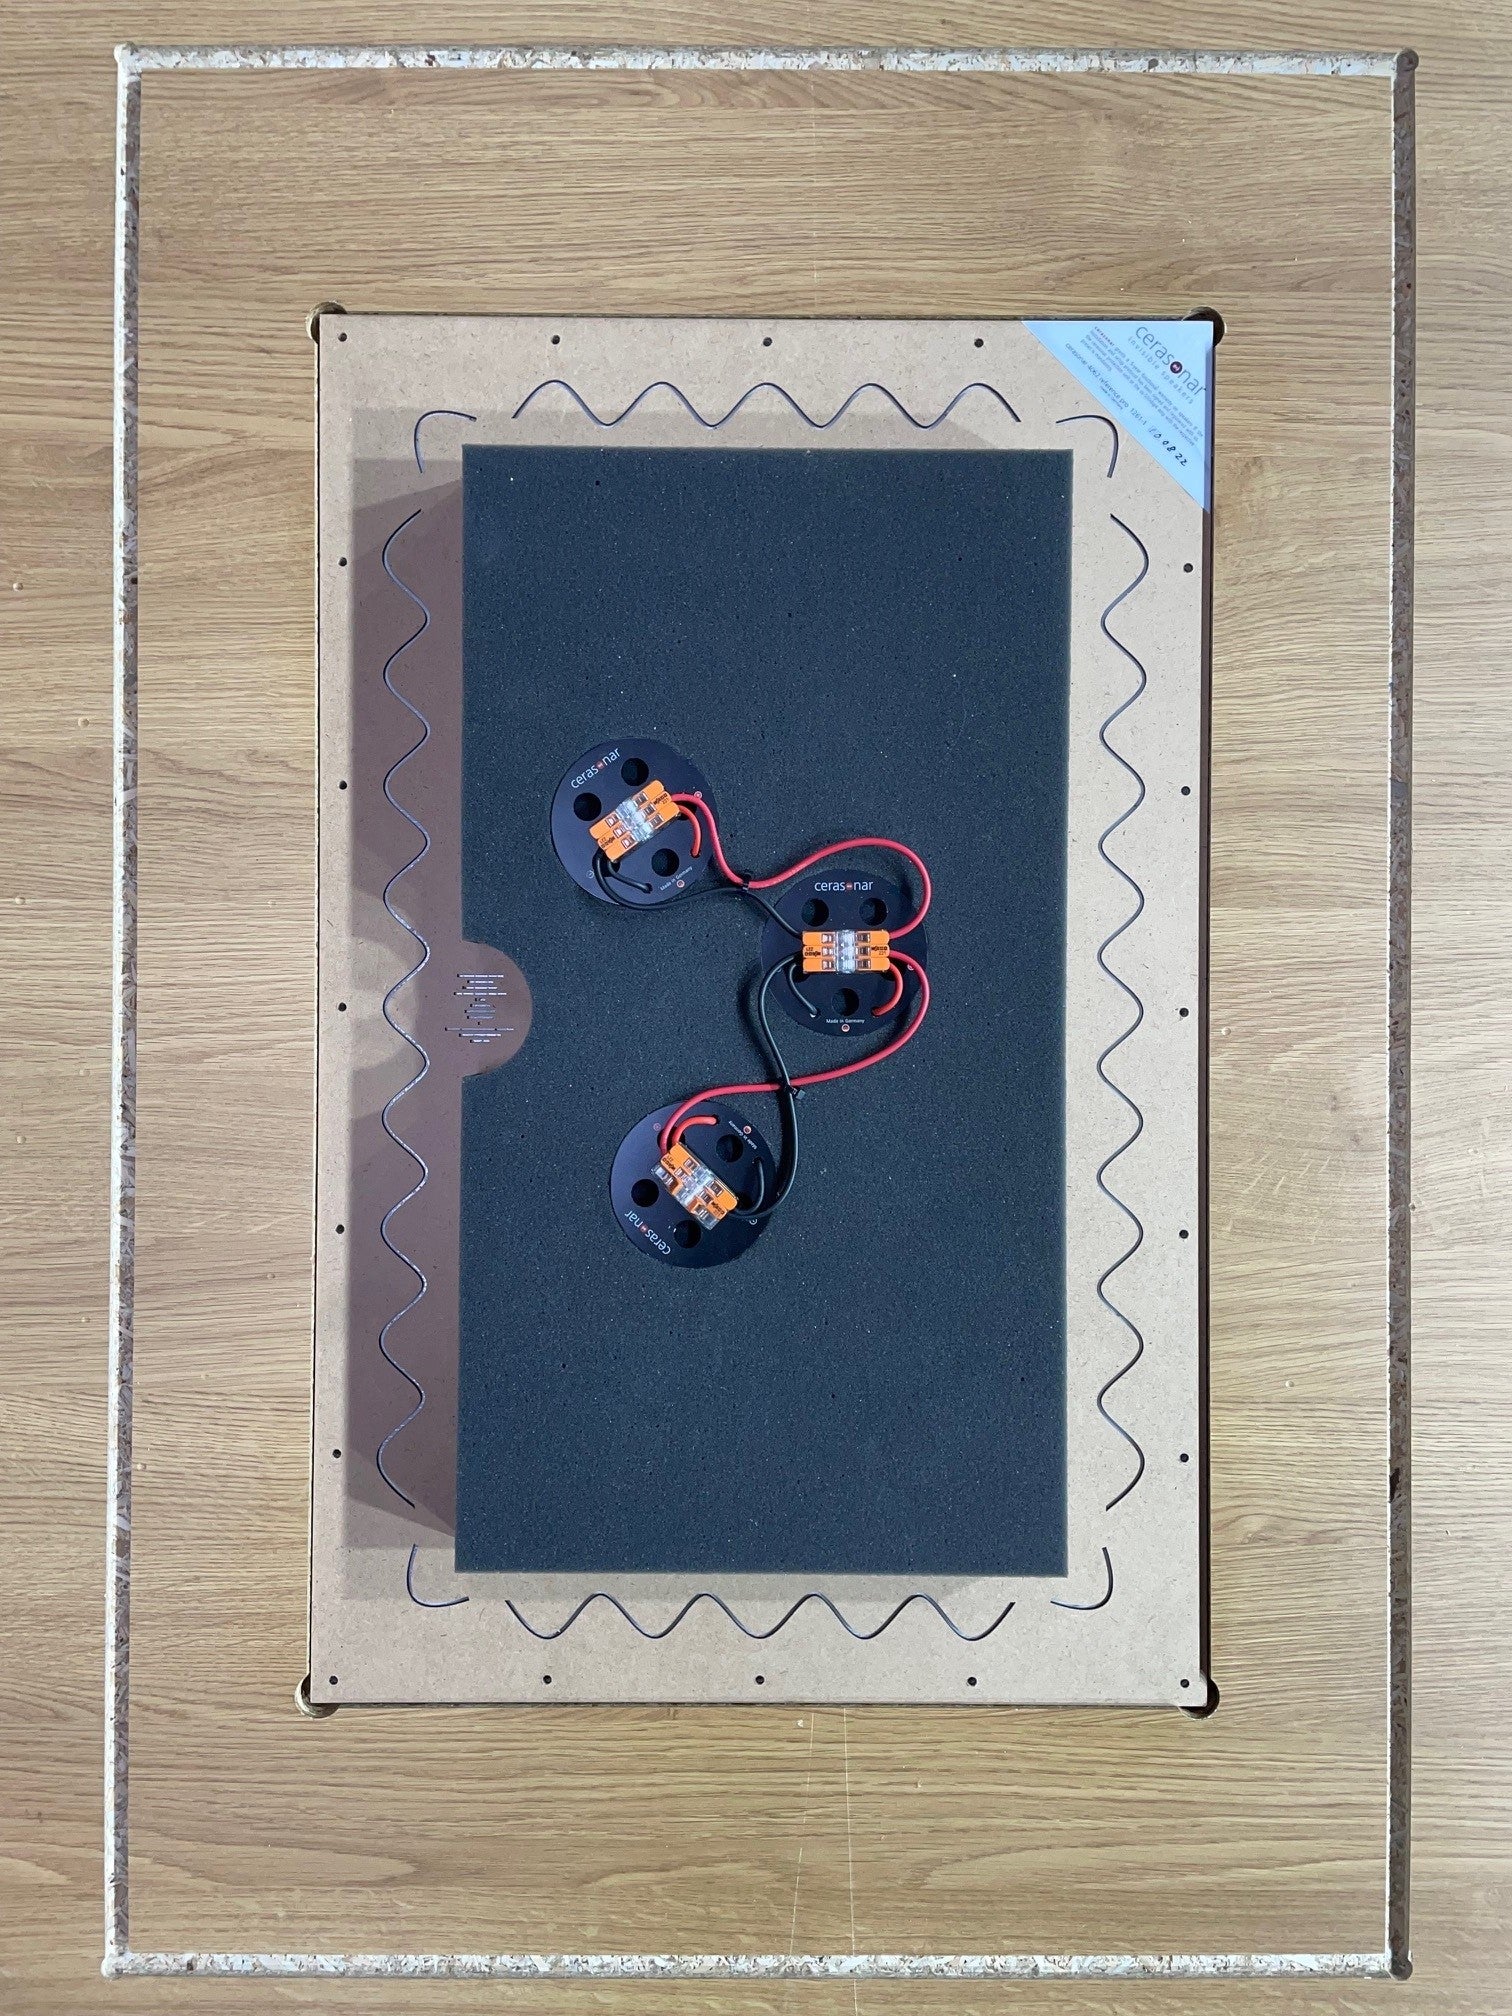
Колонка готова к подключению кабеля. В качестве опции Вы можете использовать заднюю коробку cerasonar (например, 9062 backbox).
Прикрепите кронштейн на задней части колонки. Это служит дополнительной мерой механической безопасности.
Теперь прикрутите кронштейн, используя предварительно просверленные отверстия. Не затягивайте винты слишком сильно!
Теперь протестируйте колонку.

ДОПОЛНИТЕЛЬНОЕ КРЕПЛЕНИЕ НА ЗАДНЮЮ СТЕНКУ:
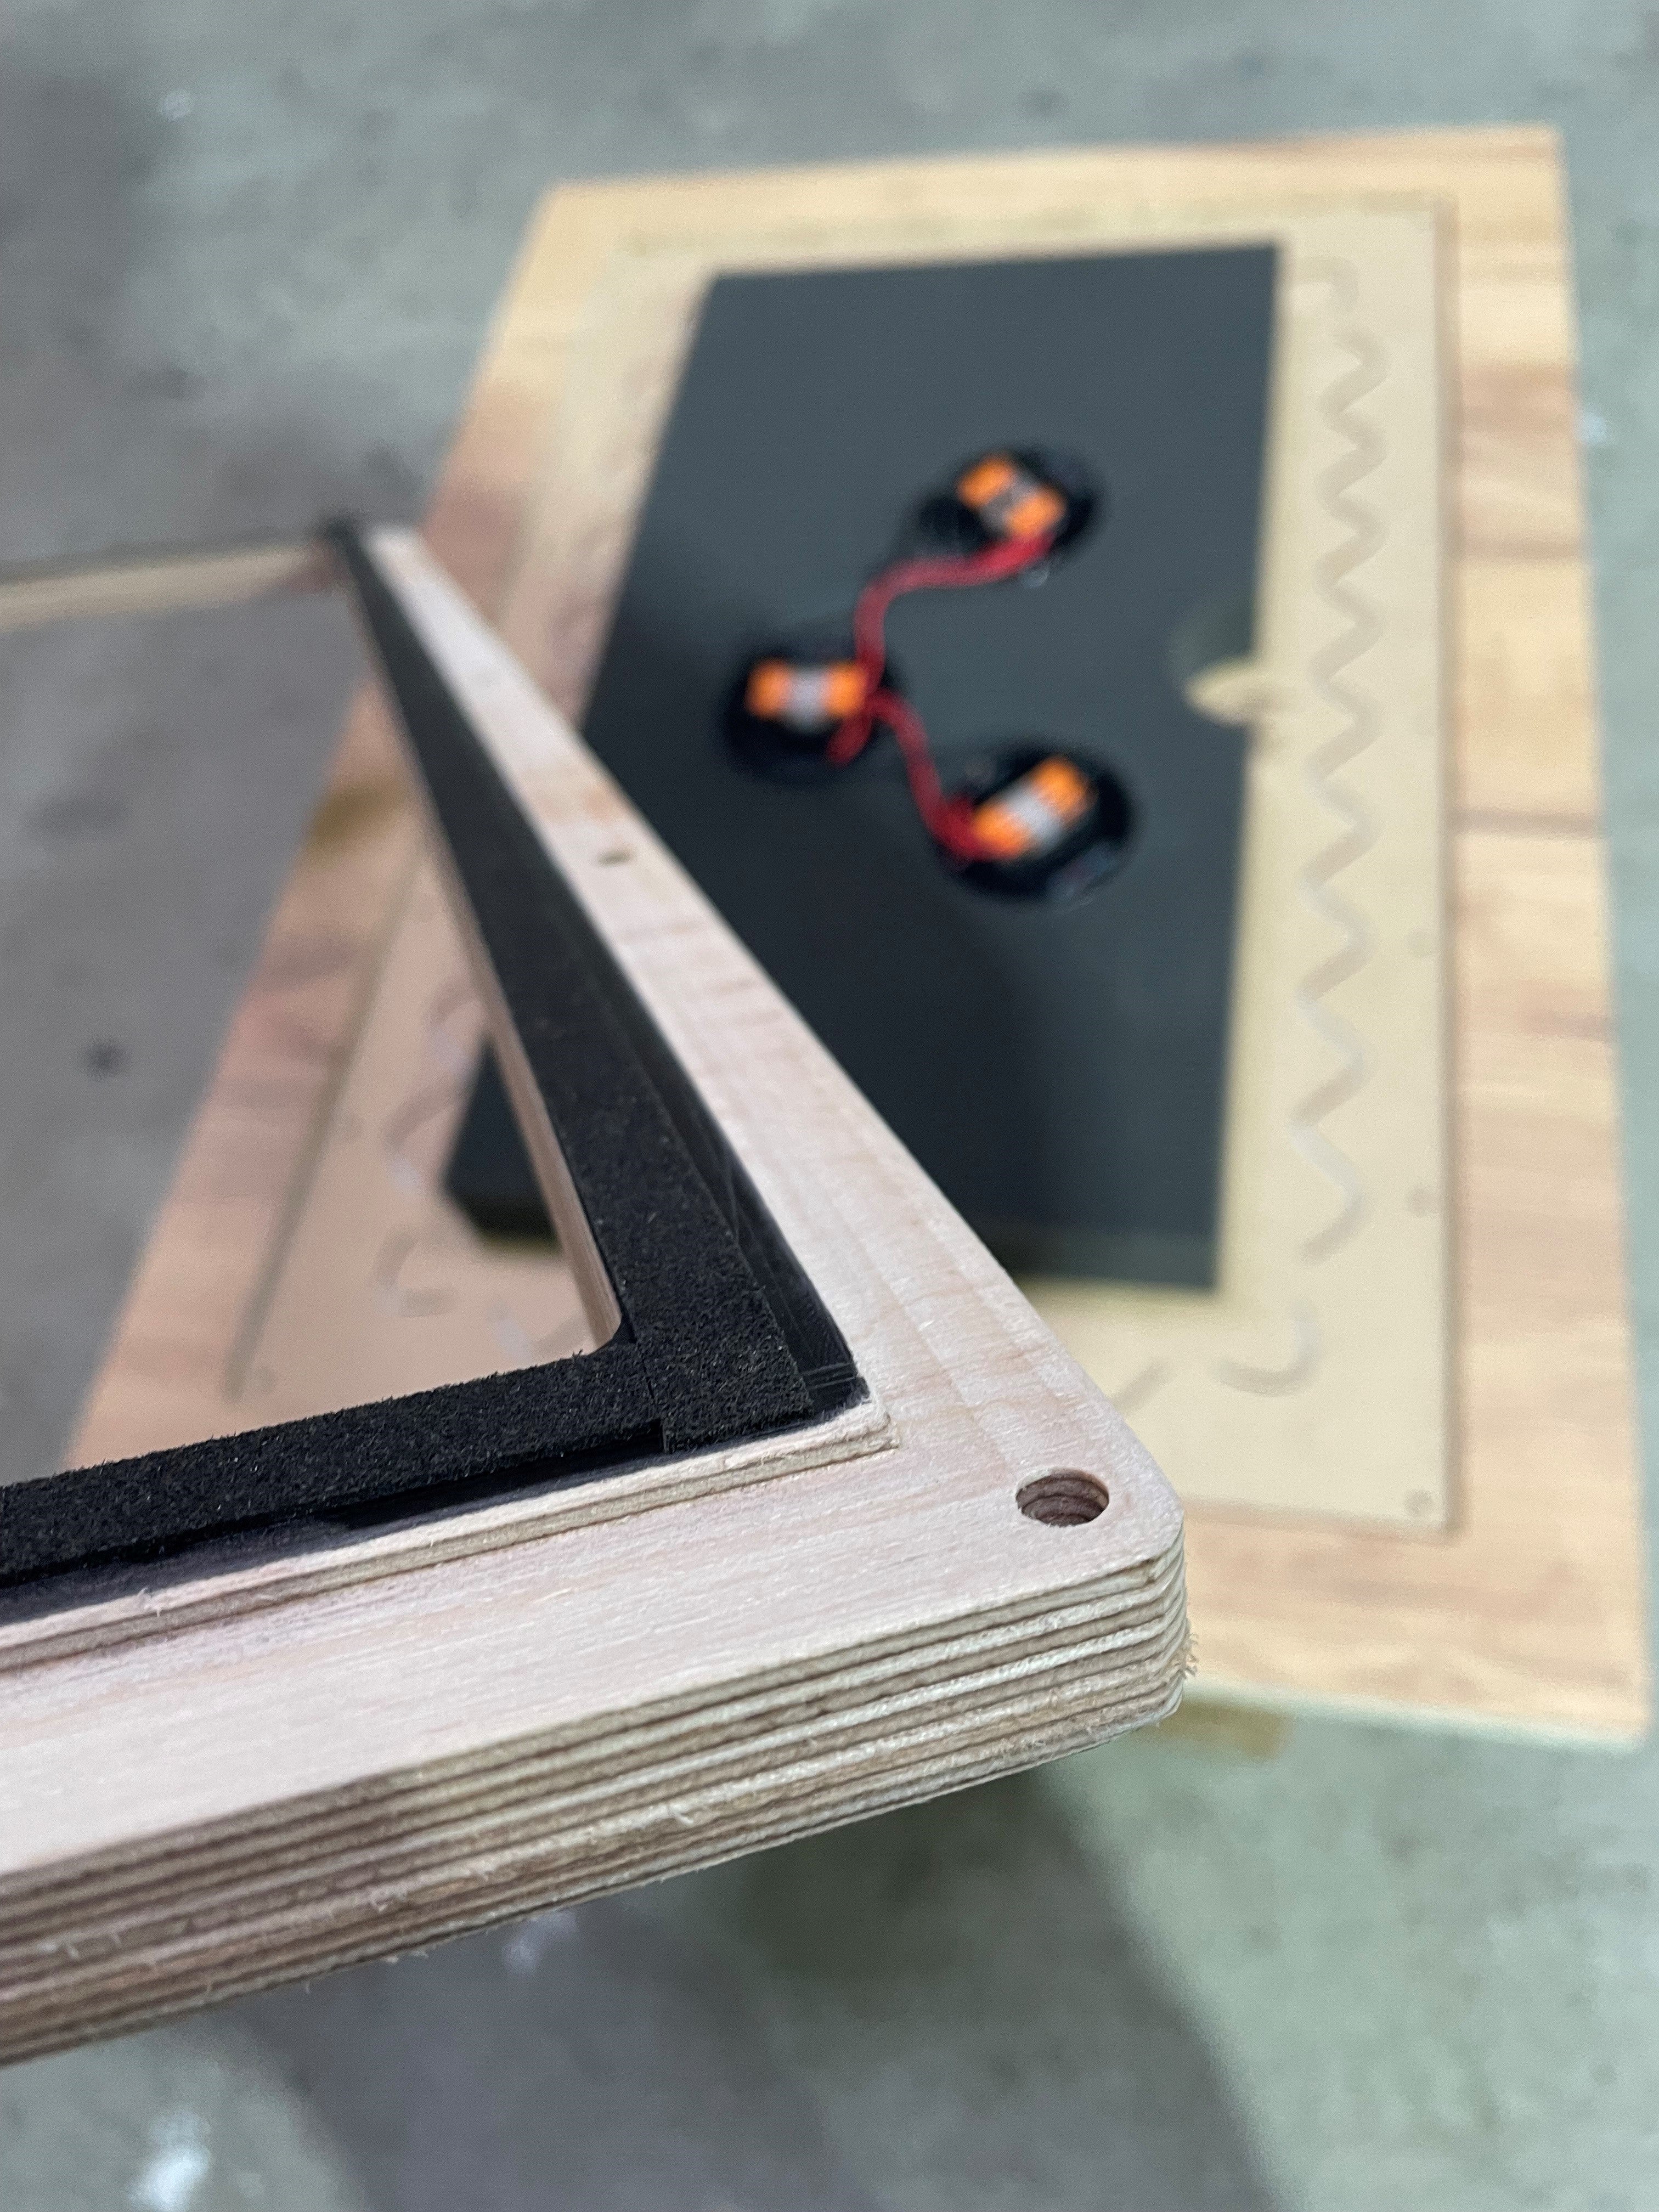
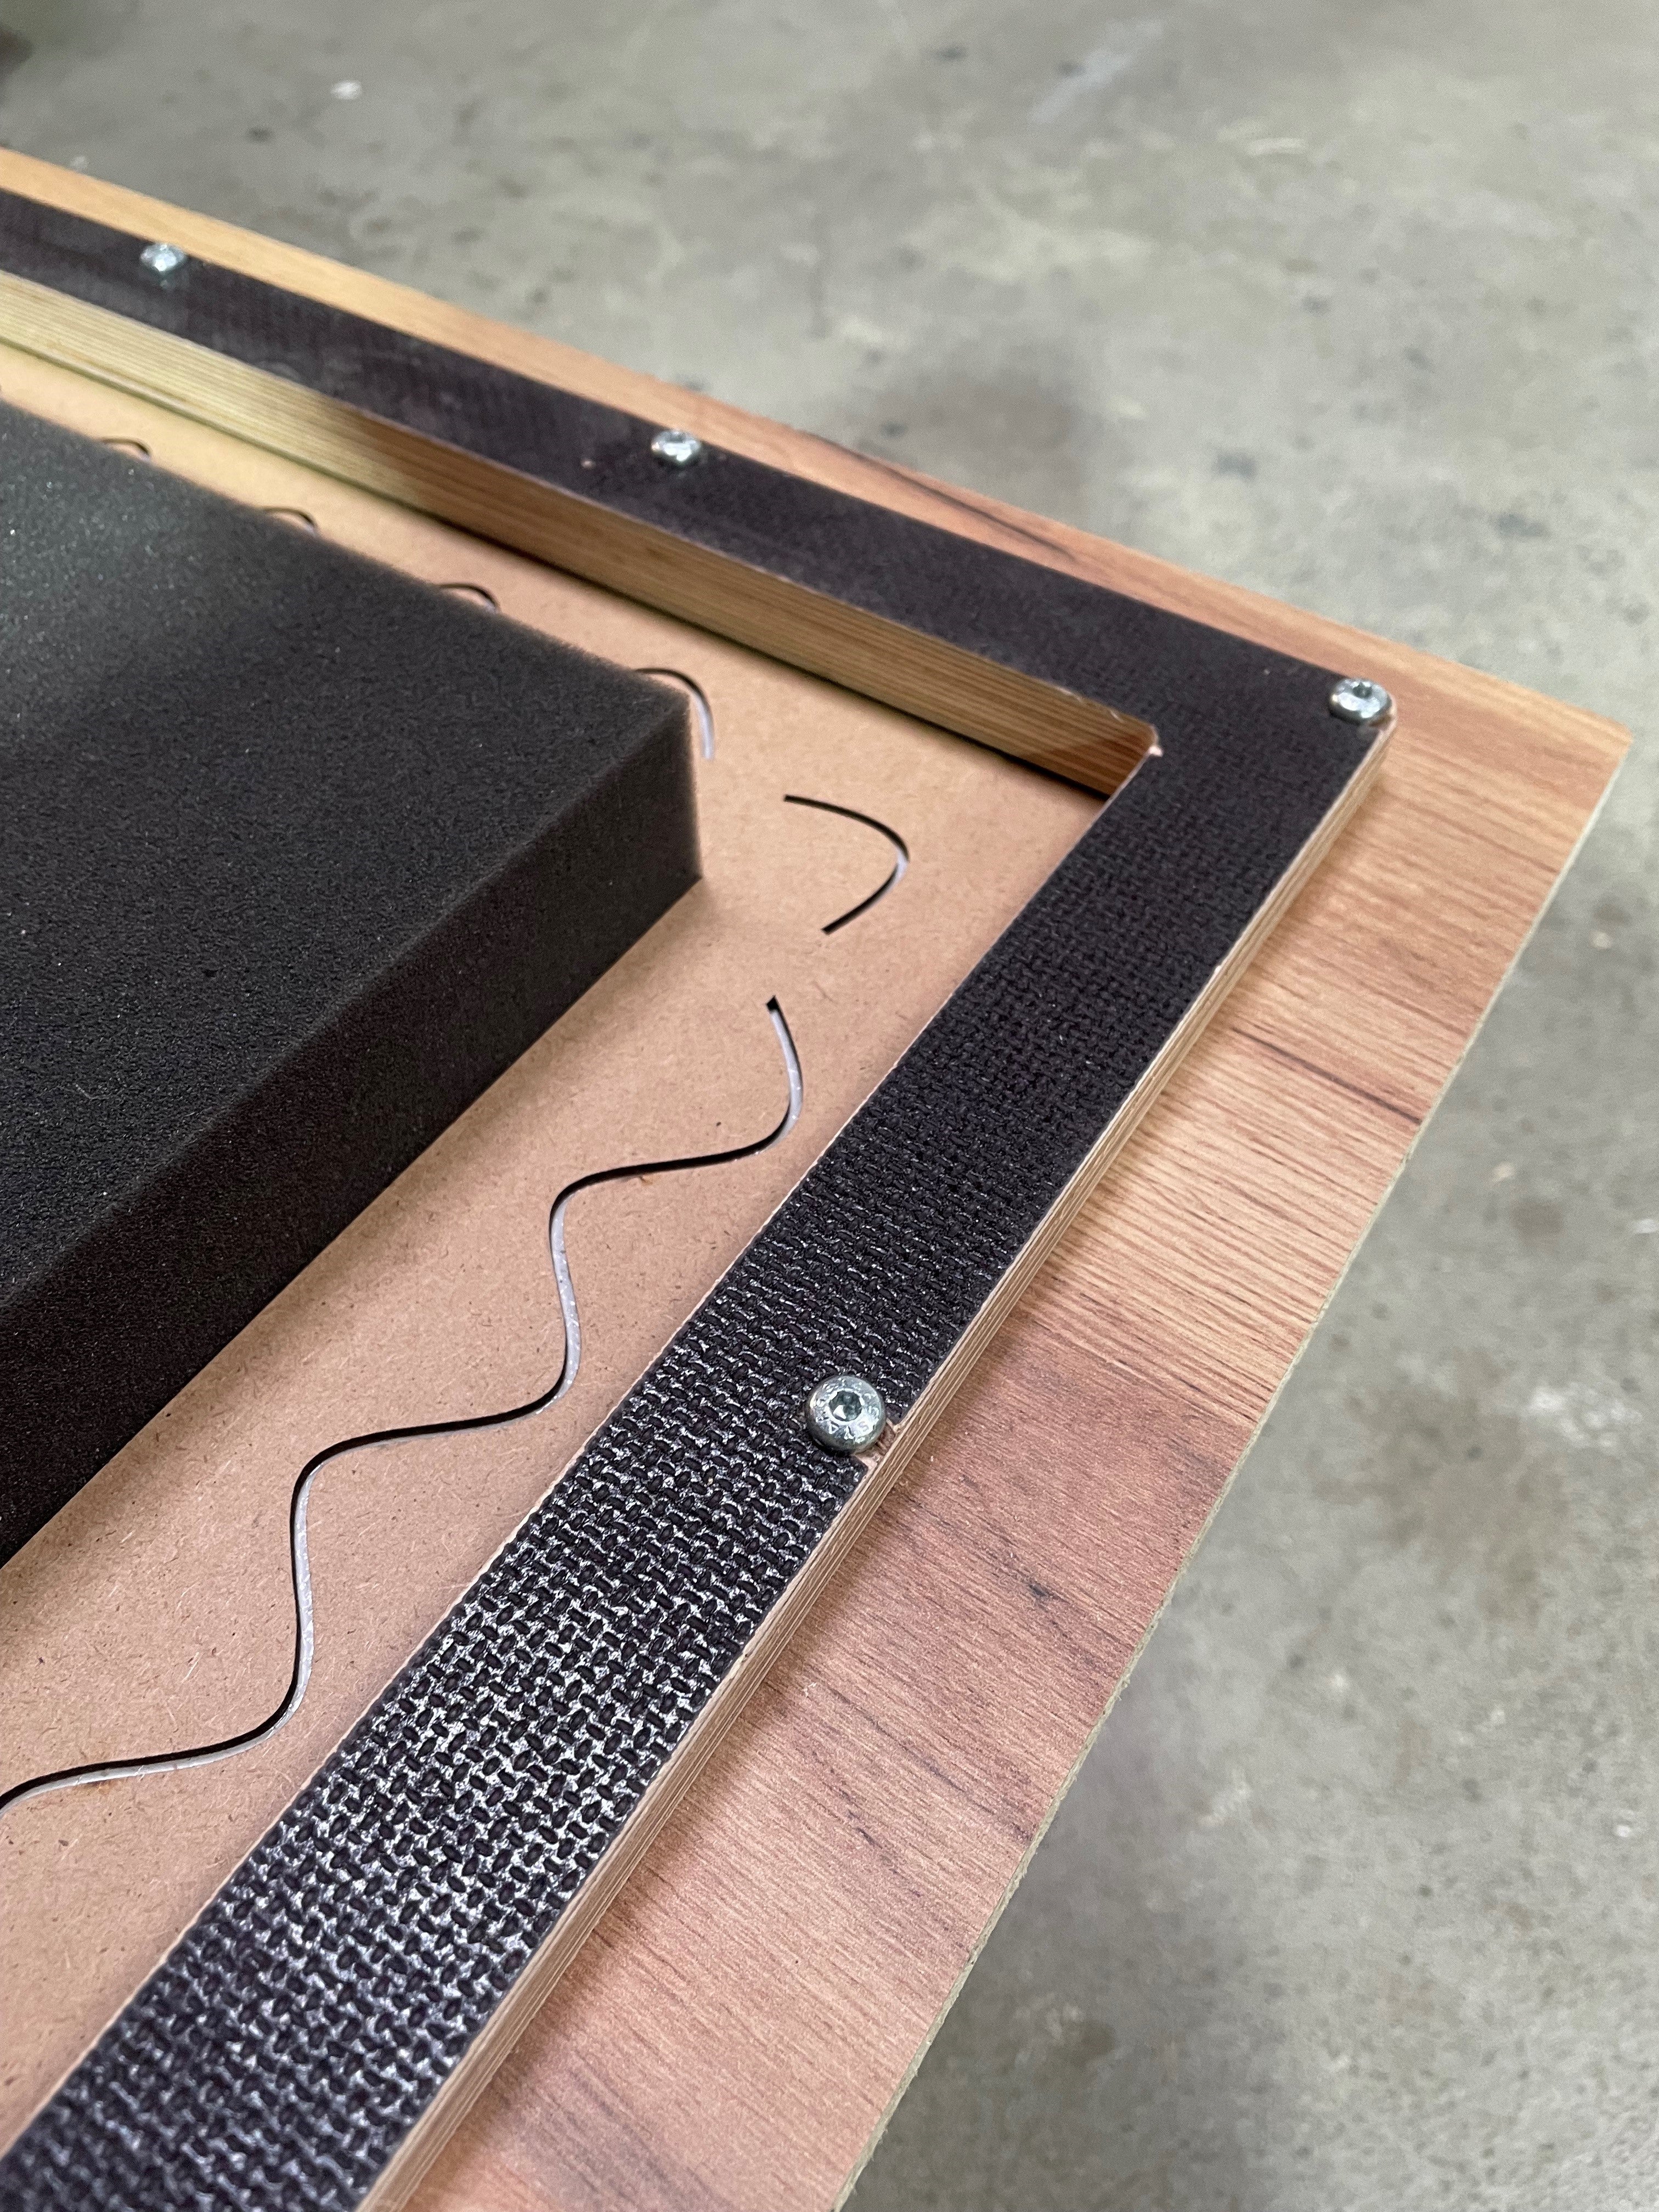
Для установки деревянной монтажной коробки cerasonar в деревянной панели должен быть предусмотрен монтажный паз.
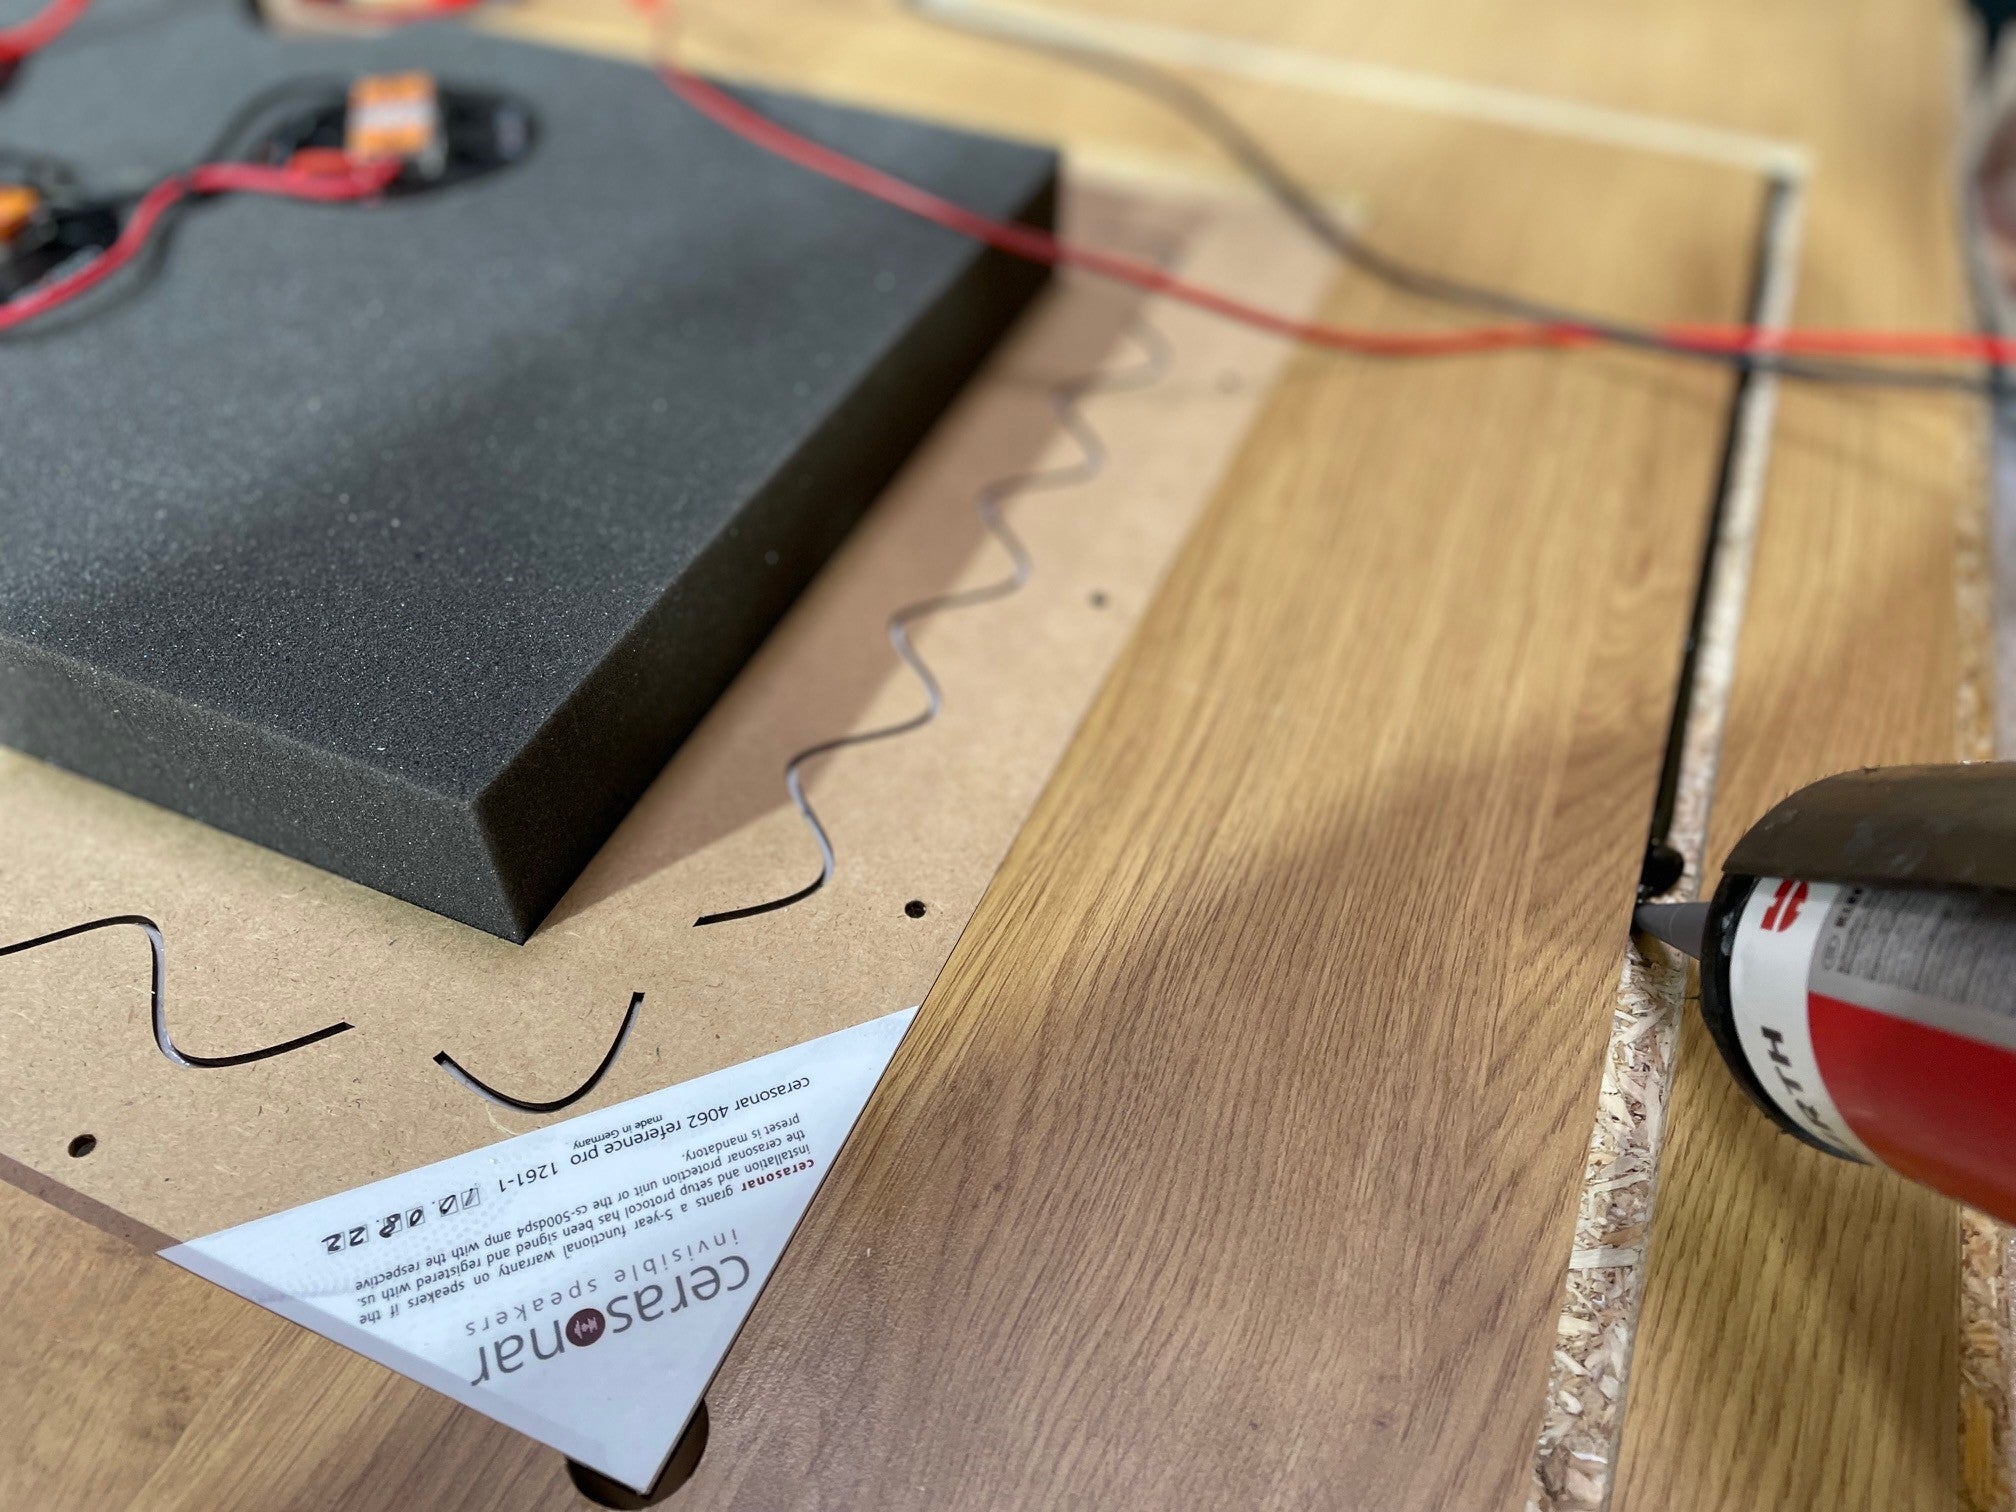
ДОПОЛНИТЕЛЬНОЕ КРЕПЛЕНИЕ КОРОБКИ: Паз заполняется подходящим клеем (например, Würth Bond + Seal).
ДОПОЛНИТЕЛЬНОЕ КРЕПЛЕНИЕ ЗАДНЕЙ КОРОБКИ: Кабели колонок подключаются с соблюдением правильной полярности. Затем тыловая коробка вдавливается в паз, заполненный клеем.