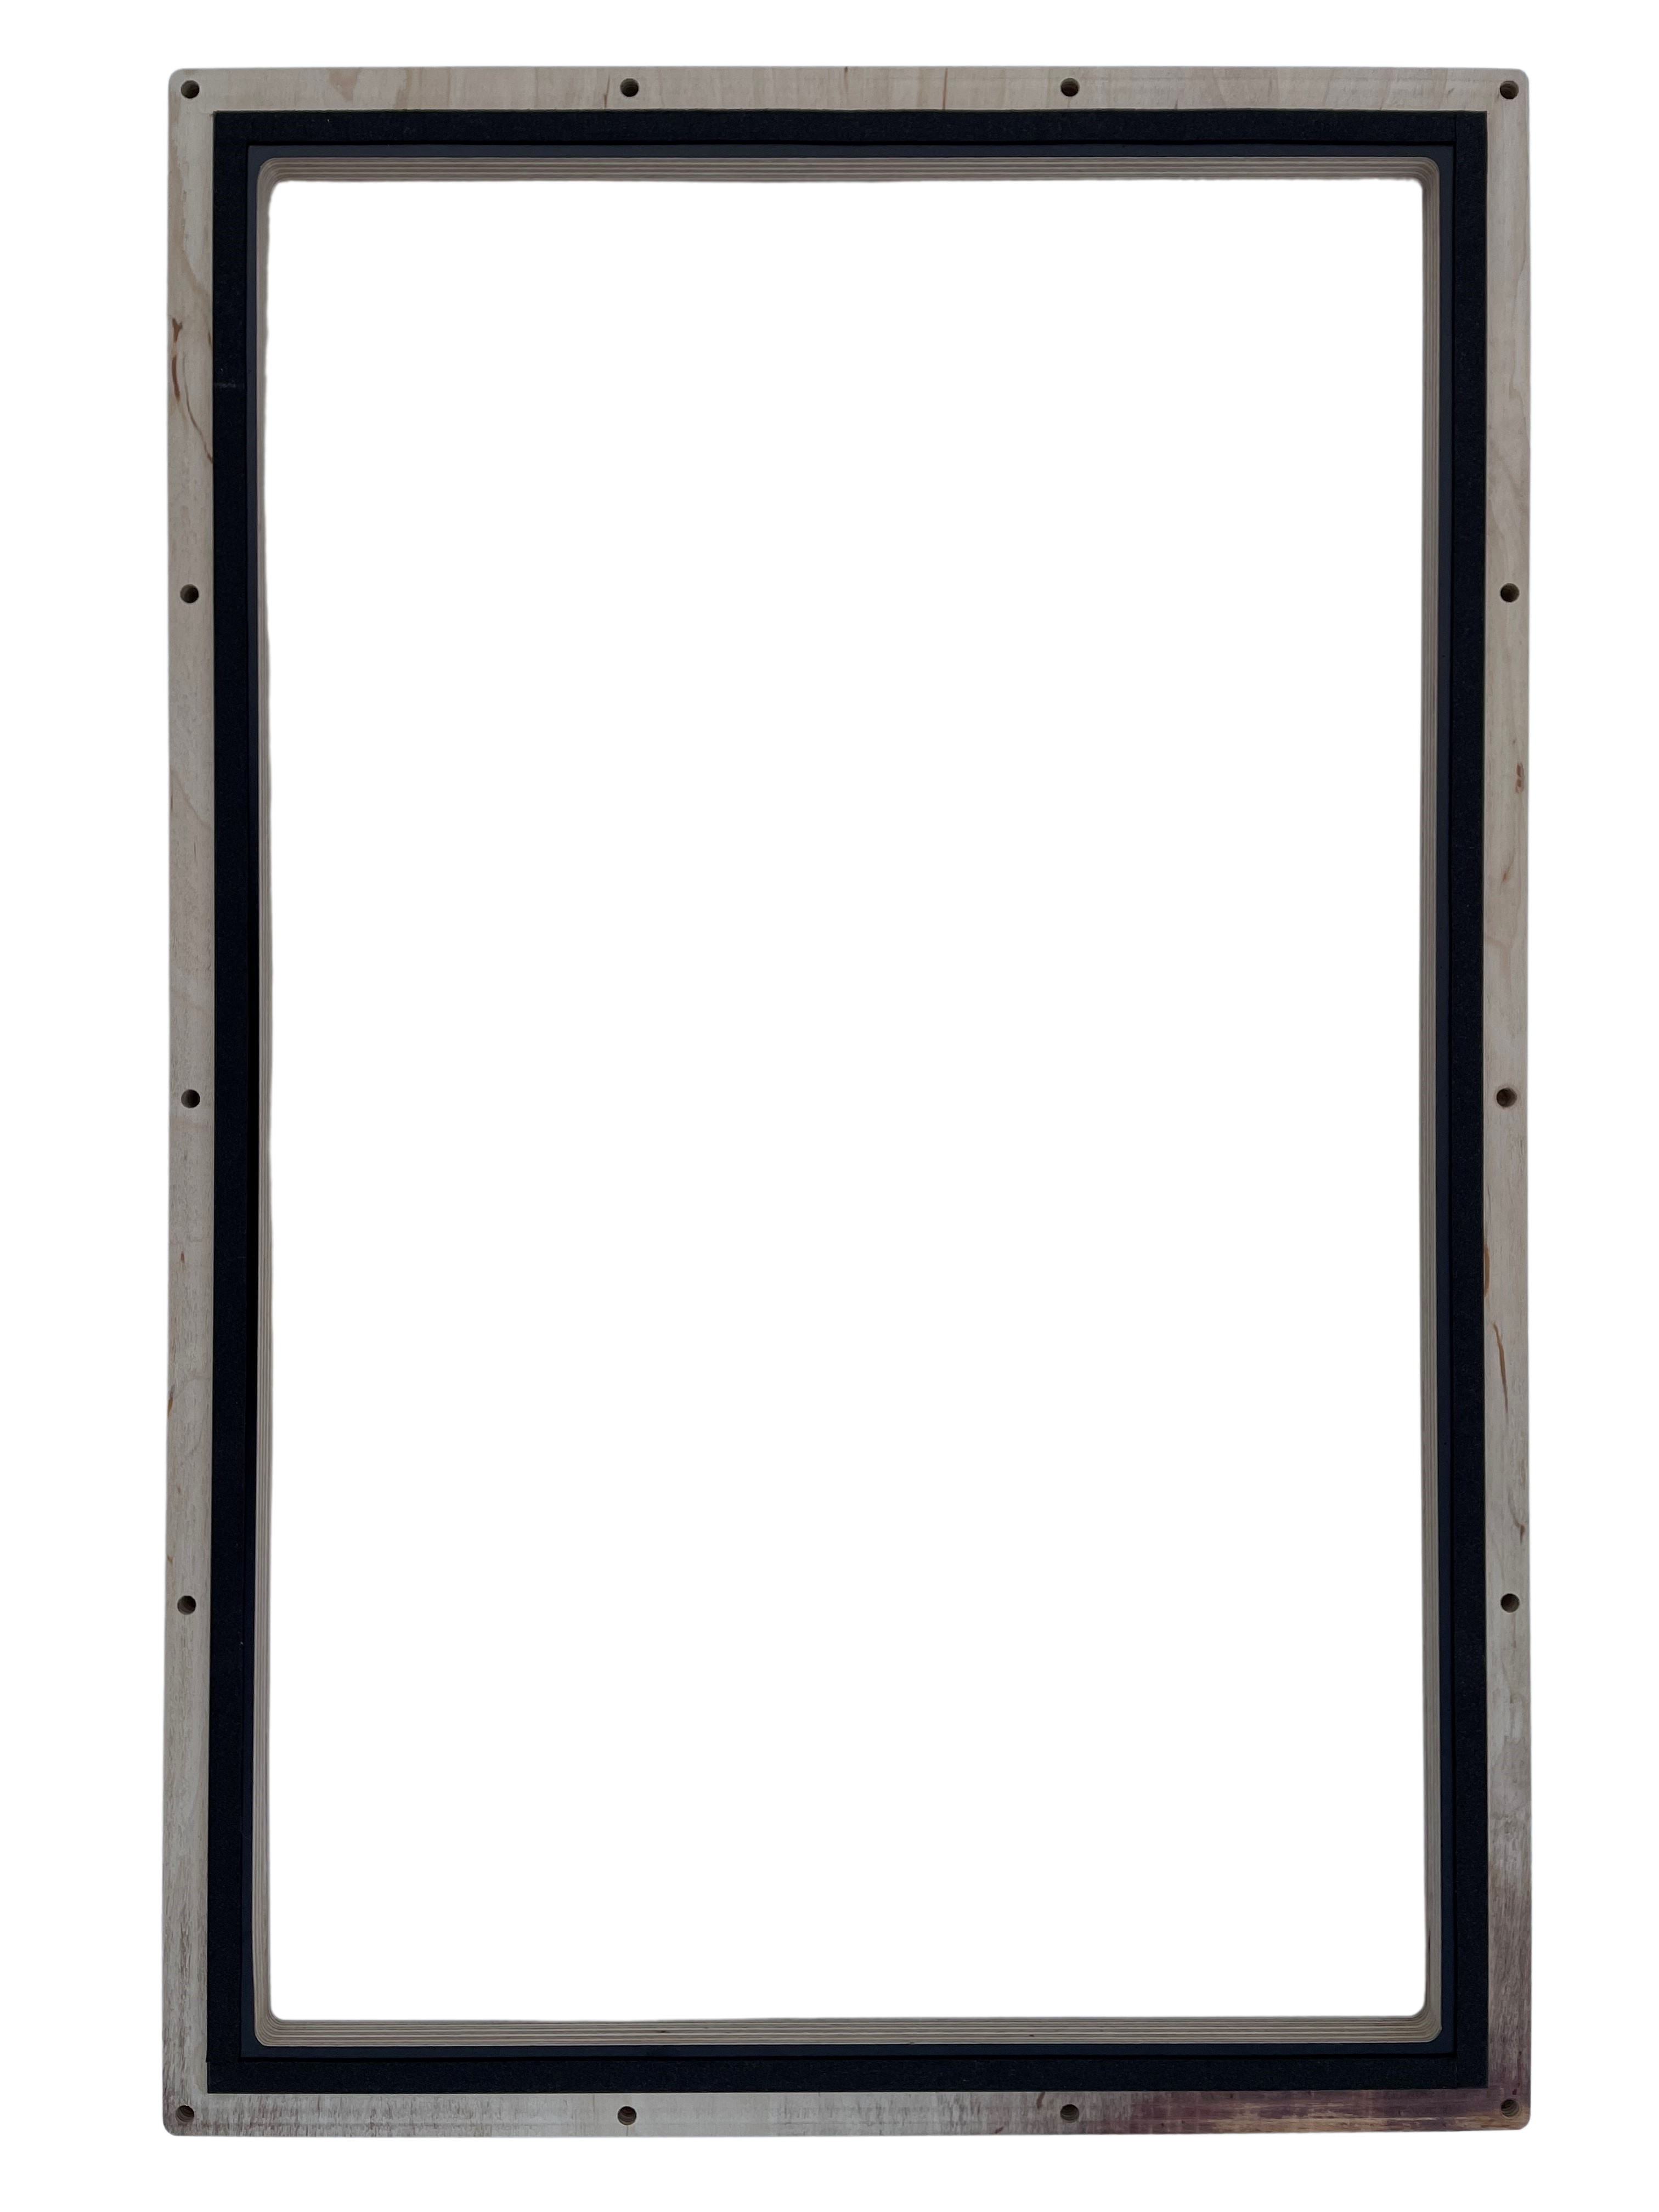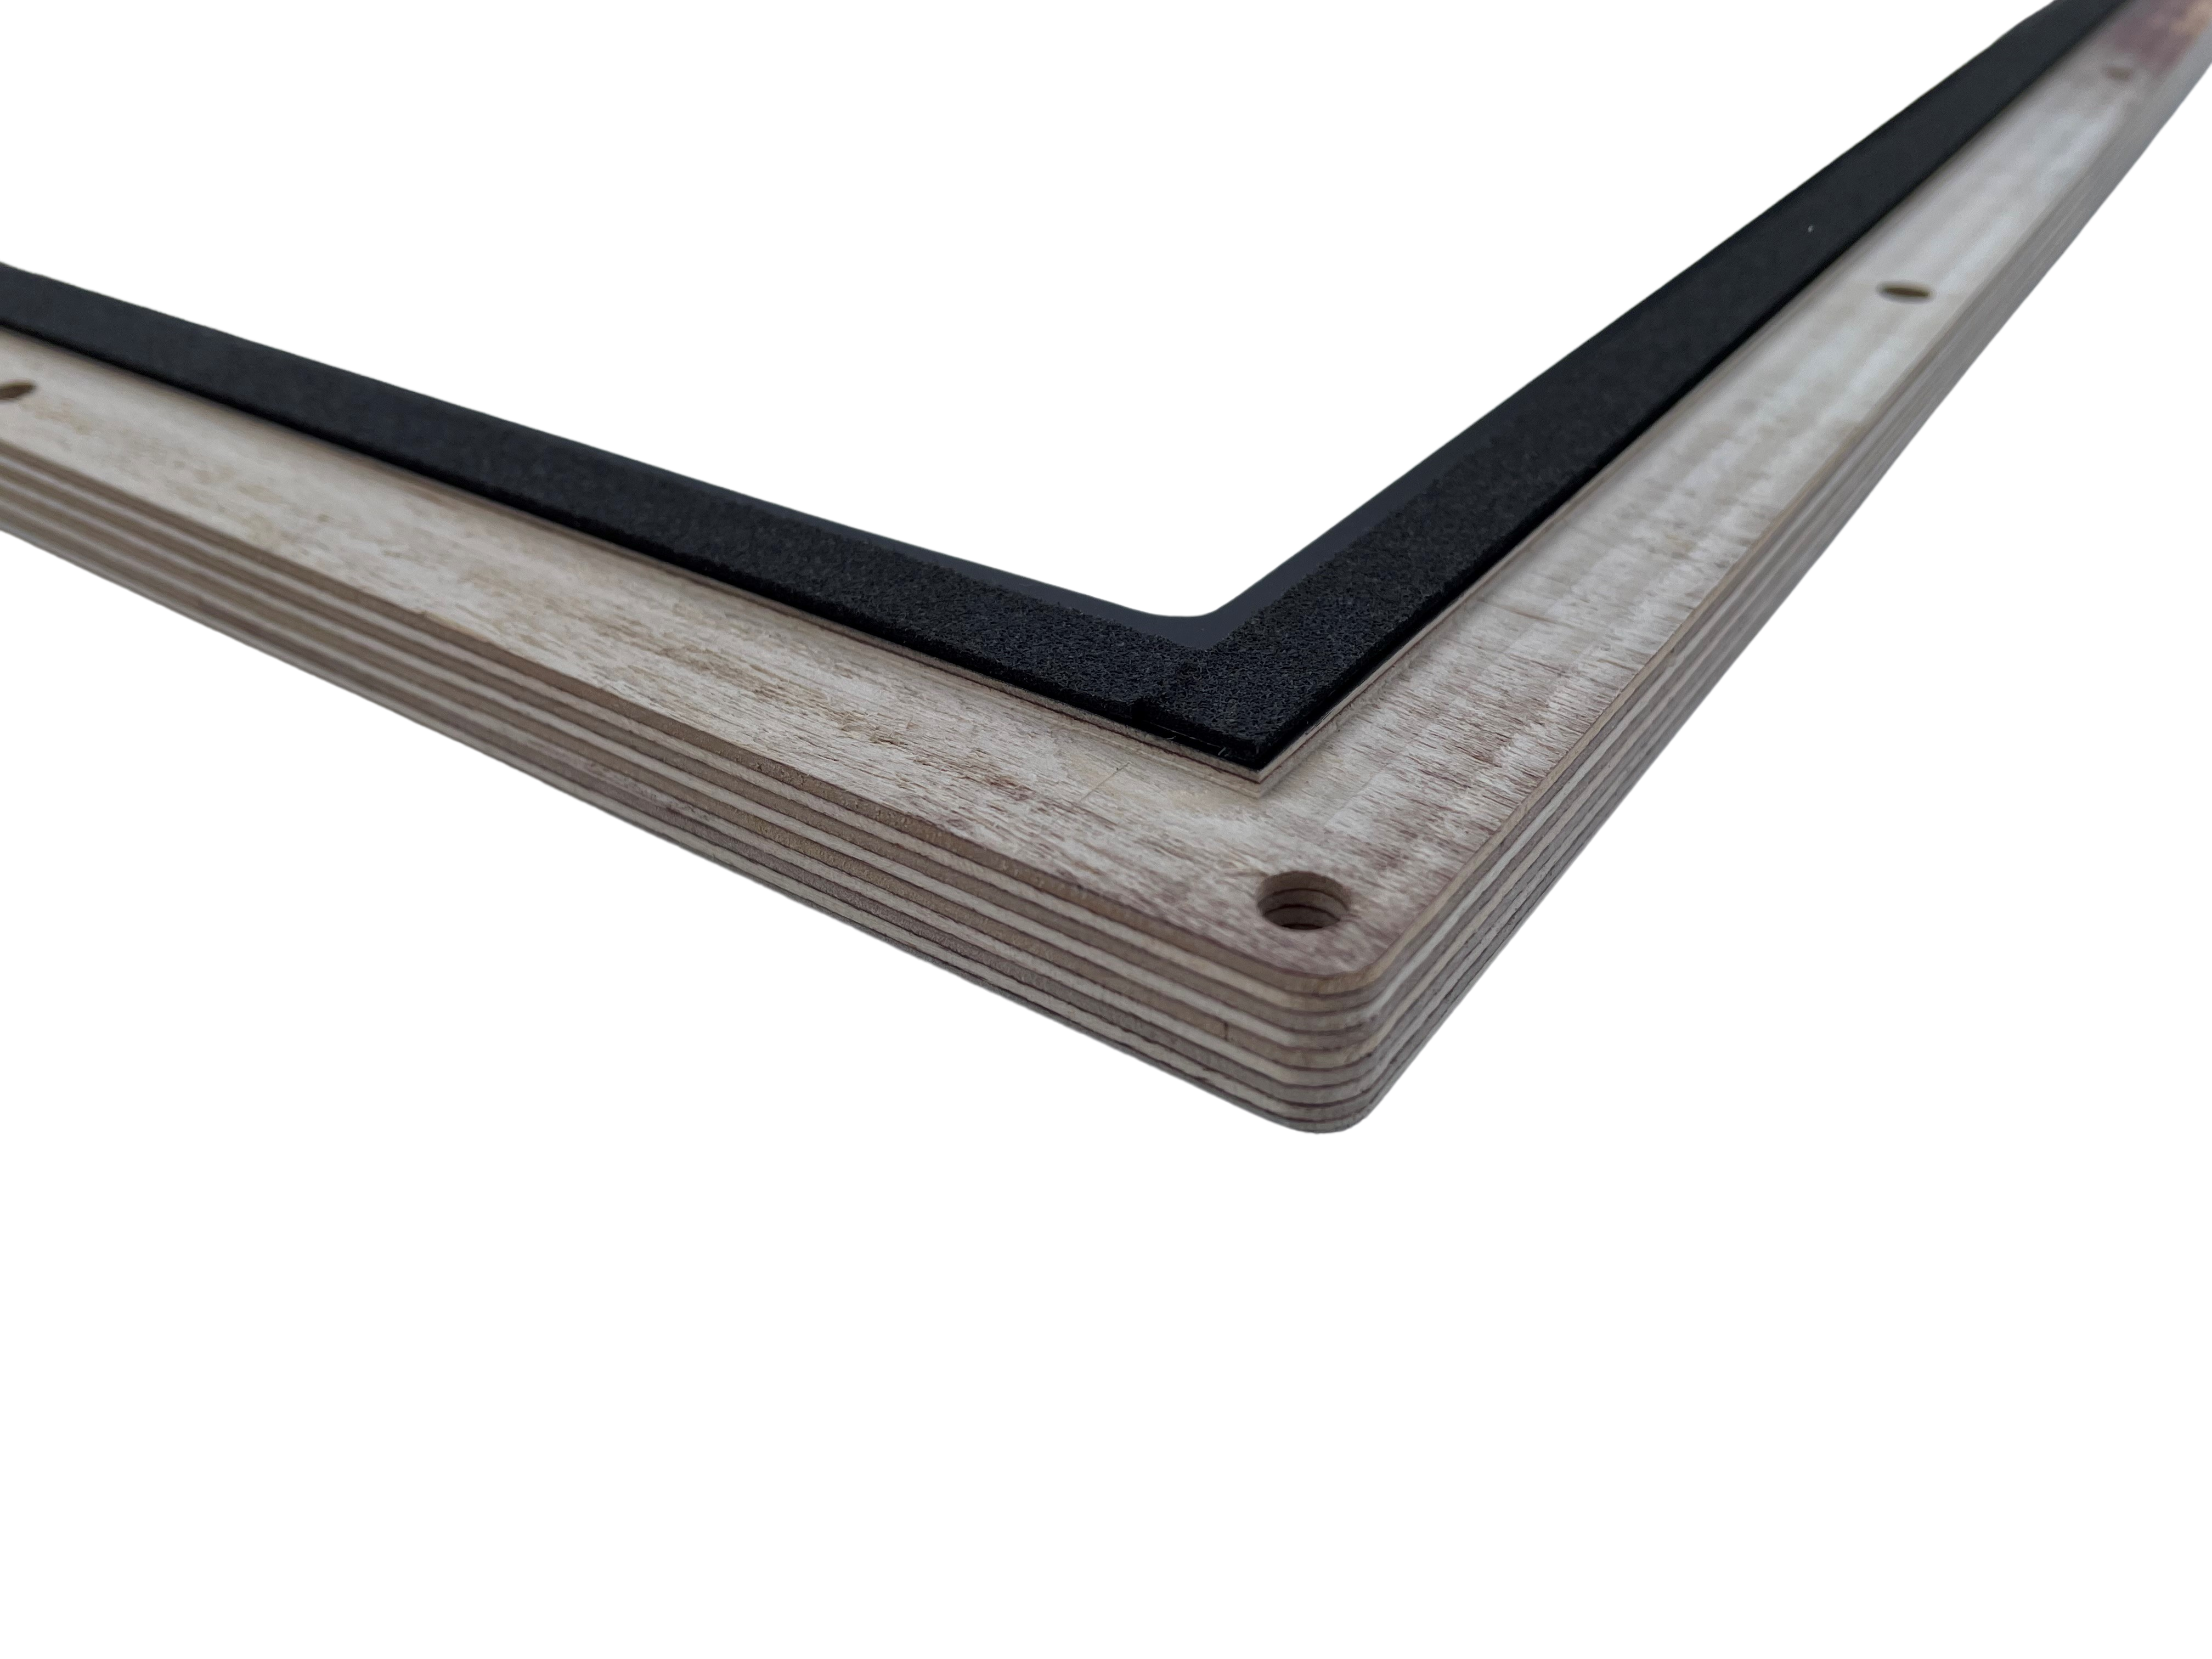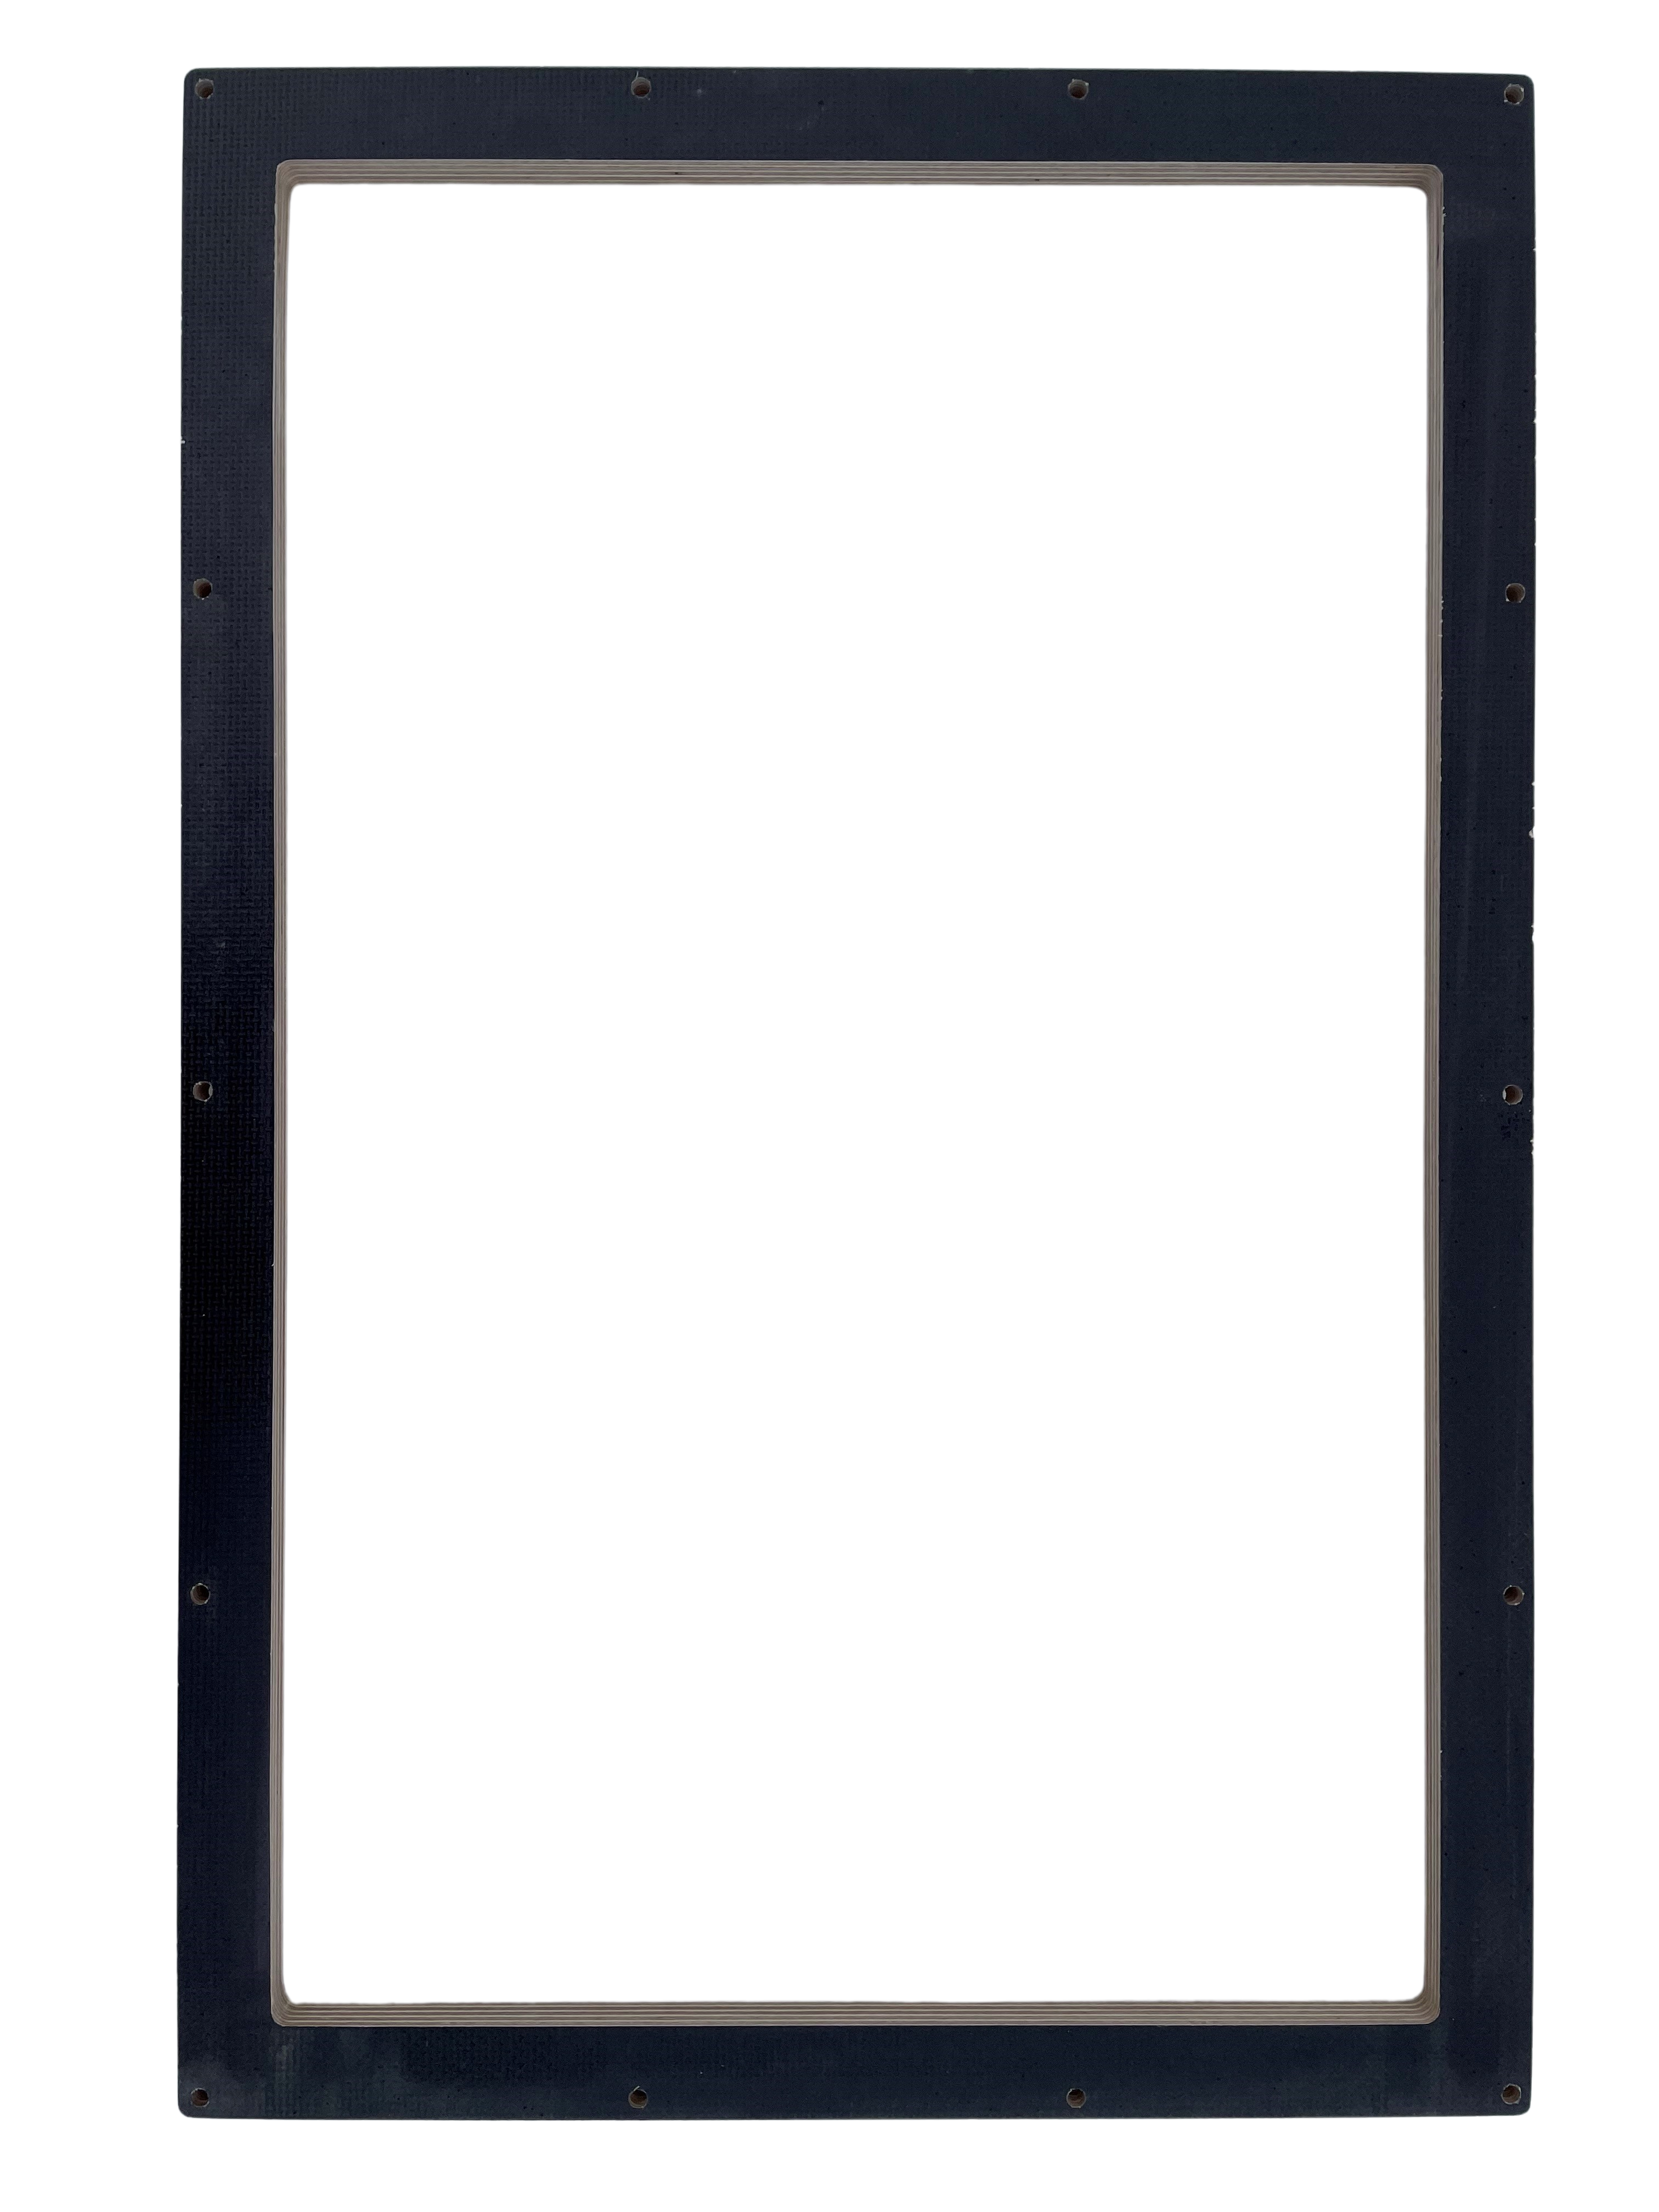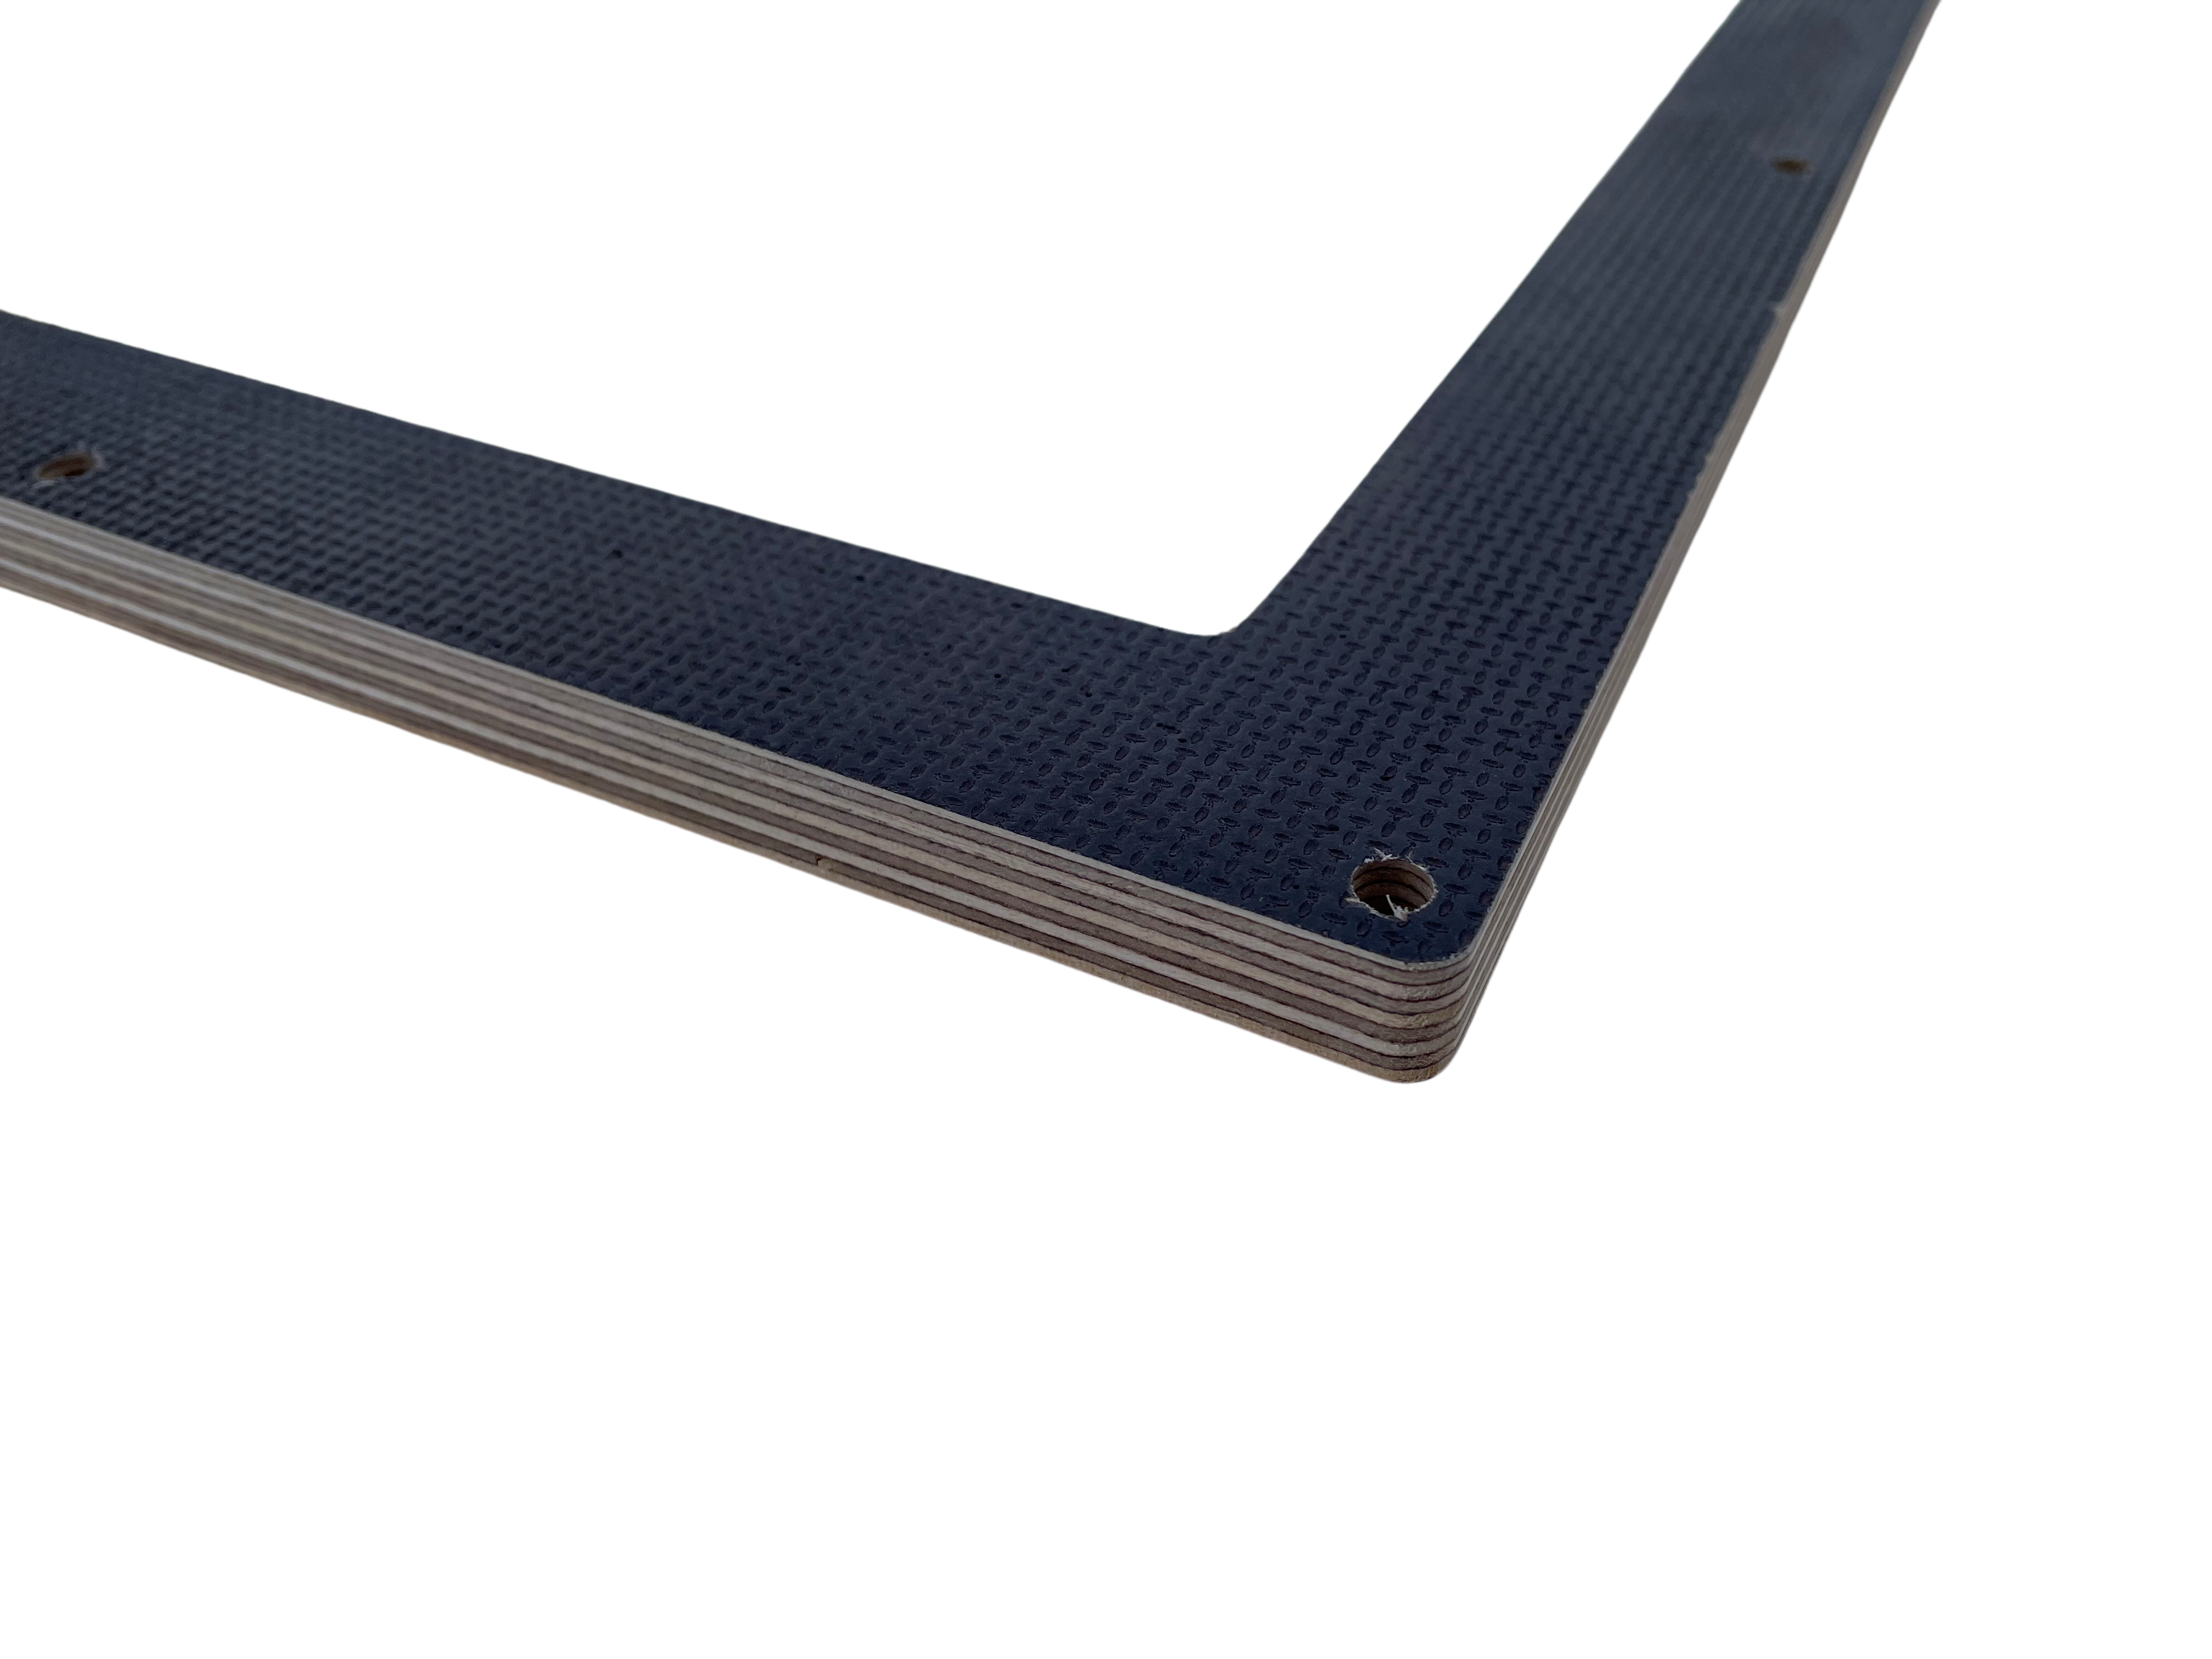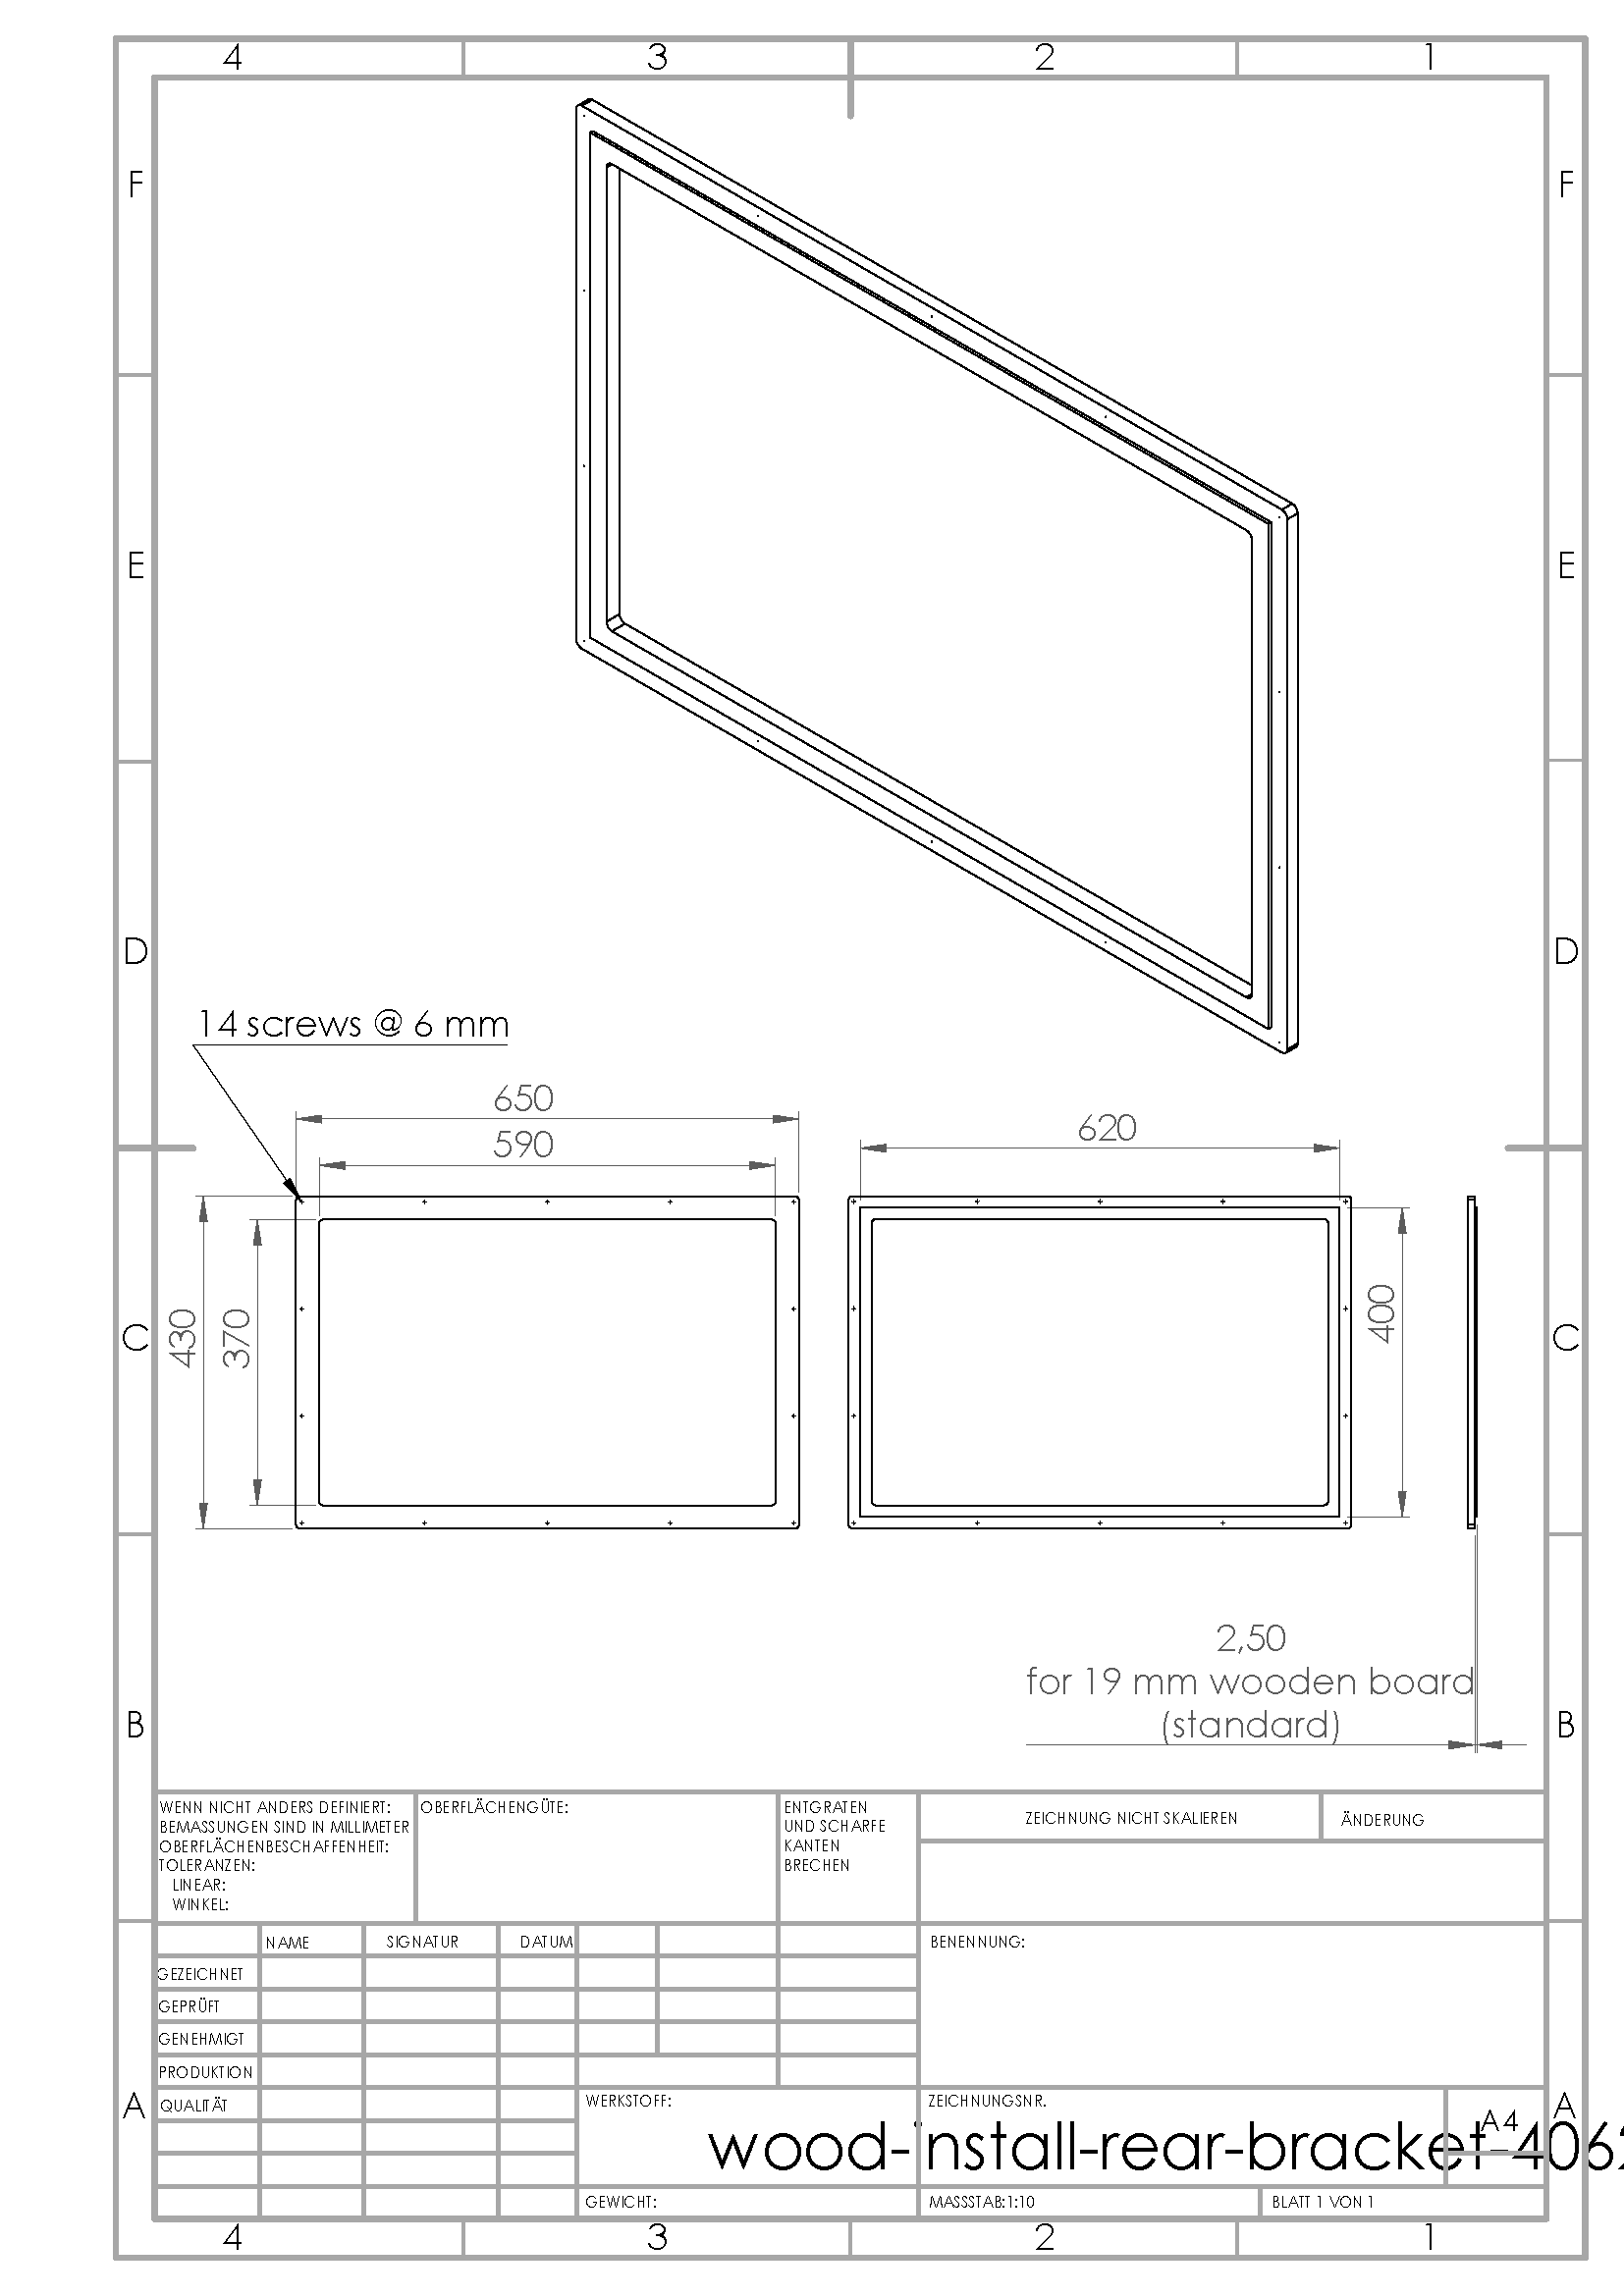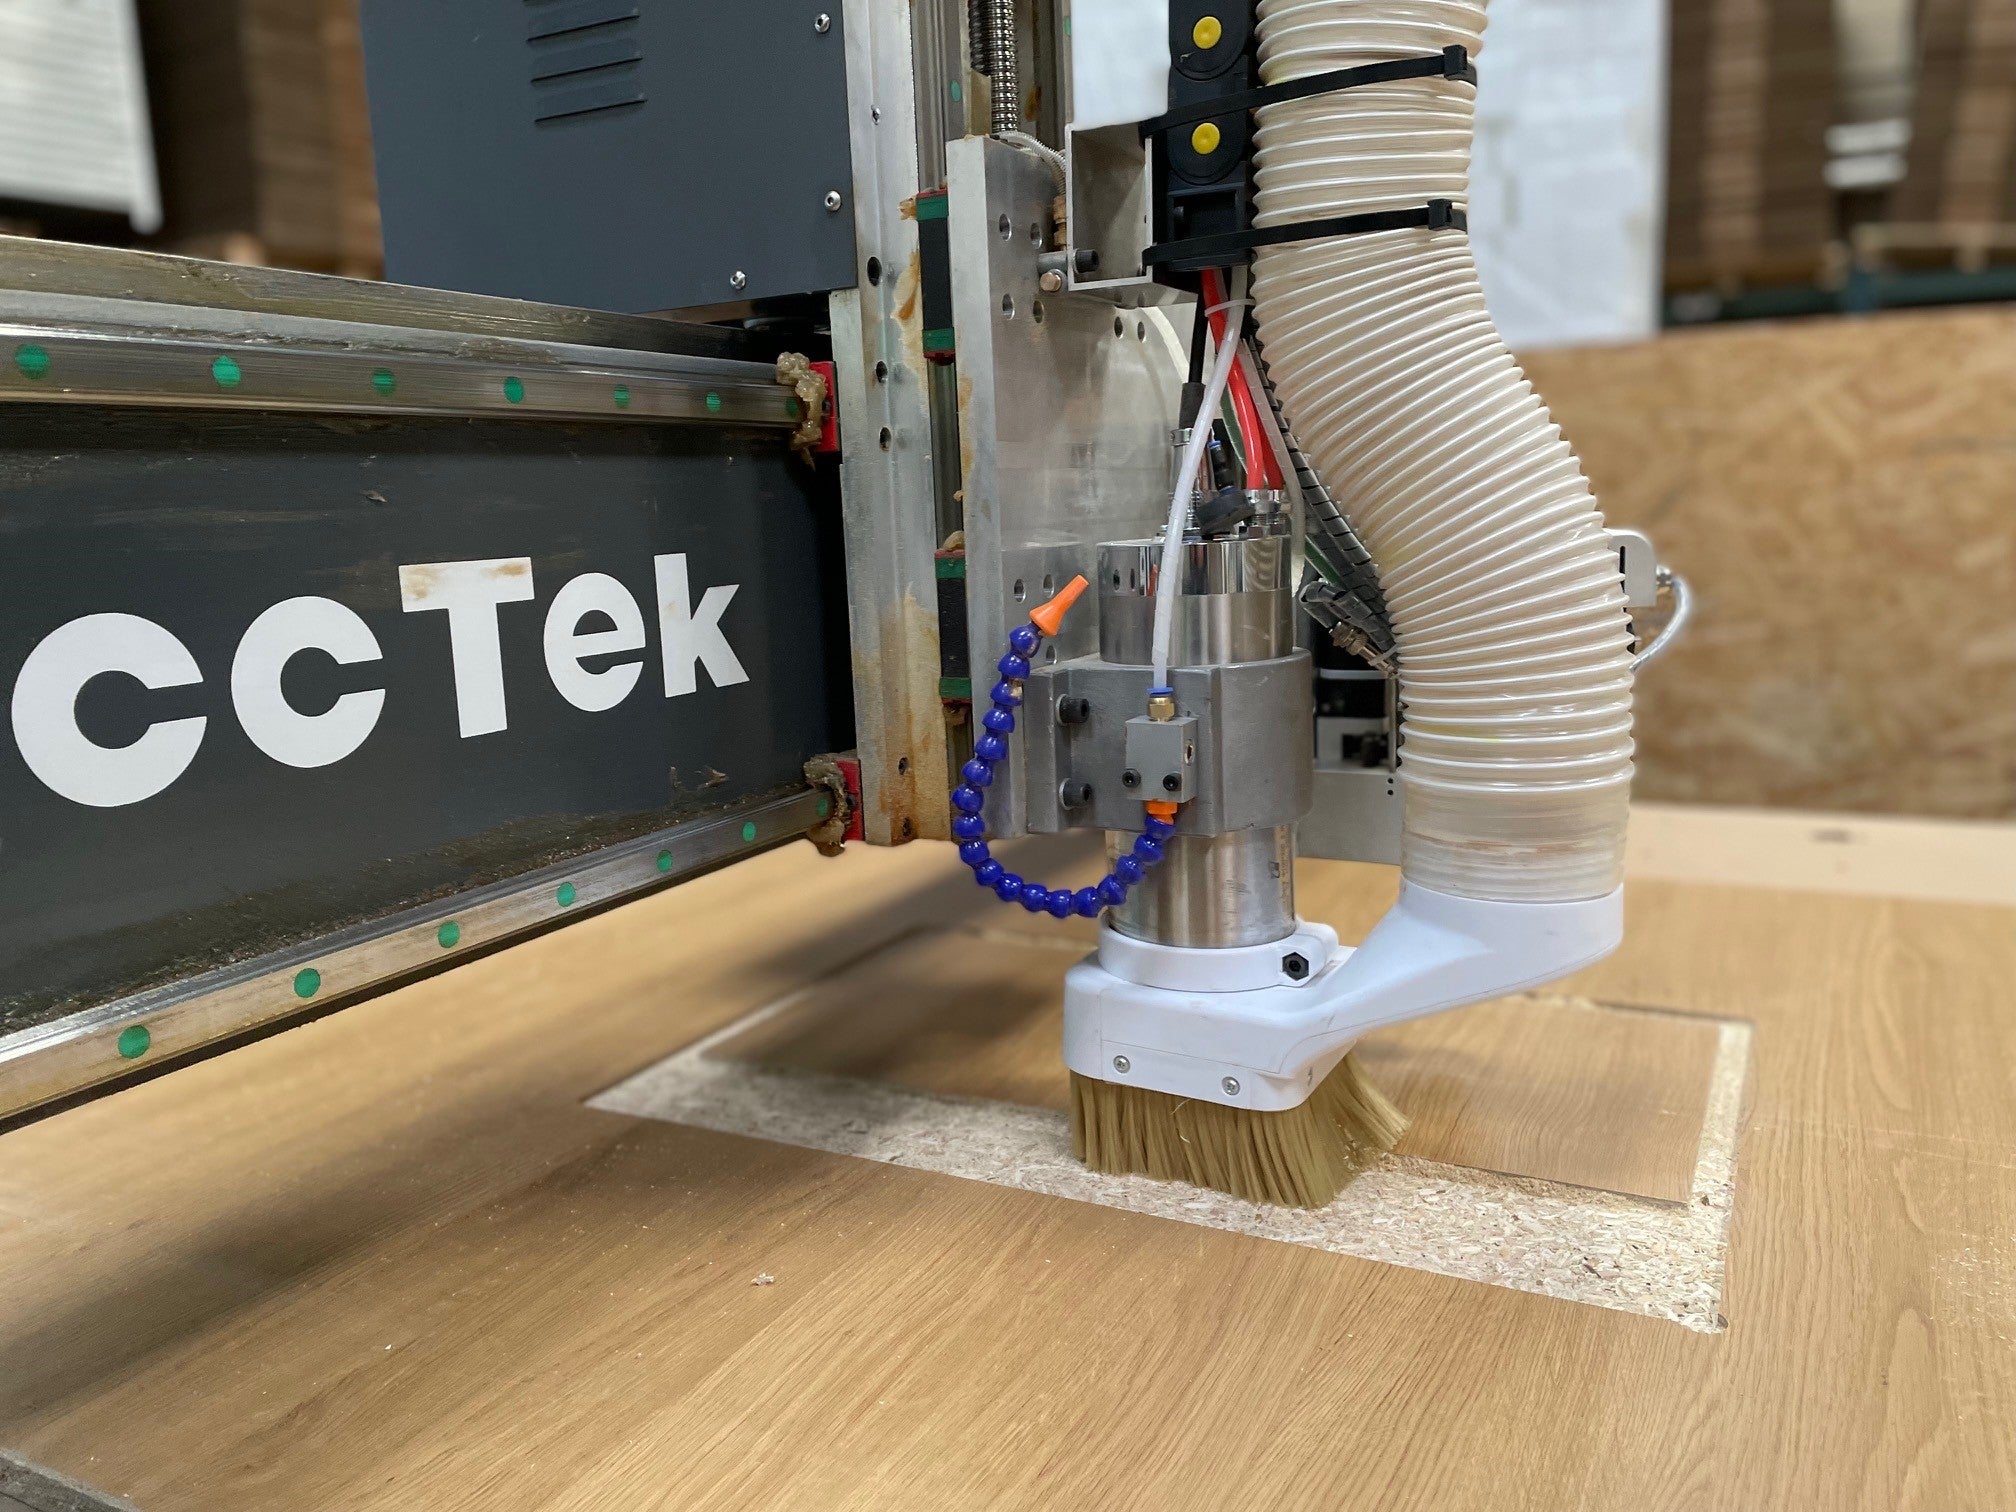
Step 1
Réalisez un fraisage de poche et utilisez
un outil approprié. Les fichiers DXF sont
disponibles sur demande
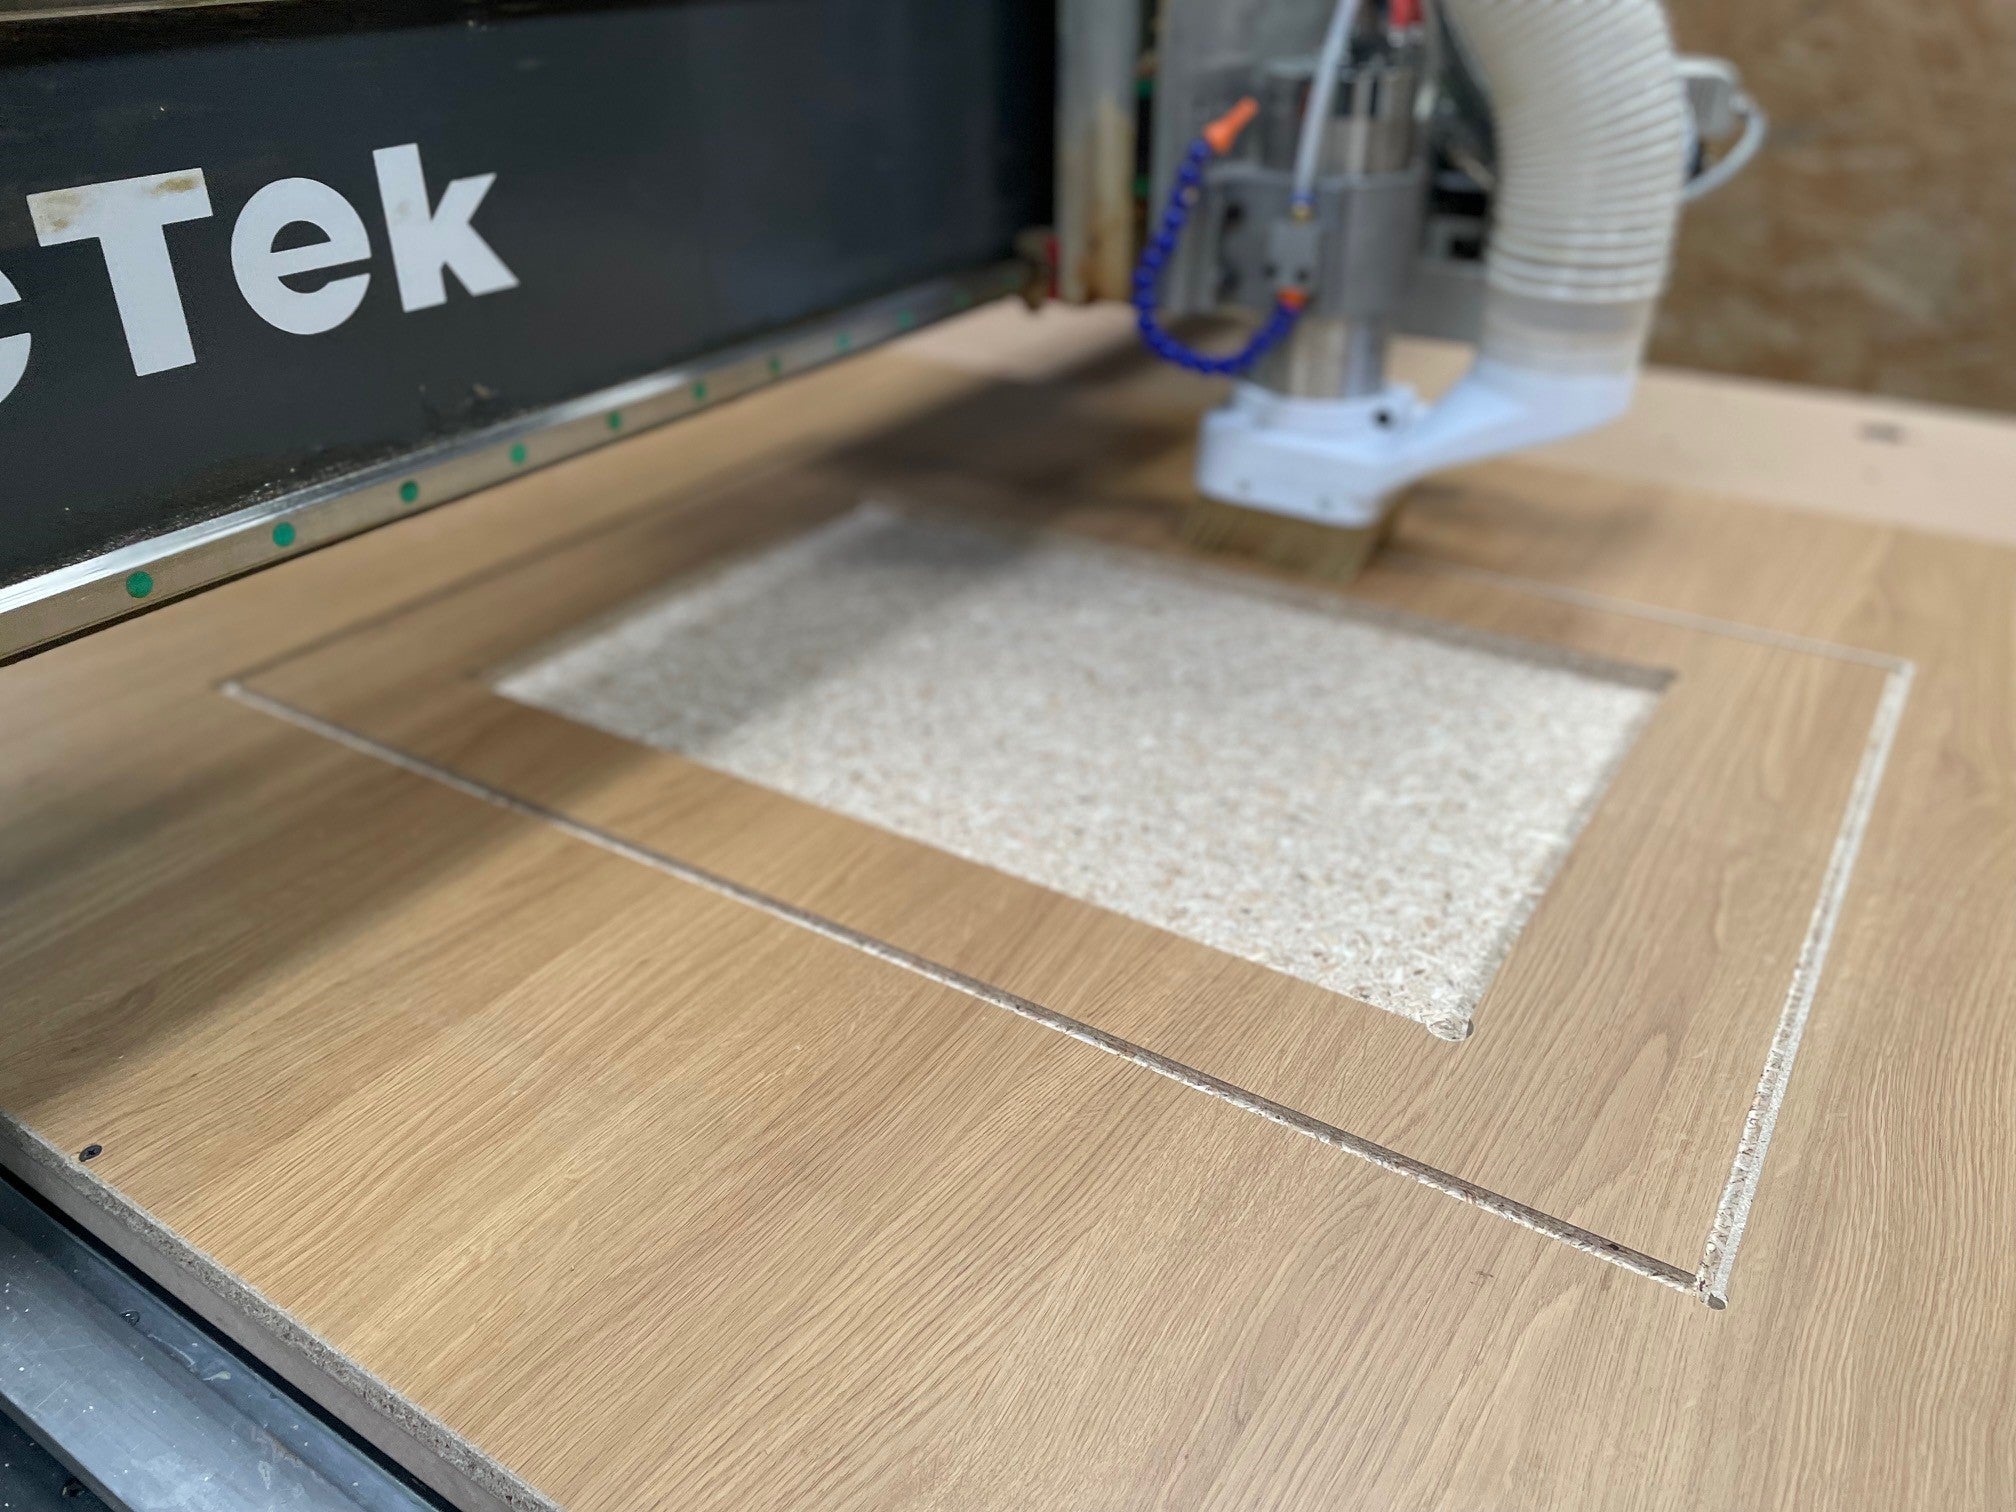
Step 2
Le bois excédentaire ne doit pas être
plus de 2,0 - 3,0 mm d'épaisseur
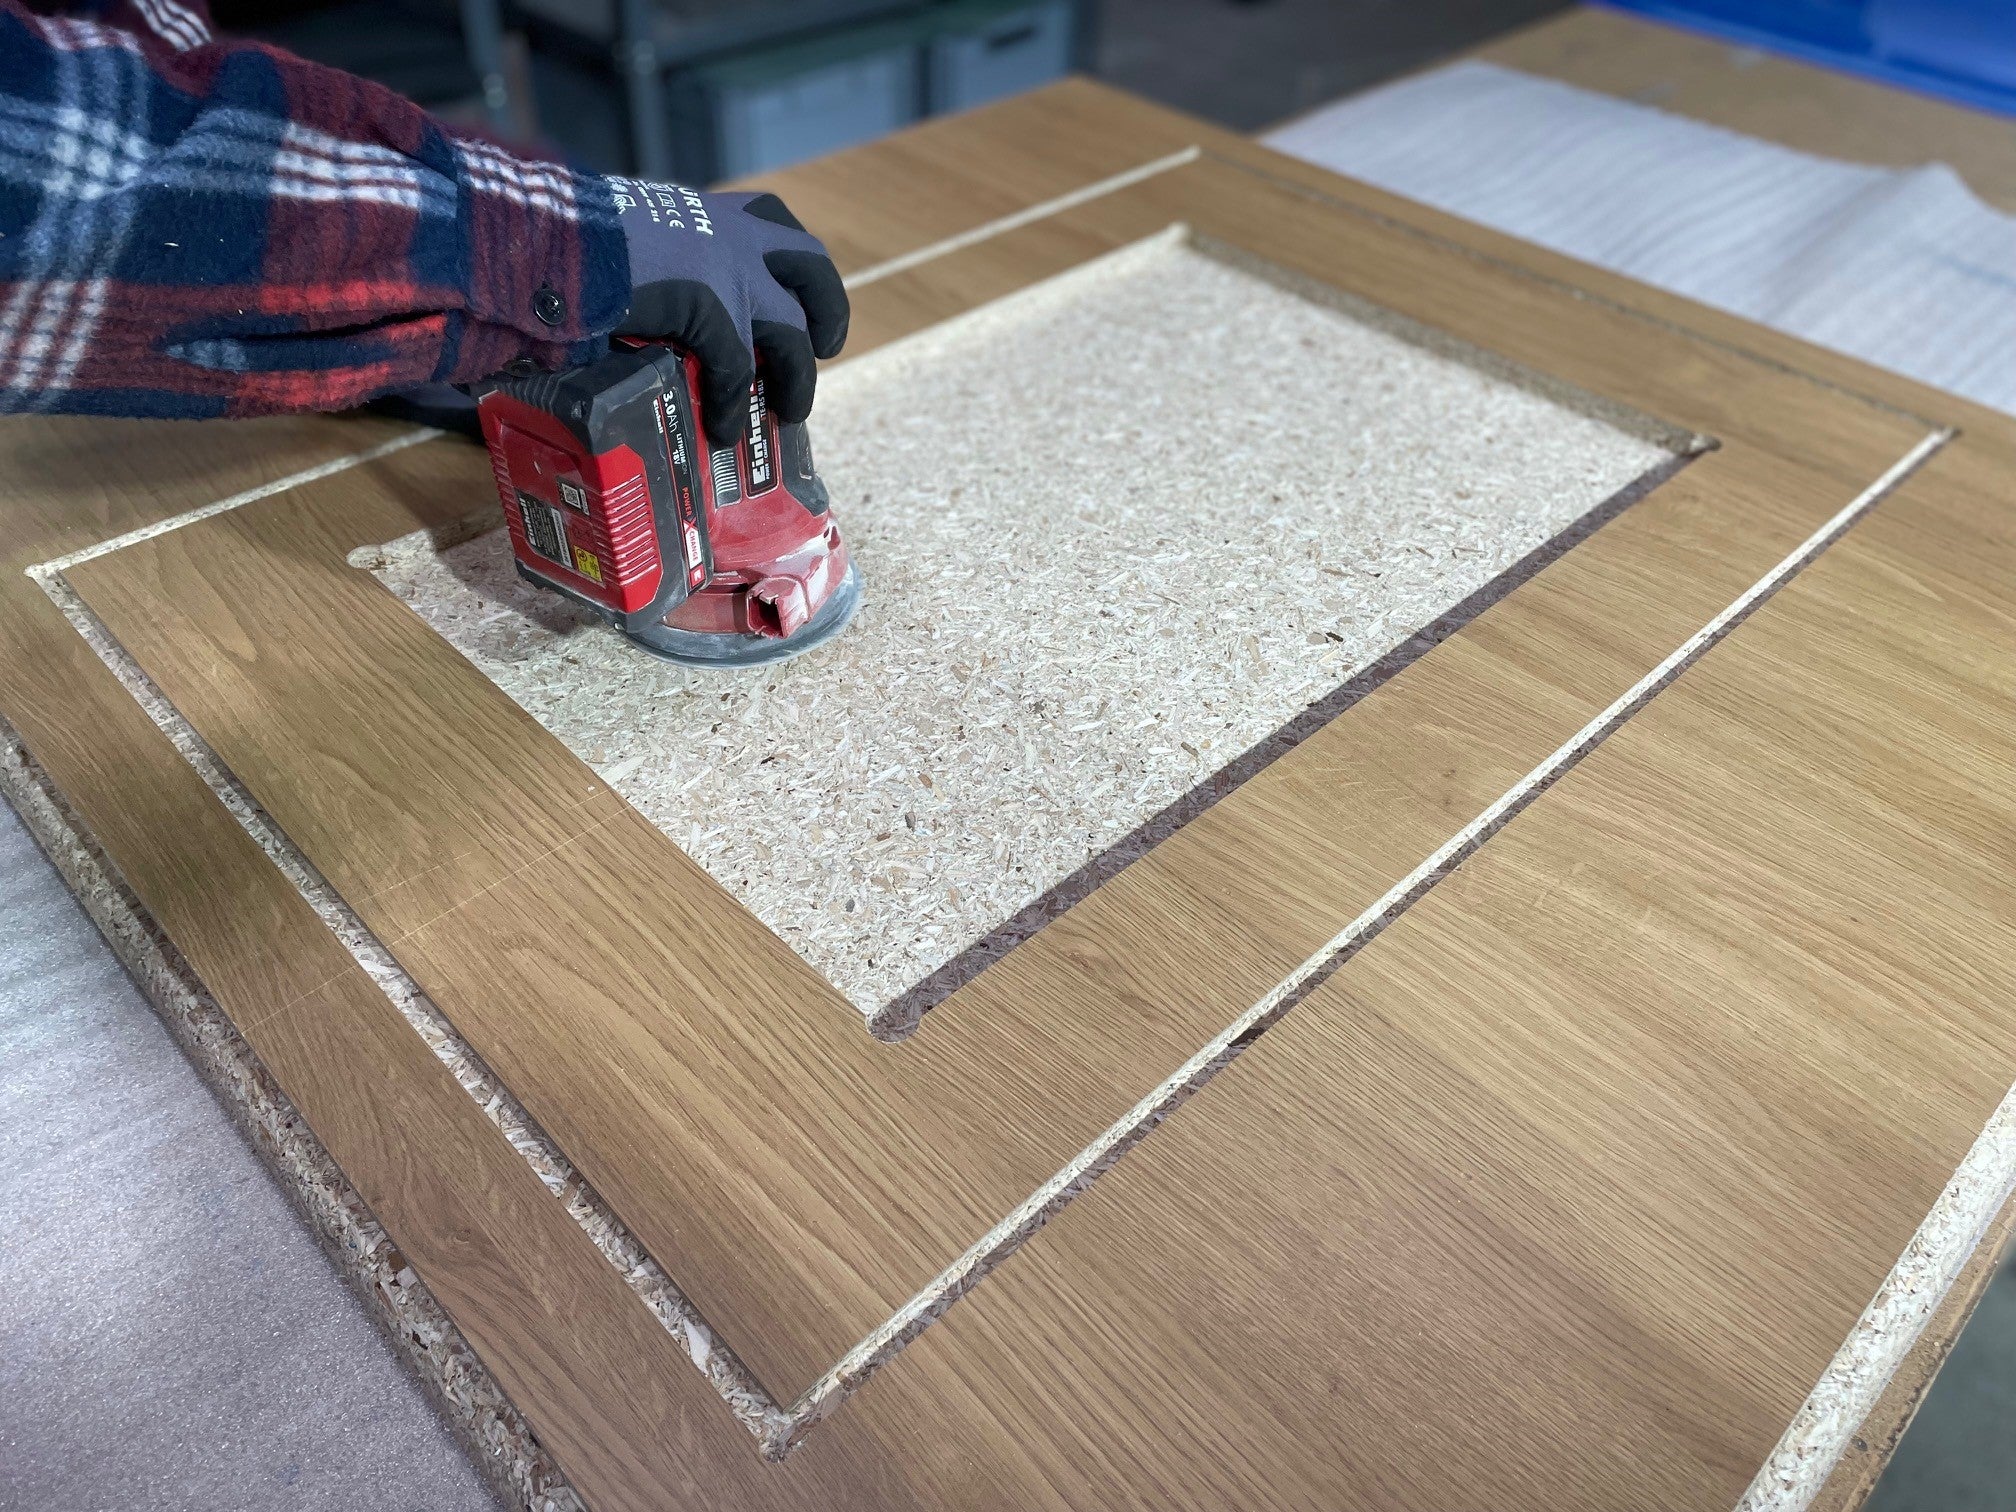
Step 3
Nettoyez soigneusement l'acheminement et
poncez le fraisage de la poche à l'étape suivante
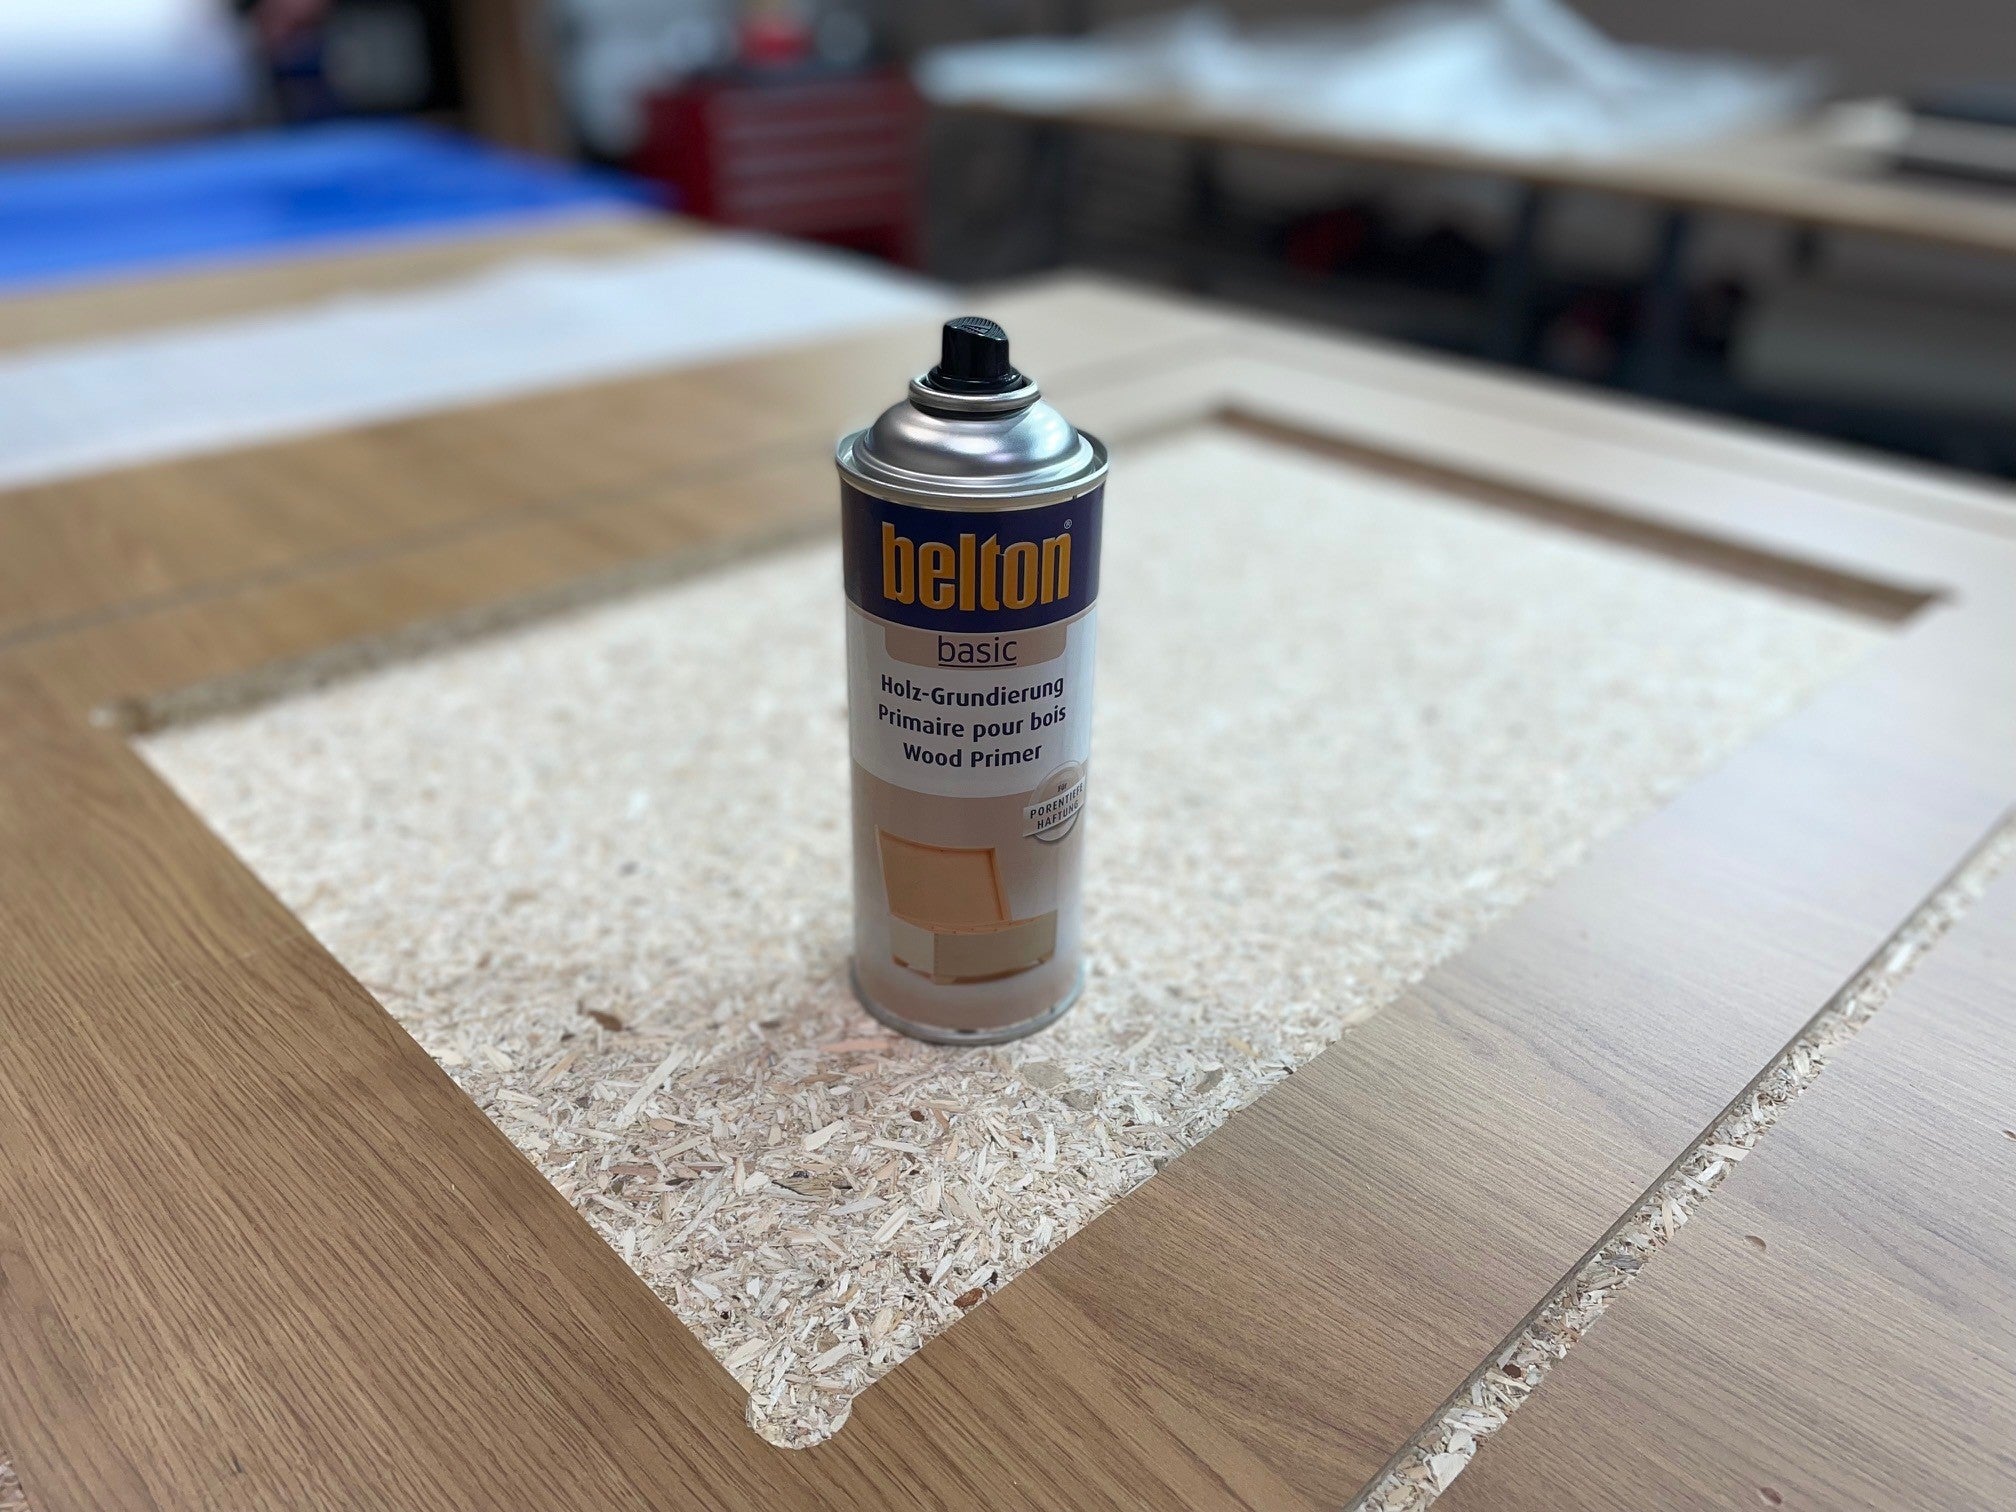
Step 4
Poncer la surface de la fraise
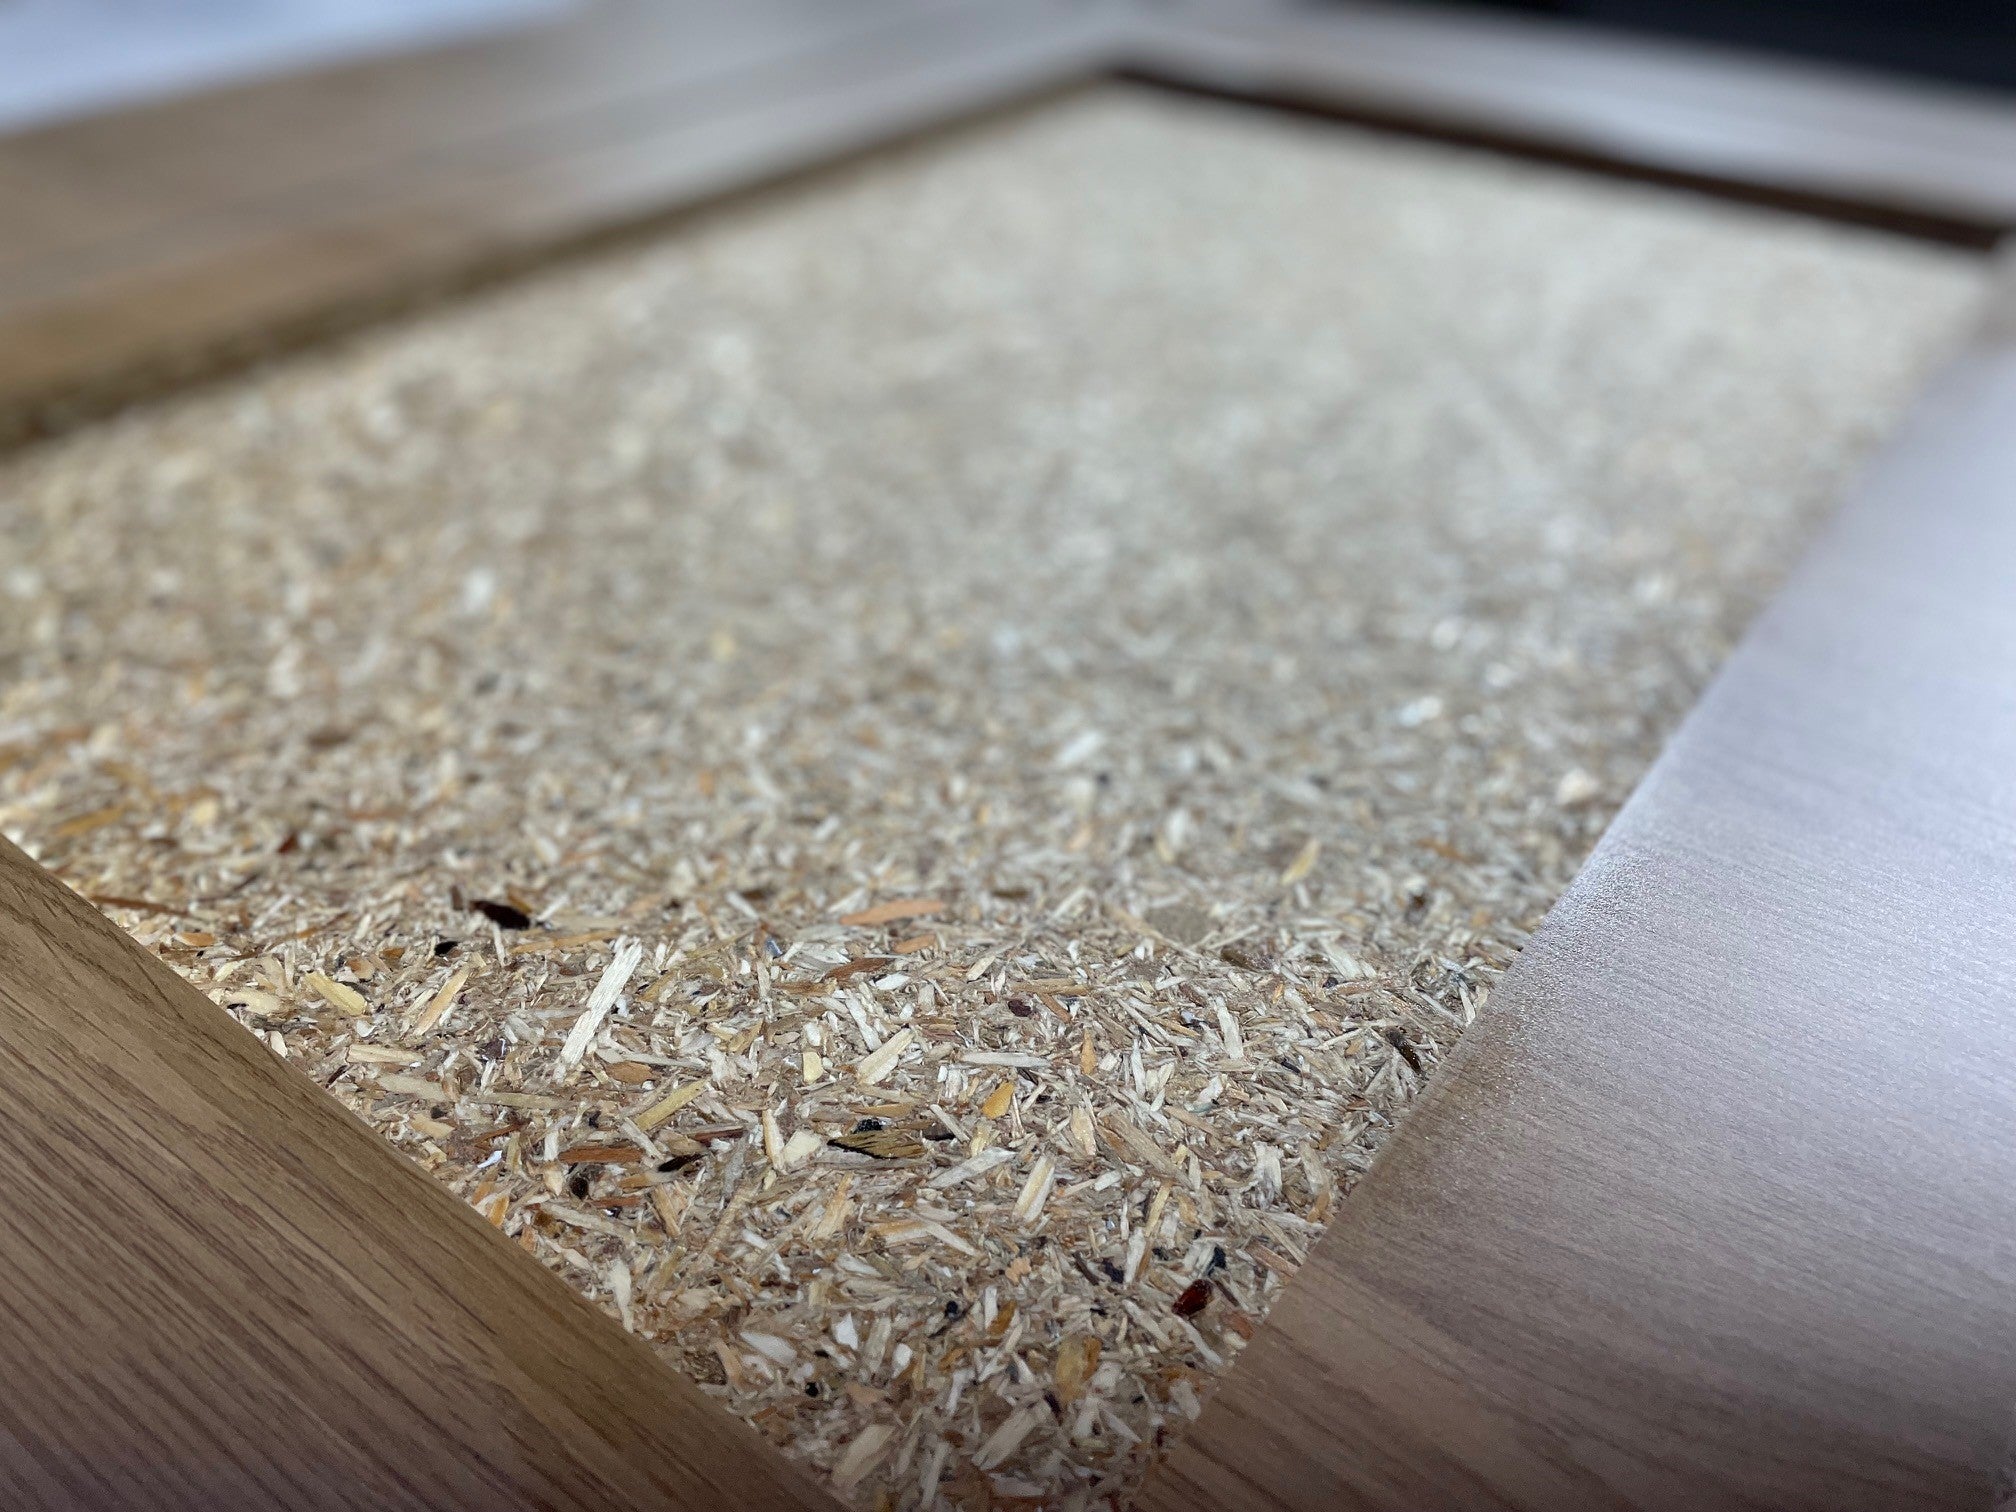
Step 5
Utilisez un apprêt pour bois afin d'obtenir les meilleures propriétés adhésives, avant d'enlever toute poussière, etc.
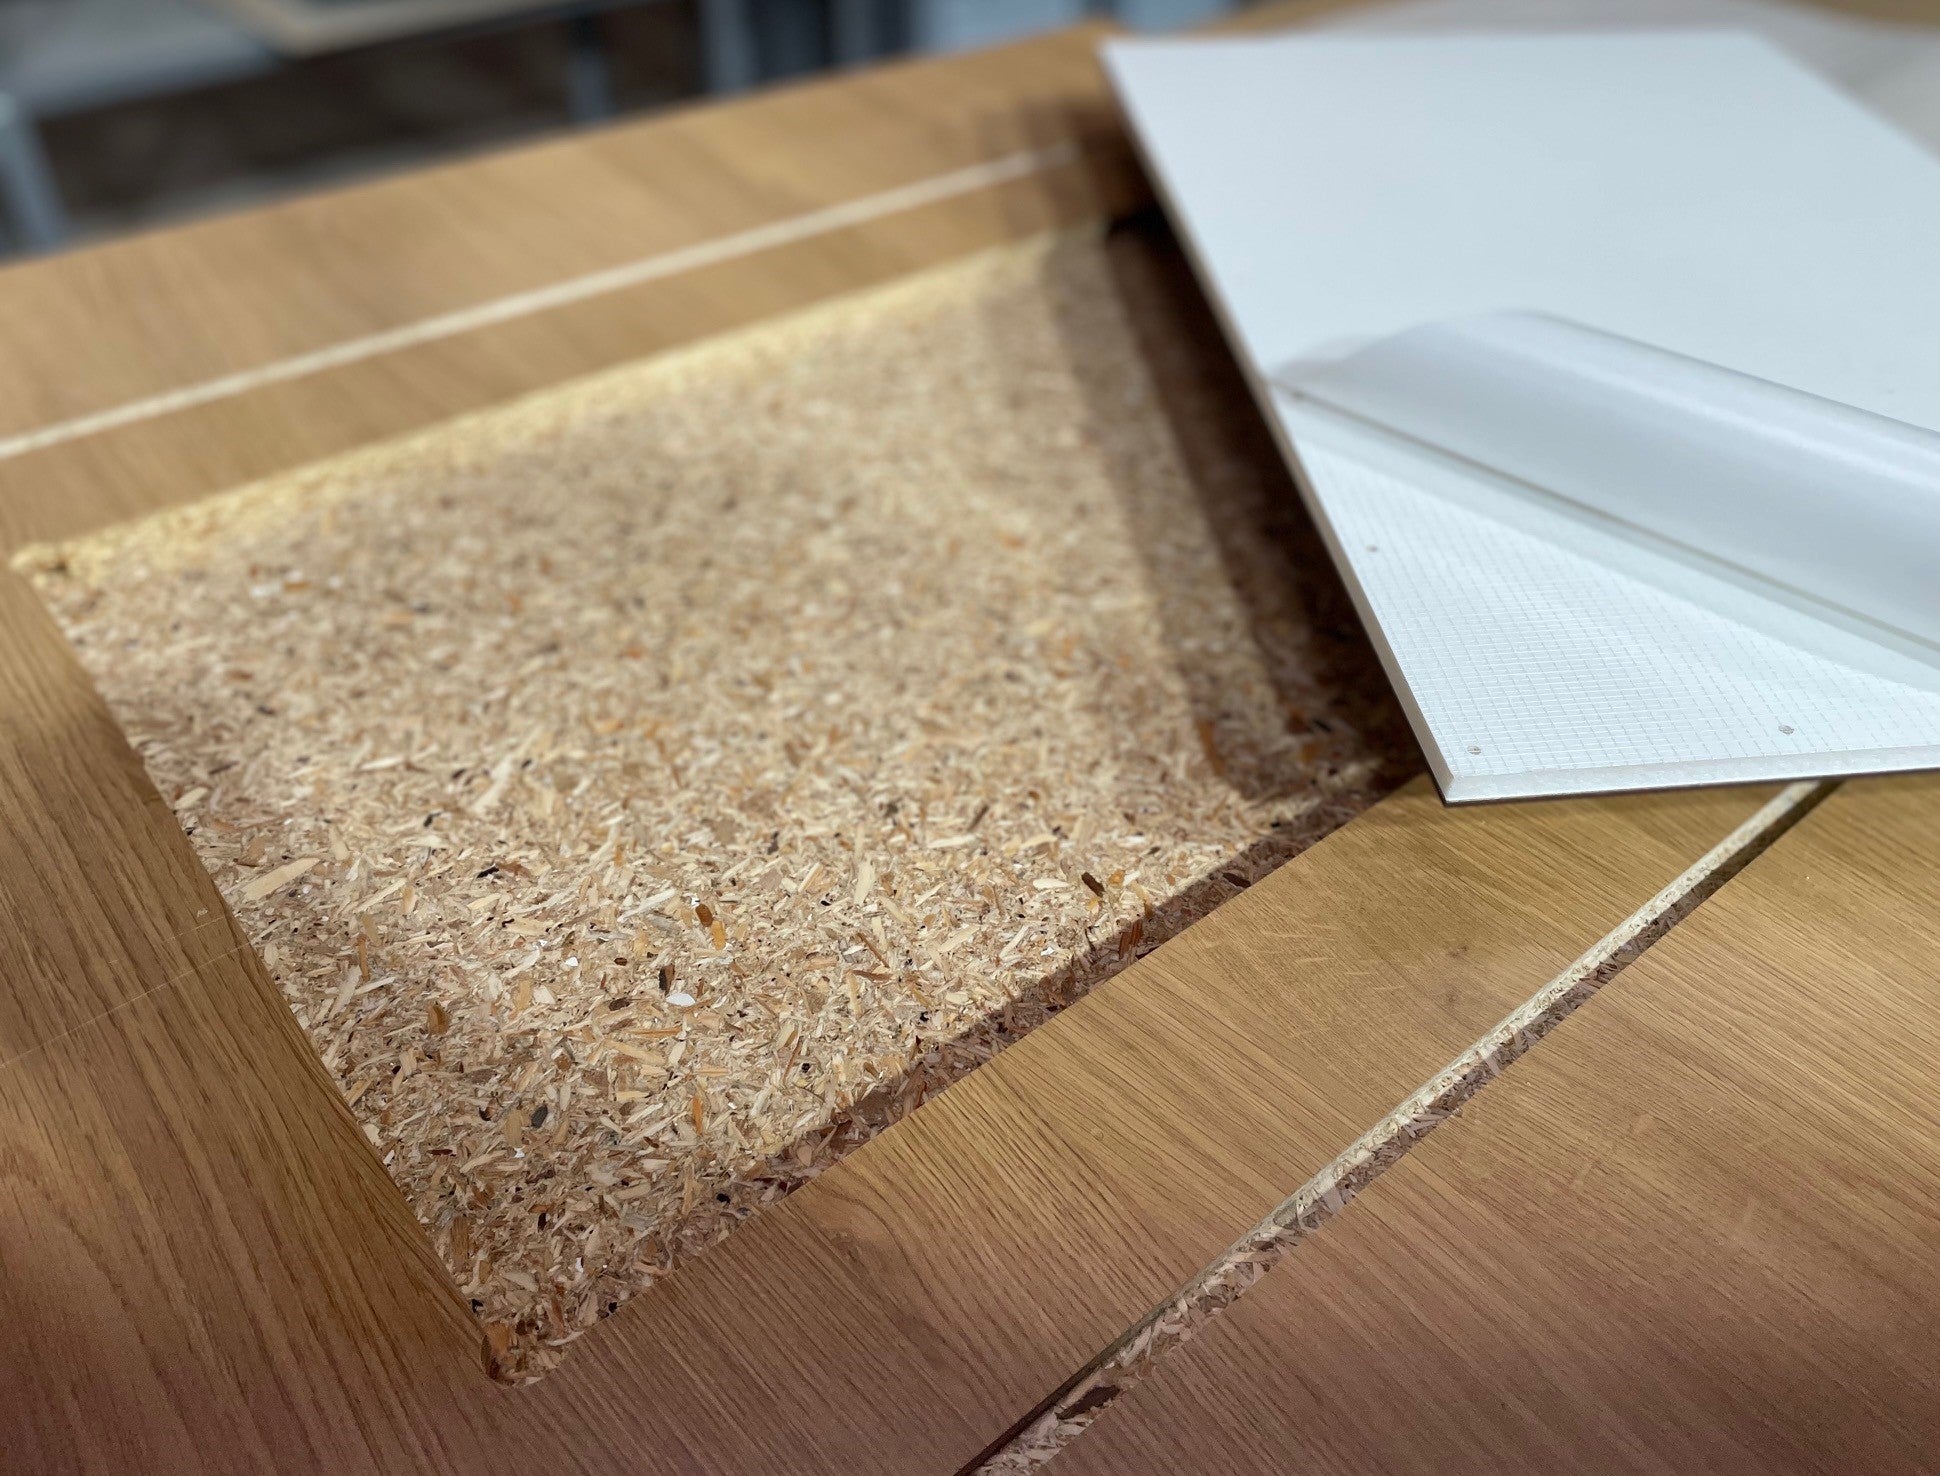
Step 6
Retirez le film protecteur de l'adhésif double face*.
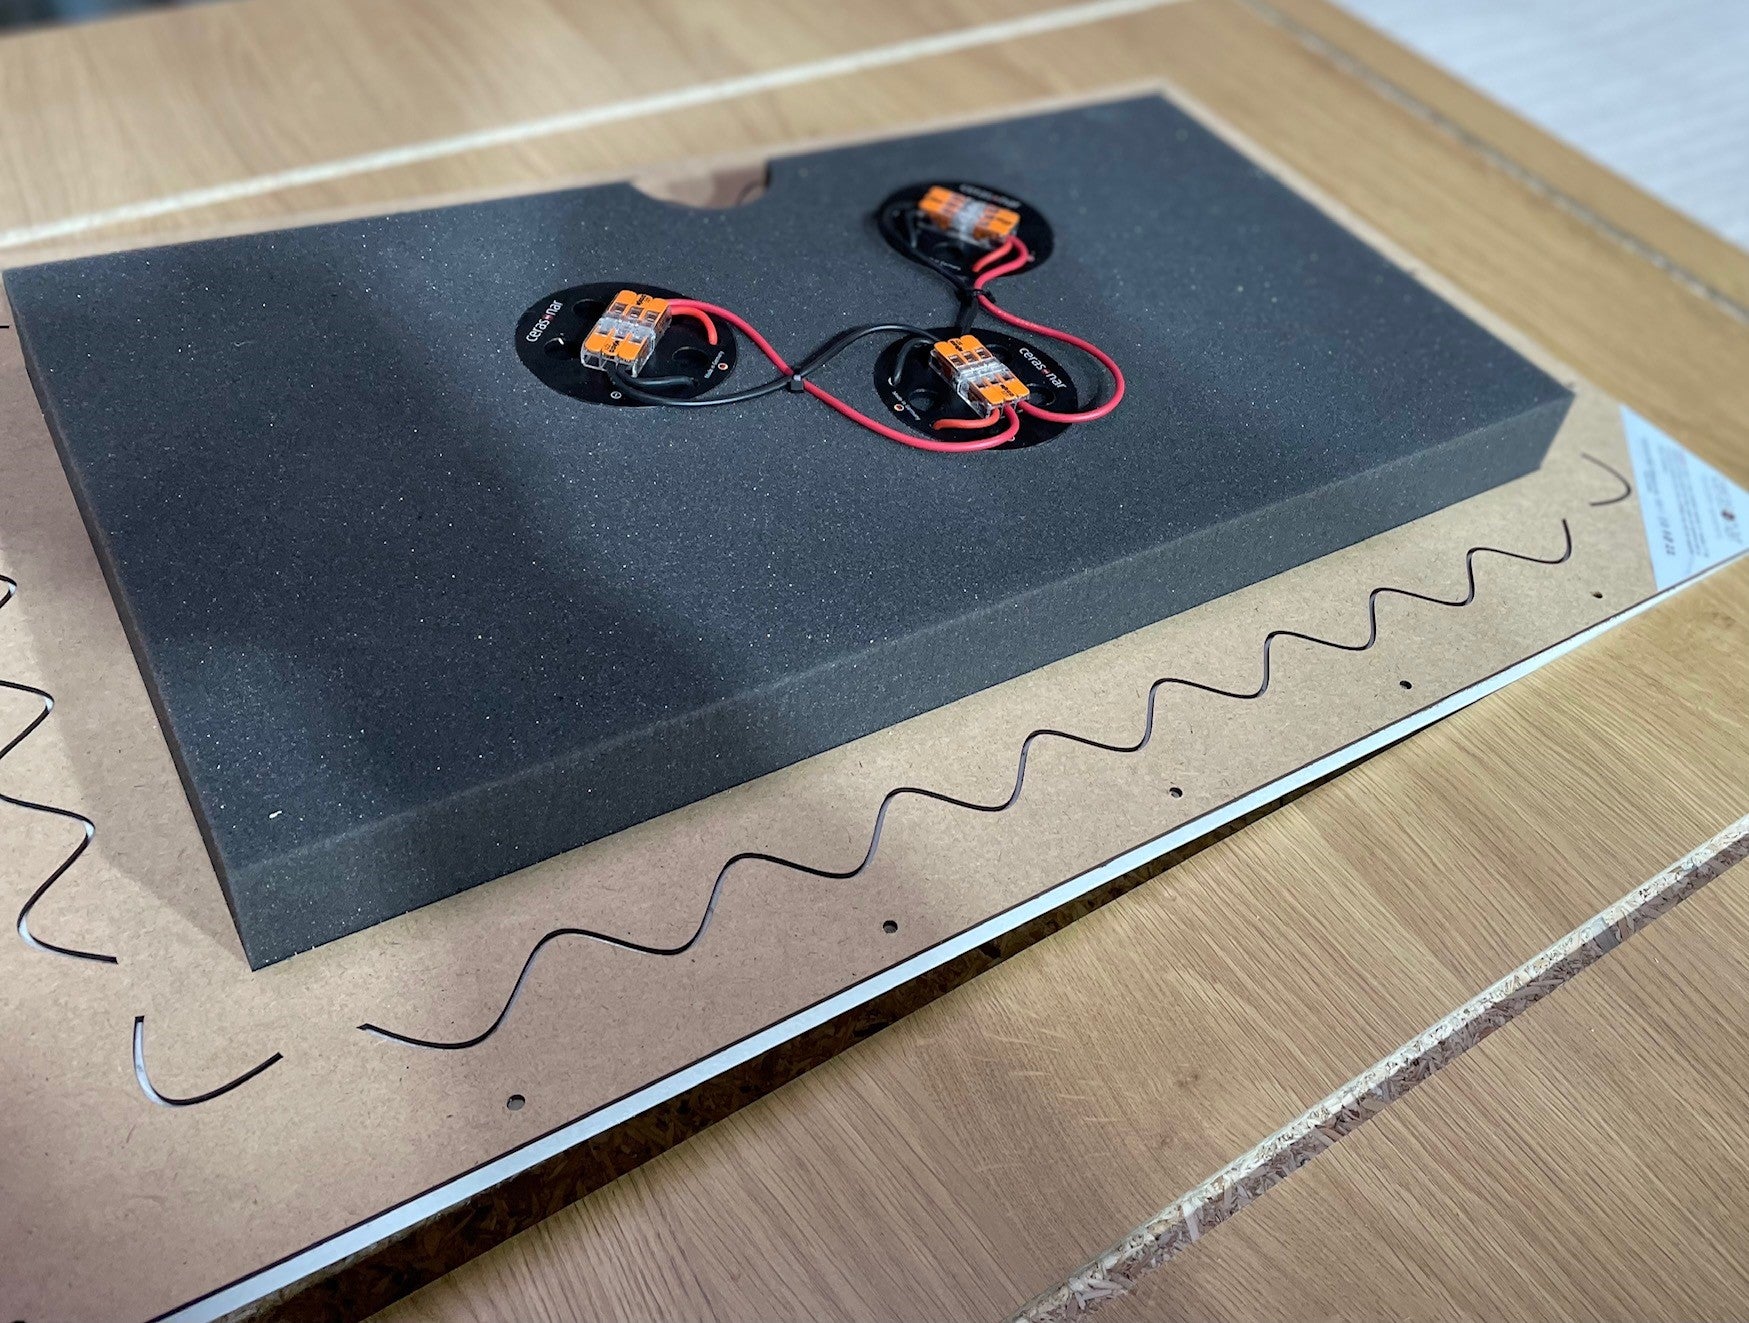
Step 7
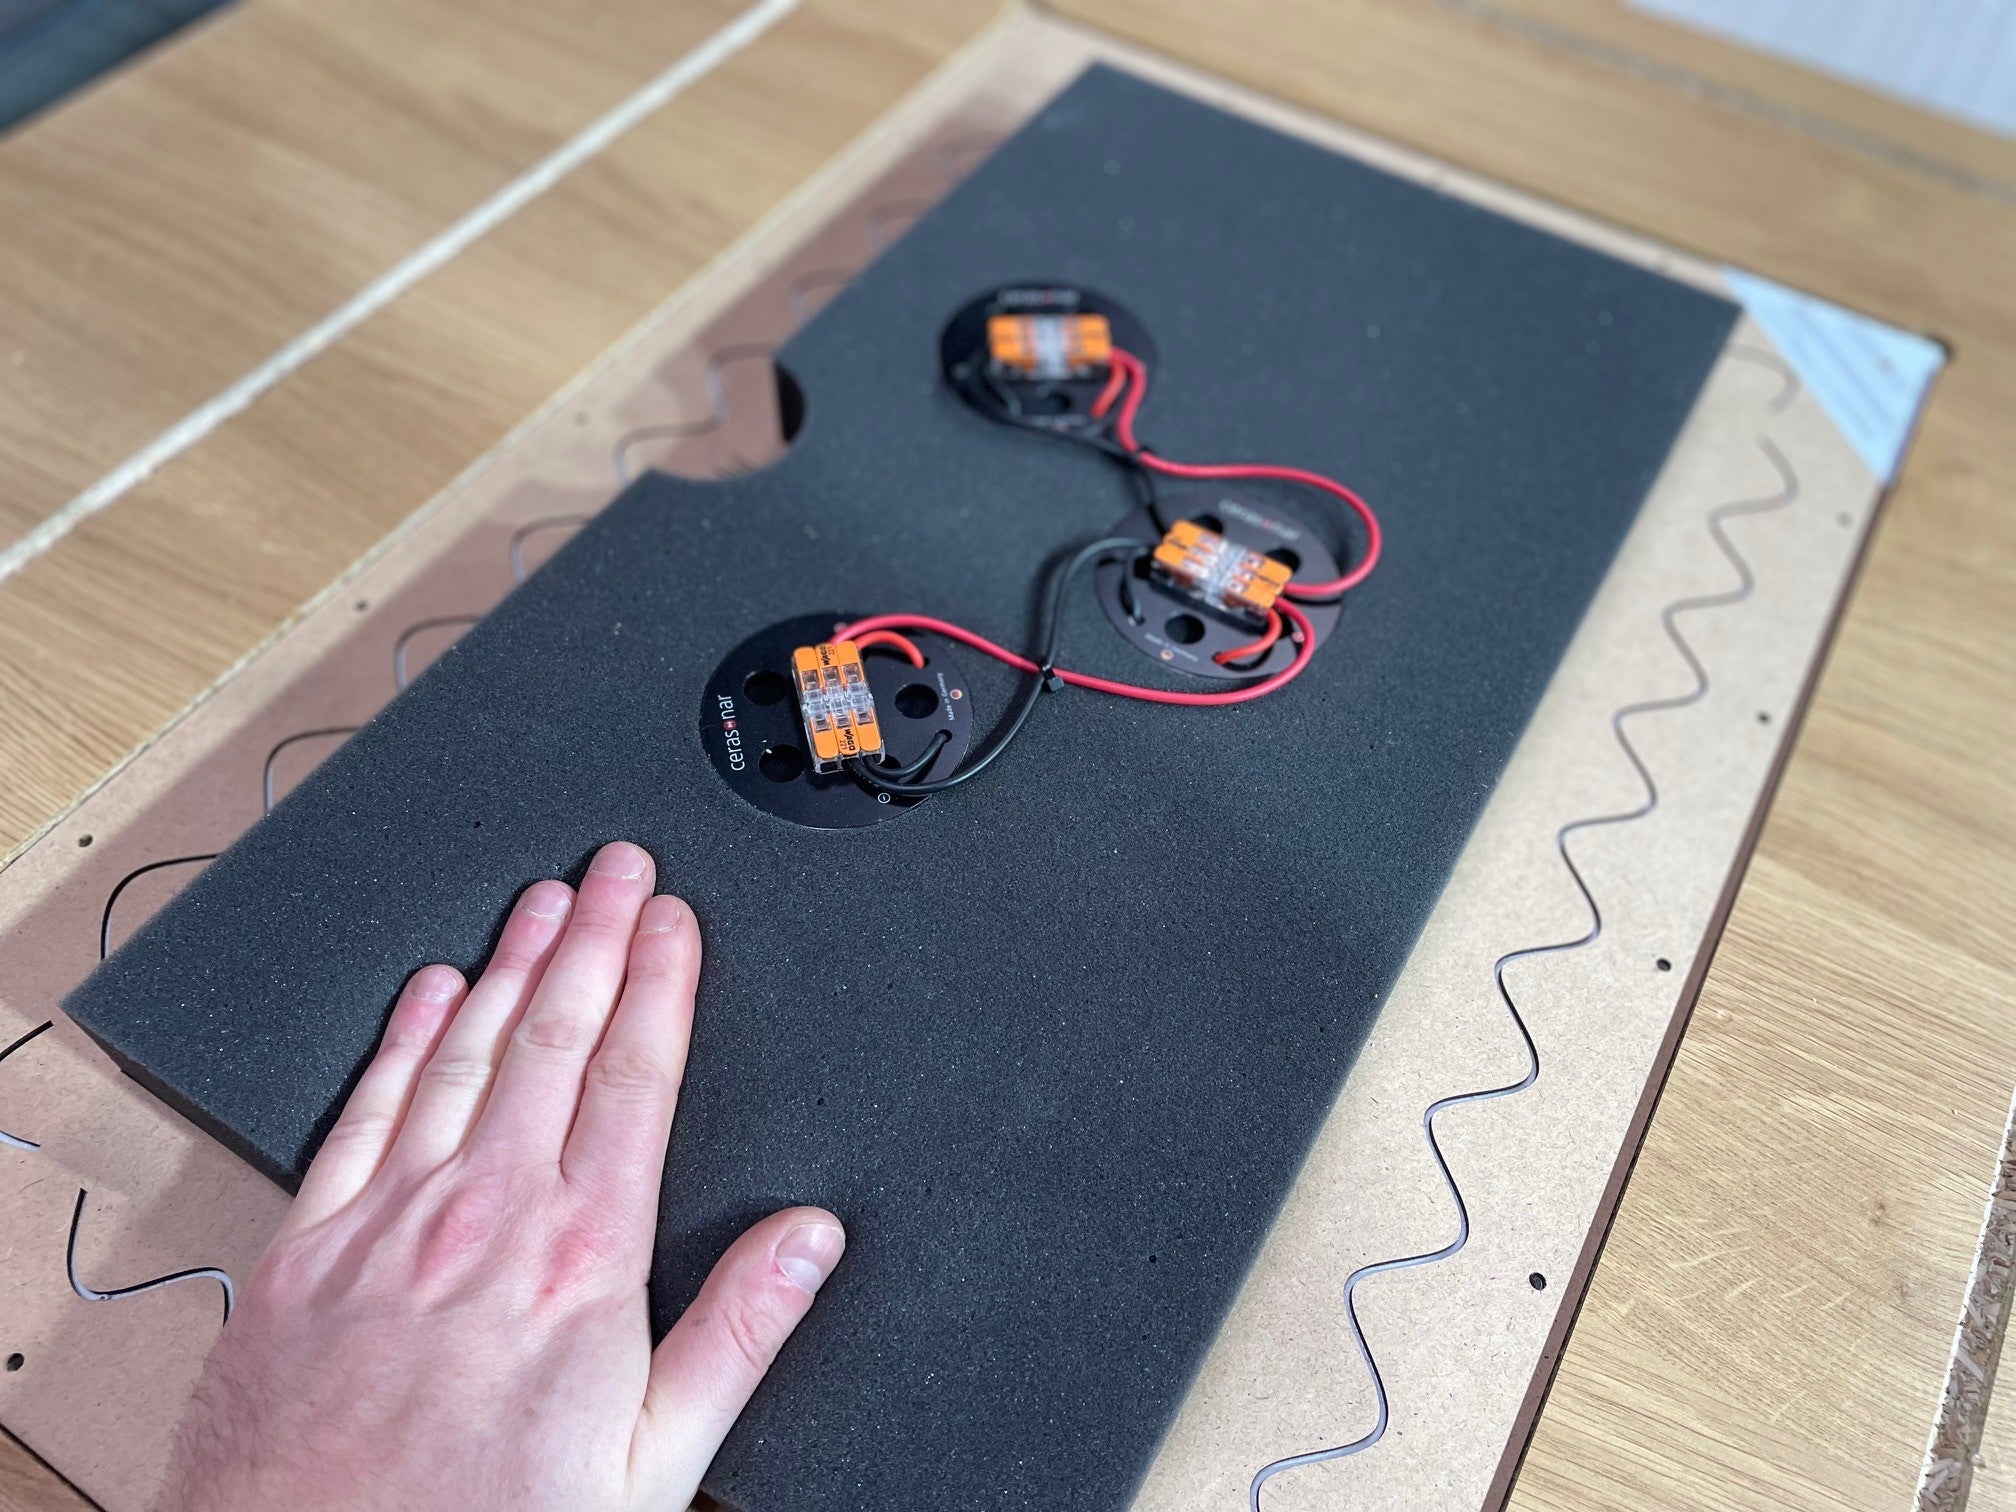
Insérez le haut-parleur avec précaution
Step 8
Ne forcez pas trop lorsque vous
Vous ne devez pas appuyer sur les conducteurs de l'excitateur !
Step 9
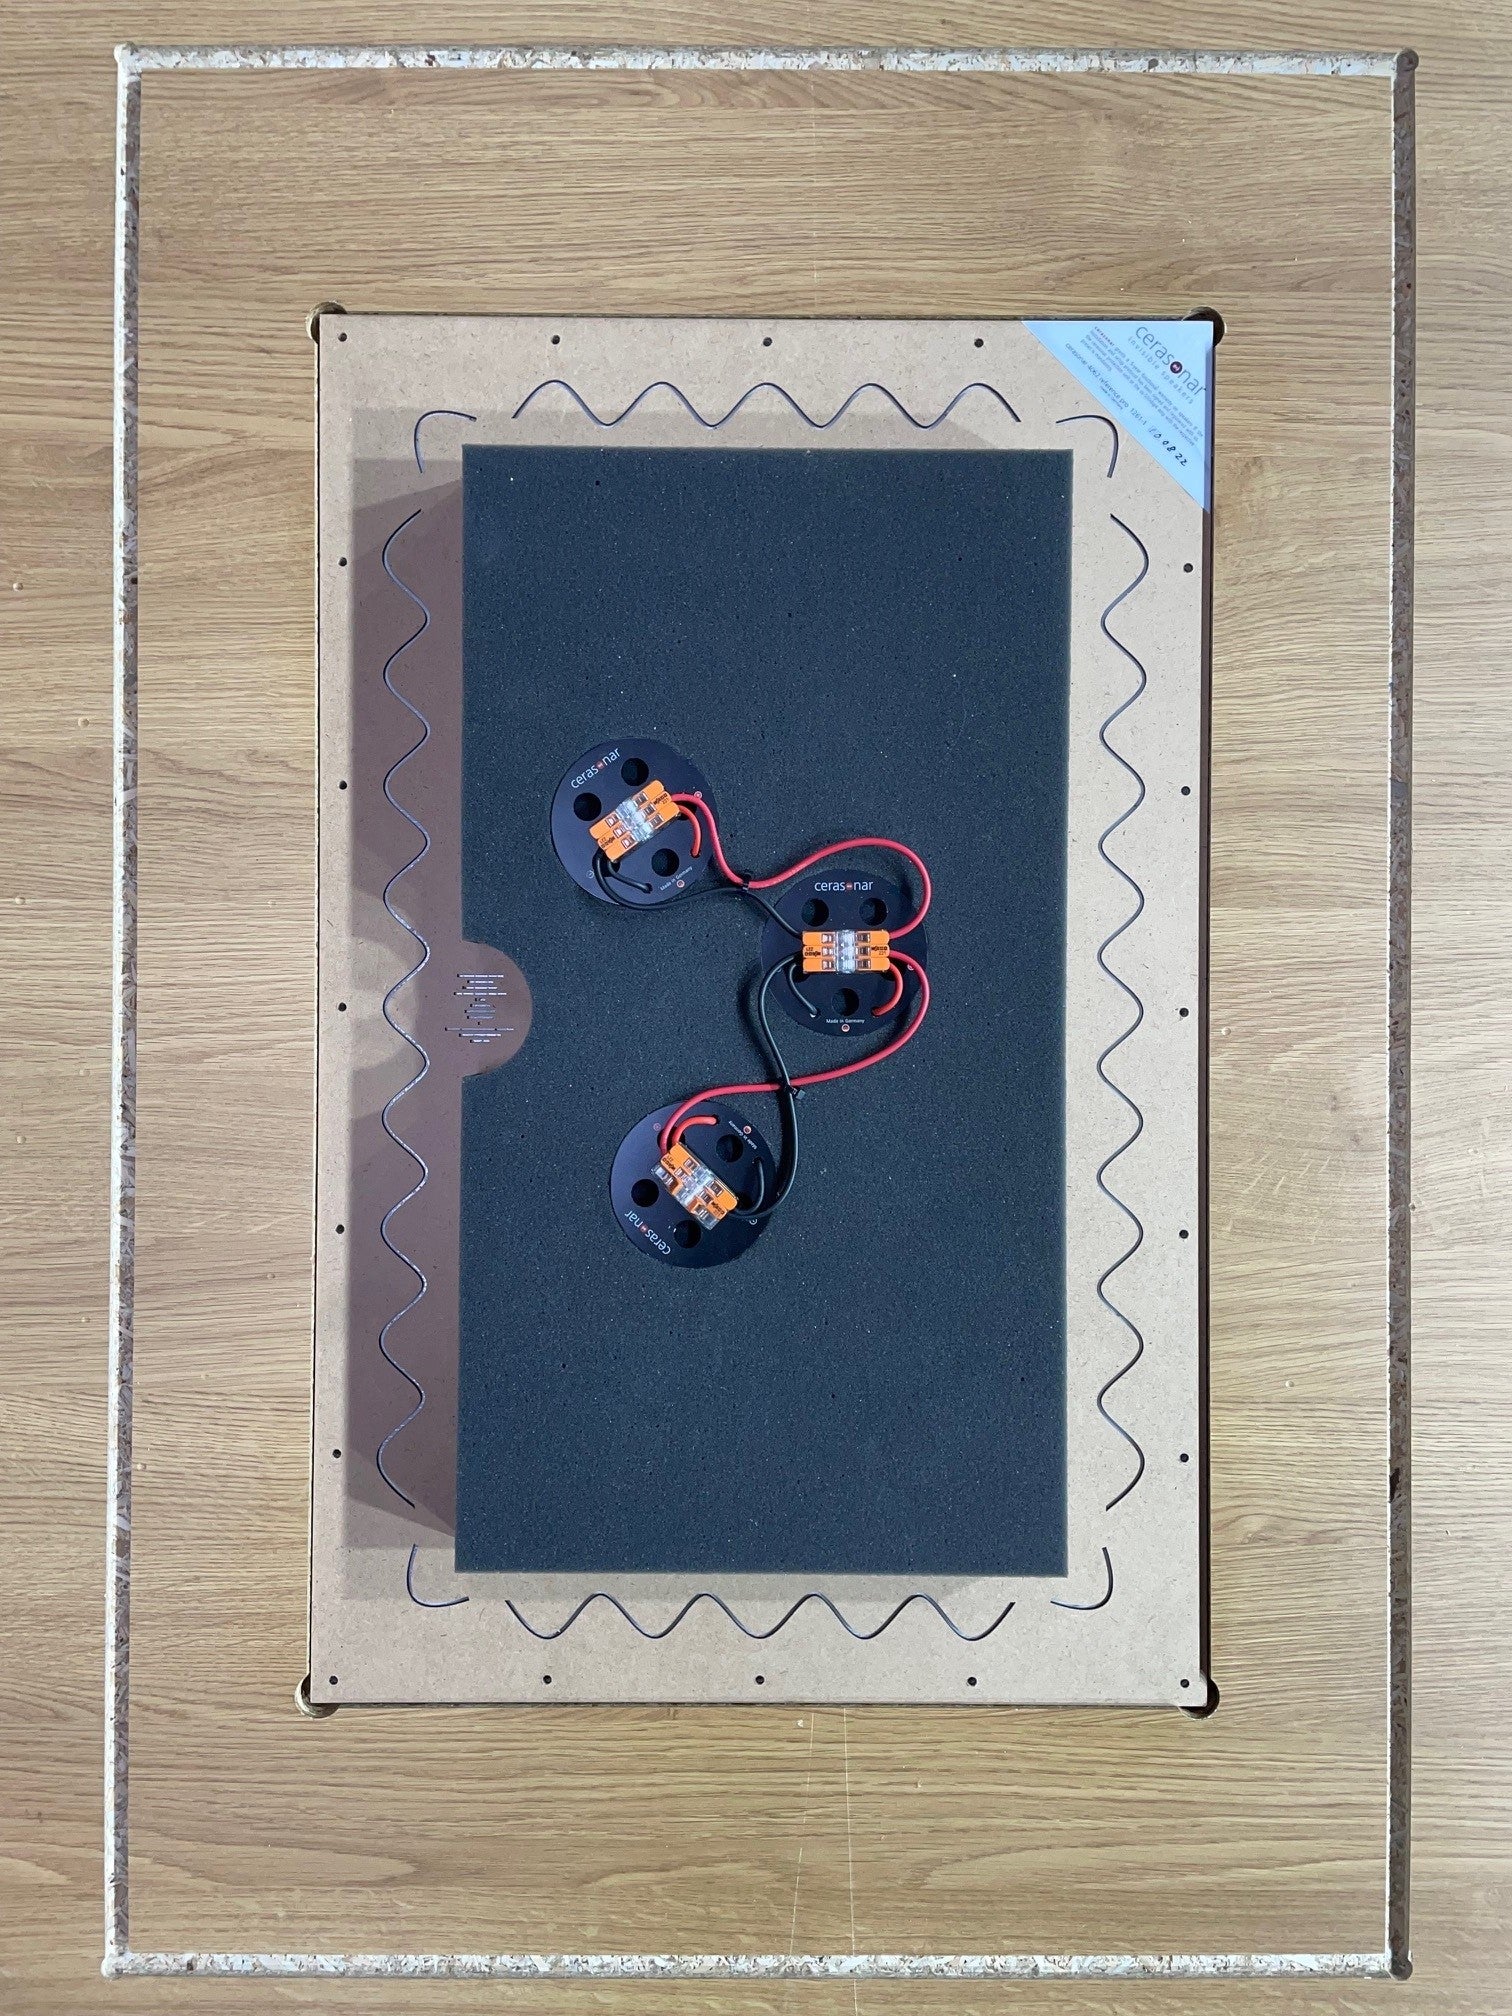
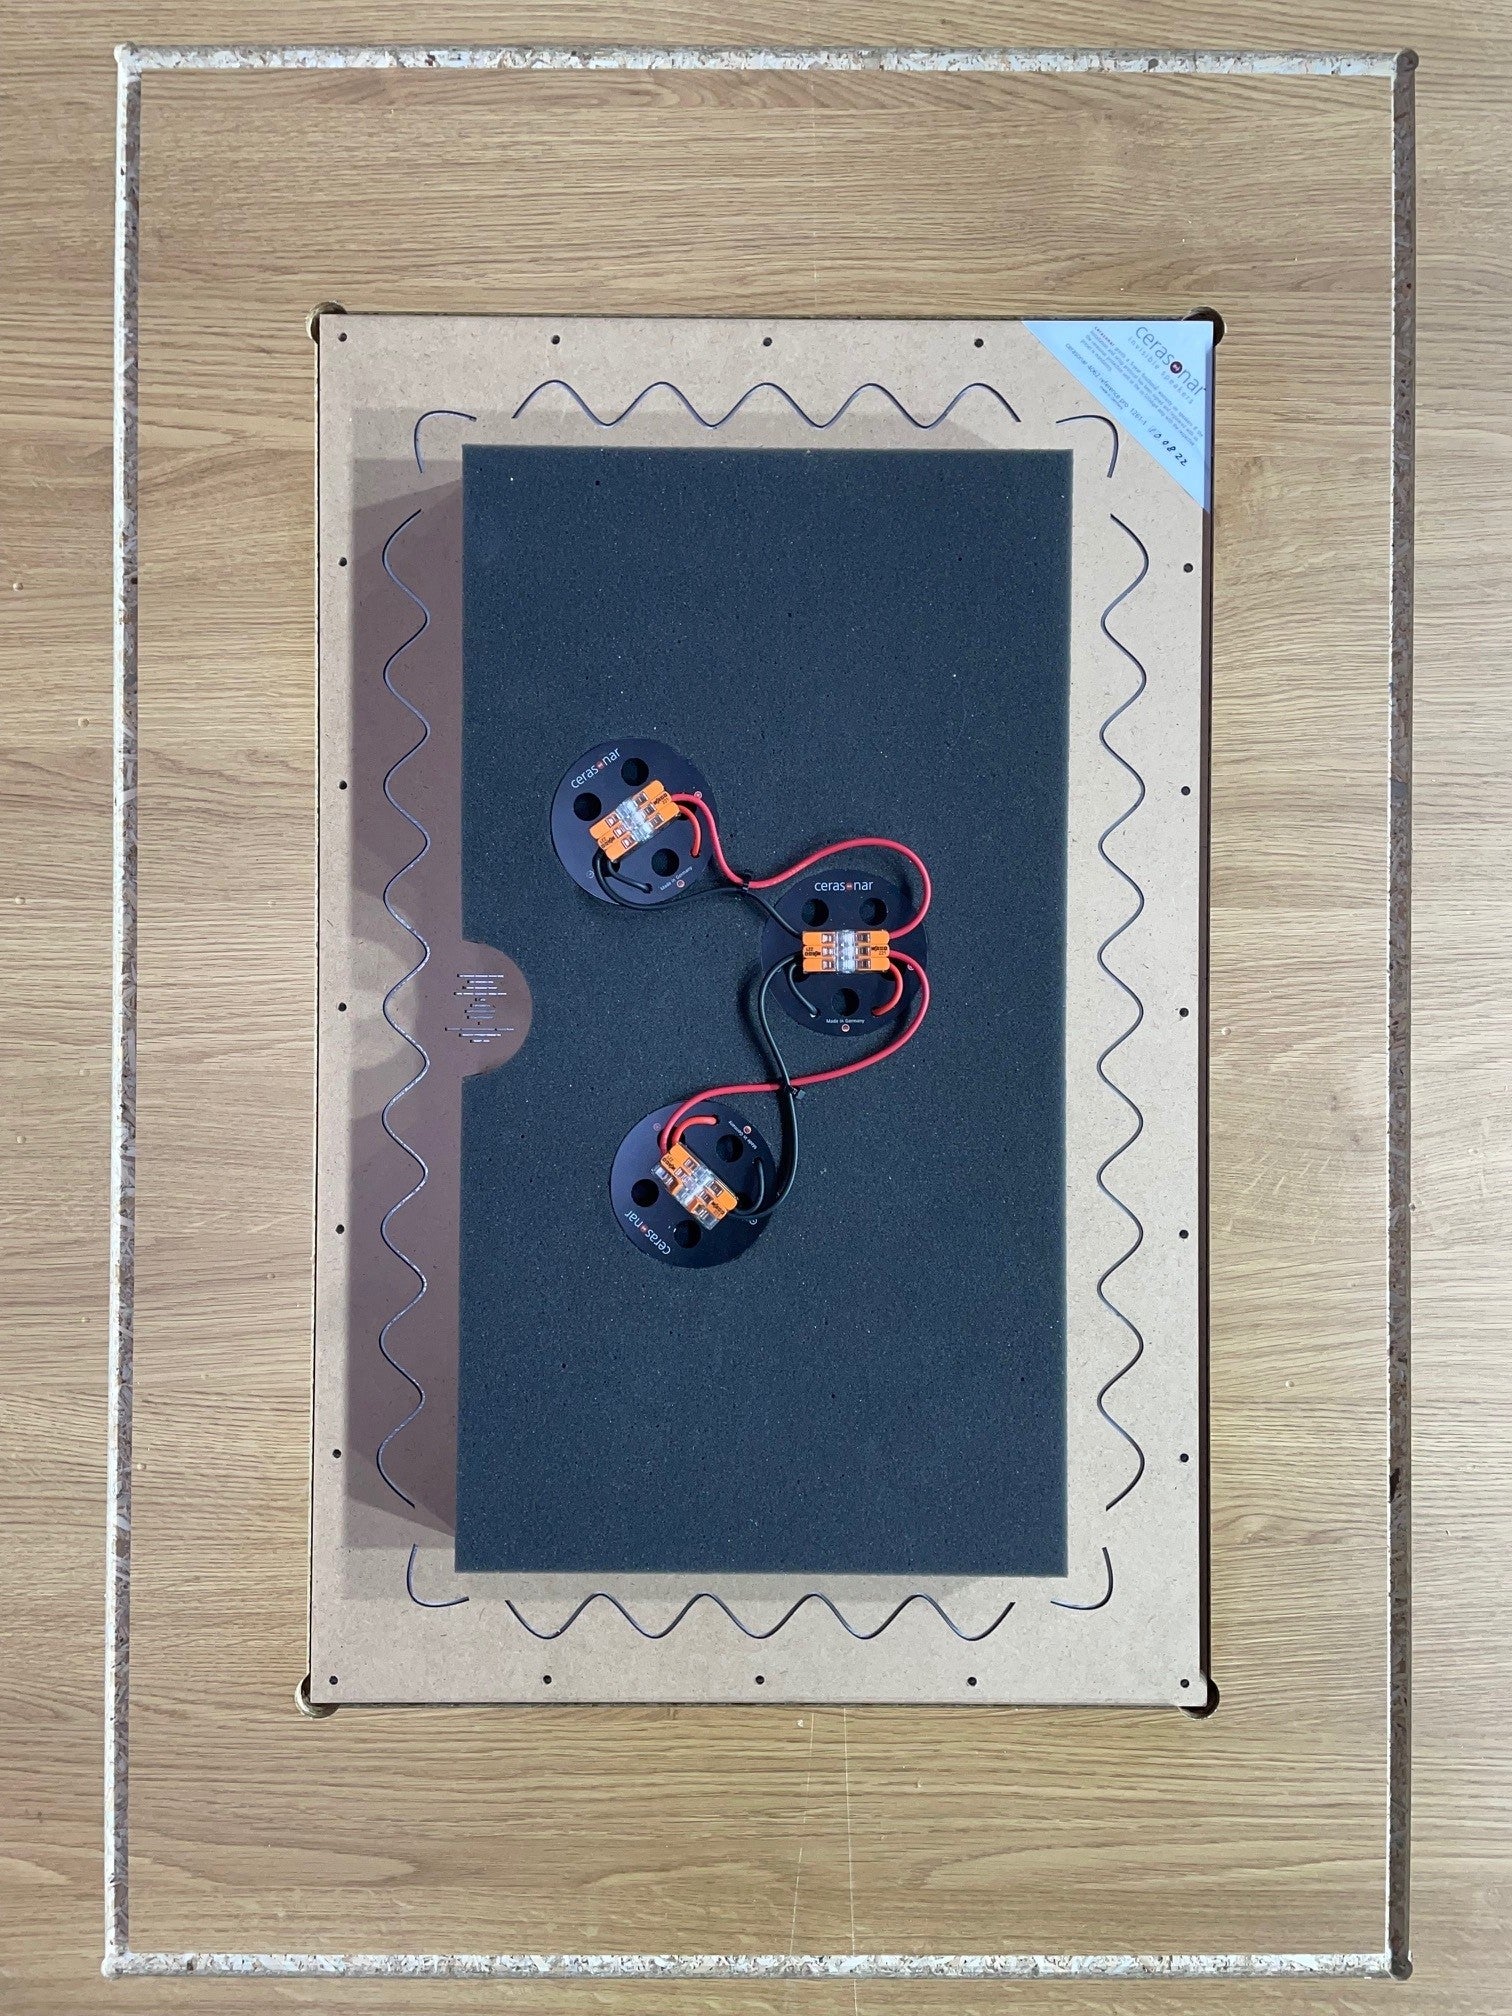
Le haut-parleur est prêt à être raccordé au câble. Vous pouvez utiliser une boîte d'encastrement cerasonar en option (par exemple la boîte d'encastrement 9062).
Step 10
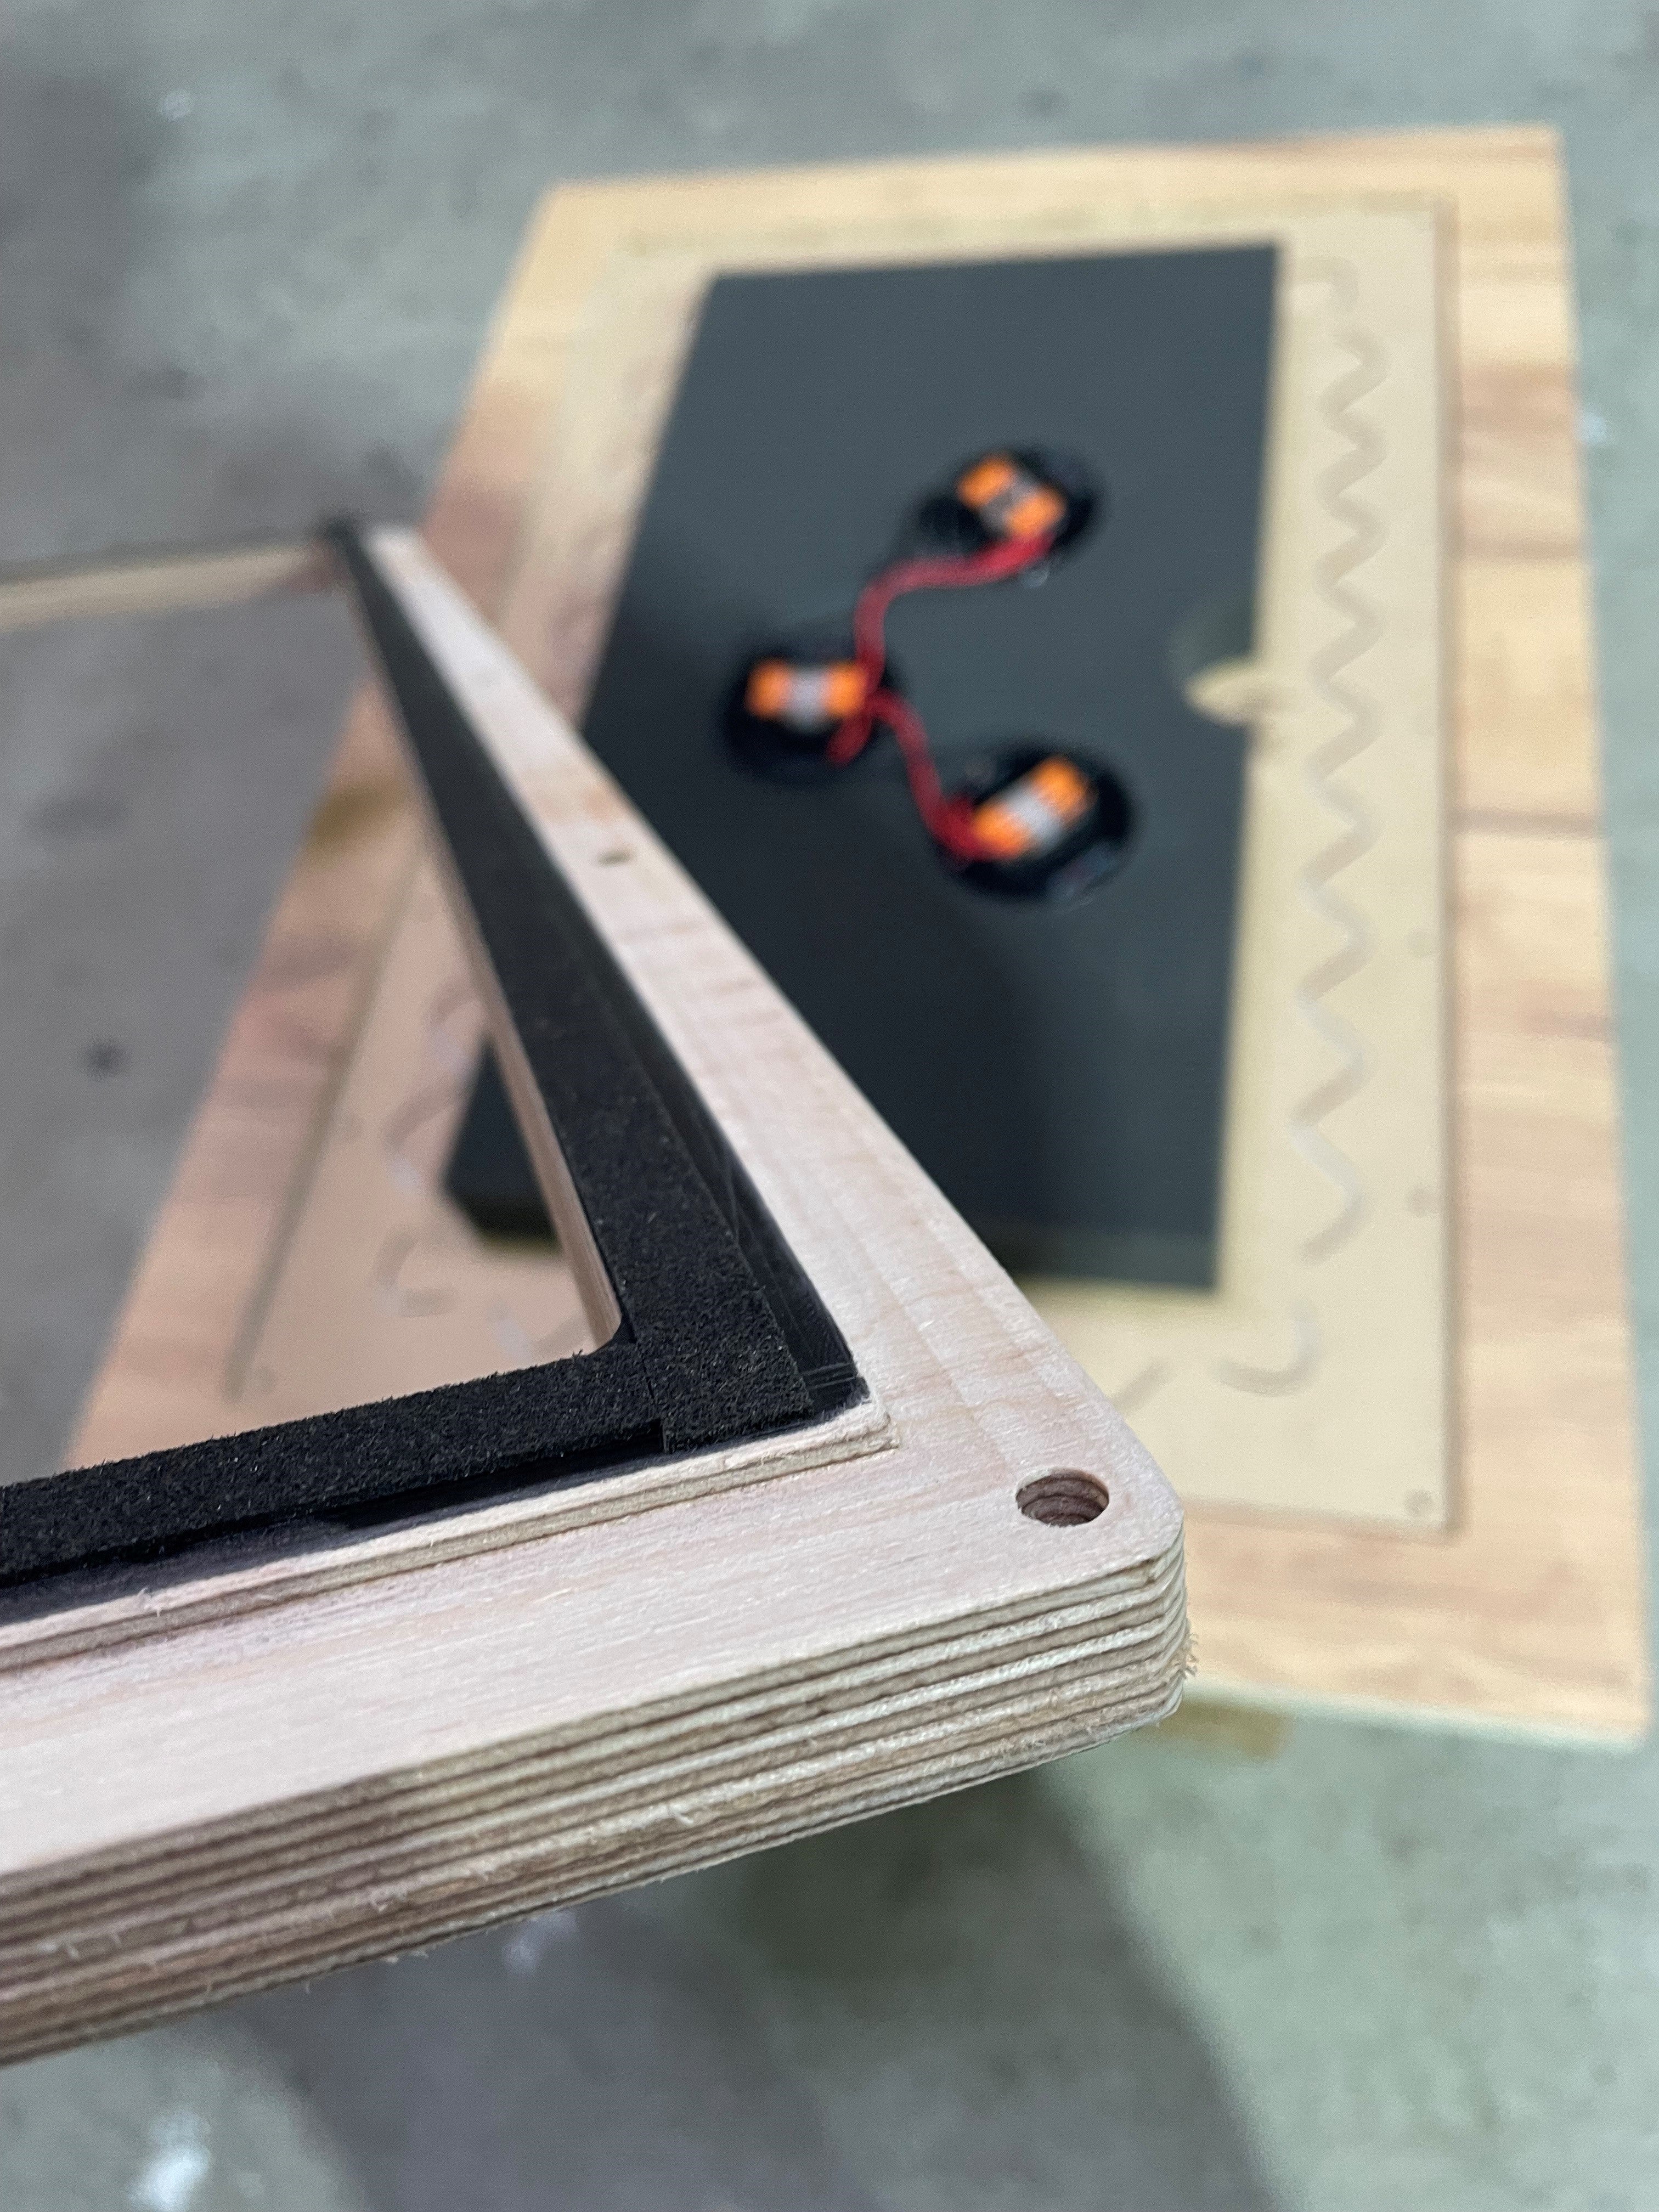
Fixez le support à l'arrière de l'enceinte. Il s'agit d'une mesure de sécurité mécanique supplémentaire.
Step 11
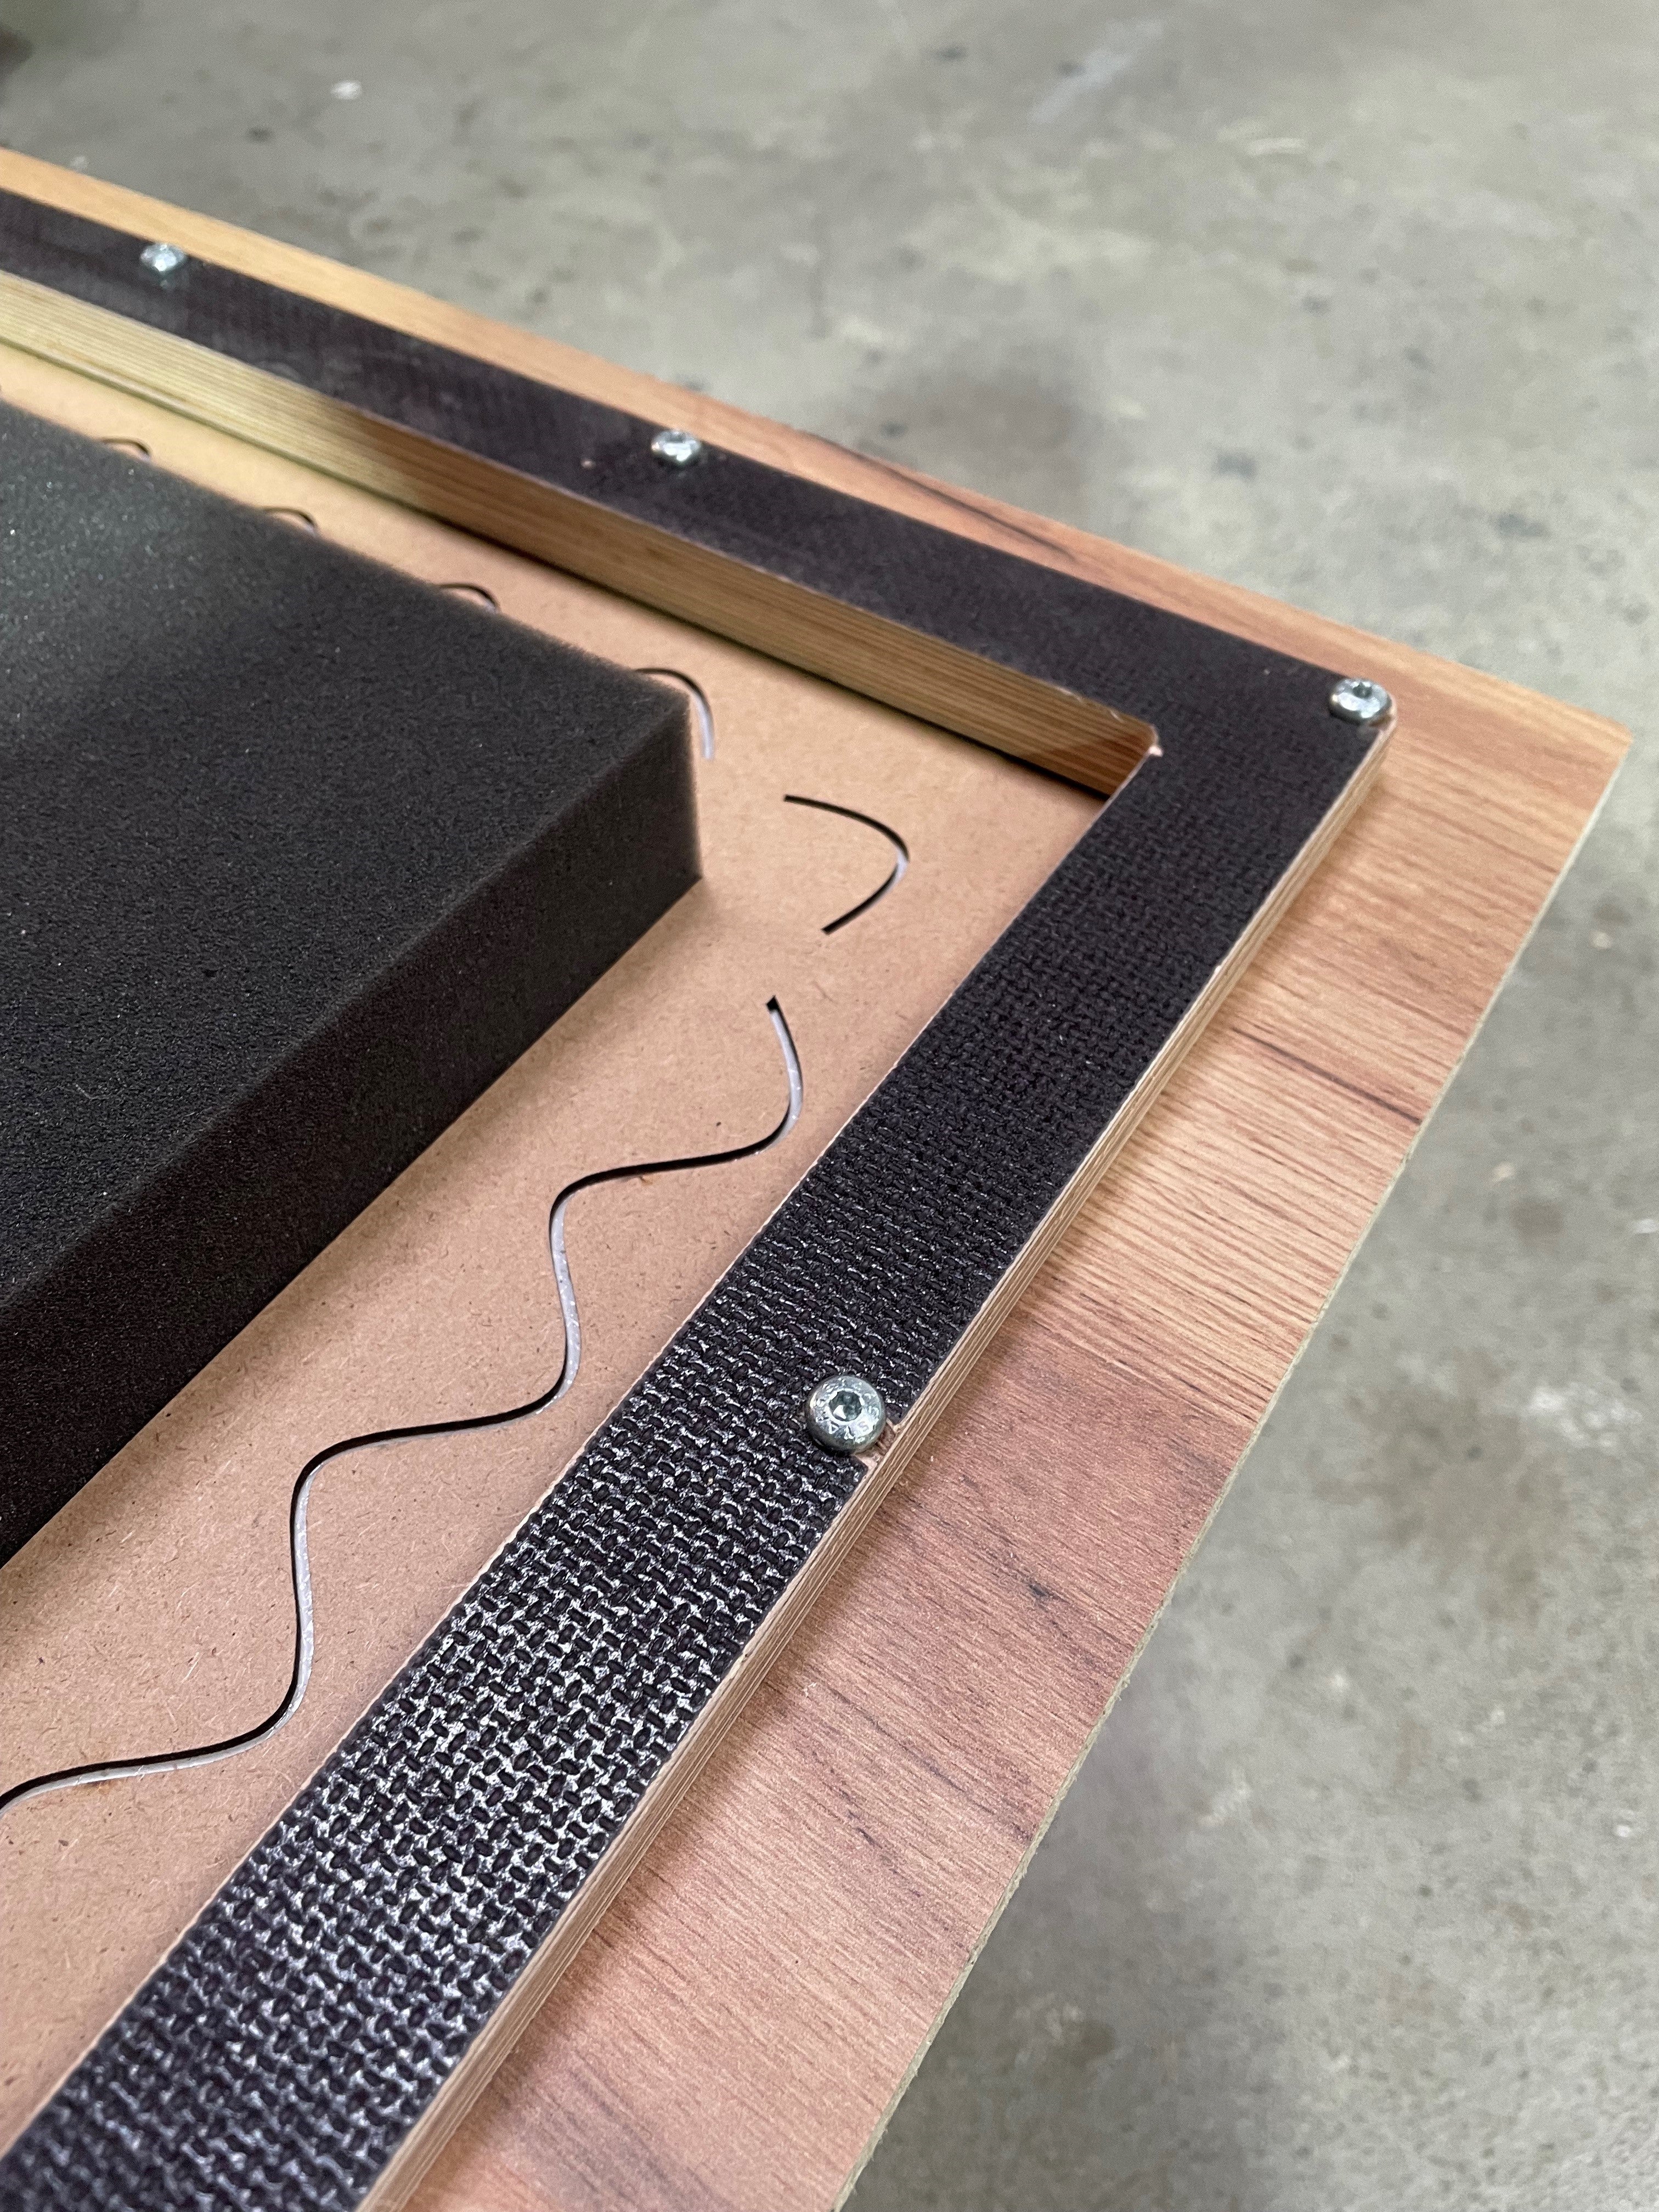
Vissez maintenant le support en utilisant les trous pré-percés. Ne serrez pas trop les vis !
Testez maintenant le haut-parleur.
Step 12
MONTAGE OPTIONNEL DE LA BOÎTE D'ENCASTREMENT :
Pour installer la boîte d'encastrement en bois cerasonar, une rainure d'encastrement doit être prévue dans le panneau de bois.
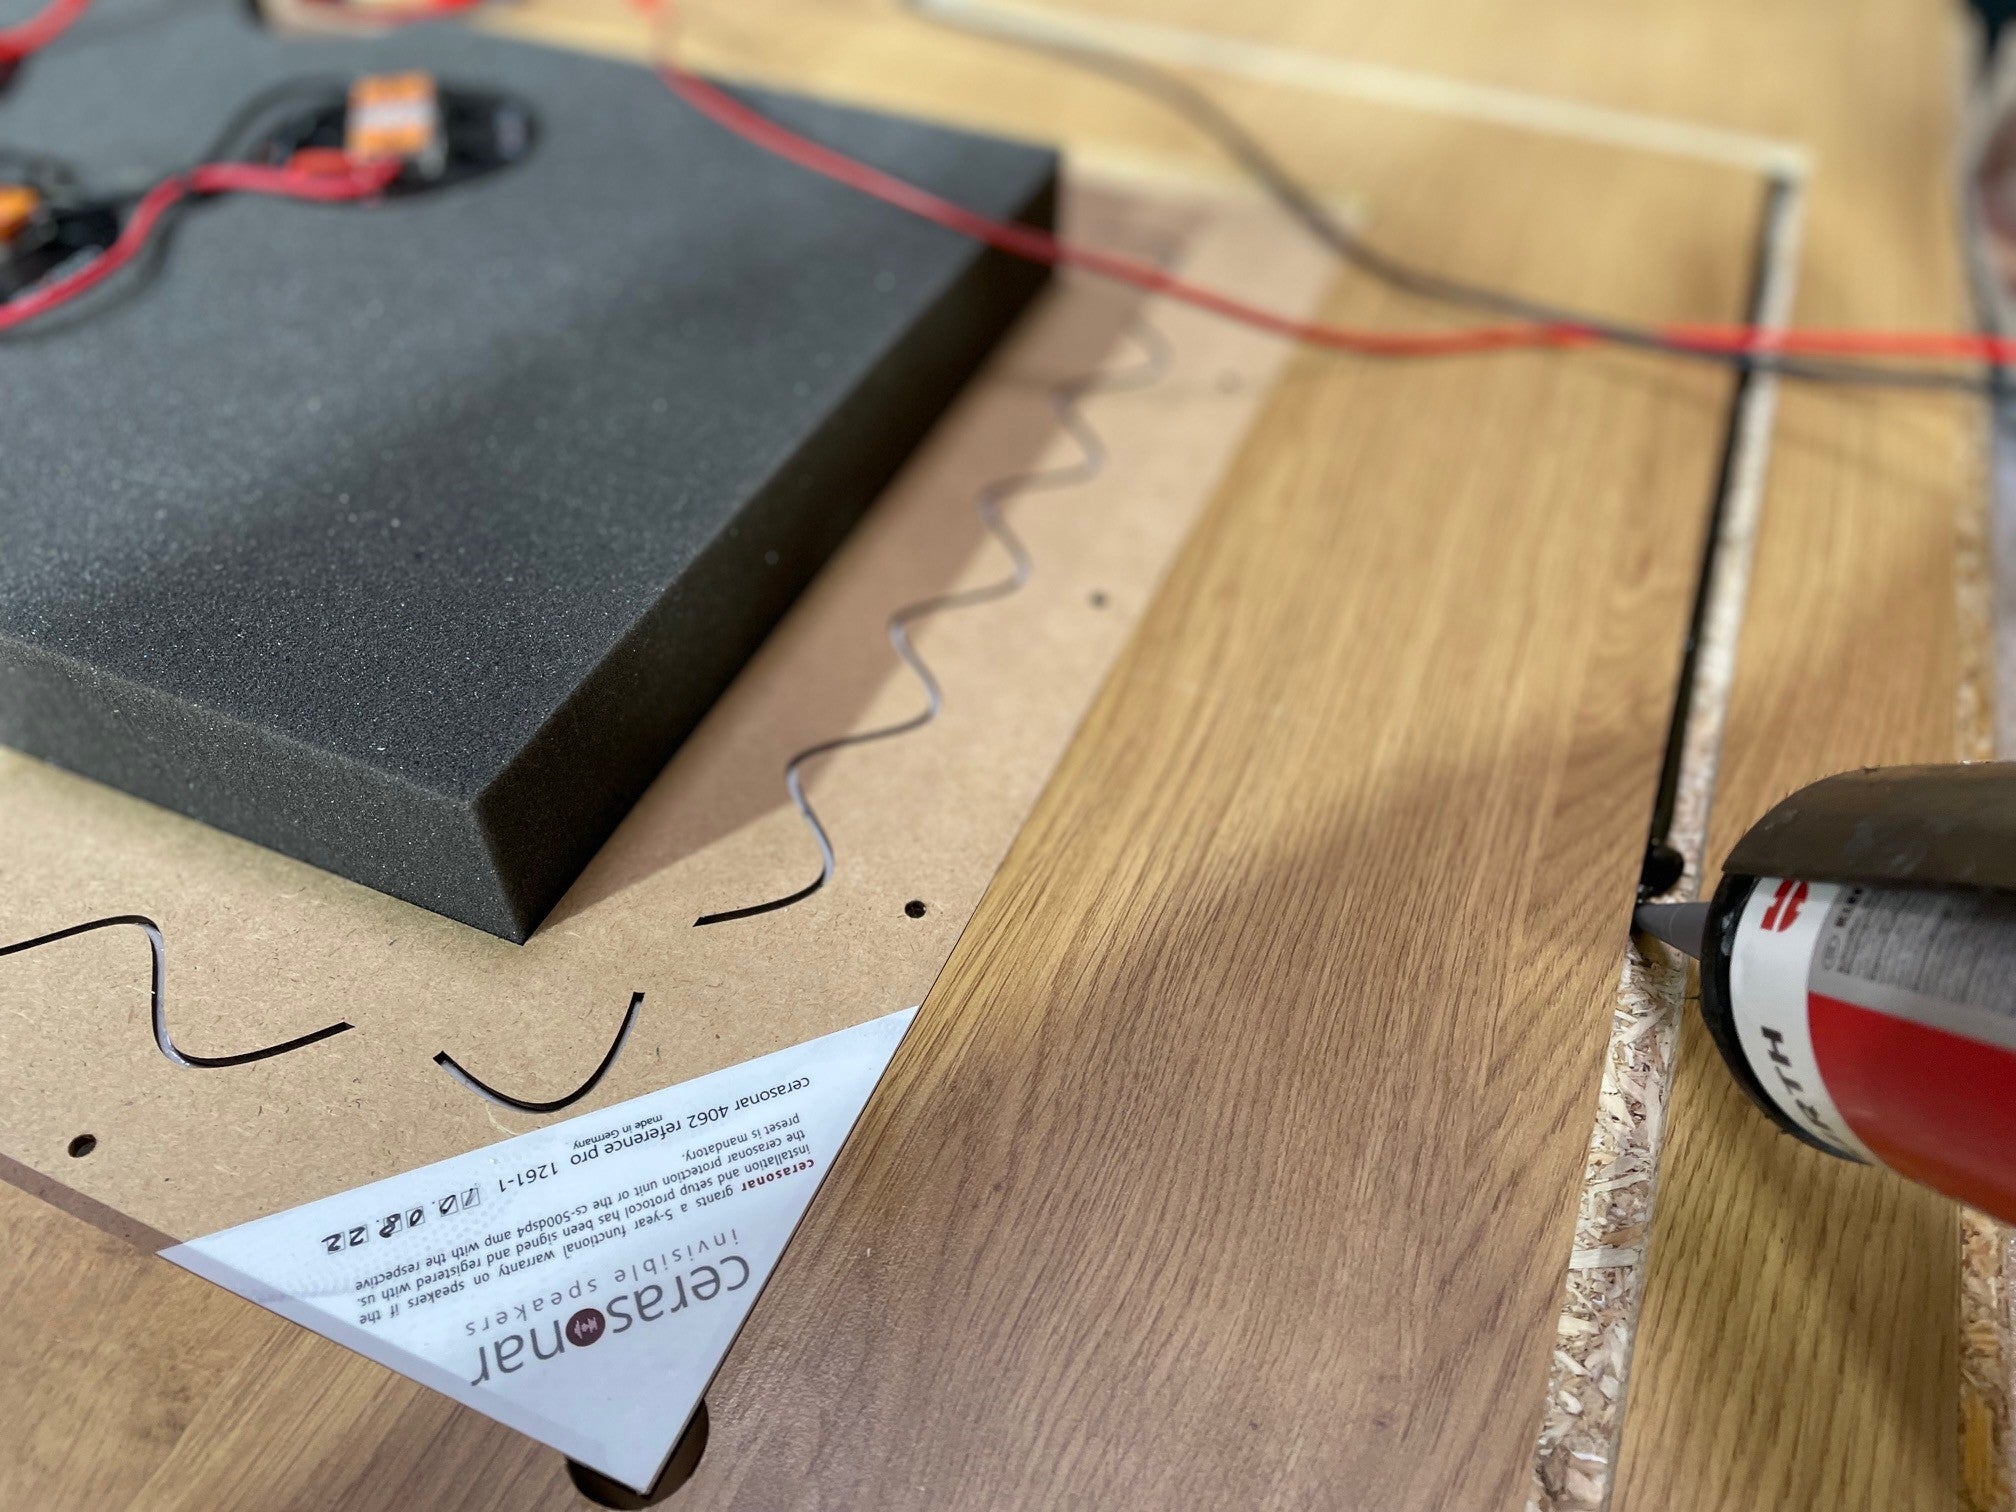
Step 13
LE MONTAGE DE LA BOÎTE D'ENCASTREMENT EST OPTIONNEL : La rainure est remplie avec une colle appropriée (par exemple Würth Bond + Seal).
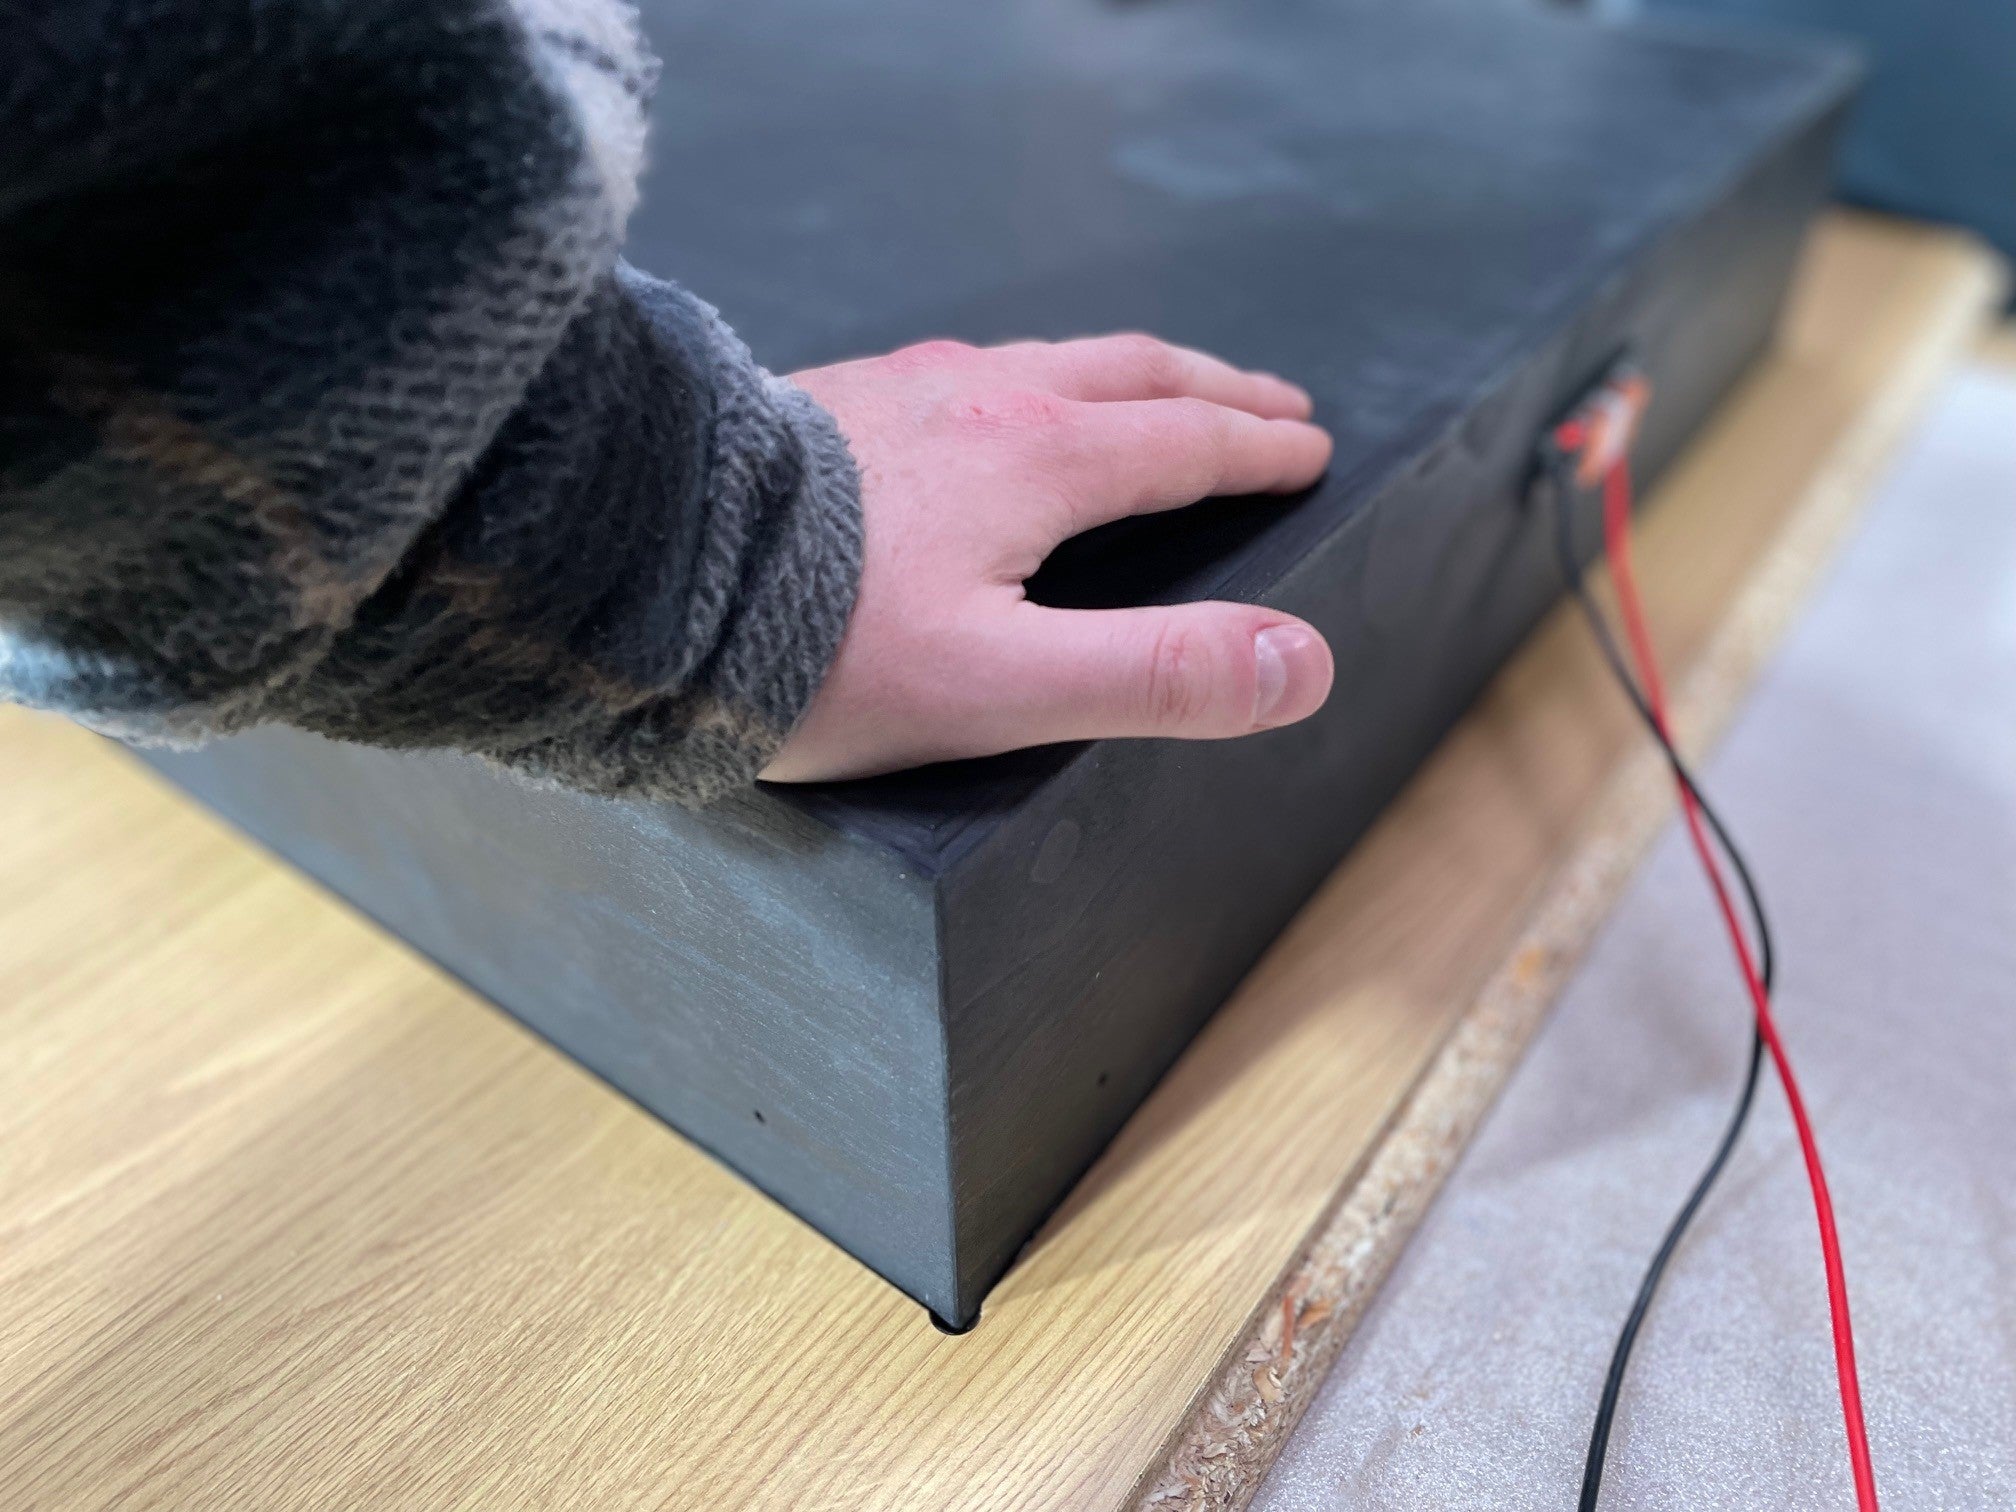
Step 14
MONTAGE OPTIONNEL DE LA BOÎTE D'ENCASTREMENT : Les câbles des haut-parleurs sont connectés en respectant la polarité. La boîte d'encastrement est ensuite pressée dans la rainure remplie de colle.


